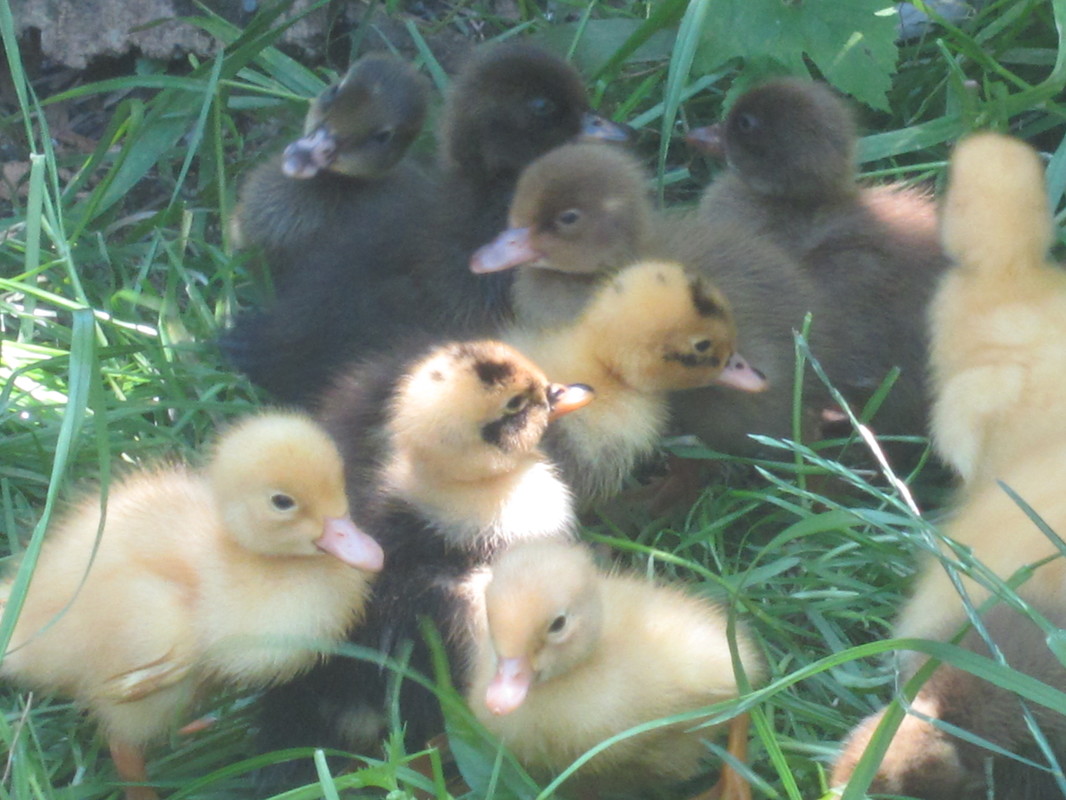
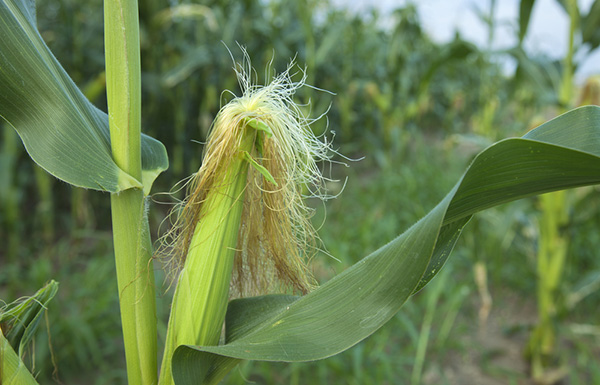
Who doesn't love Monarchs? These beauties are reliant on the home gardener for their continued lifecycle in NZ, because the food for their caterpillars - the Swan Plant - does not grow wild here, but only under cultivation. This beautiful butterfly is NZ's largest and most colourful, and it's lifecyle is fascinating to observe.
I've grown swan plants in various ways over the last few years. I quickly discovered that unless I managed the number of caterpillars on the plants (by limiting the butterfly's access to lay eggs), the food would run out, with the plants being completely devoured, leaving hungry caterpillars. Substitute foods such as pumpkin generally result in deformed butterflies, unless only fed to very mature caterpillars almost ready to pupate.
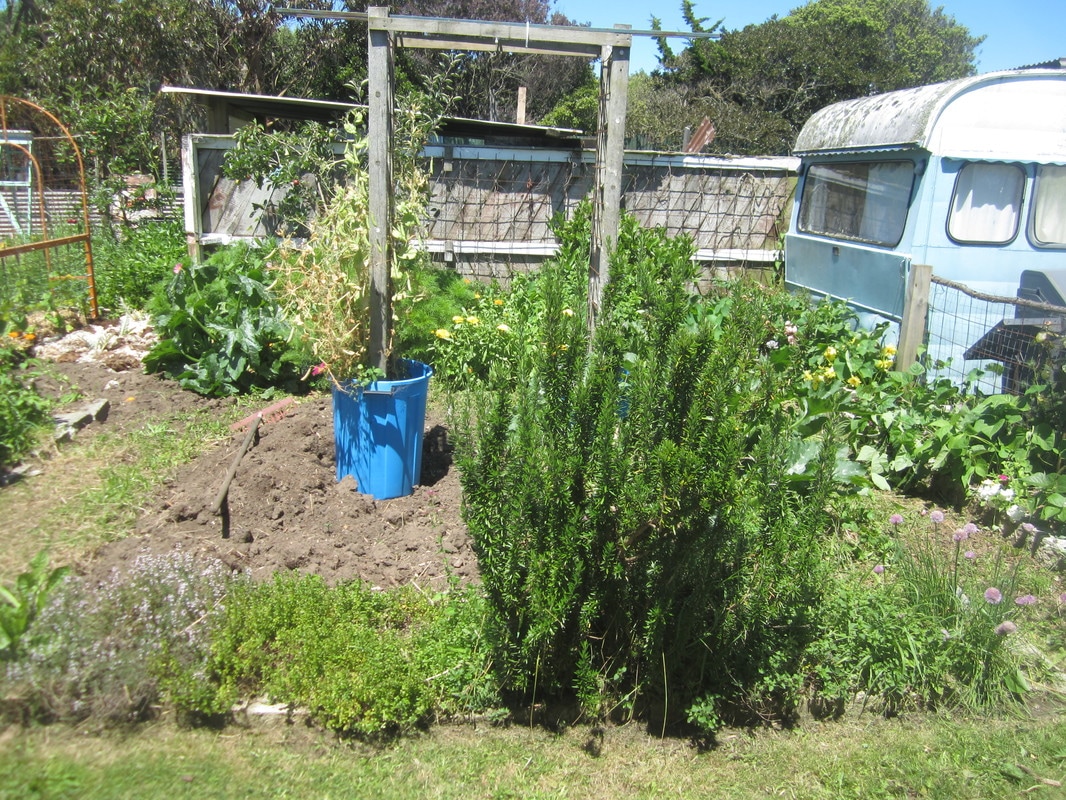
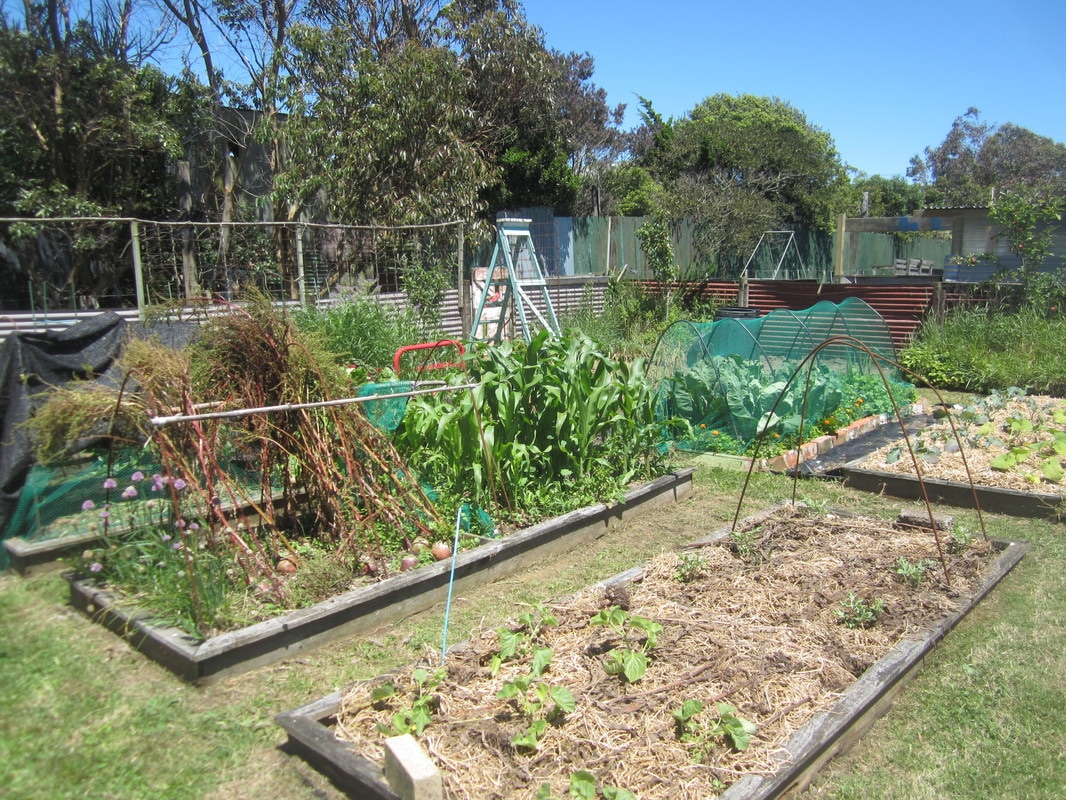
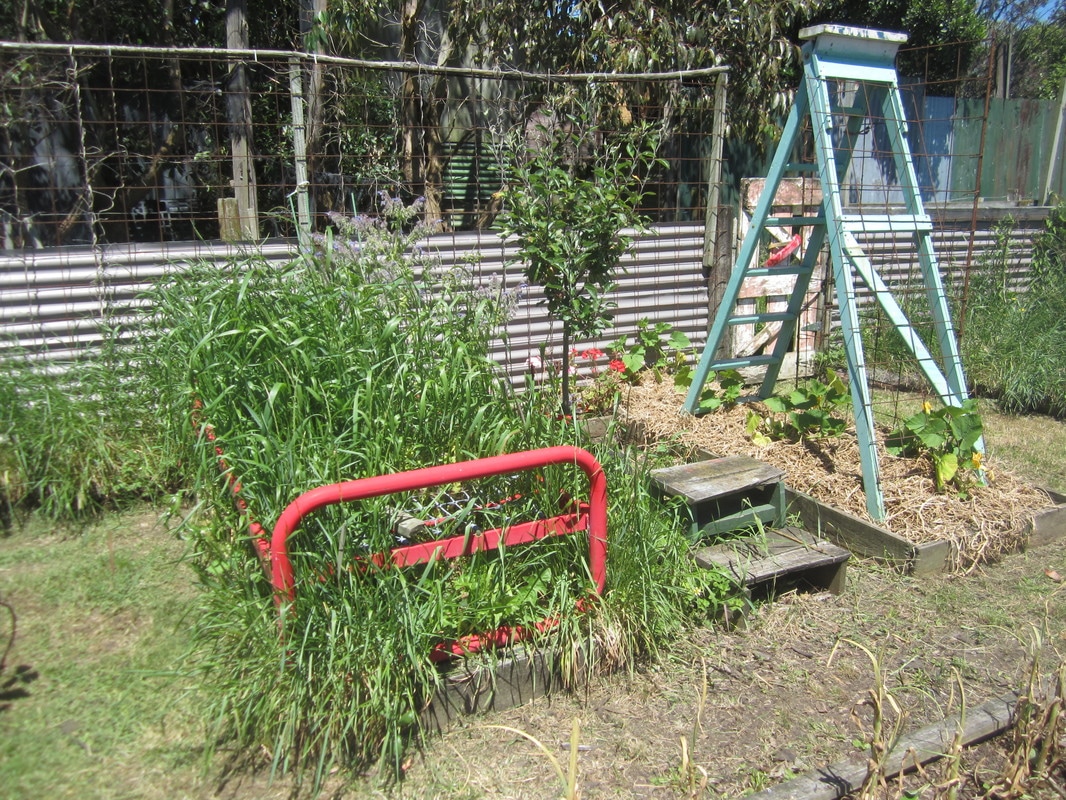
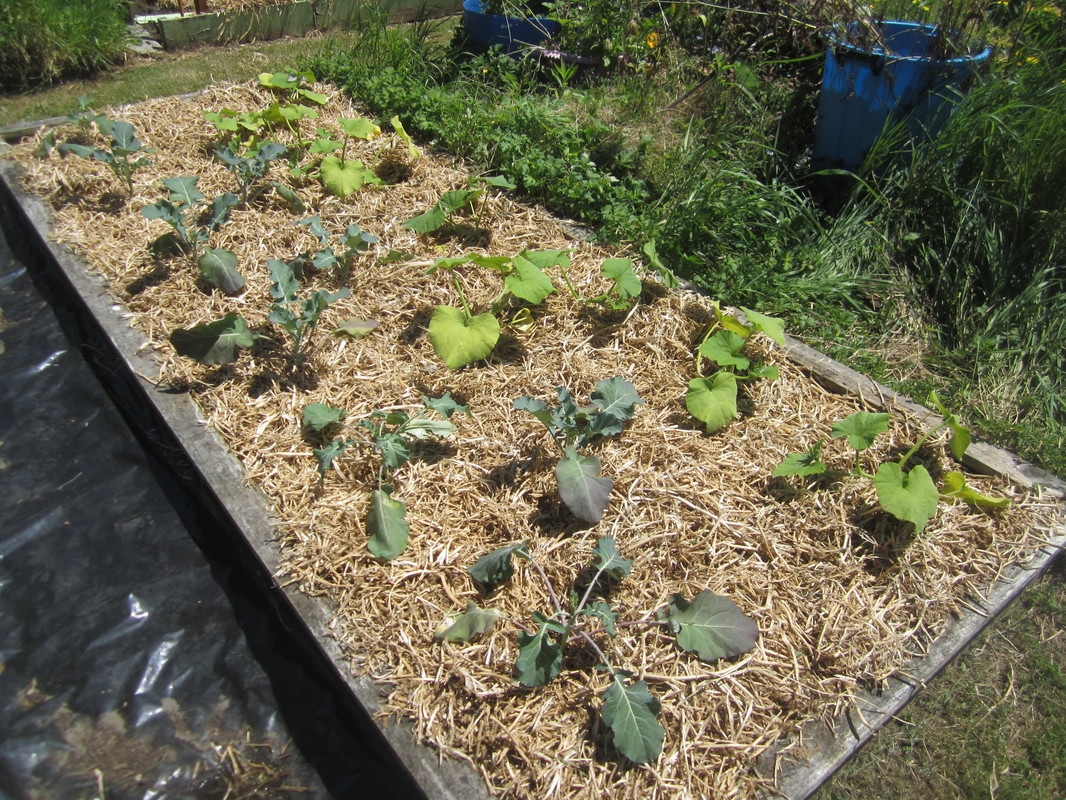
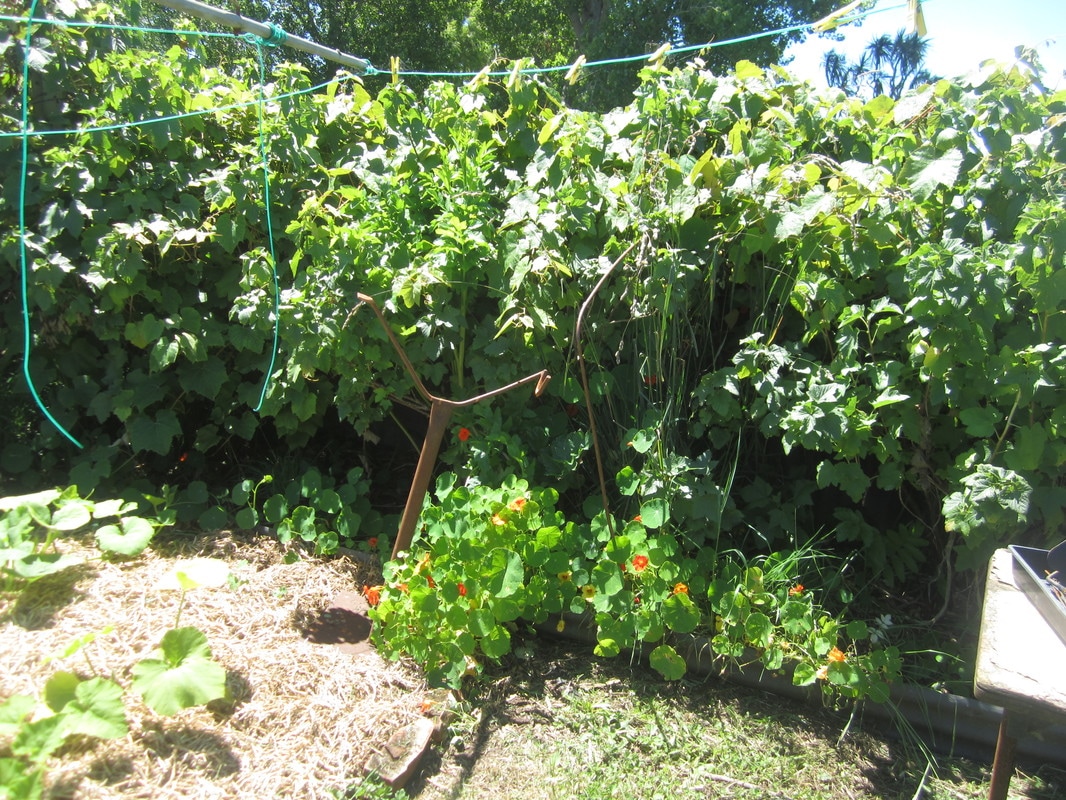
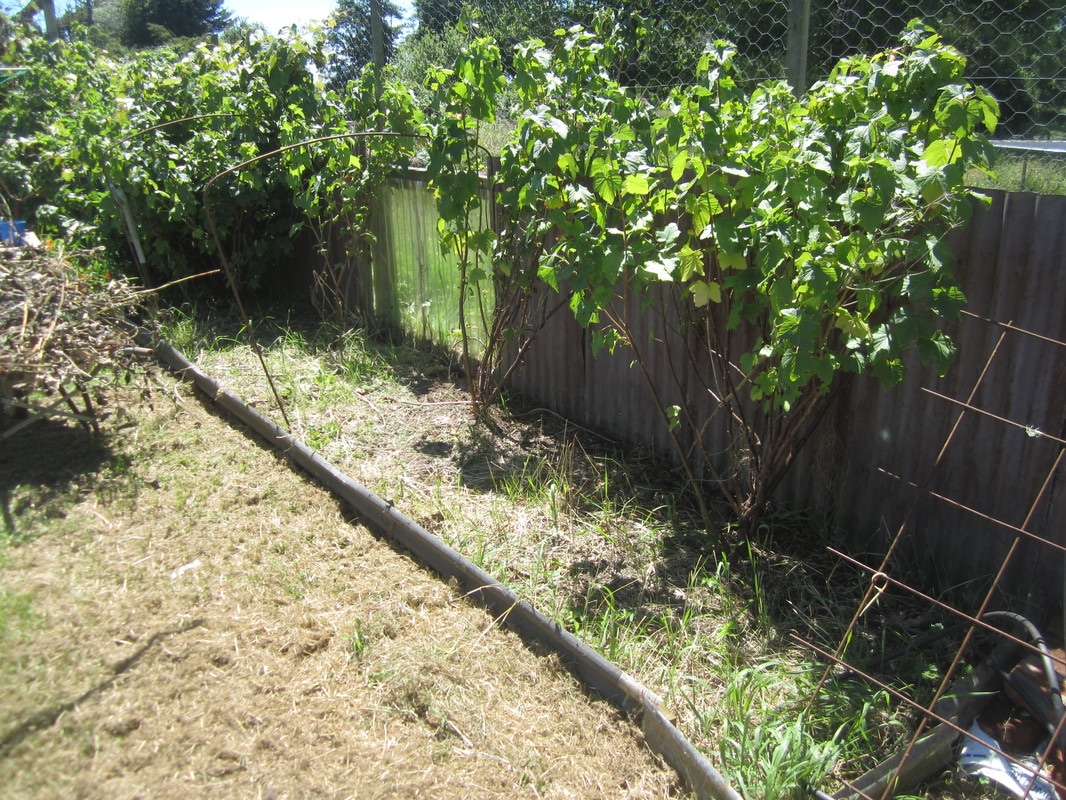
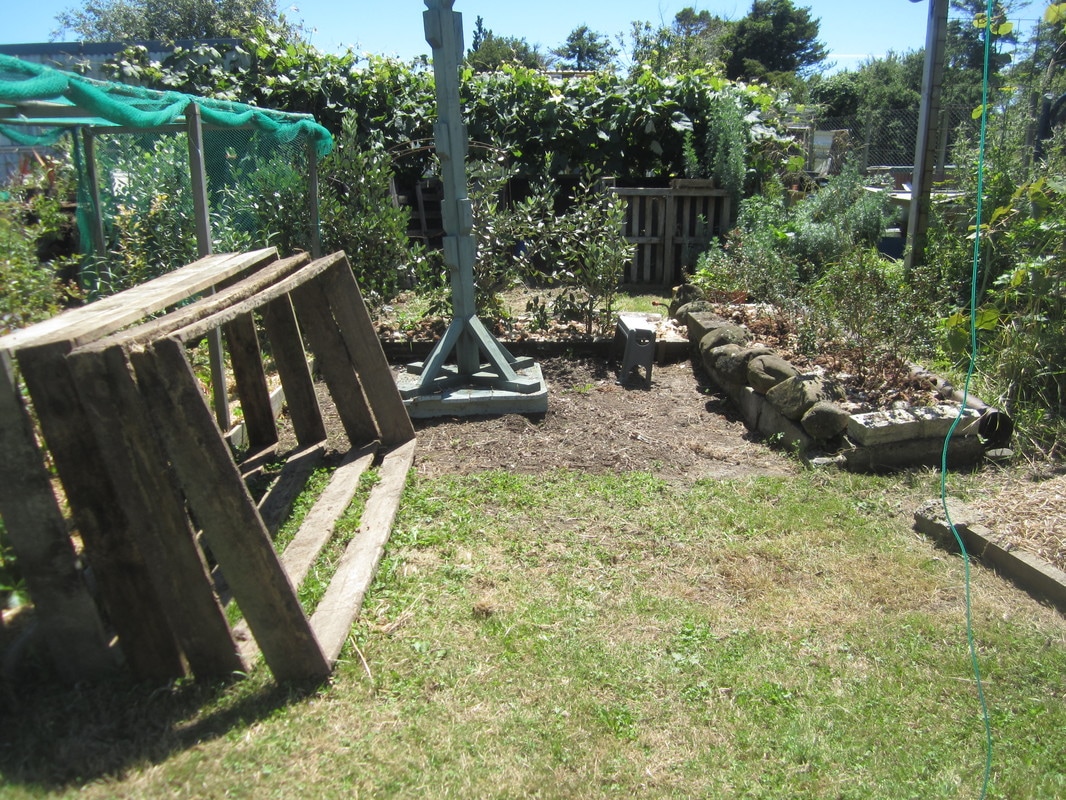
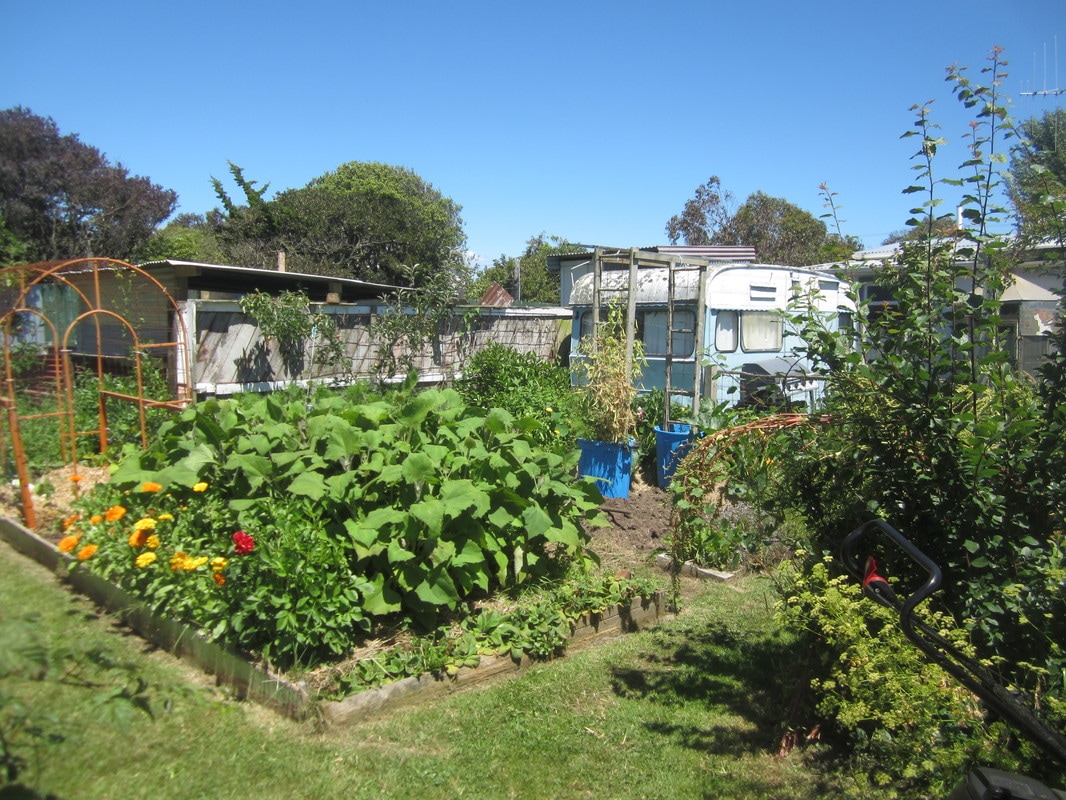
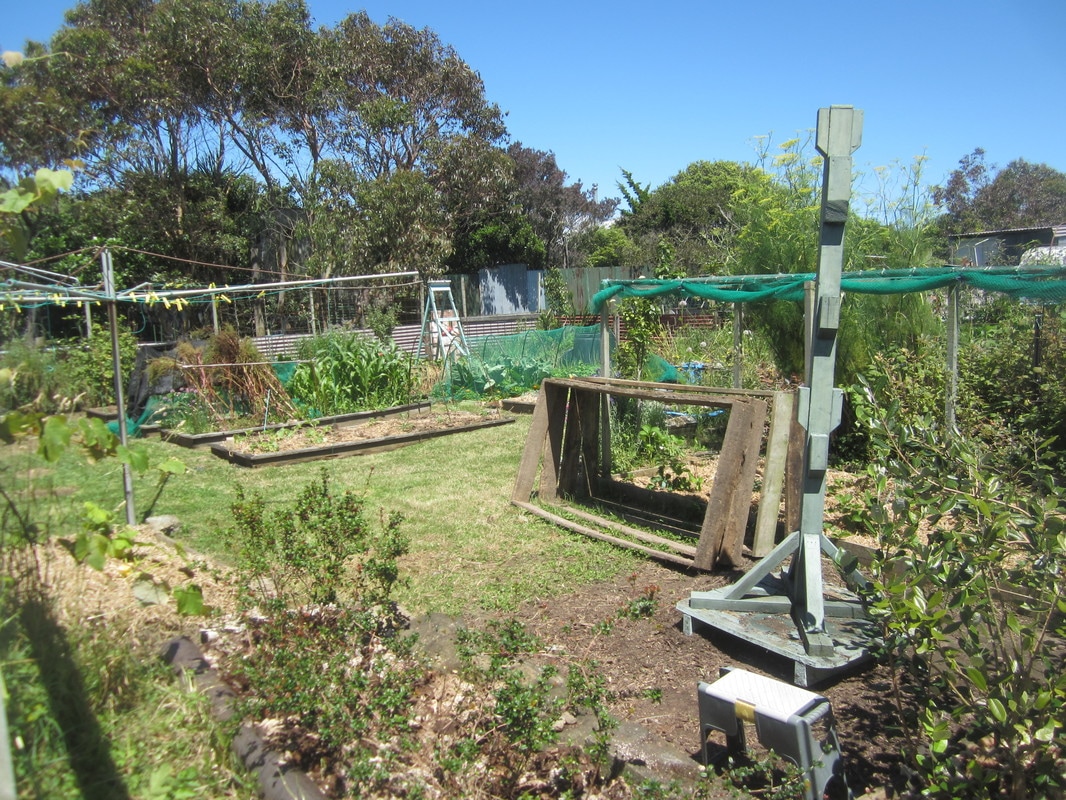
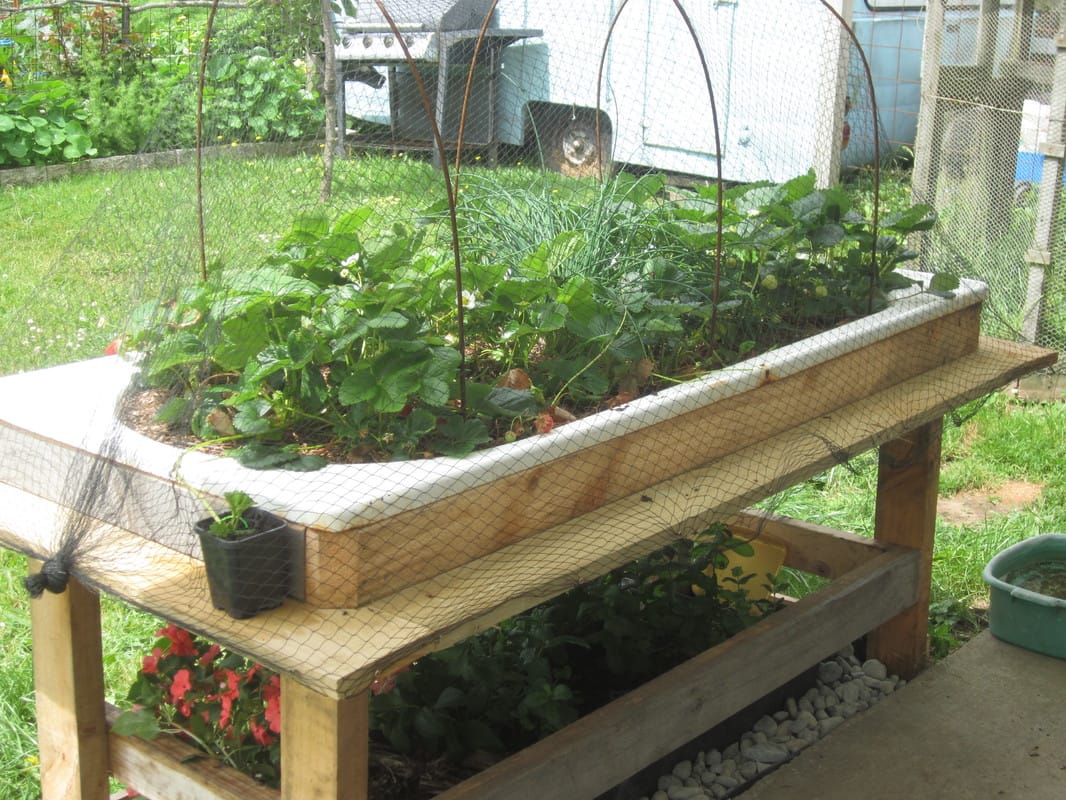
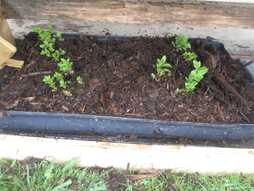
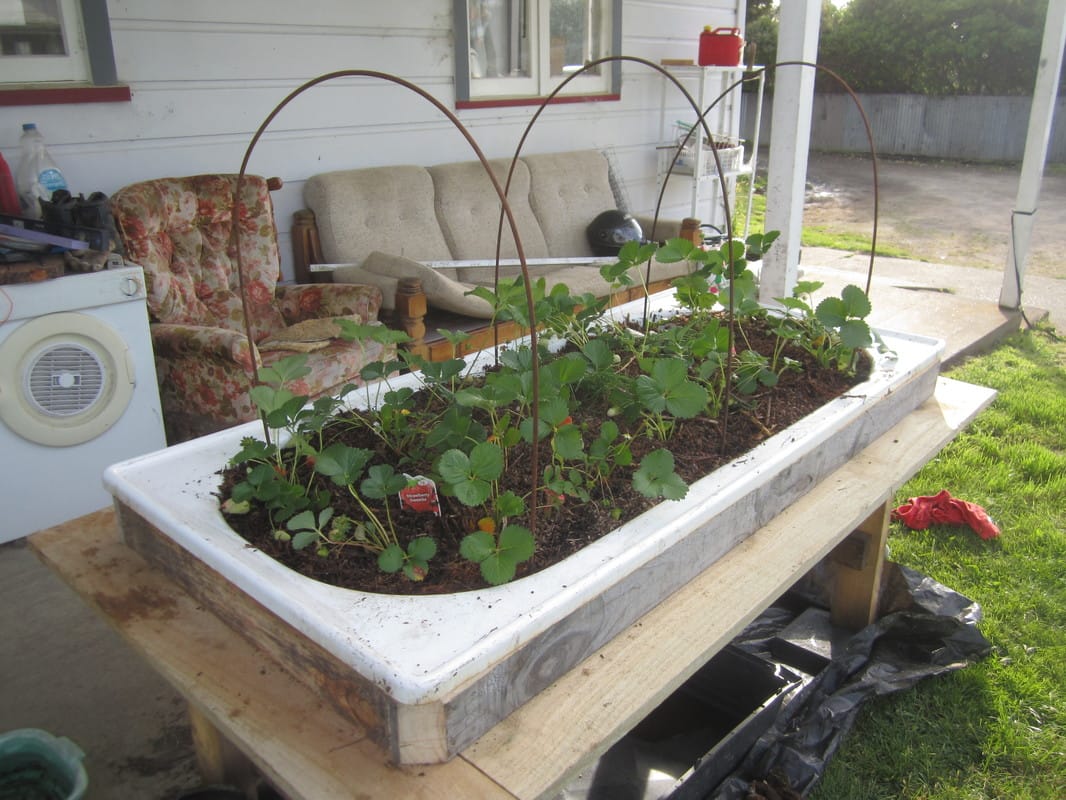
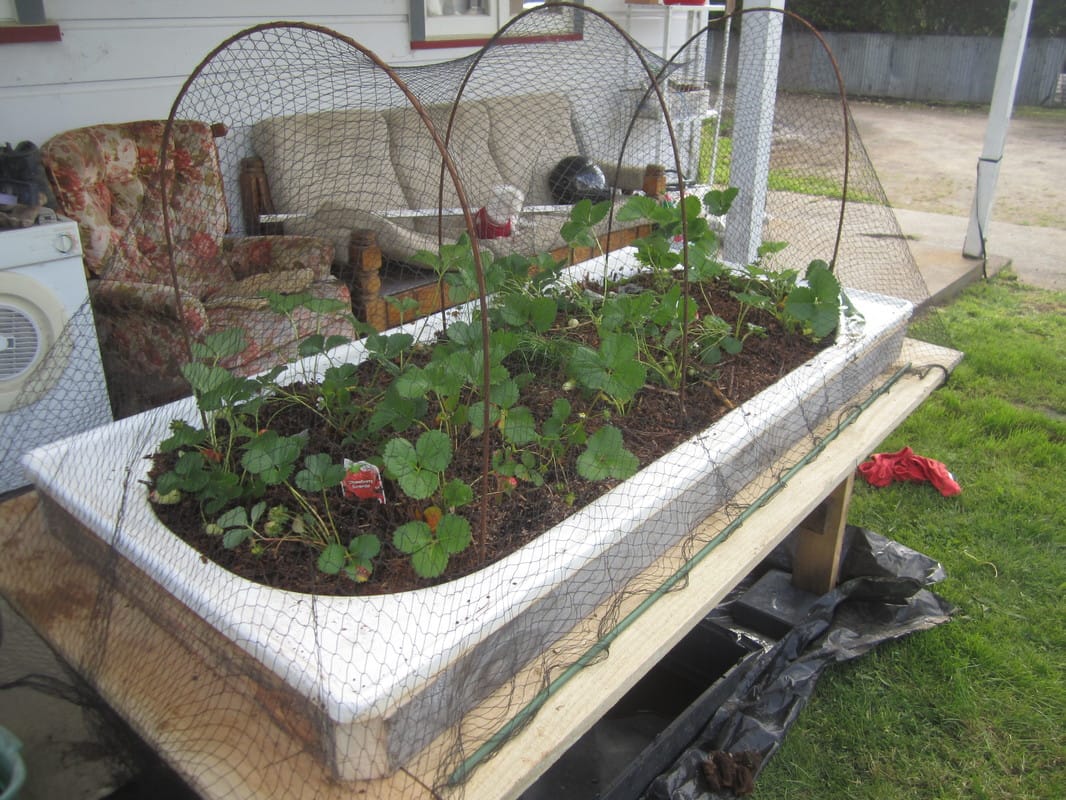
This season, I decided to plant lots of seedling swan plants at one end of my large blueberry/strawberry patch, which is already covered in a permanent framework and netting. I also planted one seedling outside of the netting, to serve as a "birthing room" - a place where the Monarchs could lay eggs, and then once hatched, I could move a suitable number of caterpillars into the "nursery" to feed, grow and mature. Once I had enough of them, I would chop down the other plant, preventing the laying of more eggs for caterpillars I could not feed.
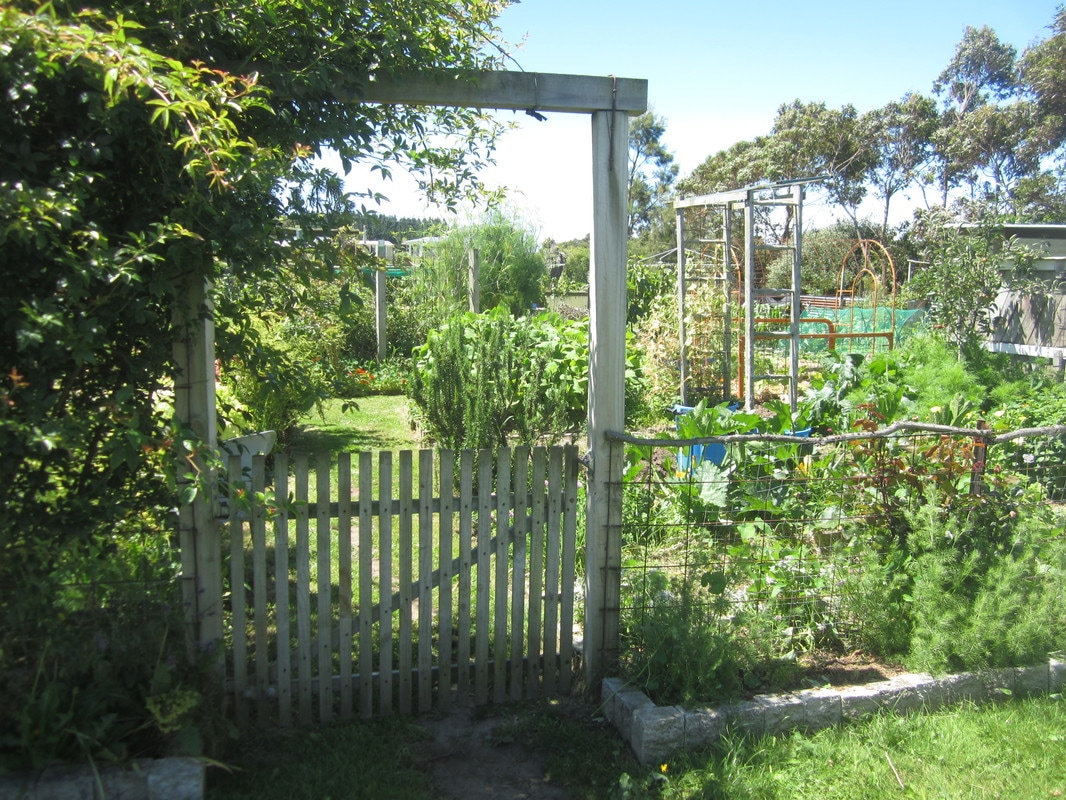
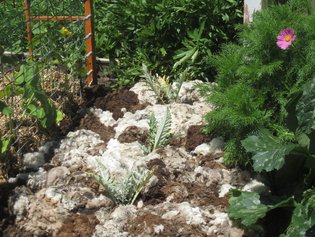
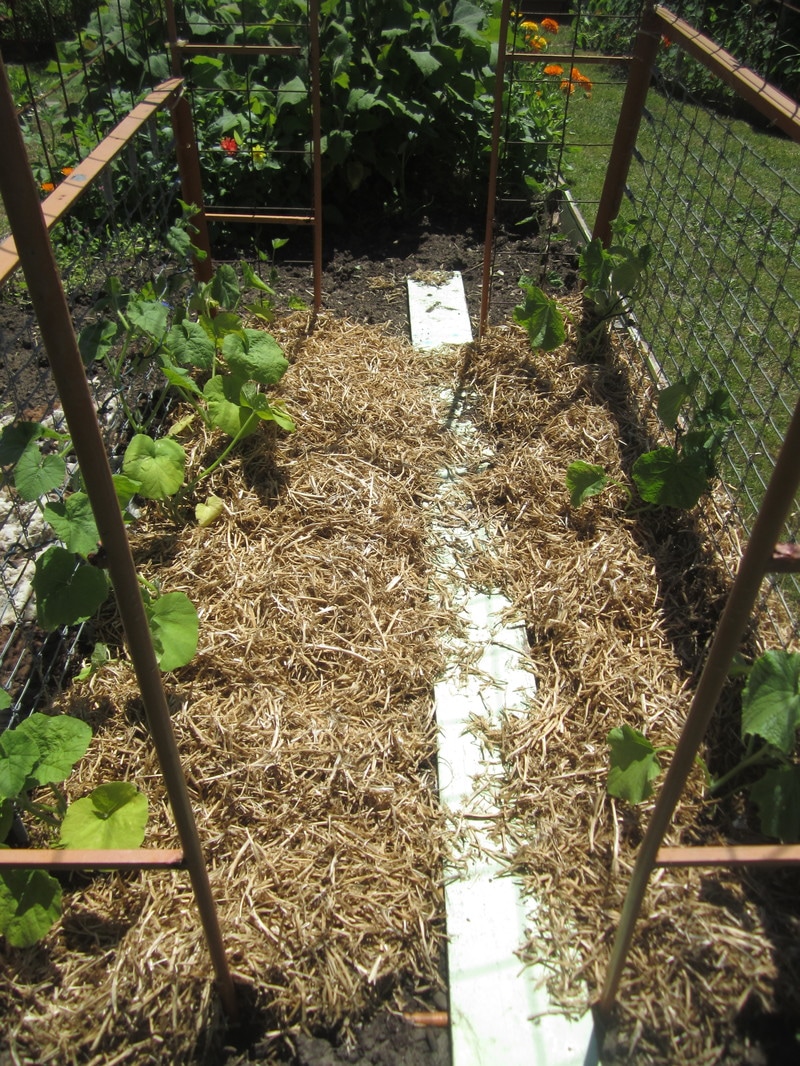
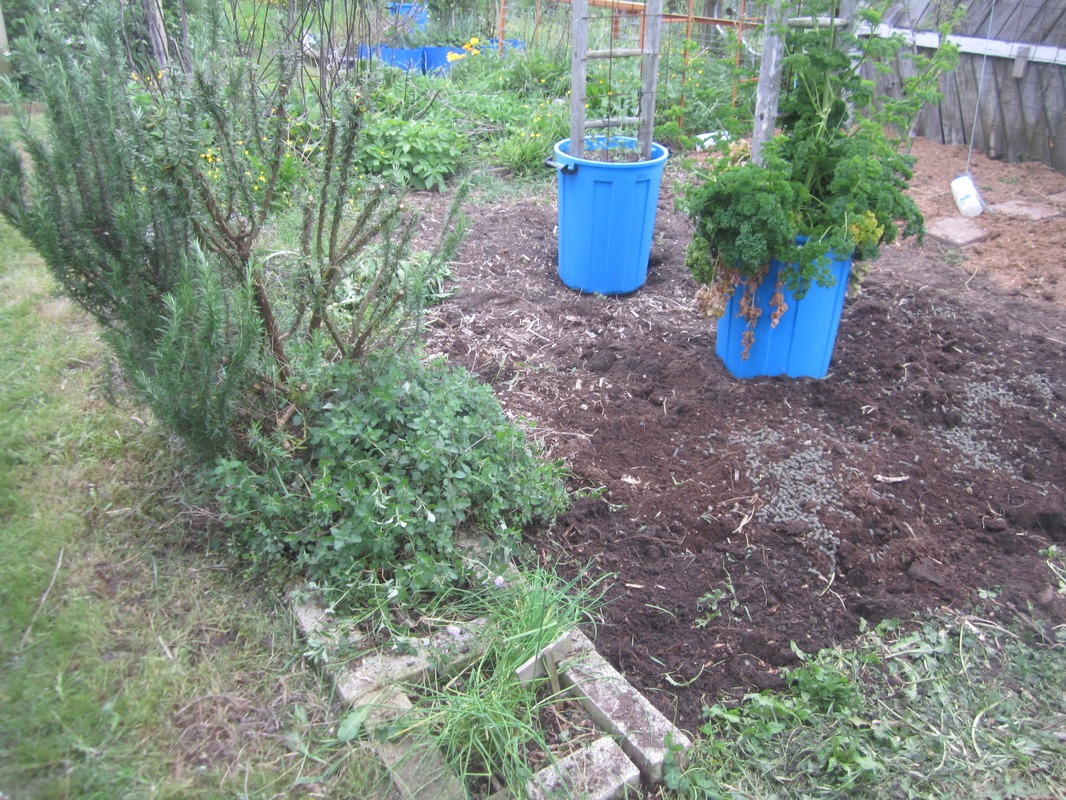
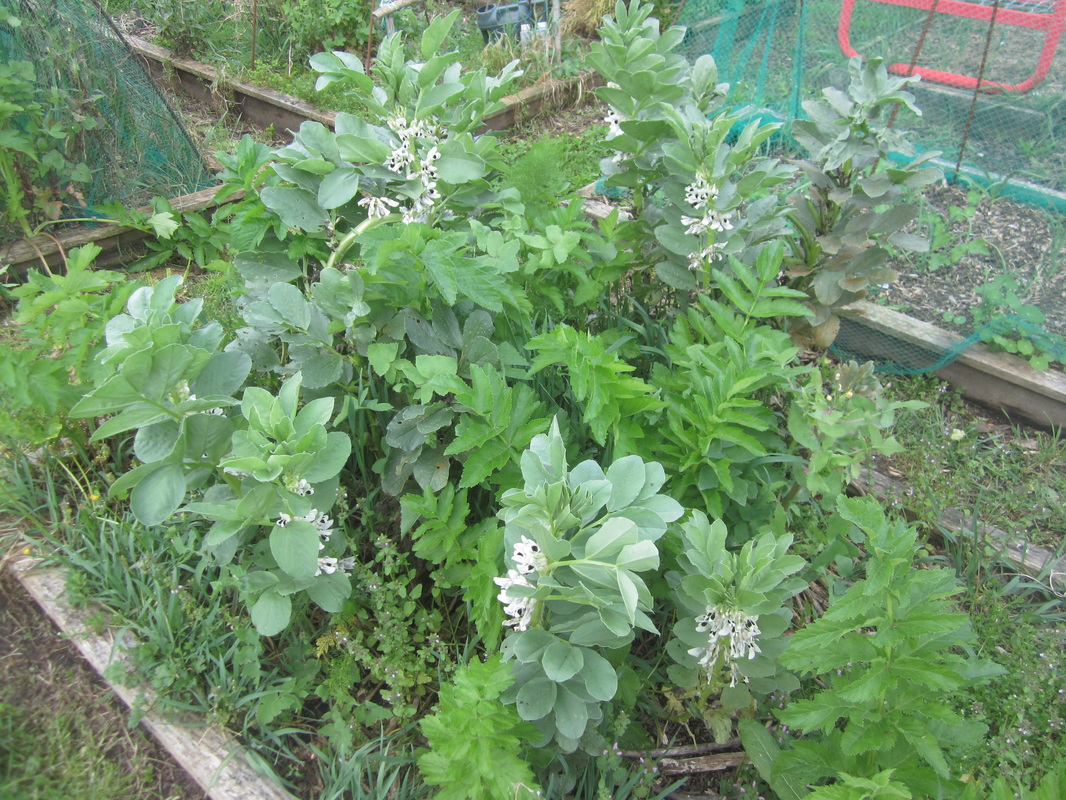
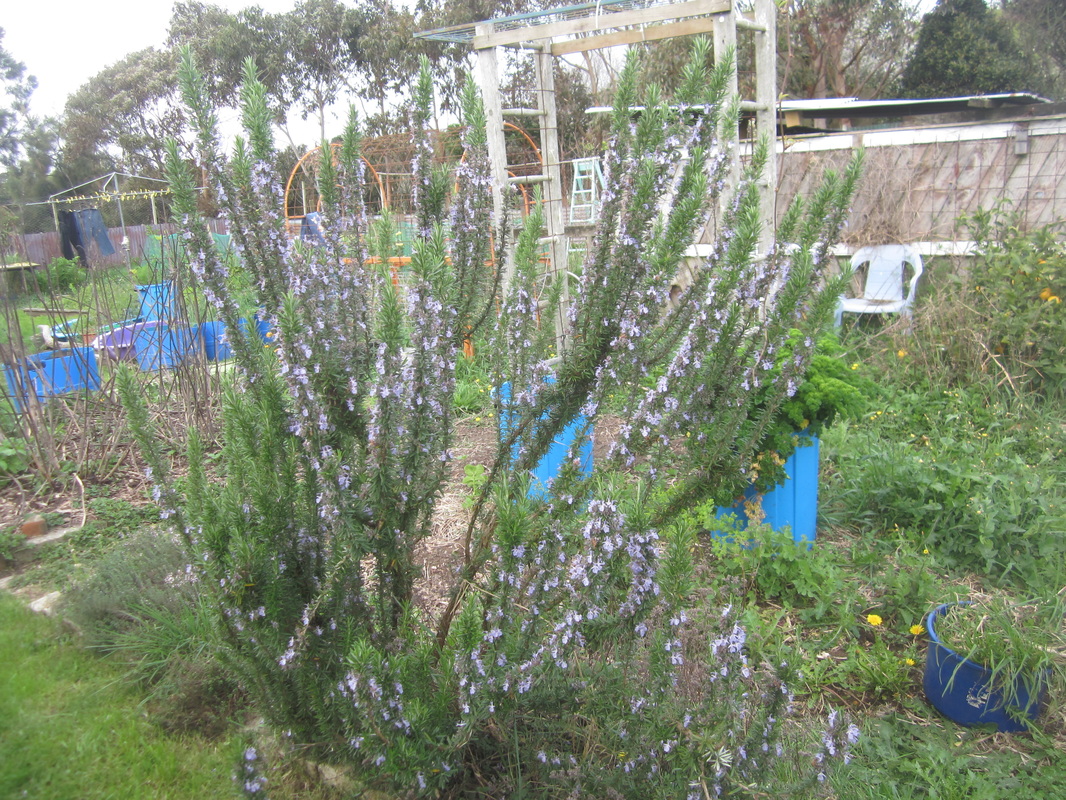
 The blueberry/strawberry patch, with side nets rolled up. I planted swan plants at the far end, where there was space. | 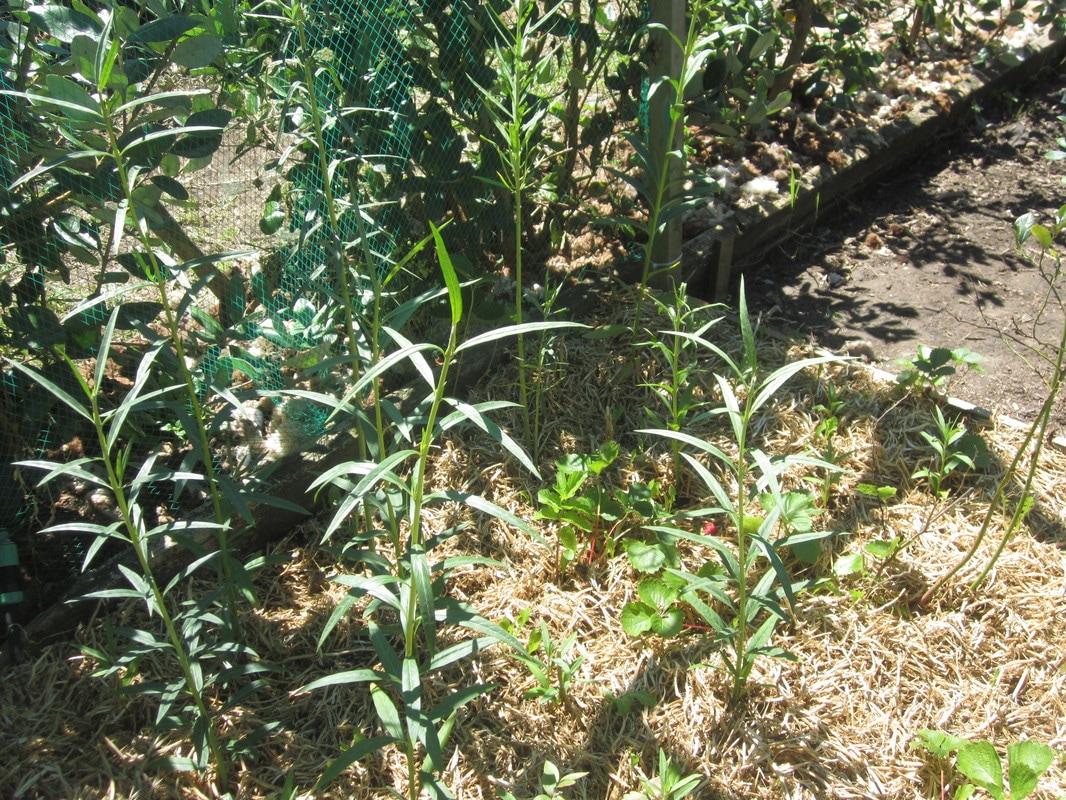 When I planted the seedlings, I had two lots - some which I had grown from seed late in the previous season, and overwintered in the greenhouse, and some I had started from seed in spring. I wanted both for two reasons - firstly so some plants would be bigger and grow faster, and secondly, and more importantly, because swan plants usually only produce seed in their second year (assuming the caterpillars haven't eaten them to the point where they cannot), and fresh seed produces the best results. Besides, why pay $3.50 for a packet of 20 seeds (or $3-$5 per seedling) when I can grow hundreds for free? |
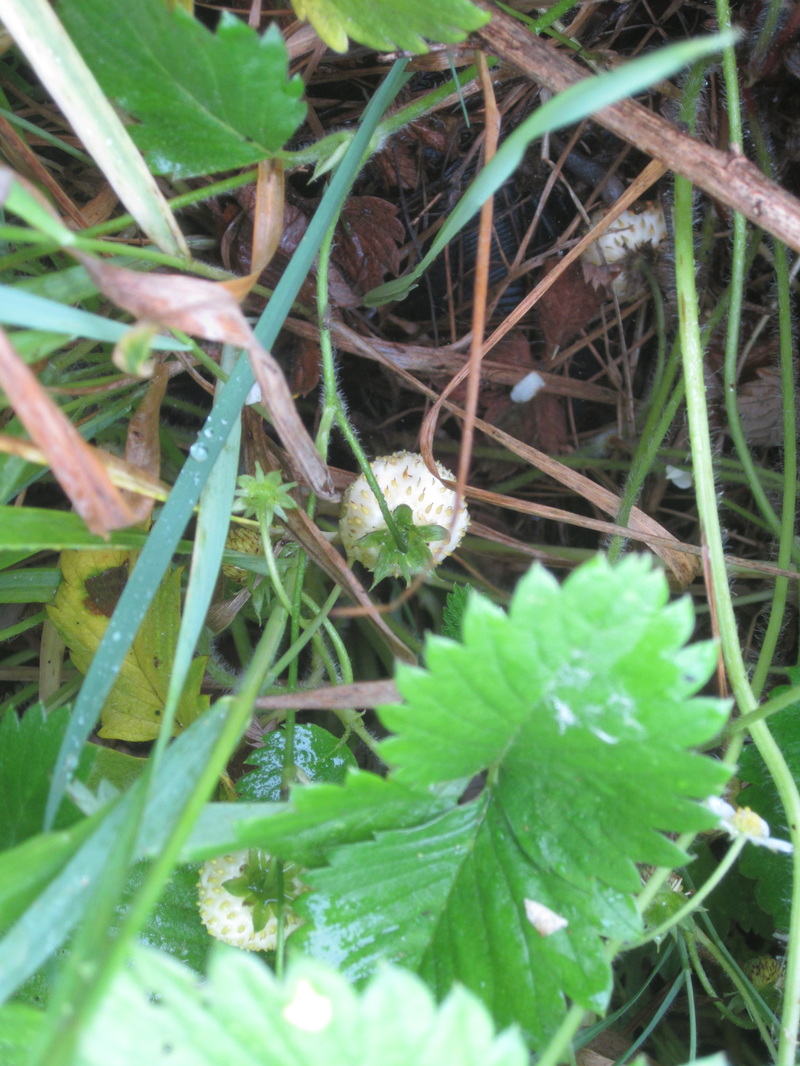
| I kept the seedling that was to be the one for the Monarchs to lay eggs on in the greenhouse until the ones in the garden (protected by the nets) had a chance to establish themselves and start to gain some size. I then planted it out, and waited for the butterflies. But some things happened, which made me think for a while maybe I was going to end up with lots of plants and no butterflies! That's because: 1) It was a long, cold, wet spring, and so the butterflies were slower to arrive than usual. 2) Finally butterflies came, eggs were laid, and caterpillars hatched. BUT they started to disappear.... |  |
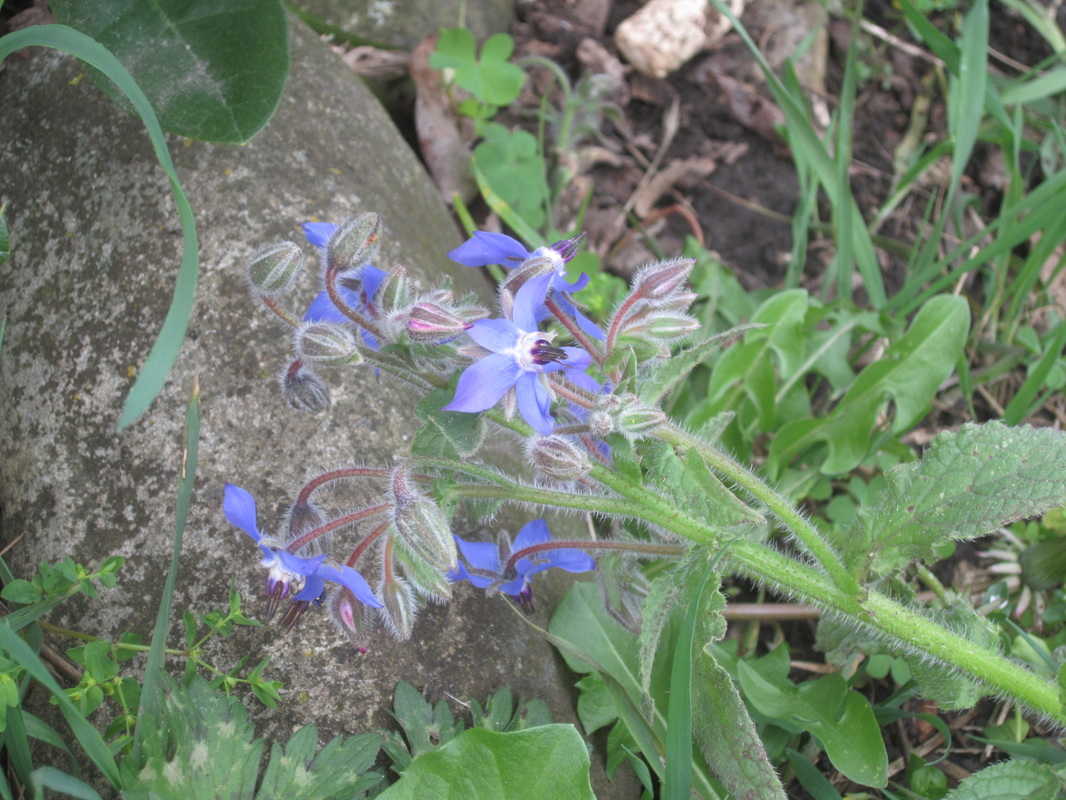
Over the last few seasons I have deliberately been planting with beneficial insects in mind - I don't use sprays or chemicals, and I want to attract those creatures that help do my work for me, dealing with pest insects on my behalf. And that has worked really well! My garden is teeming with creatures, many of whom keep pests such as the white butterfly and diamondback moth larvae from decimating my brassicas, control the green loopers that would otherwise devour my tomatoes, beans, basil etc, or who eat aphids and other pests.
*Unfortunately*, some of those beneficial insects are not choosy and will also "control" Monarch caterpillars - apparently no-one gave them the memo on not touching bugs the gardener likes! Though really, it's not so unfortunate - all living things in the environment are part of a natural ecosystem, and without natural predators etc, things get out of balance. Just as we have to have some "pests" available as food to encourage the predators that control problems for us, also "good" bugs need to be controlled so that their numbers don't overwhelm the available food supply.
*Unfortunately*, some of those beneficial insects are not choosy and will also "control" Monarch caterpillars - apparently no-one gave them the memo on not touching bugs the gardener likes! Though really, it's not so unfortunate - all living things in the environment are part of a natural ecosystem, and without natural predators etc, things get out of balance. Just as we have to have some "pests" available as food to encourage the predators that control problems for us, also "good" bugs need to be controlled so that their numbers don't overwhelm the available food supply.
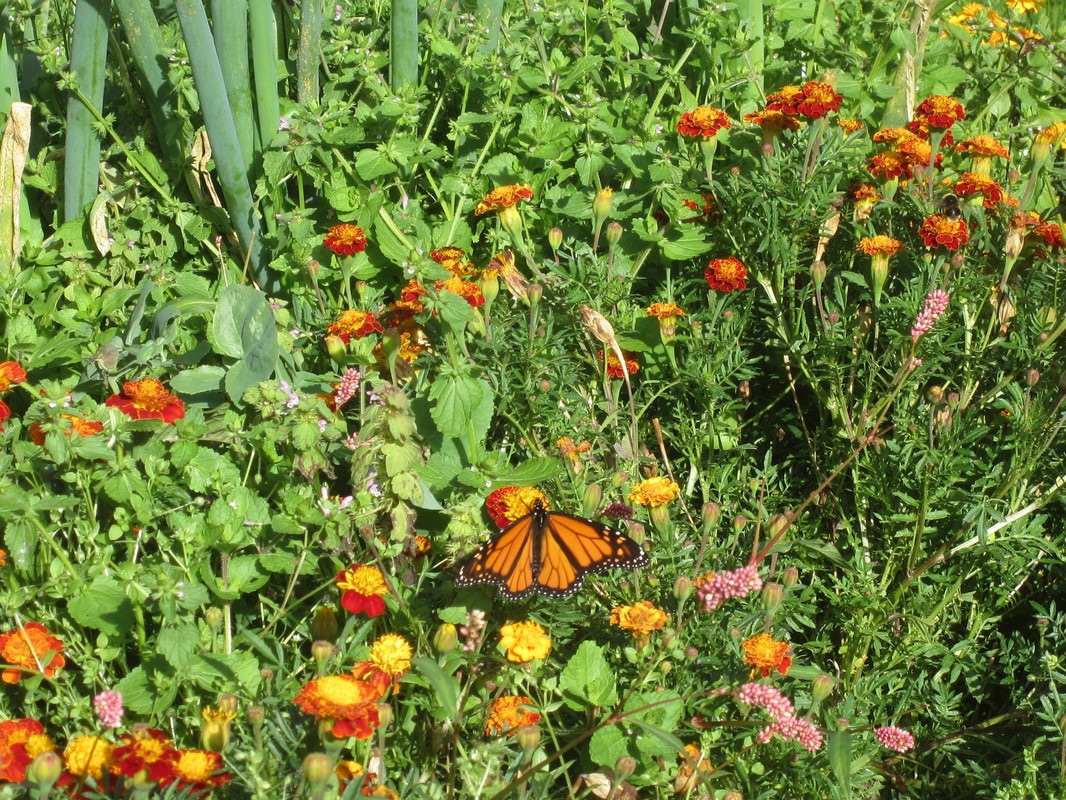
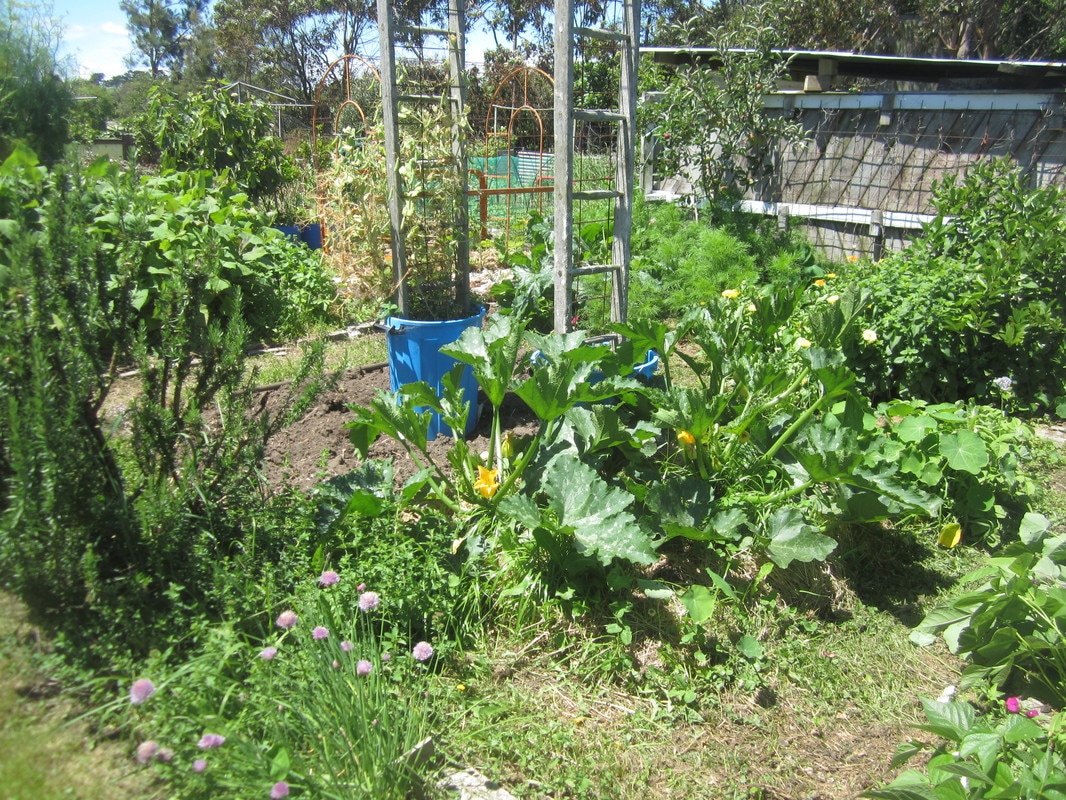
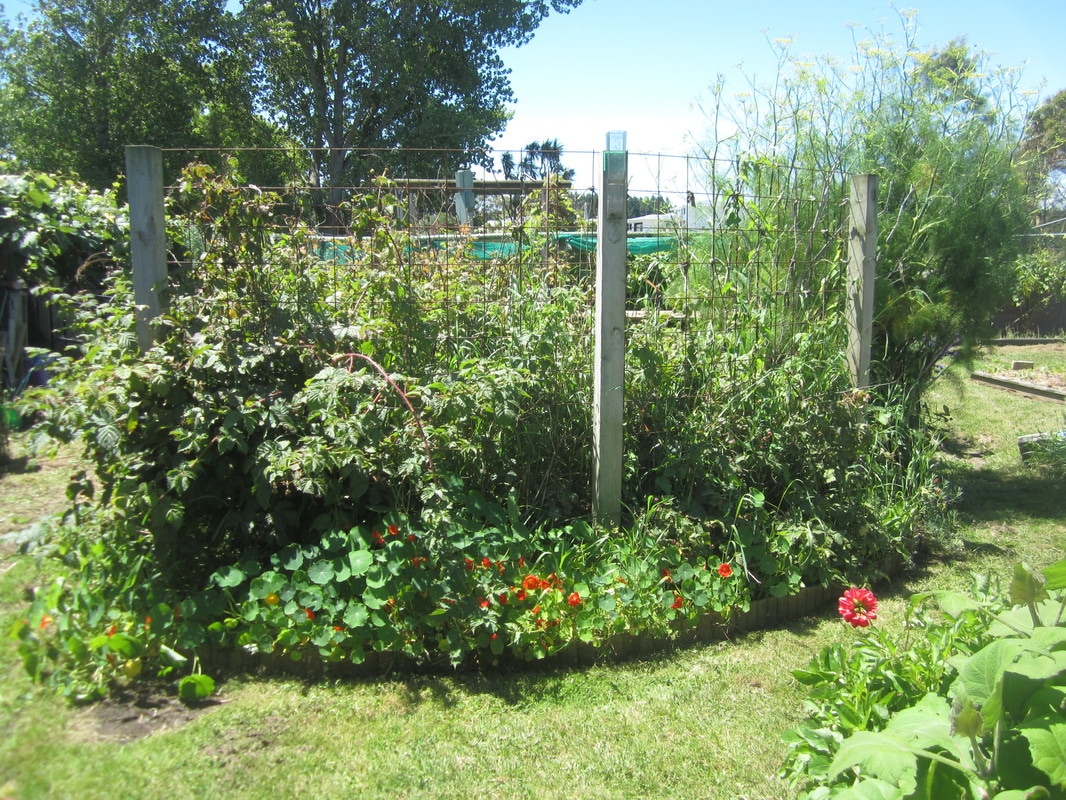
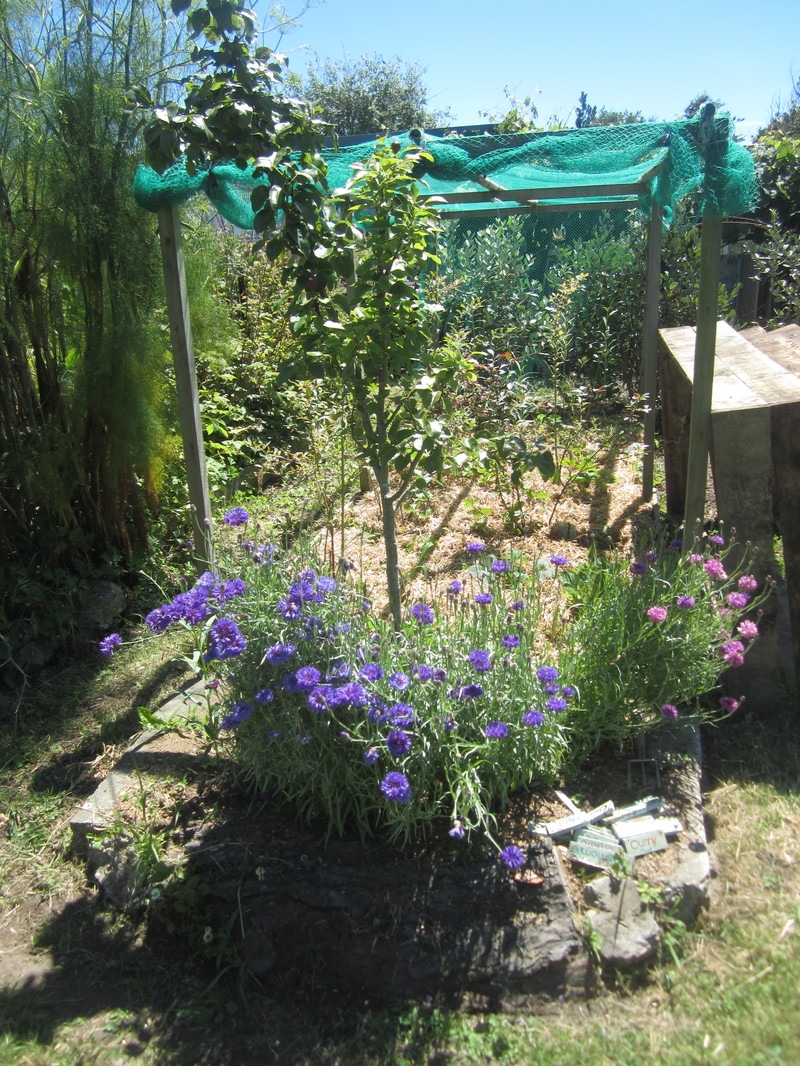
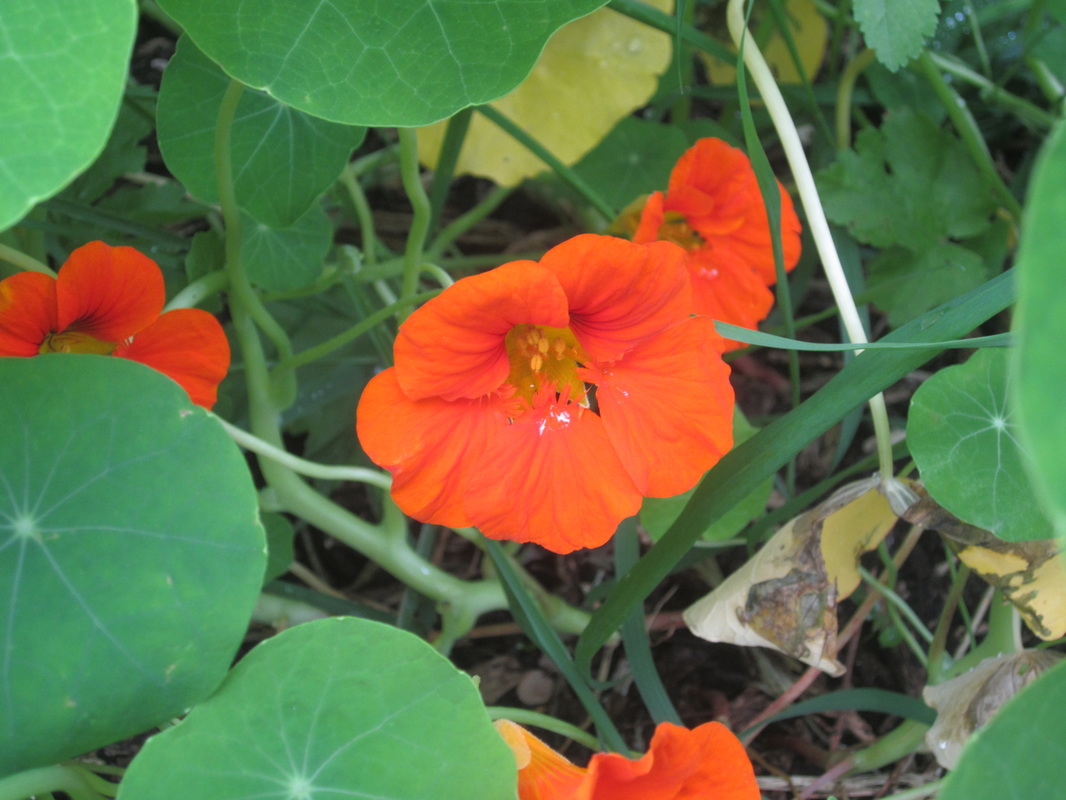
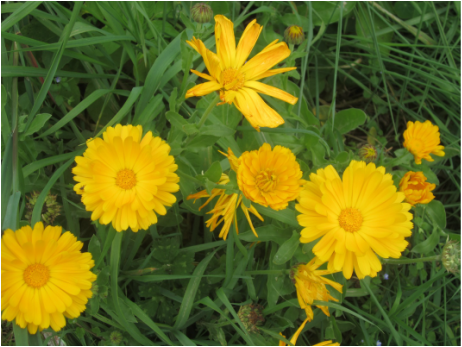
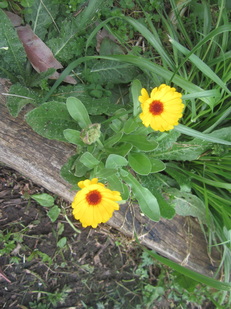
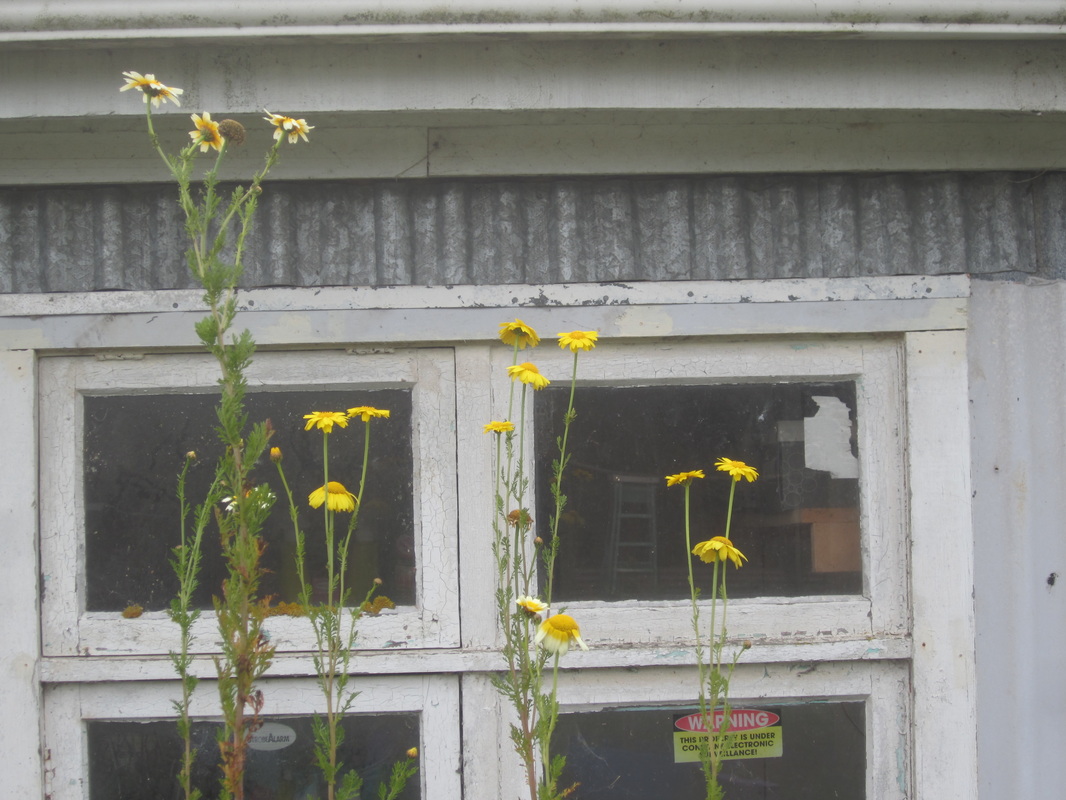
| So, up until about March, praying mantises and parasitic wasps were keeping the numbers of Monarch caterpillars to a minimum - in that time, I only know of one caterpillar that reached maturity, but I never saw it turn into a butterfly, as it crawled off and pupated somewhere hidden I could not discover. Perhaps it never hatched either. Other predators which can kill Monarch caterpillars (or eggs) include some species of shield beetle, German and Paper wasps, ants, spiders and harvestmen etc. Early in spring I hunted down and destroyed every paper wasp nest I found developing, so very few were seen over summer in my garden, and German wasps were few and far between also this year. Fortunately, by the time March rolled in and the predators "let" the number of caterpillars increase, the plants were well grown and I was able to raise a much higher number of caterpillars than I would have been able to earlier in the season. So, this year, it turns out I probably could have grown the plants without nets at all, since my garden ecosystem now seems to be balancing itself! The downside of the butterflies being so late in the season is that most of the flowers I had in the garden which would have fed them were finished....I didn't plant a lot of later flowering ones as I'm intending to completely overhaul my garden over the next few months. But, the bed full of marigolds has proved a favourite for them, and every day is visited by the young butterflies. There are other flowers around for them too, just not so much in my main garden. | 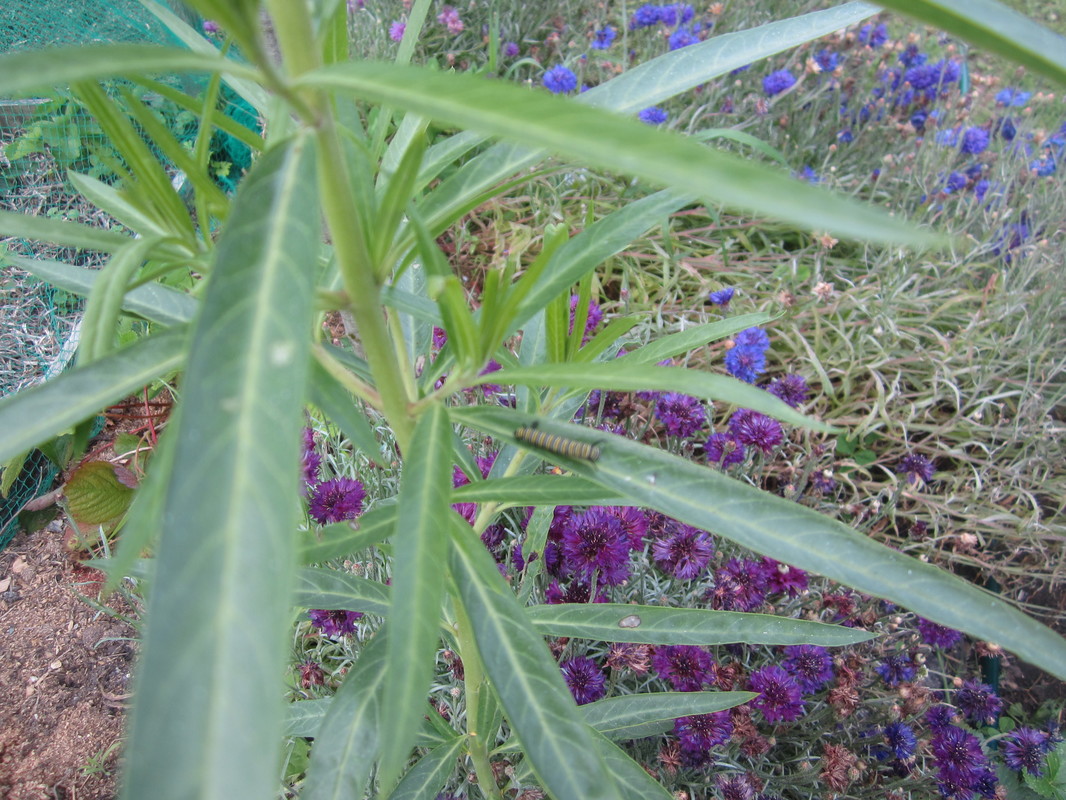 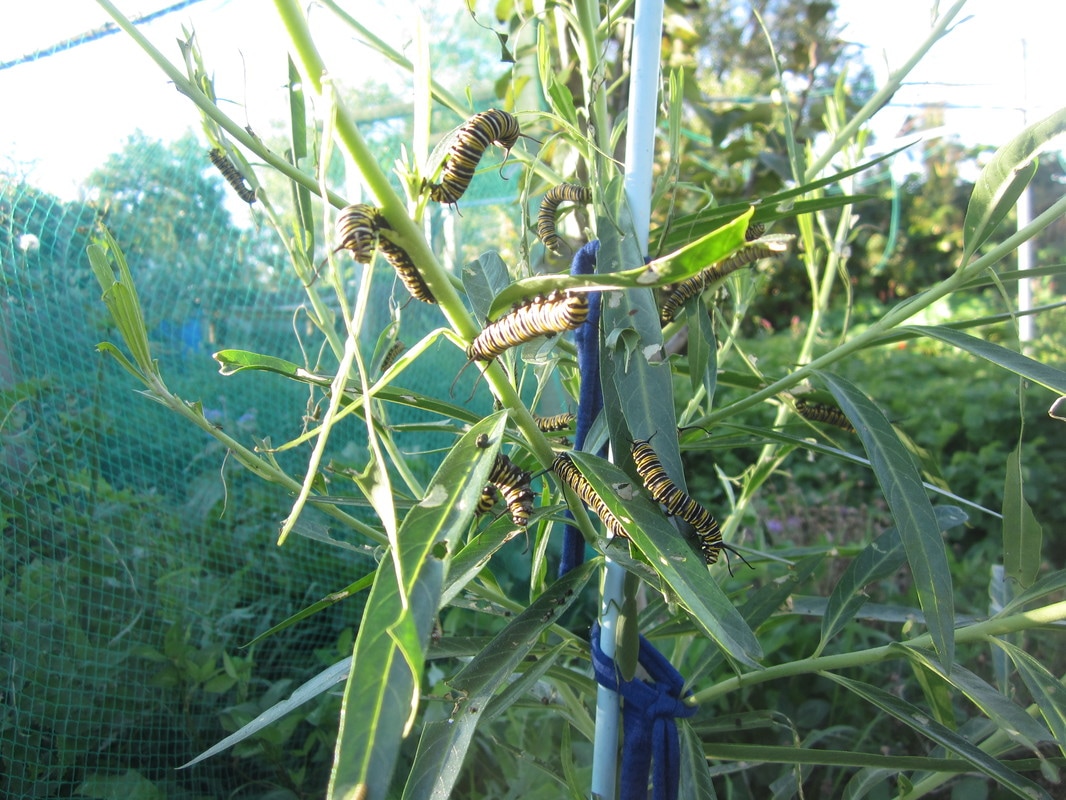 |
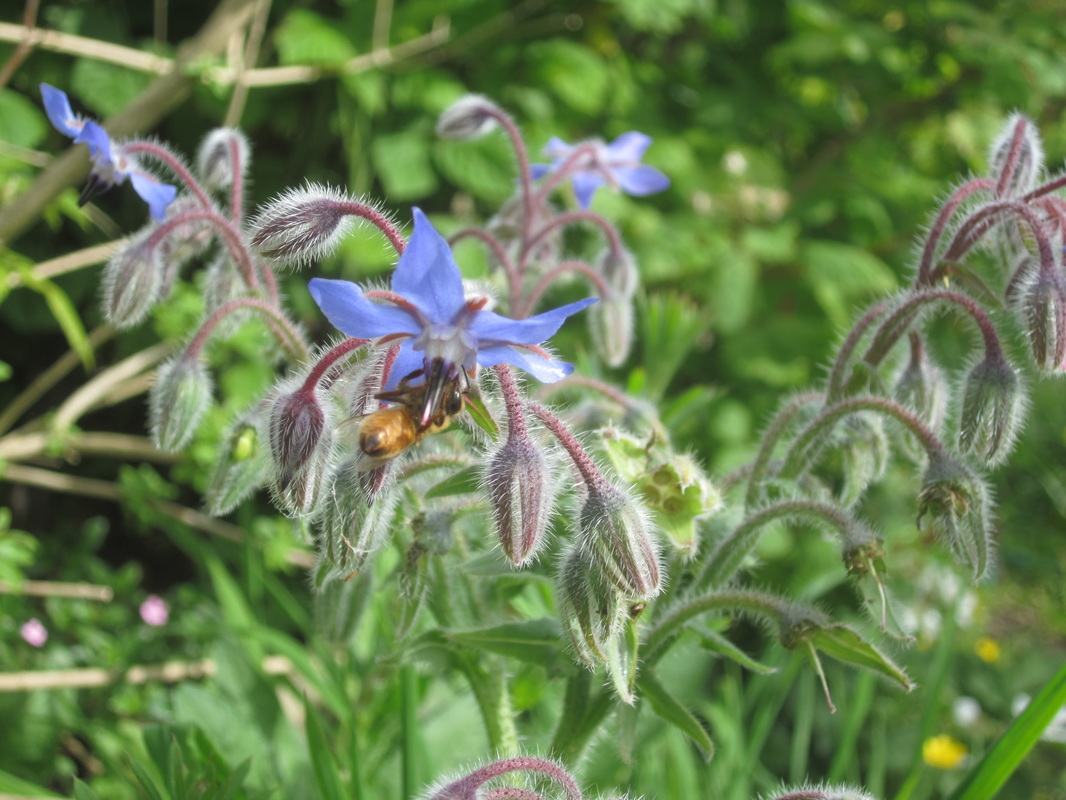
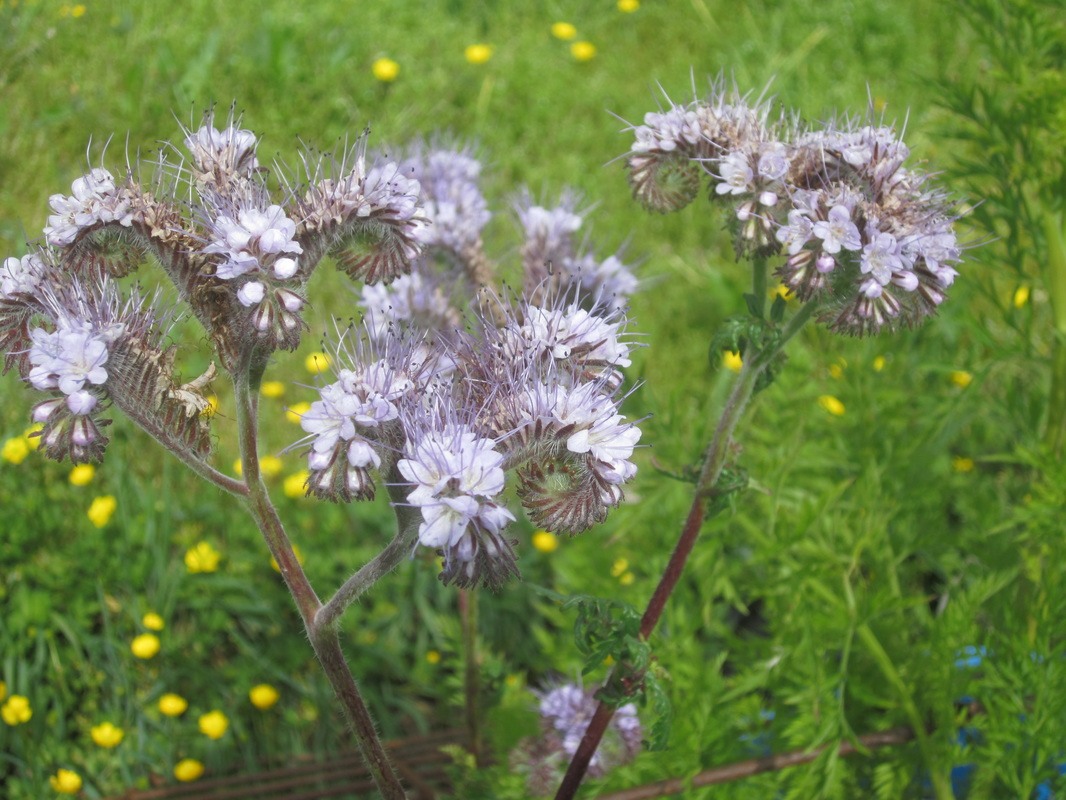
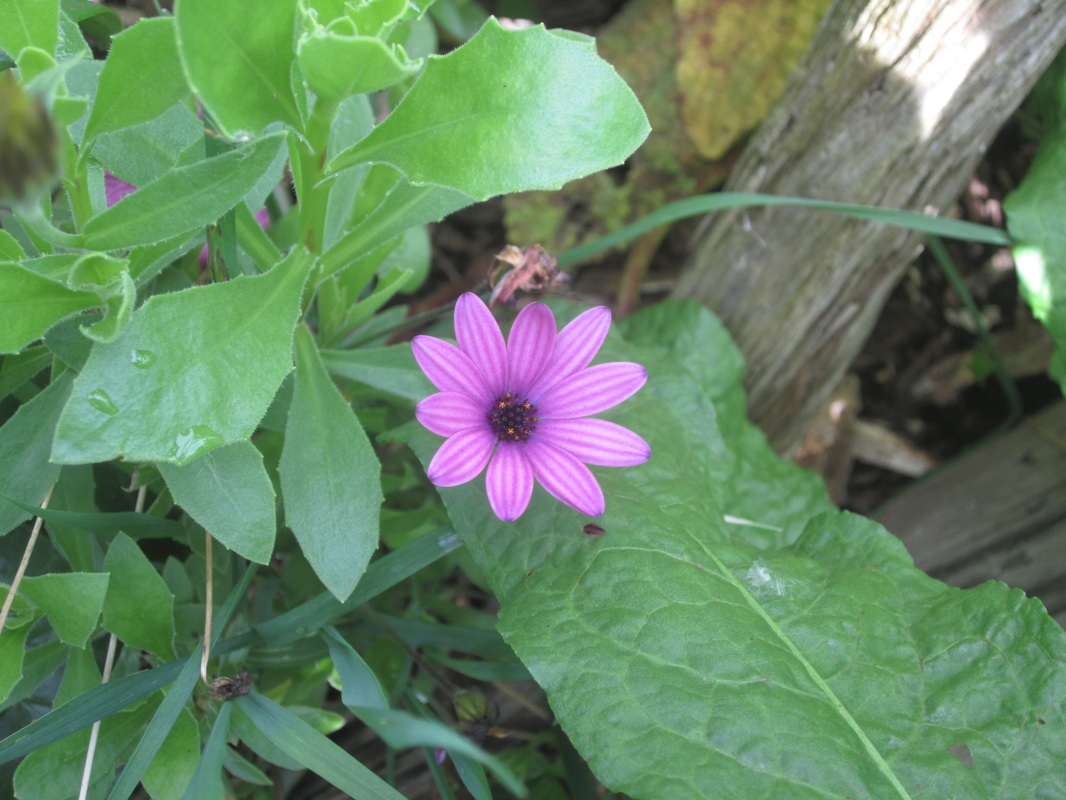
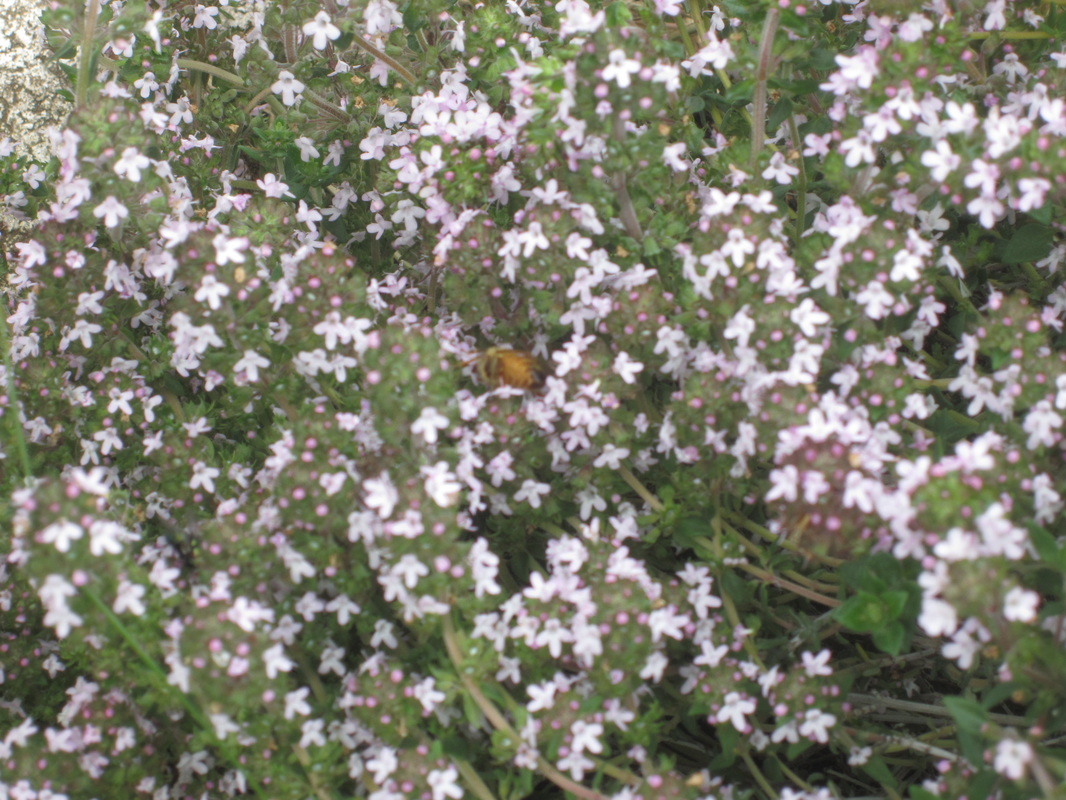
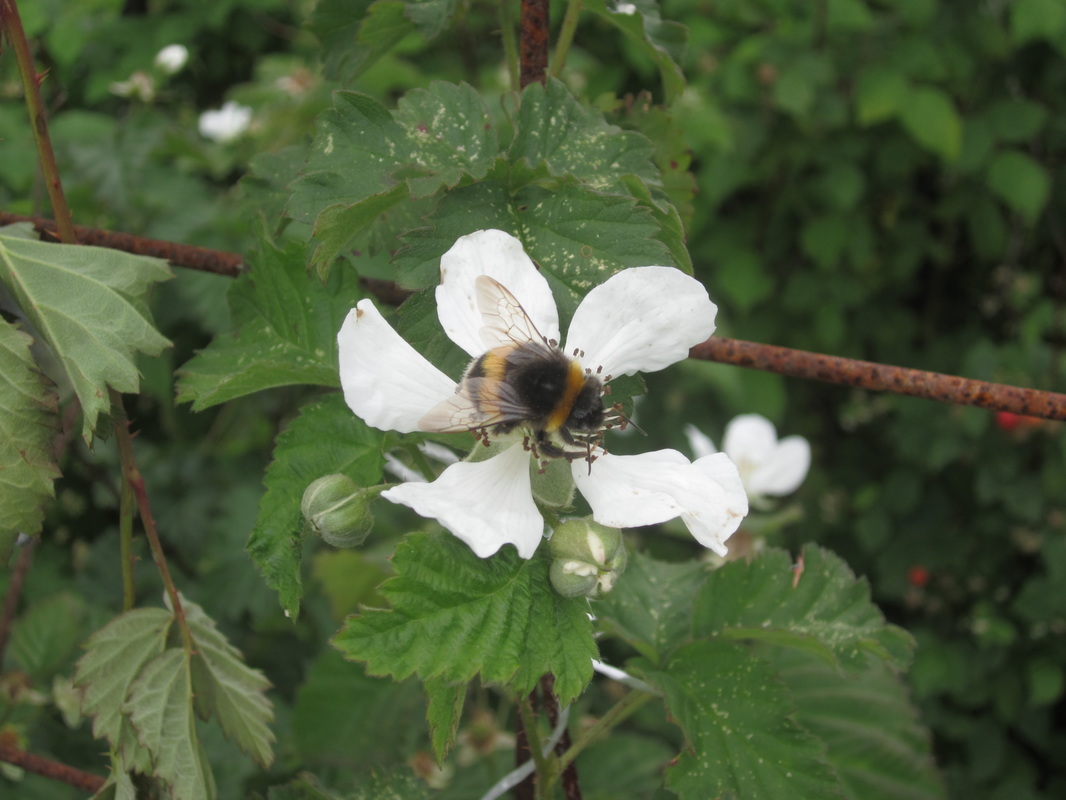
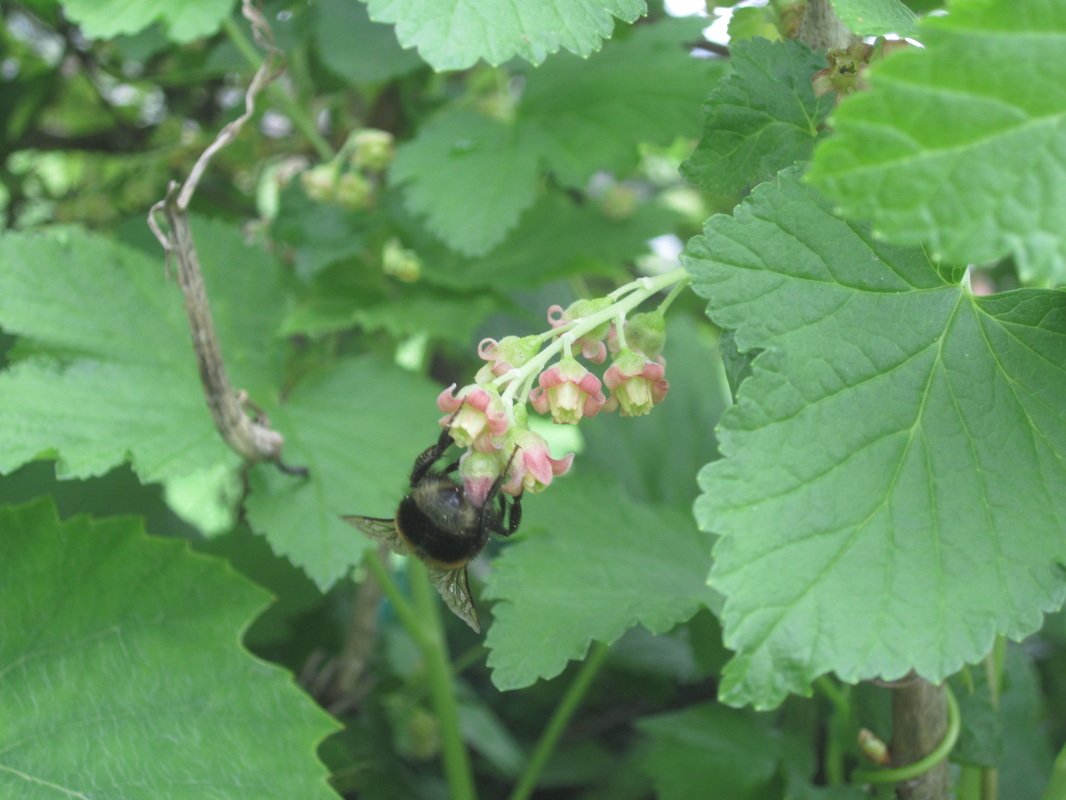
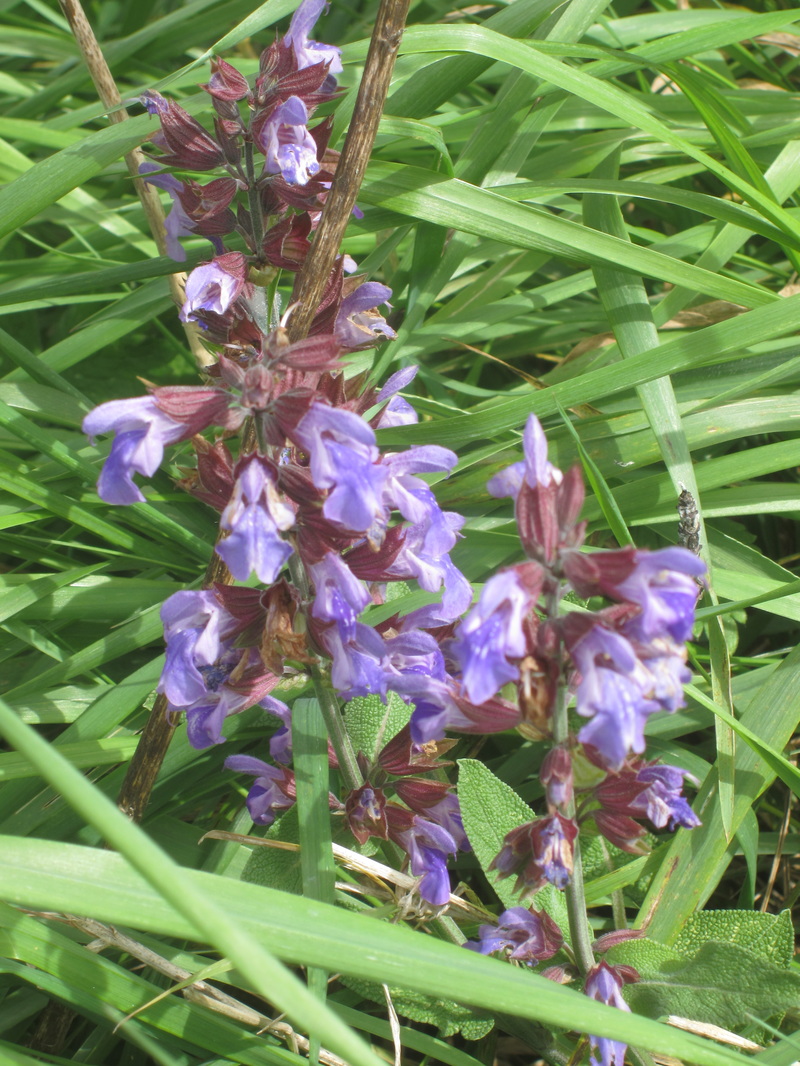
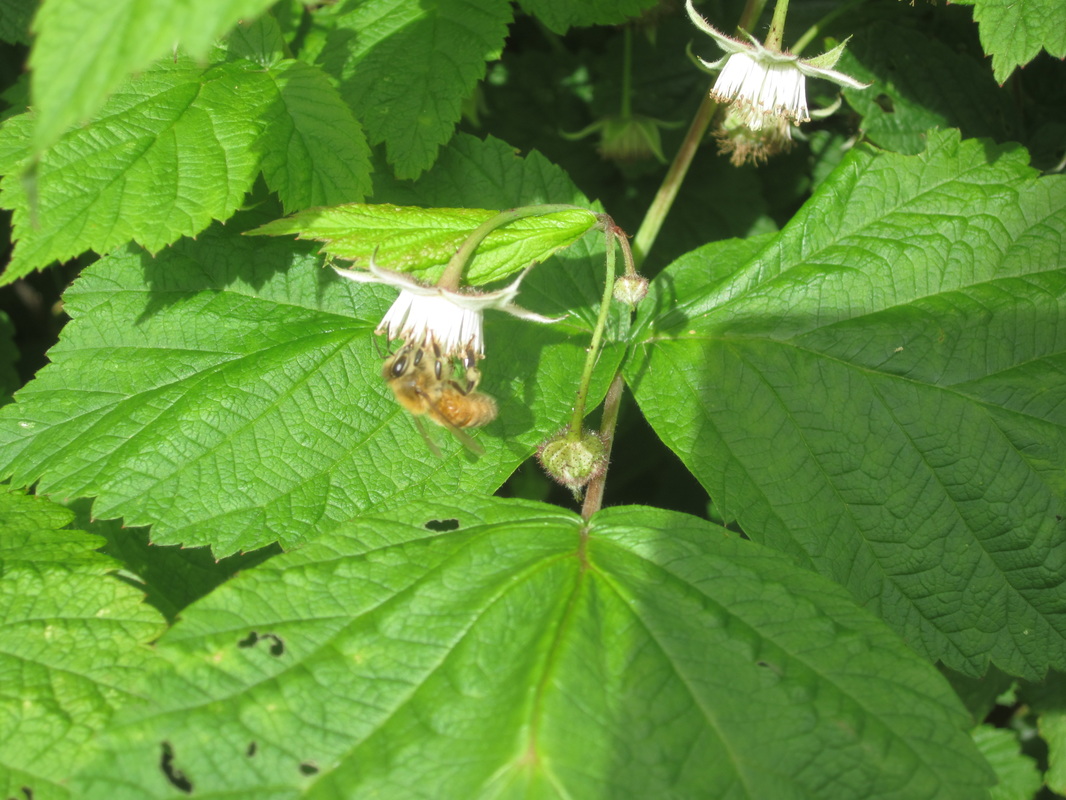
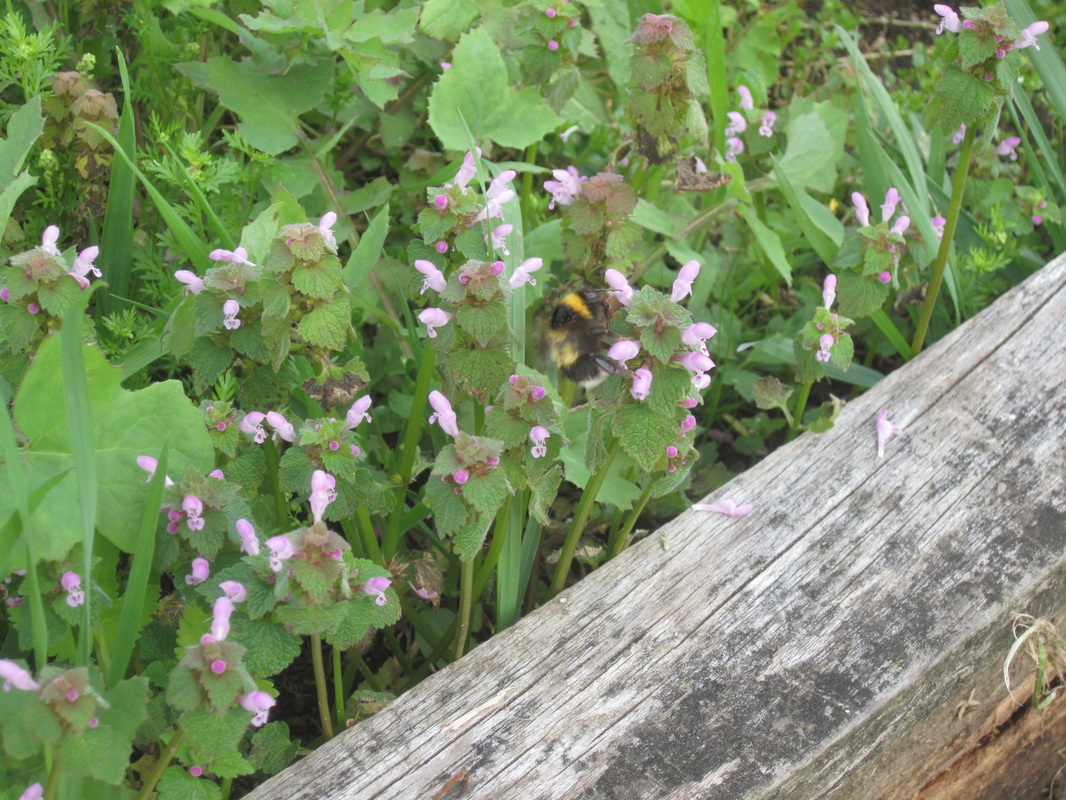
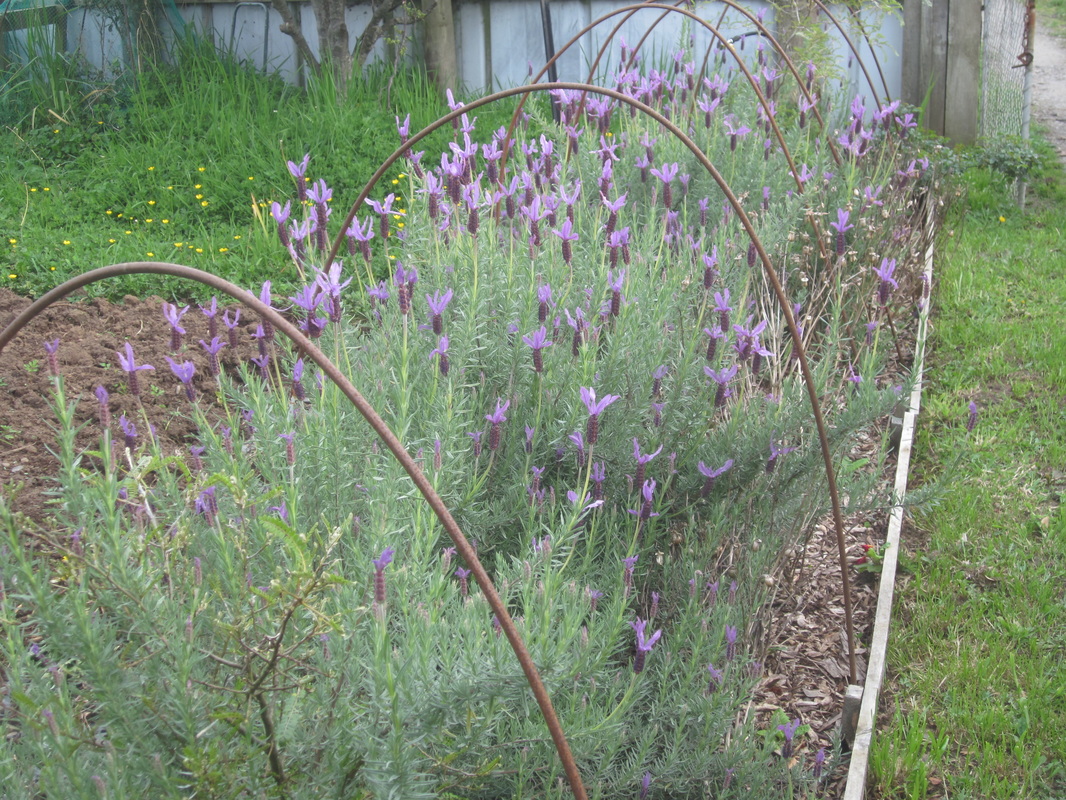
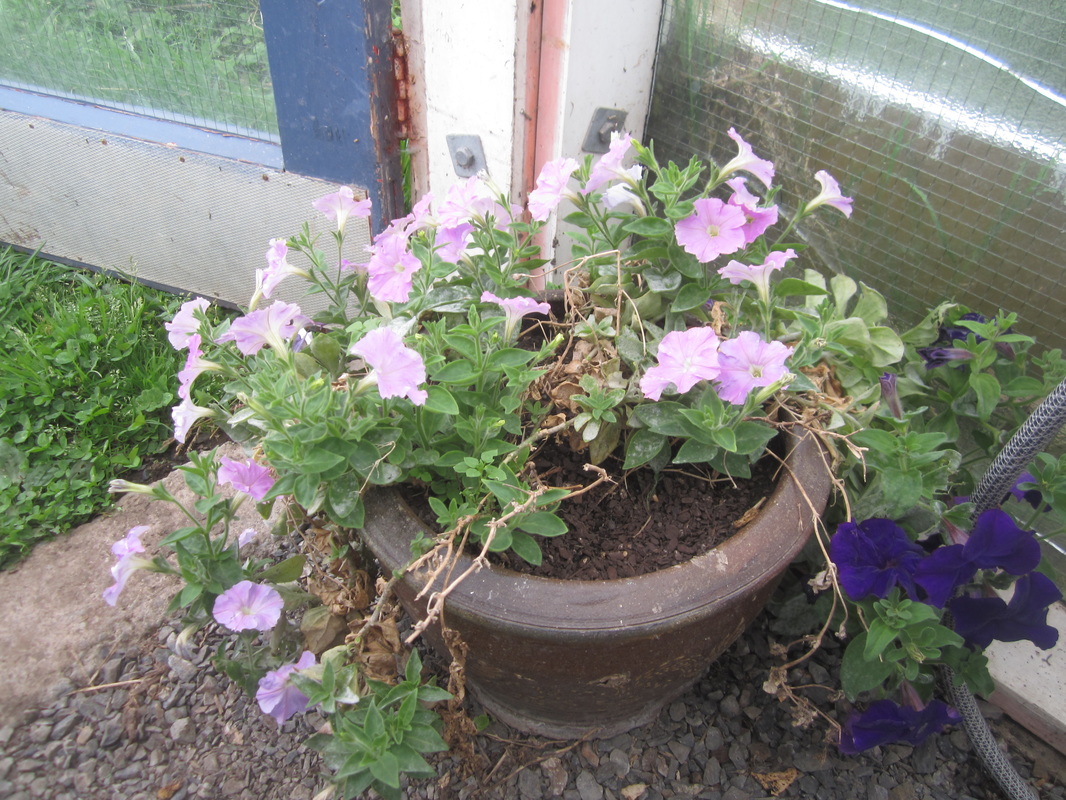
Due, I think, to the cold, wet summer, all my plants flowered this season - both the second season plants, and the new ones. I will have lots of seed for next year! Also, the flowers drip with nectar, and are very attractive to the bees!
To date, about 30 butterflies have hatched in my garden this season. There are another 10 or so crysalises hanging about. Now we are starting to get light frosts, they may not all make it. And there are still caterpillars on the plants, which still have plenty of food. My most successful year yet!
Monarch life cycle stages
Monarch butterfly life cycles are fascinating to observe. In summary, they go like this:
1) Adult butterfly spots a swan plant and lays eggs on it. One female butterfly lays and average of 2-300 eggs per season, but can lay up to 1000!
2) 4-8 days later (depending on temperature) the baby caterpillar emerges - and it's tiny!
3) The mini eating machine chomps and chomps on the swan plant leaves - growing to about 2,700 times it's birth weight over 2-3 weeks, and molting 4 times during this process.
4) The now fat, mature caterpillar will be about 5.5cm long. It's time for it to begin the metamorphosis process. It will likely crawl off the plant and look for a sheltered spot - which could be anywhere! This year mine have chosen nearby feijoa trees, the wooden framework over my garden bed, various spots on the bird netting, and some decided to stick to the swan plants. The caterpillar first produces a tightly woven silk mat, into which it hooks it's hind legs, and then hangs downwards in a classic J shape. Within 2 days, it will moult, splitting it's skin from the head end, and emerging as a pupa - the wiggling of the pupa cause the skin to wrinkle up and end up hanging from the top of the cryaslis until it falls off, and the pupa to "shrink" upwards and finally turn into the beautiful green crysalis with golden spots. This is fasinating to watch! Here's a short 2.5 min time-lapse video of the process:
5) Inside the beautiful crysalis, the butterfly is developing. This can take from 10 days to 3-4 weeks. Near the end of the time, the crysalis becomes translucent, and you can see the butterfly's wings inside it. When it is ready, the butterfly emerges from the crysalis
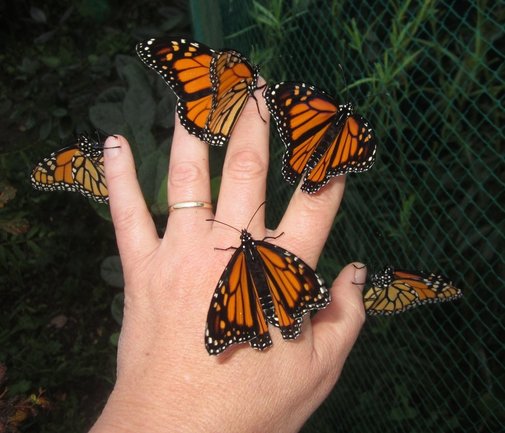
6) The newly hatched butterfly has a very fat abdomen and crumpled up wings. The abdomen is full of fluid. The butterfly hangs for several hours, slowly turning from side to side, pumping the fluid into the wings, and then eventually opening and closing the wings as they dry. (See pics below)
7) Once it is ready to do so, which may be the next day, or longer if it is cold and wet, the butterfly will fly off and find a source of nectar for food, and then mate and begin the new generation. Usually, adults have a lifespan of 60-70 days, but this can extend to 6-7 months if it pupates in autumn. Adults overwinter in sheltered locations, often near the coast.
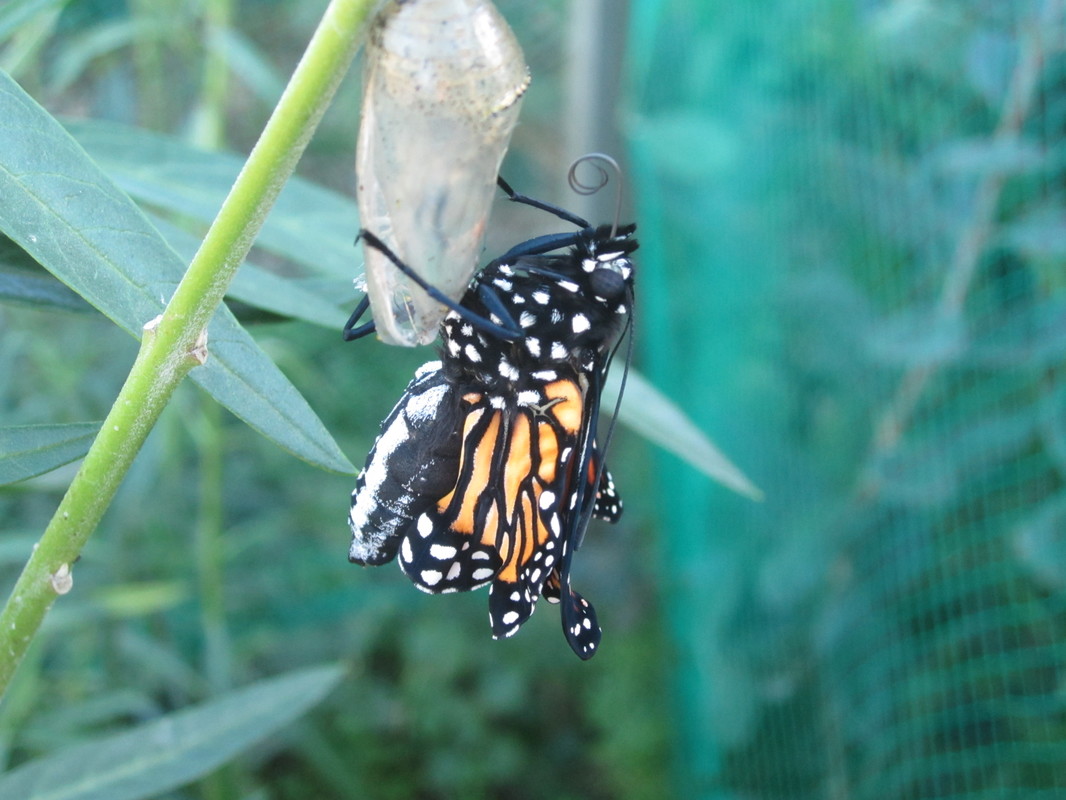 6:20pm - newly emerged butterfly. Note the fat, fluid filled abdomen and crumpled wings. The curled "tongue" (proboscis) is clearly visible - this is what it will use to sip nectar from flowers. 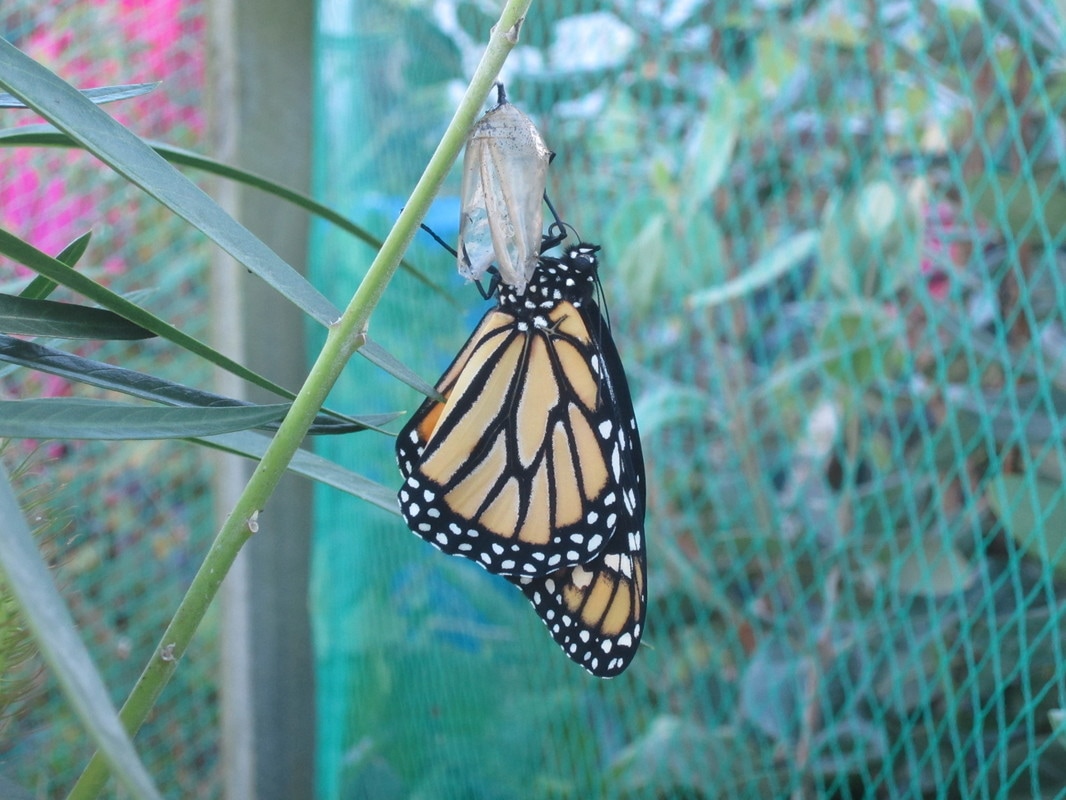 6:40pm - the wings are fully extended, but still soft and floppy. The butterfly continues to turn side to side. | 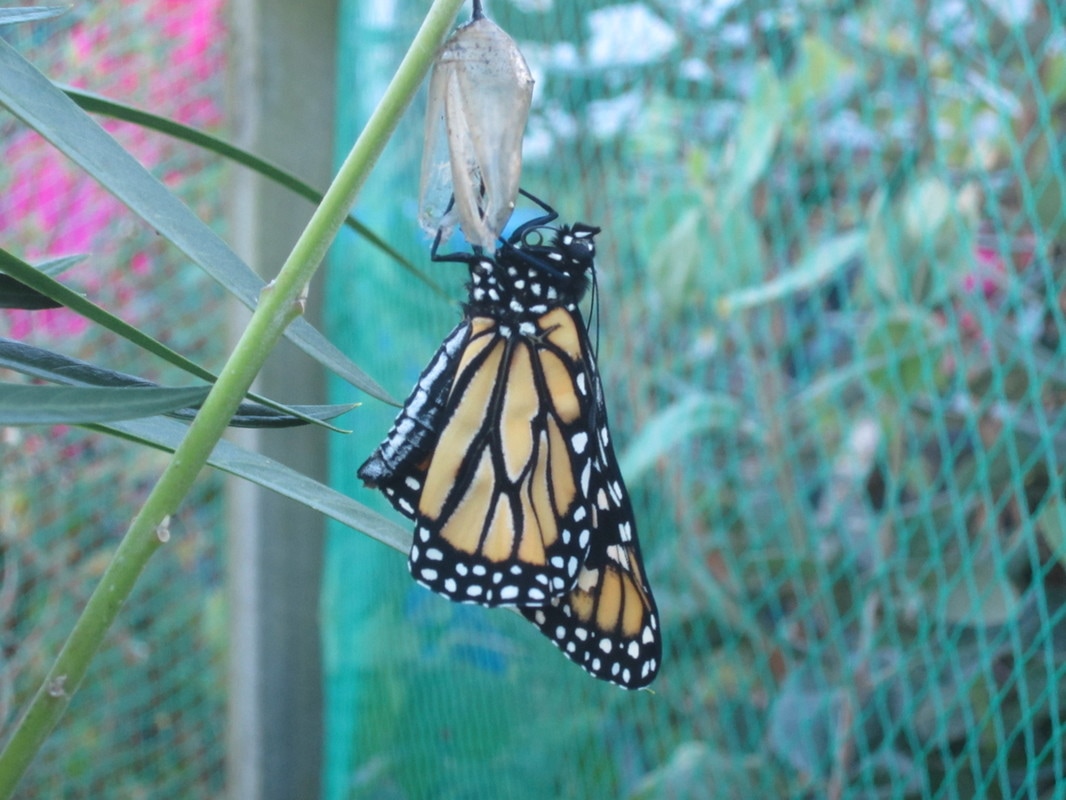 6:28pm - the wing veins are filling with fluid pumped from the abdomen. The butterfly is slow rotating from side to side as it does this. 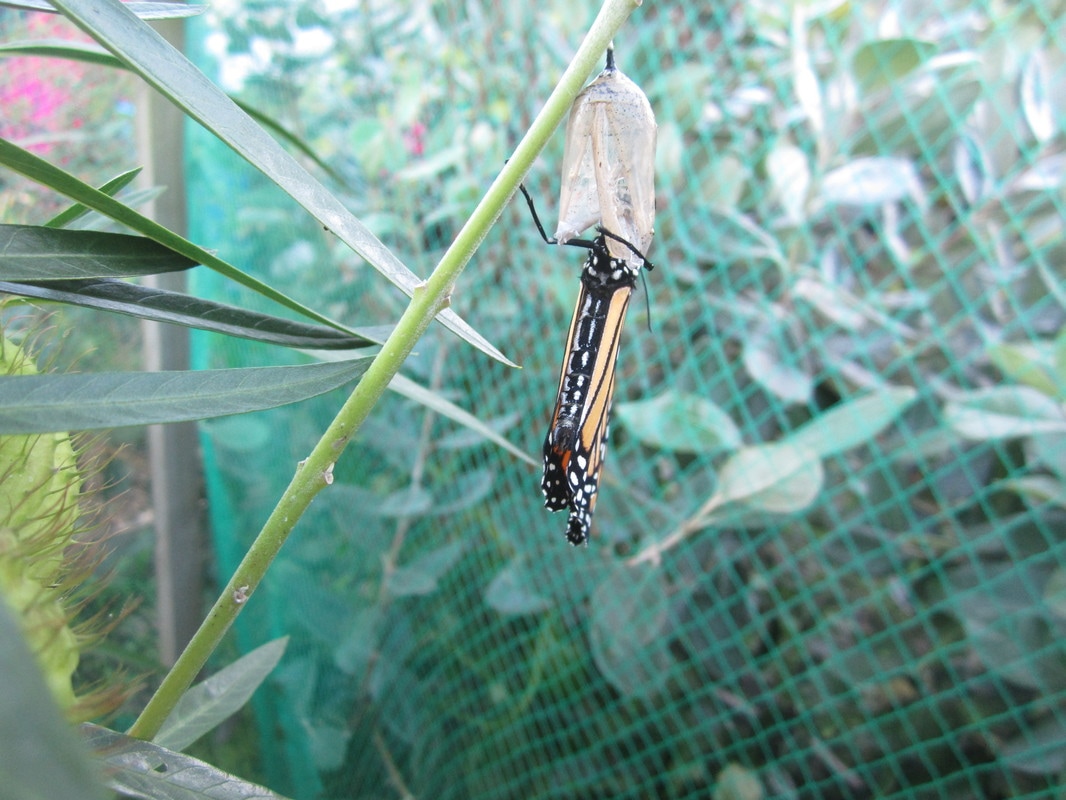 6:55pm - see how slender the abdomen is now? This butterfly hung here all night and once the day warmed up the following morning, flew away. |
Various photos from the Monarchs in my garden
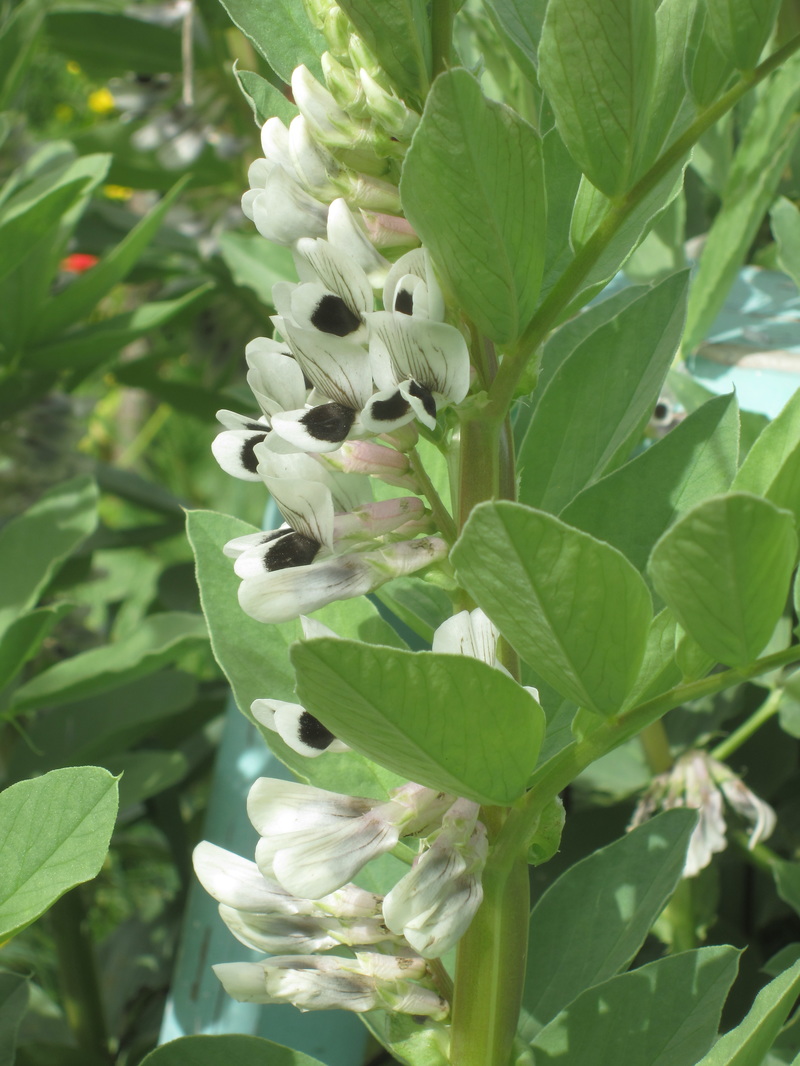
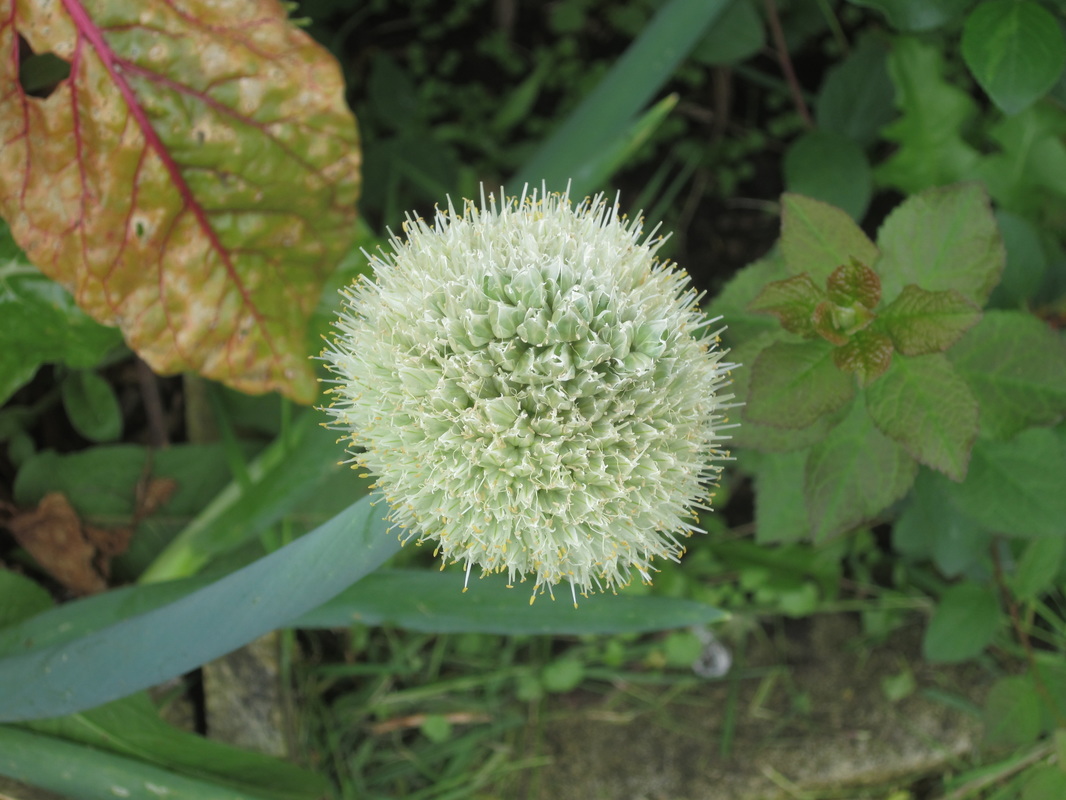
 Double trouble! The flowers above are the swan plant flowers. Bees love them! 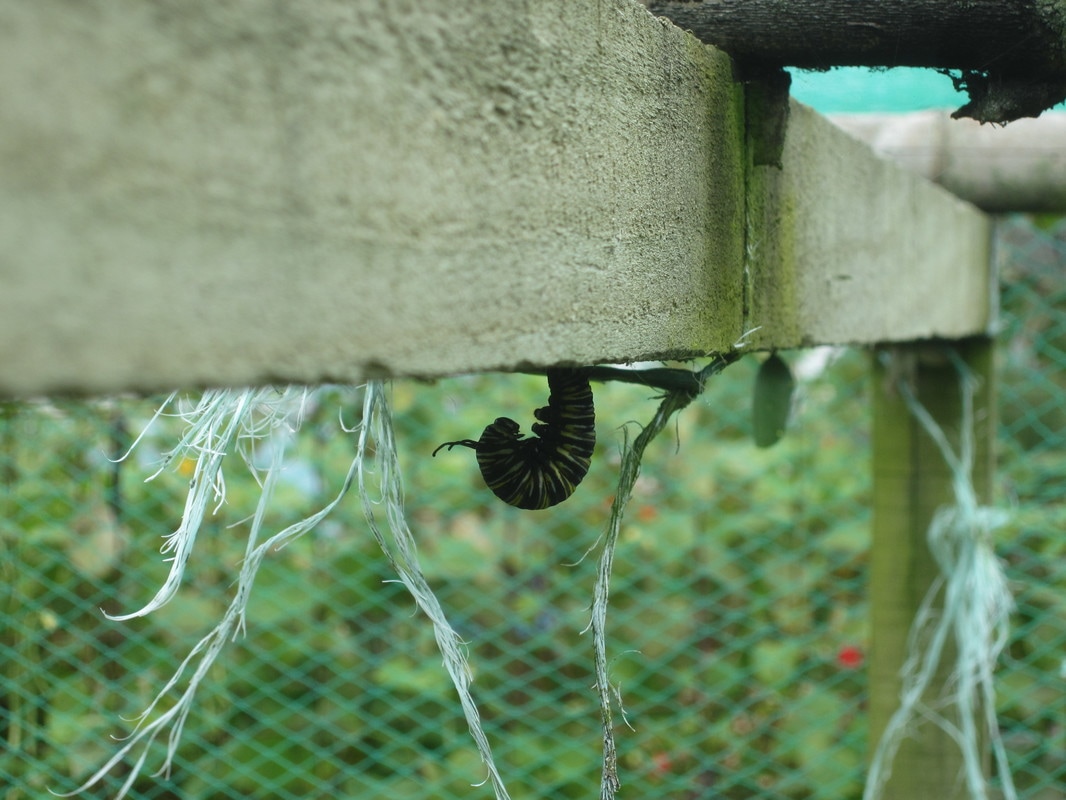 Classic "J" 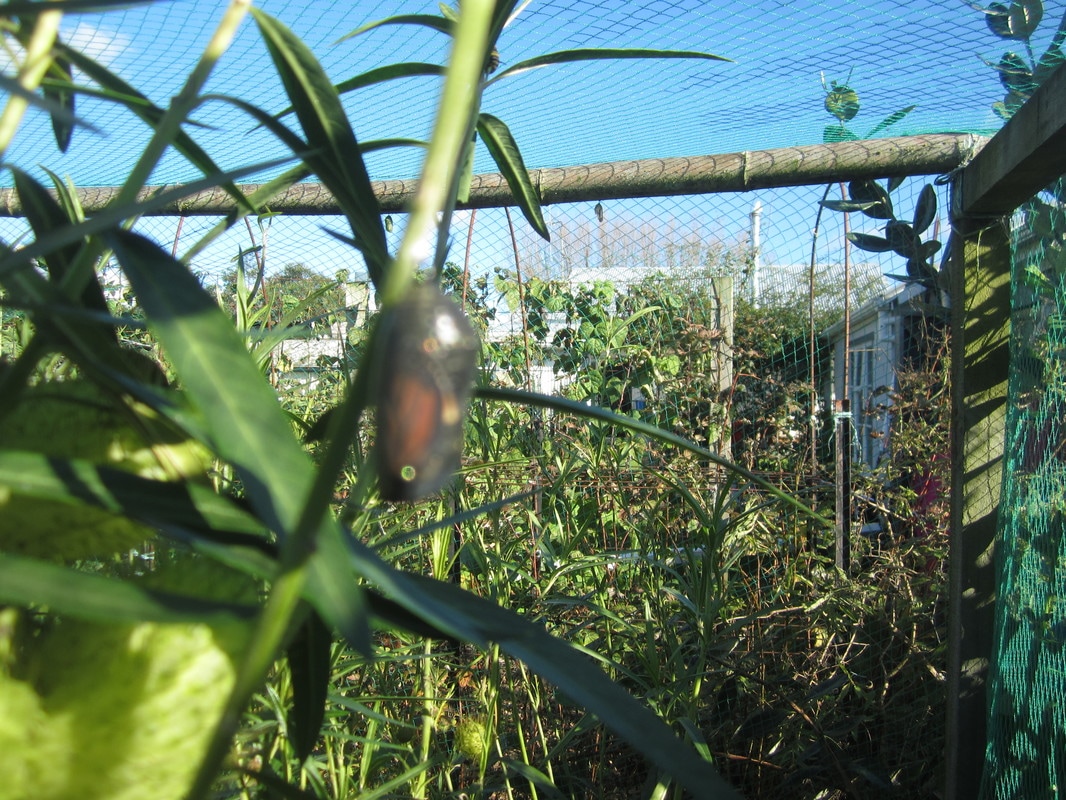 Won't be long now! 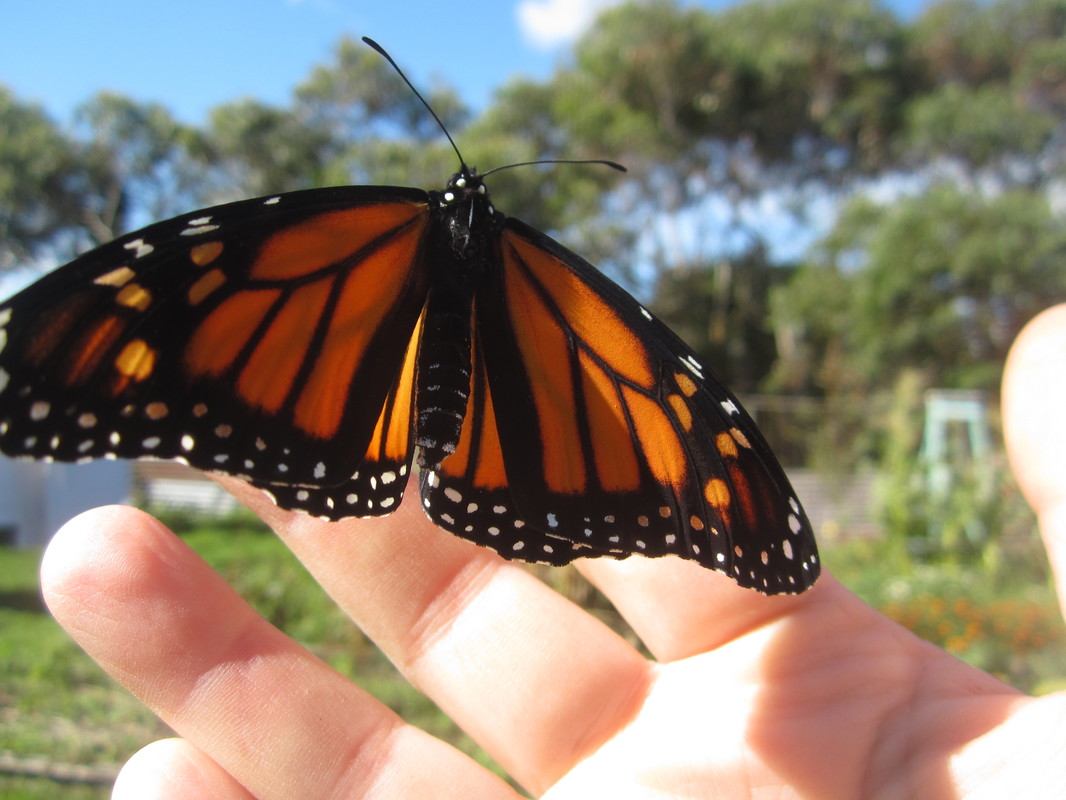 Female monarch - no black spots (though the wings aren't extended enough to show this in this pic). The thicker wing veins confirm this one is female. 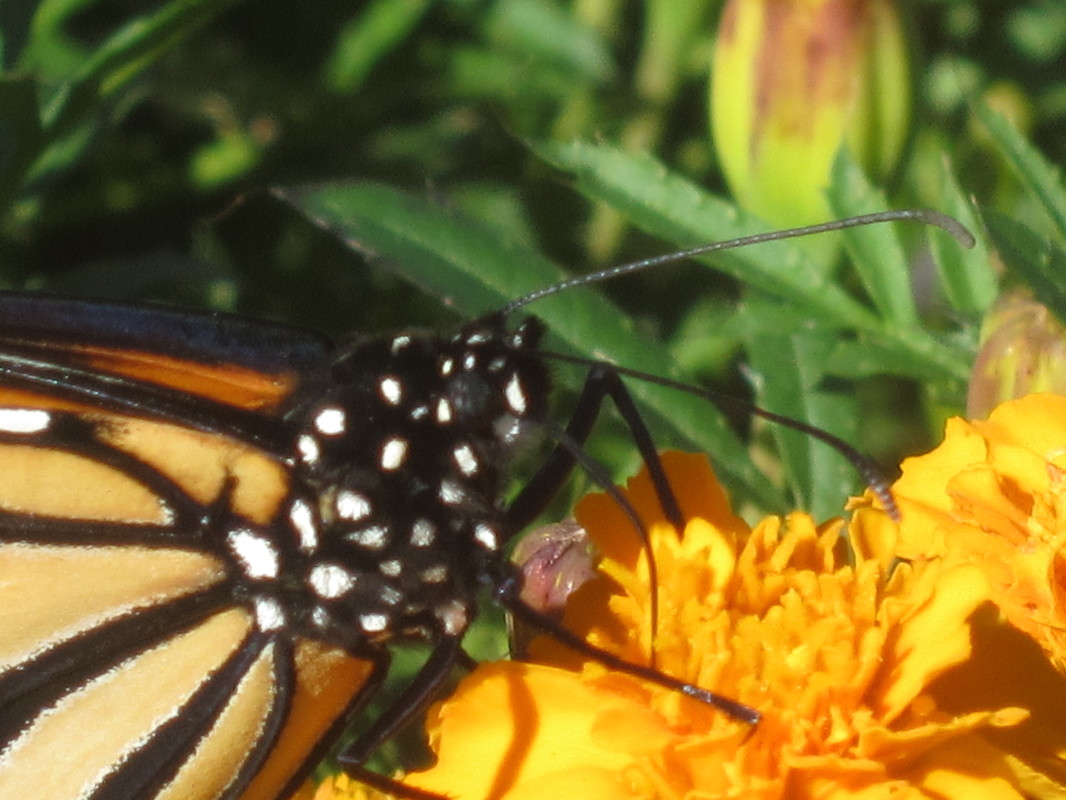 See the proboscis extended into the flower to suck up nectar?  New monarch. Note the big green seed pods of the swan plant. These are filled with cotton-like fluff with seeds attached. | 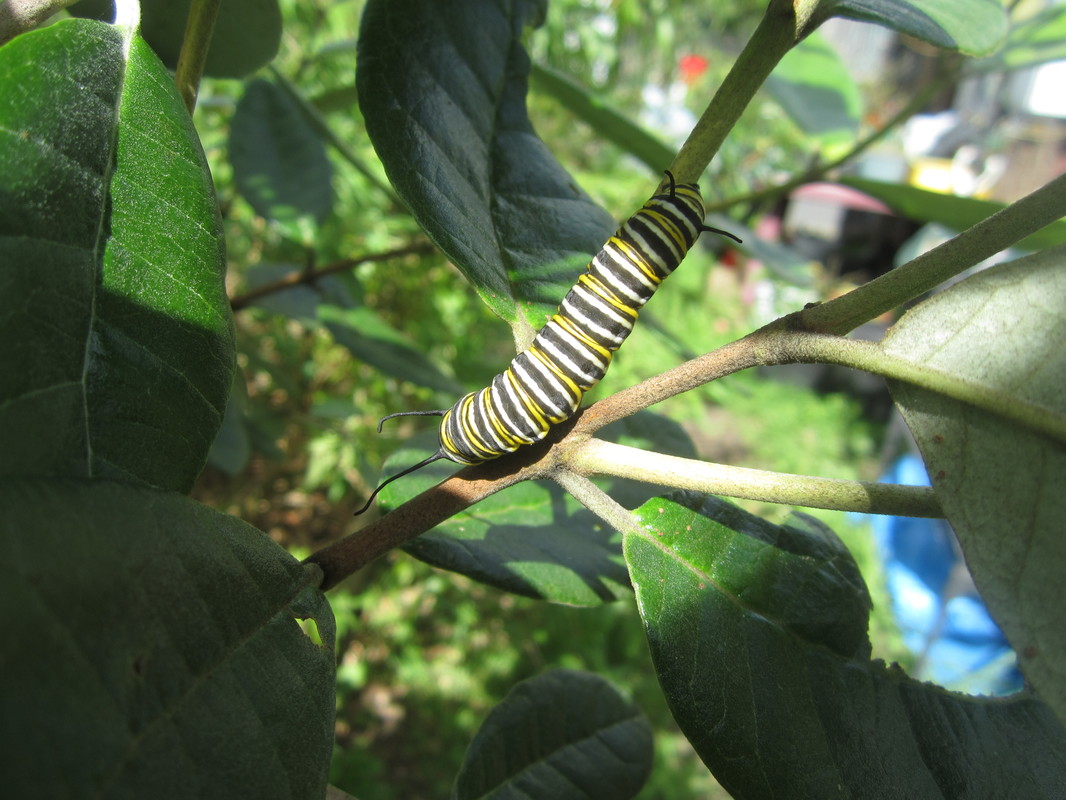 Mature caterpillar climbing the feijoas, looking for a good spot to pupate in. 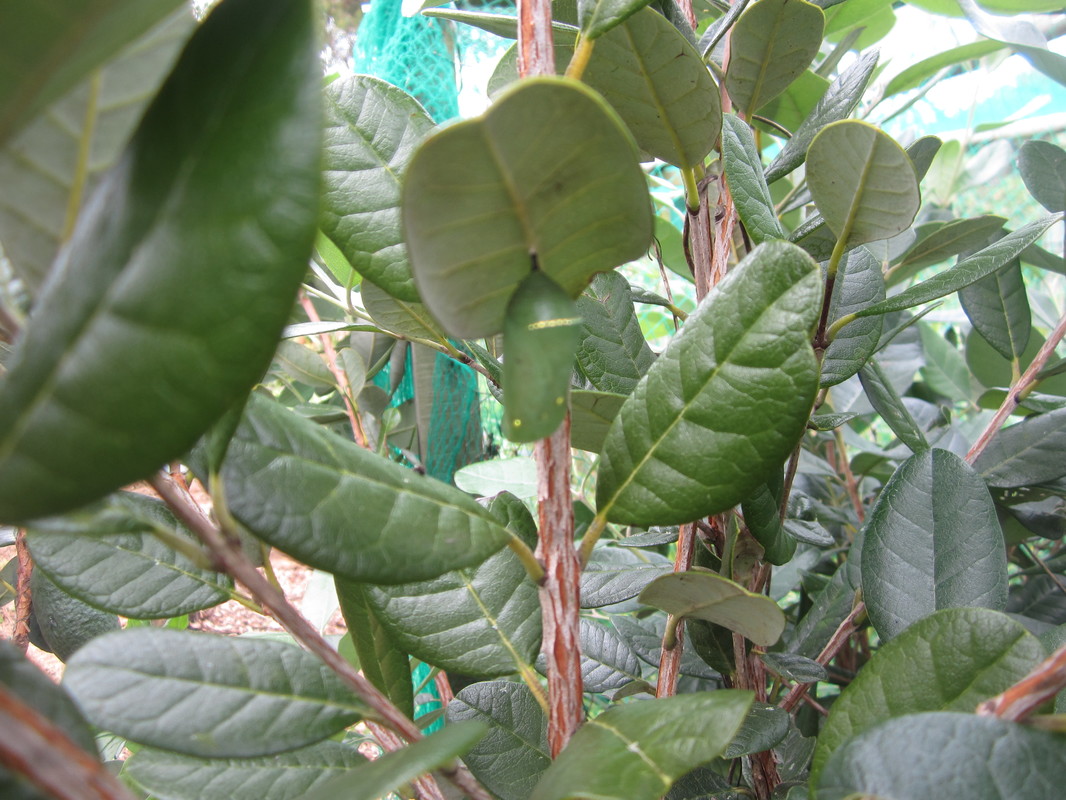 The beautiful jeweled crysalis 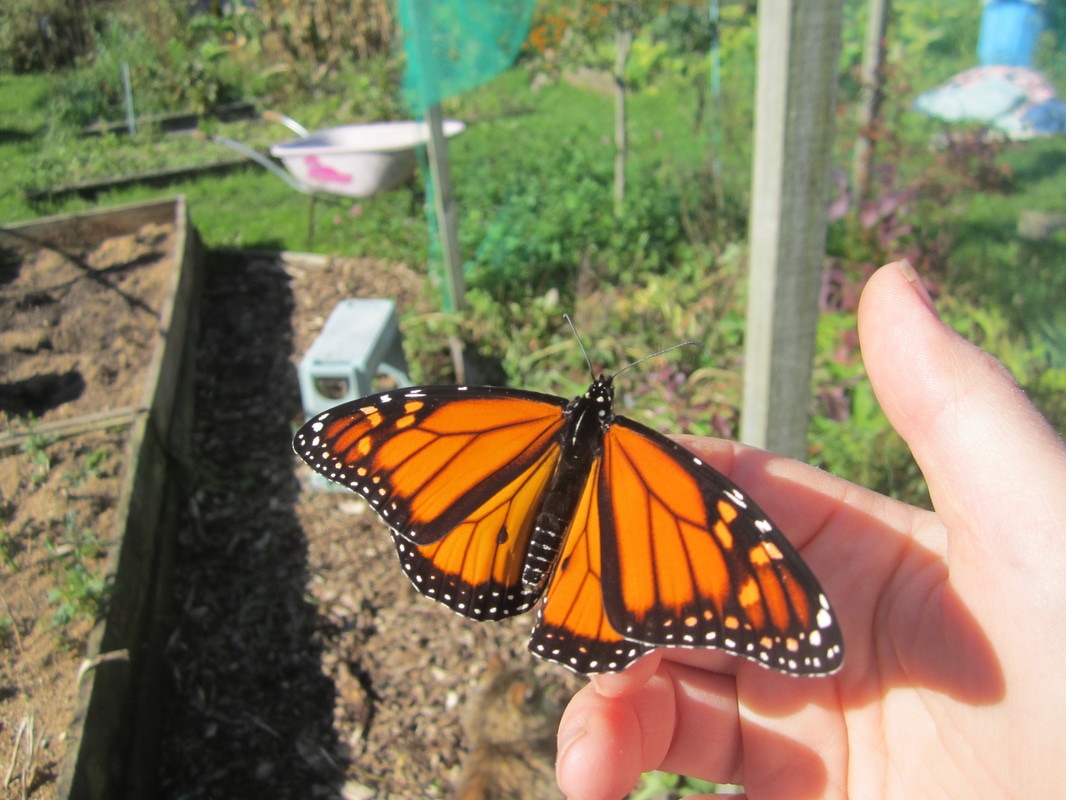 Male monarch - note the two black spots on the lower wings, and the fine wing veins 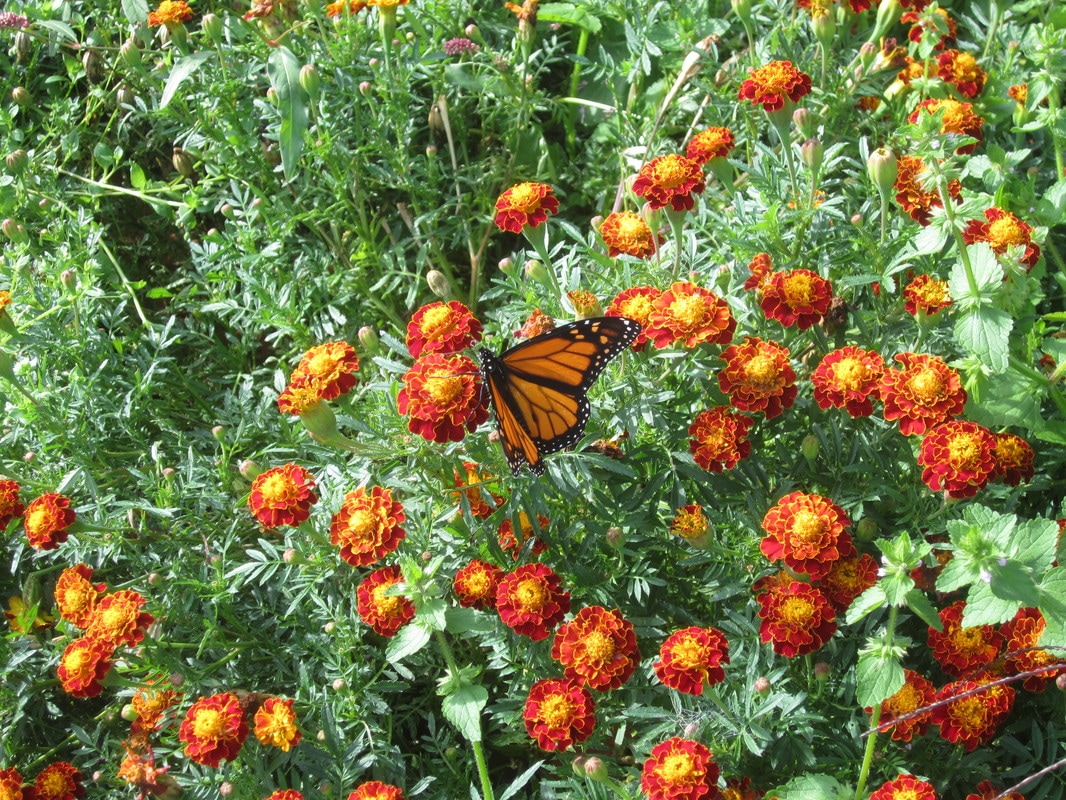 Feeding on the marigolds 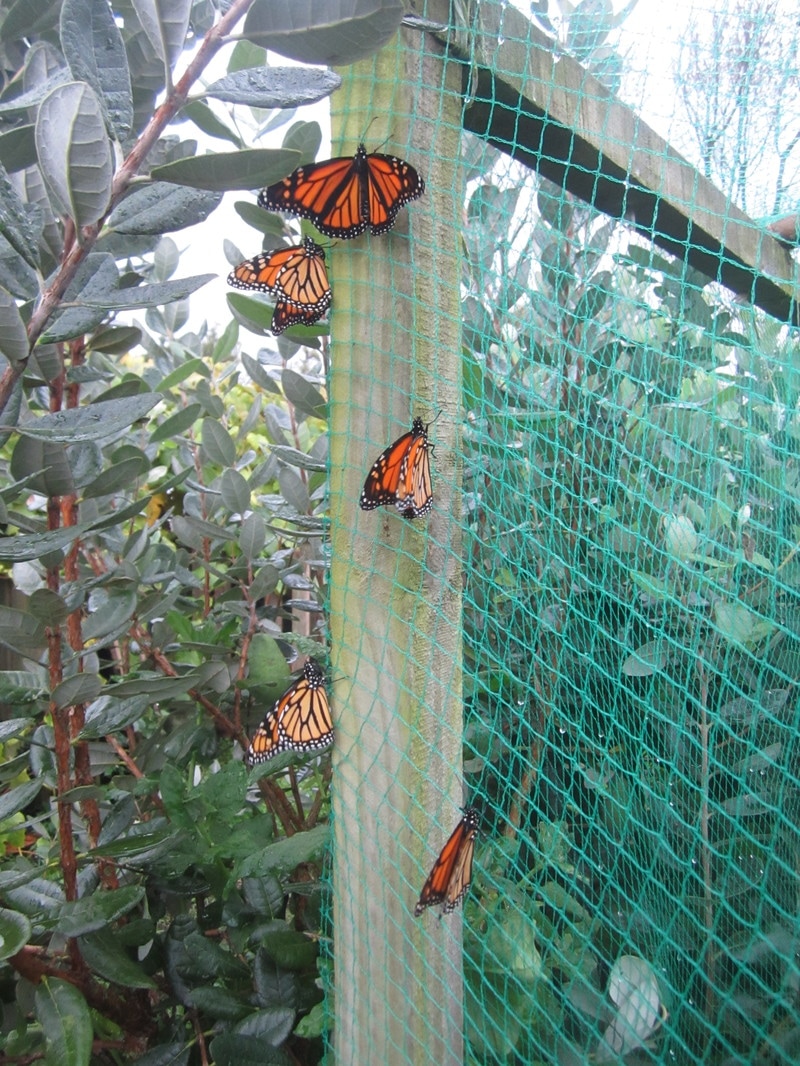 These guys all hatched the night before it began to rain heavily. They hung around for nearly 3 days before the sun finally came out and they flew off. |
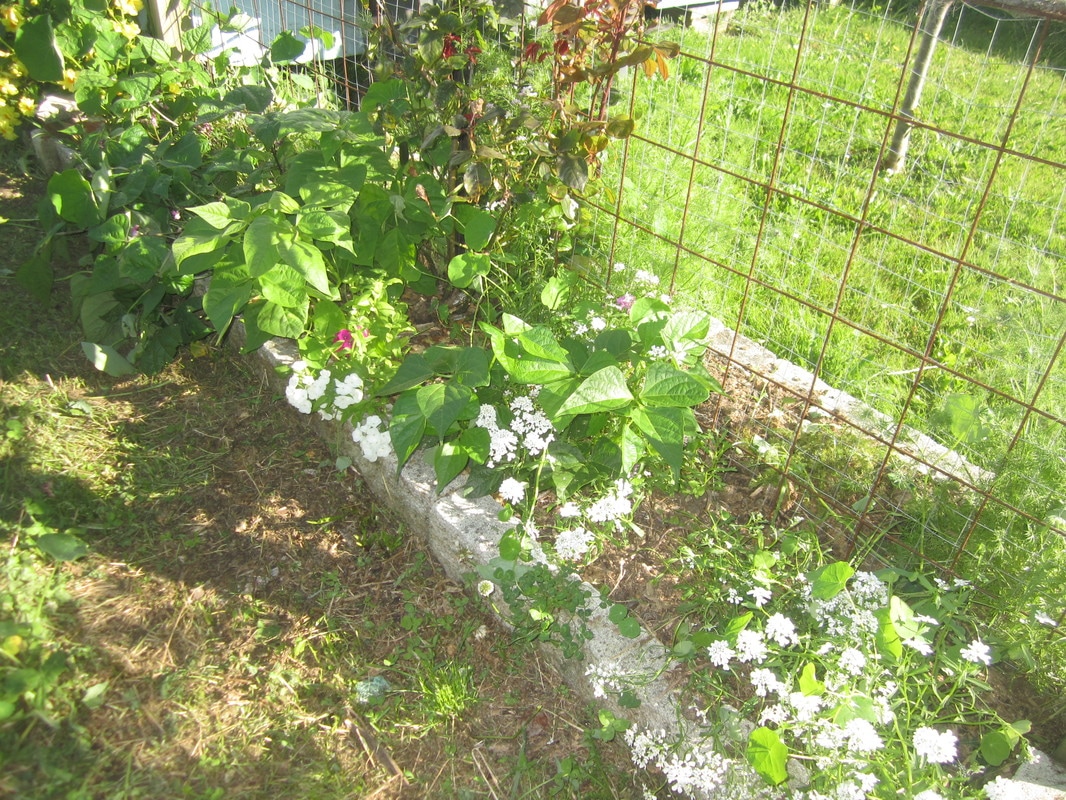
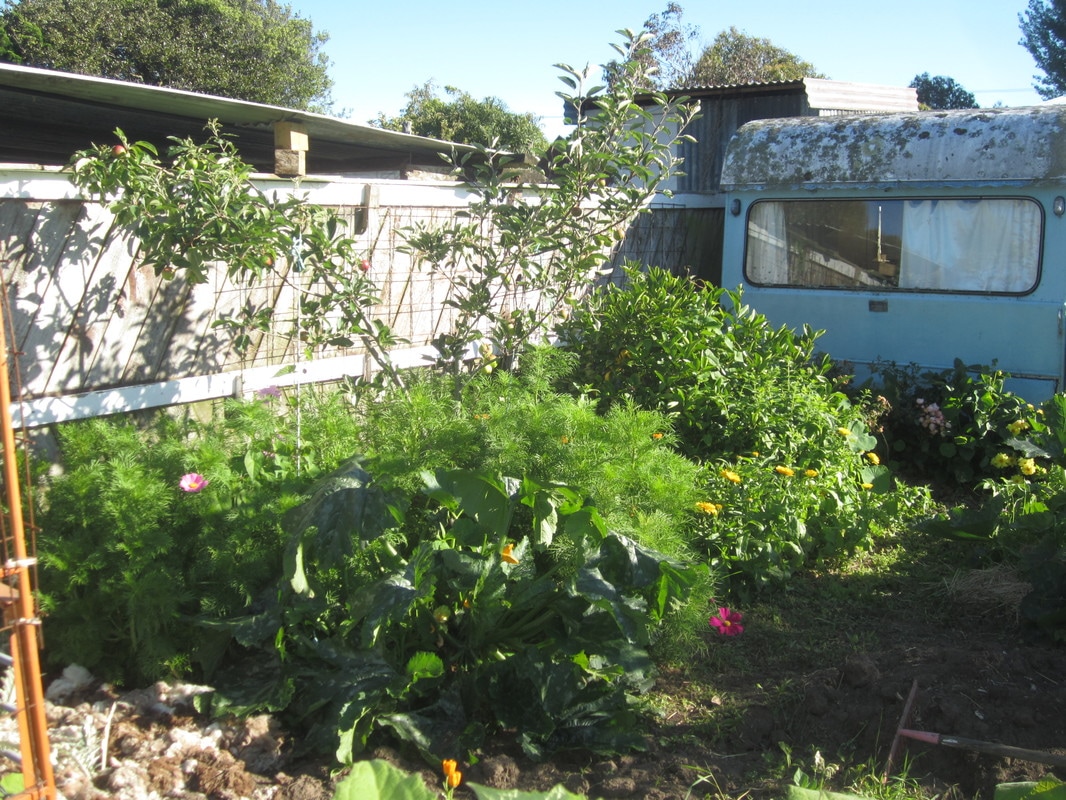
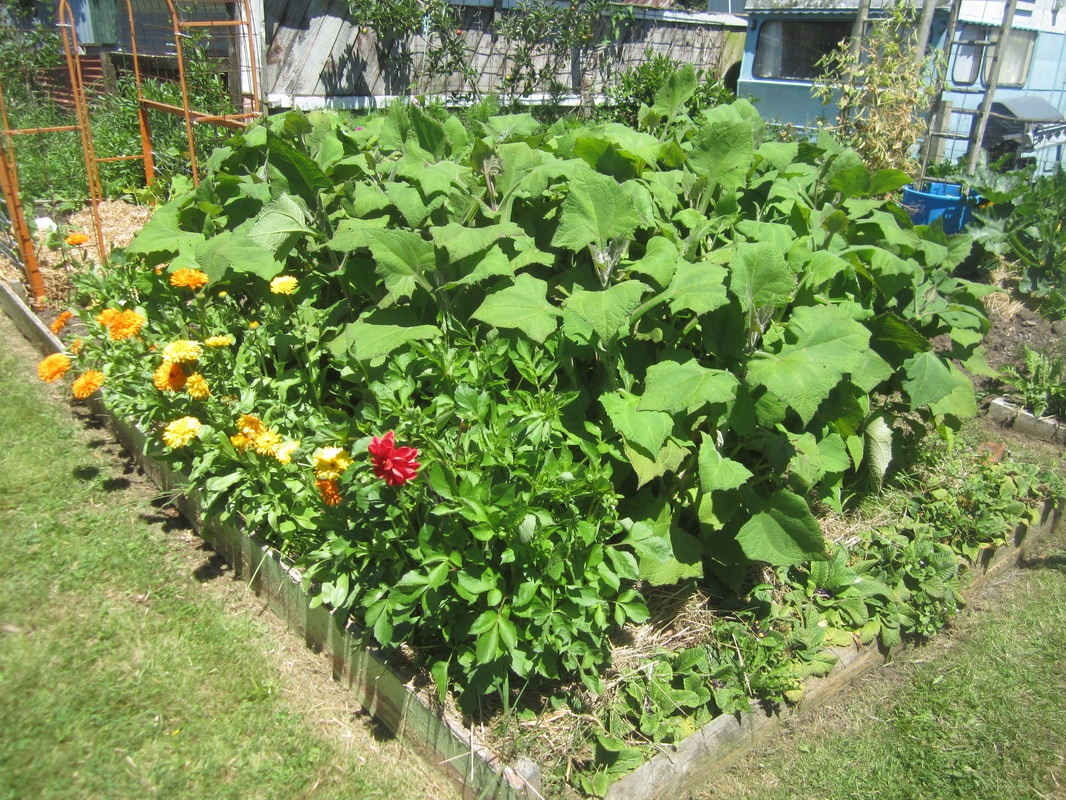
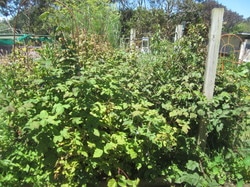
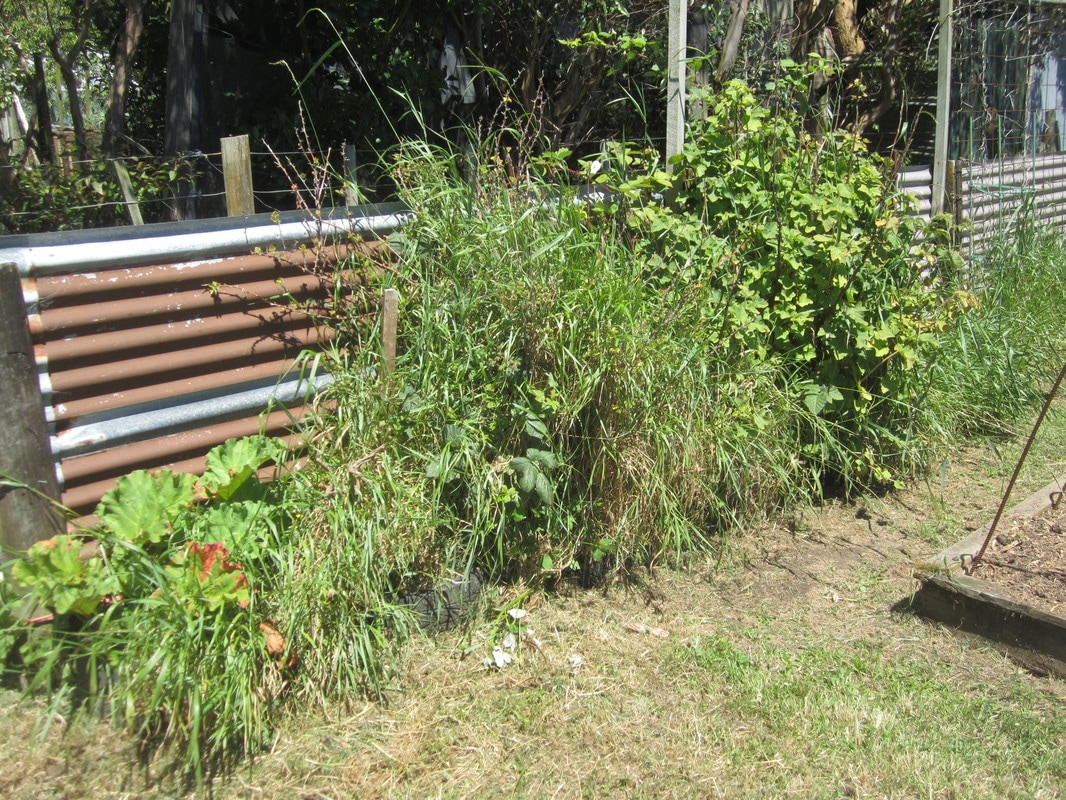
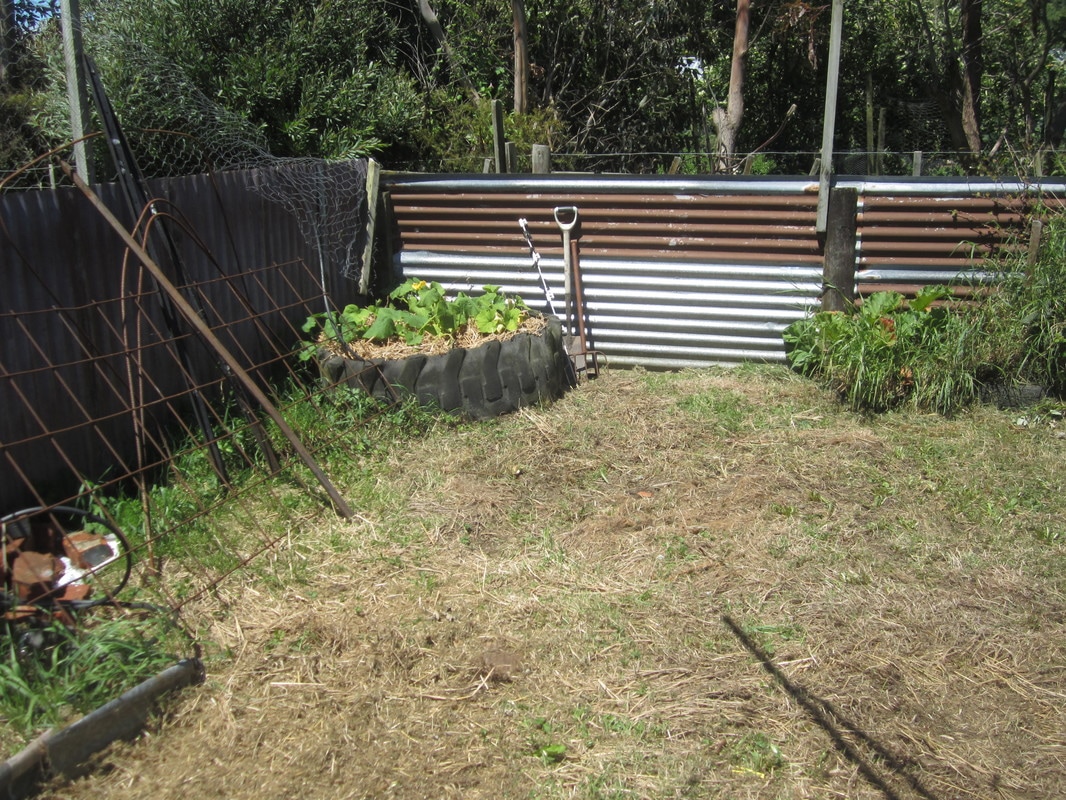
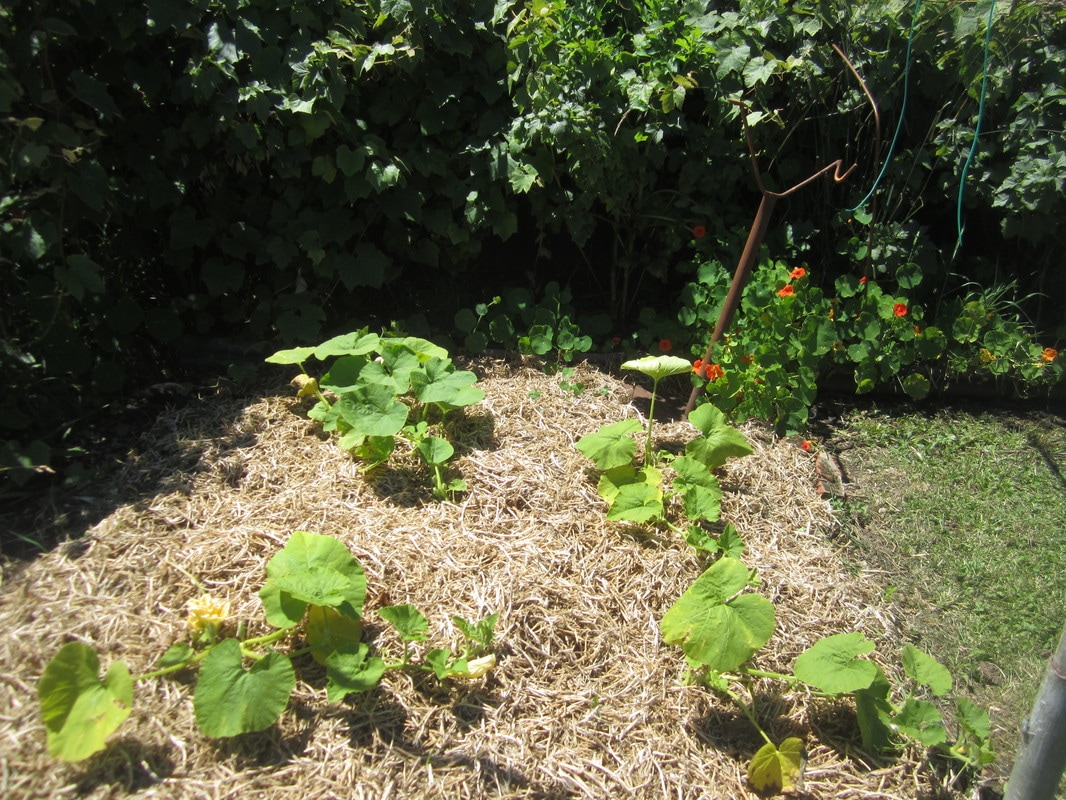
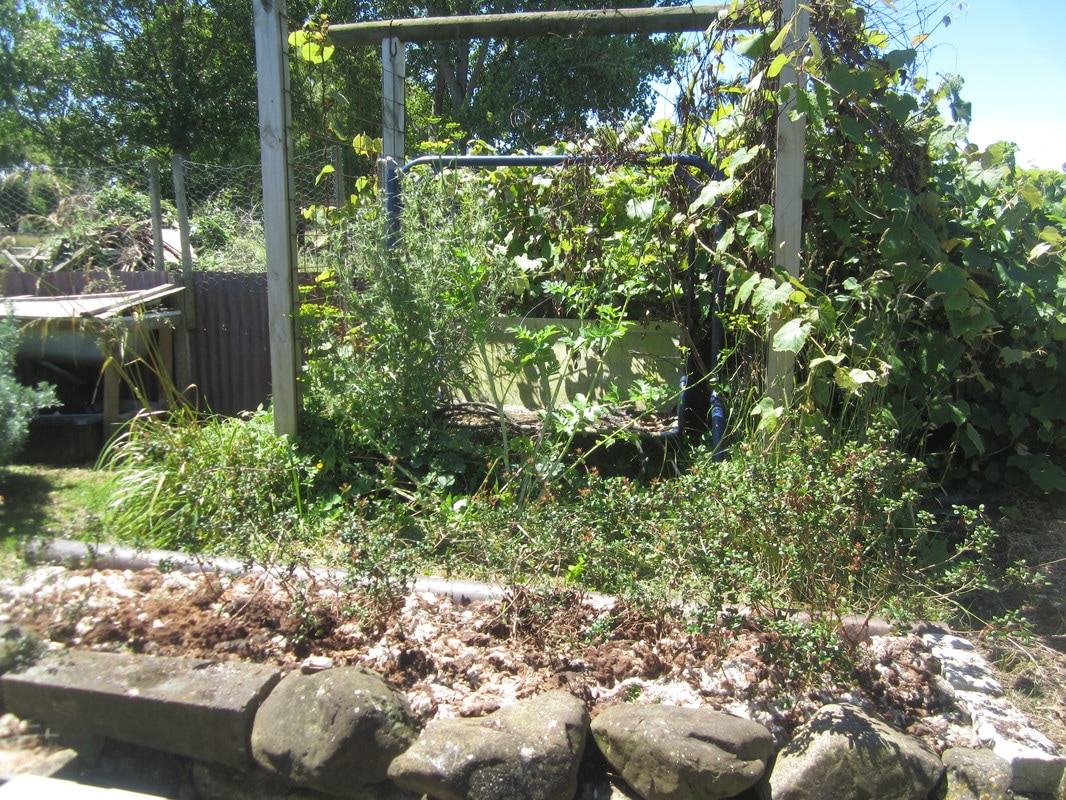
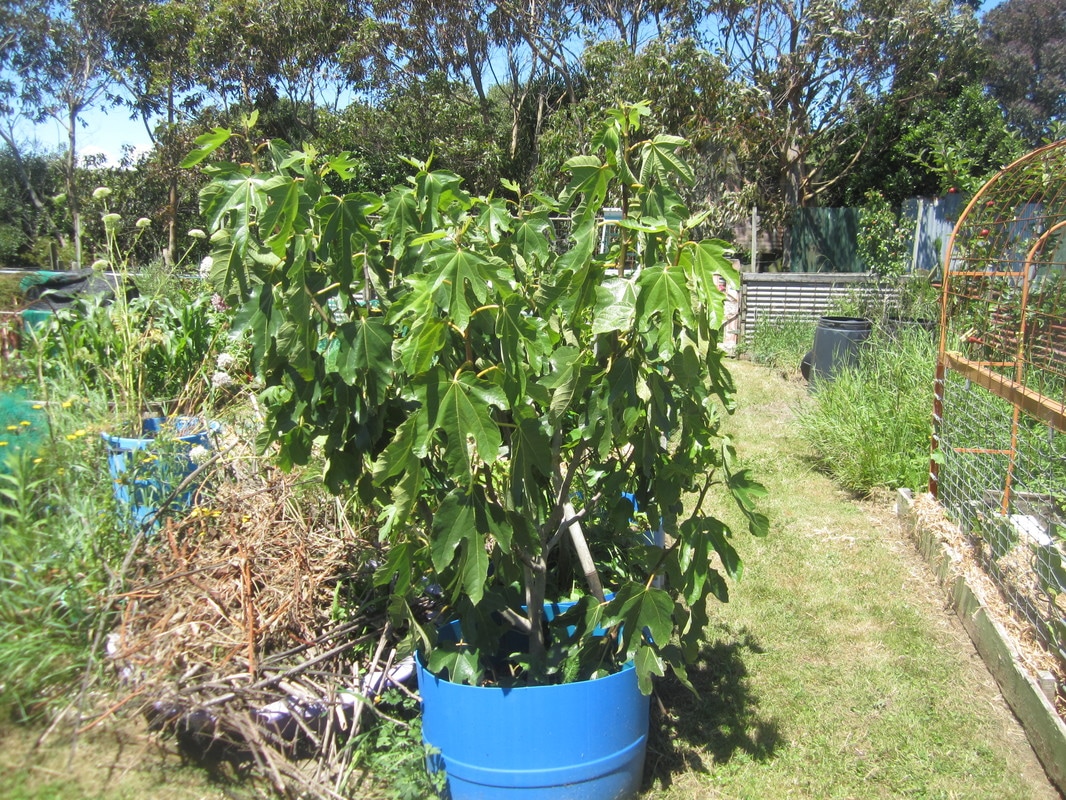
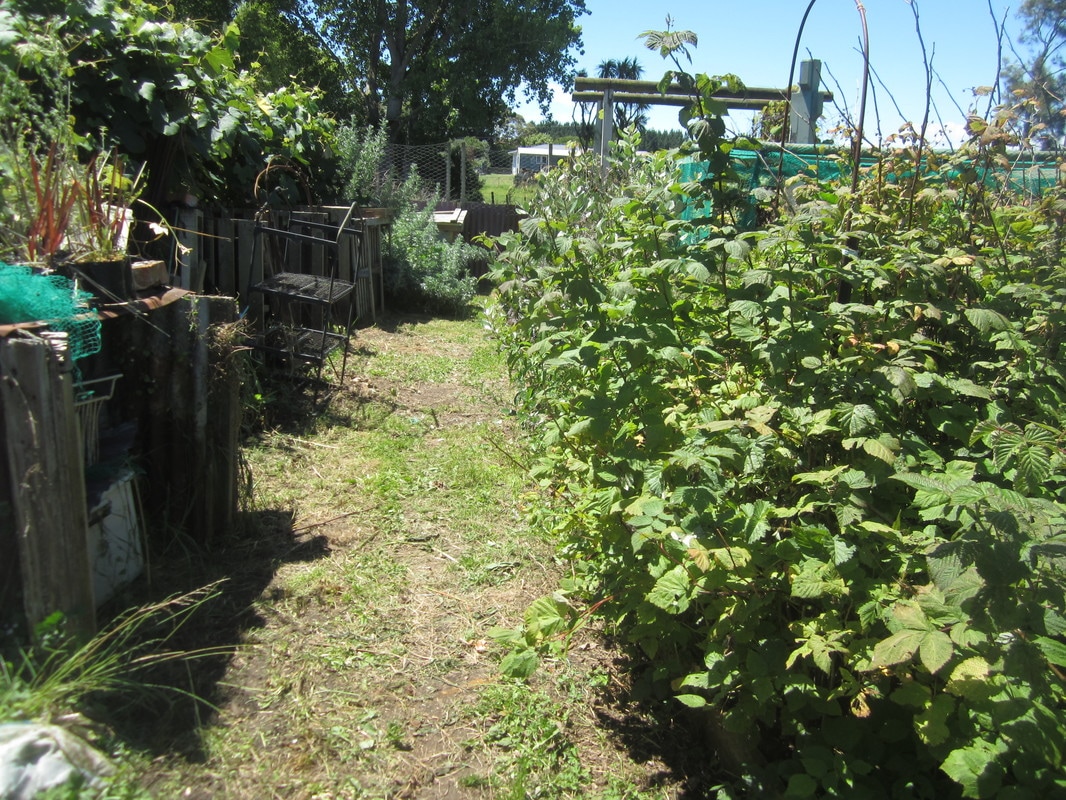
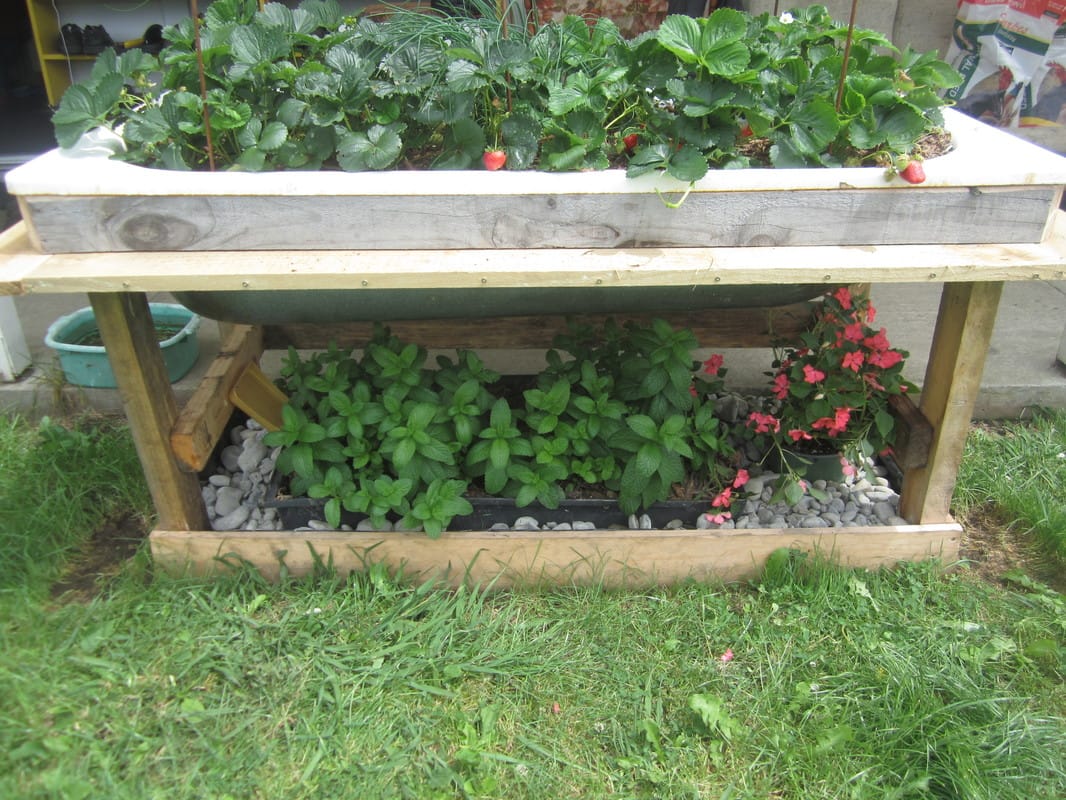
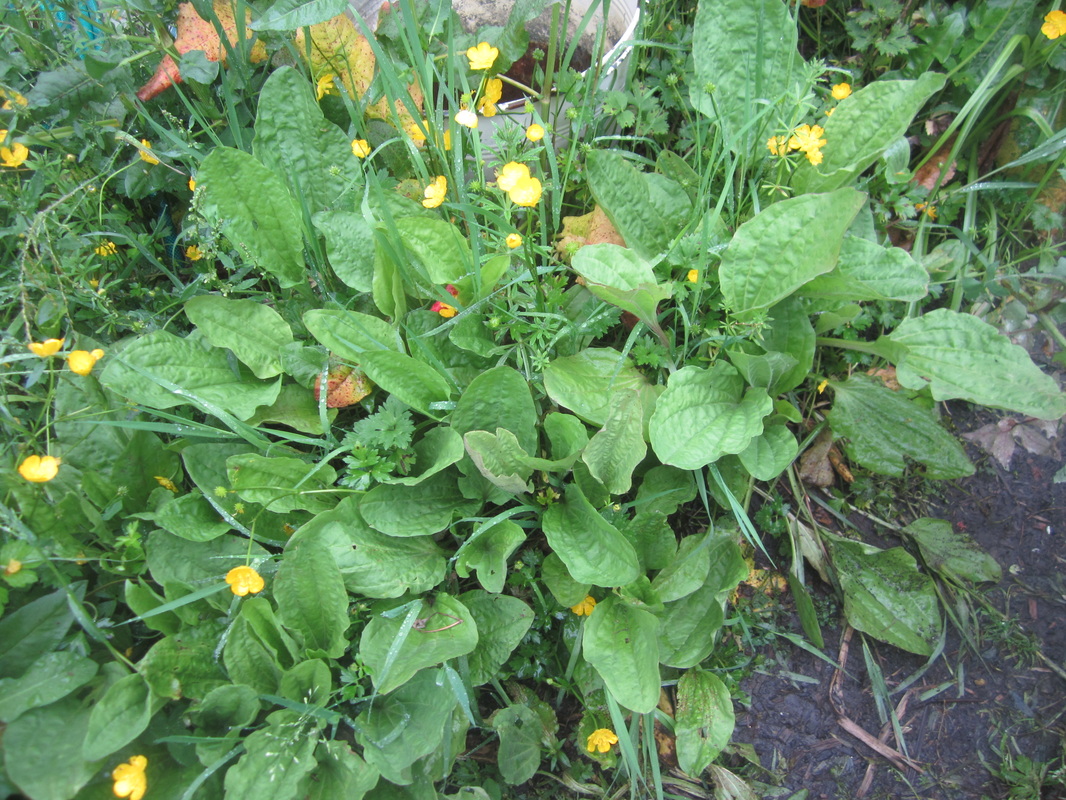
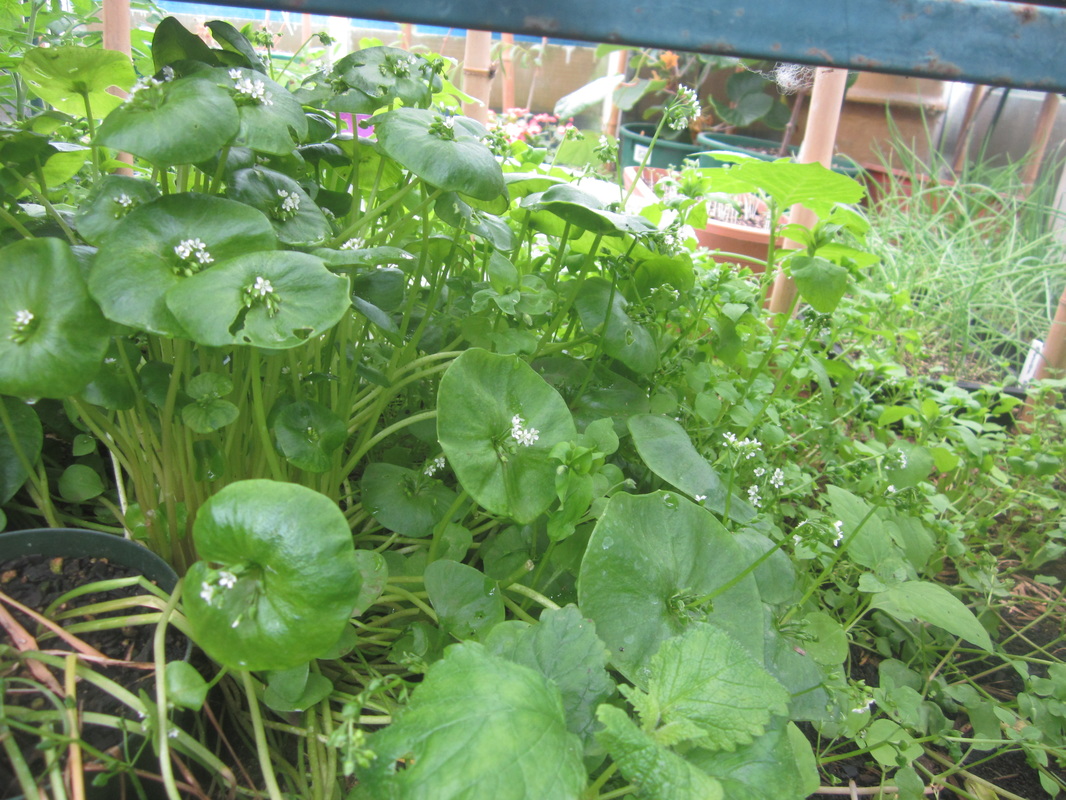
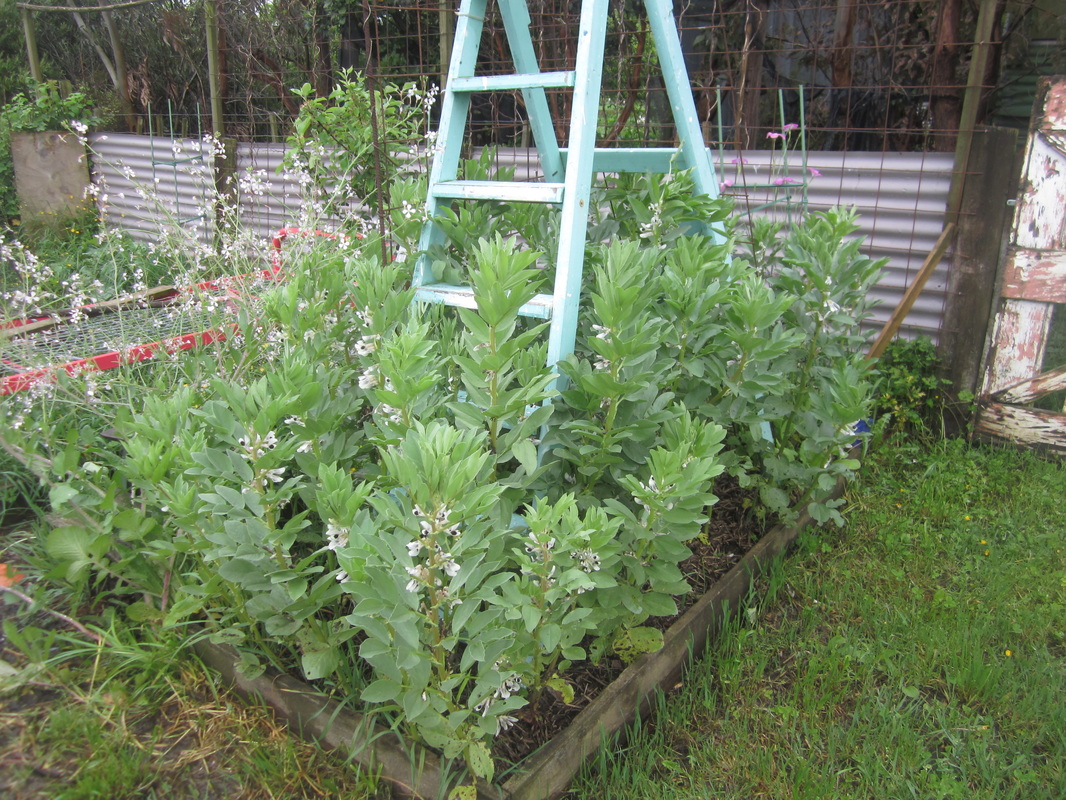
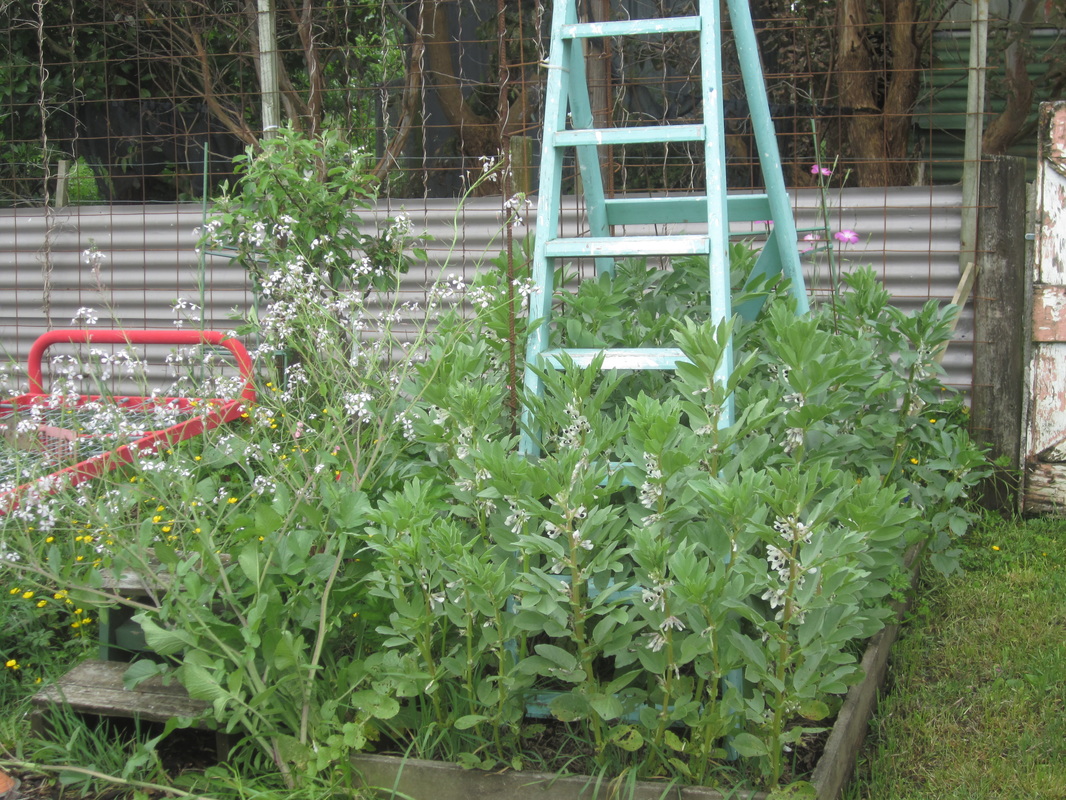
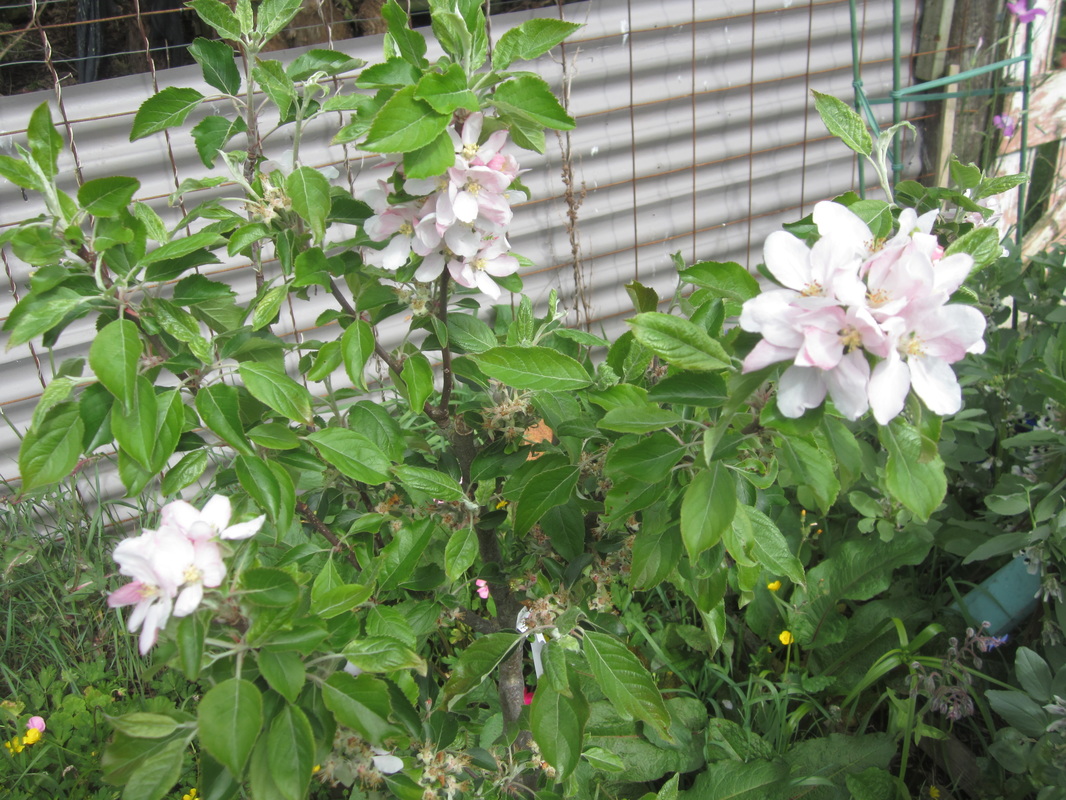
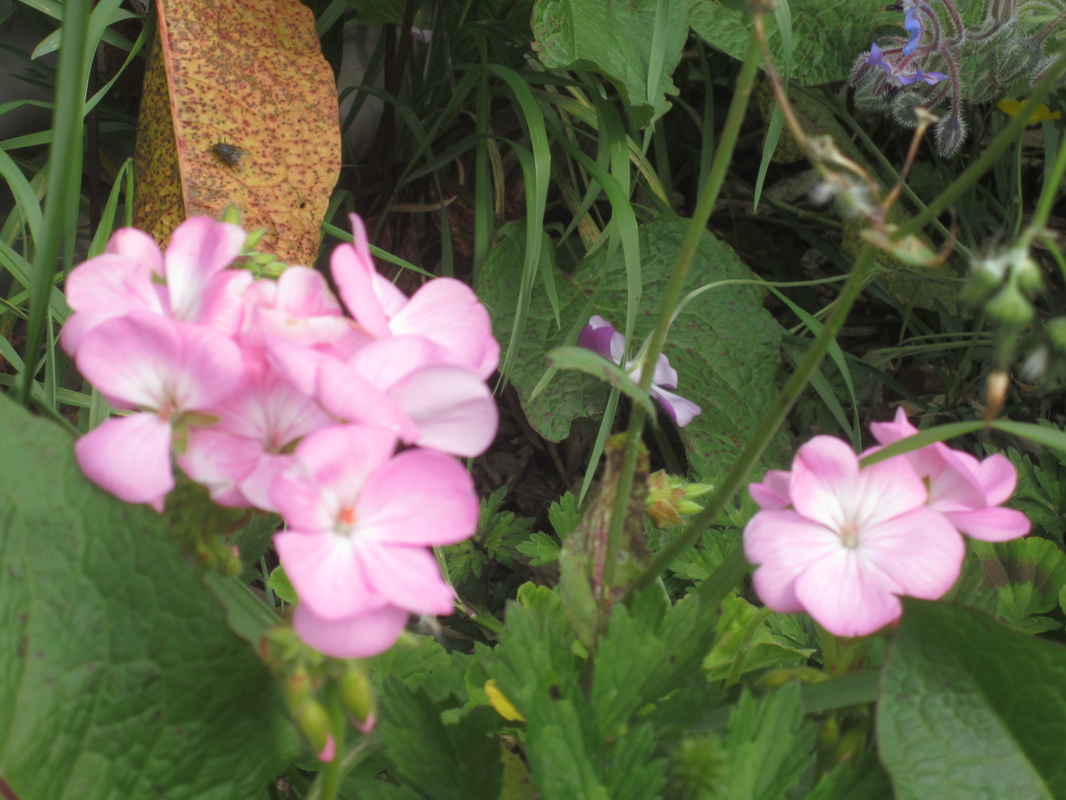
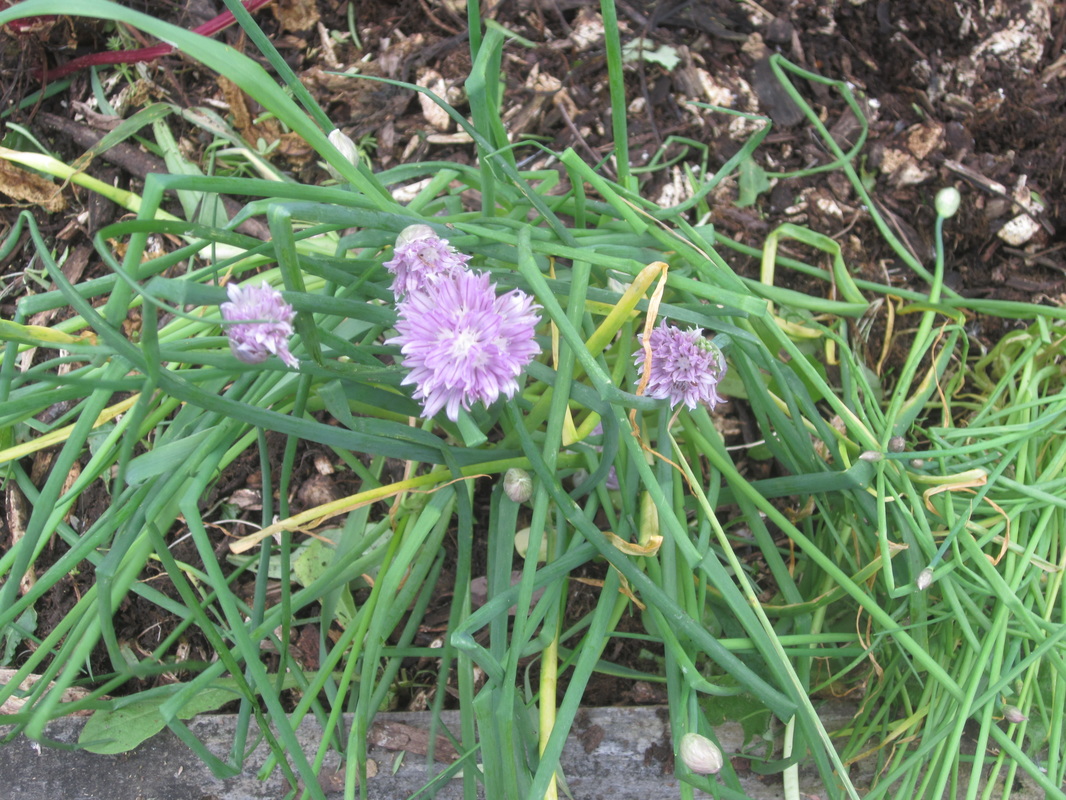
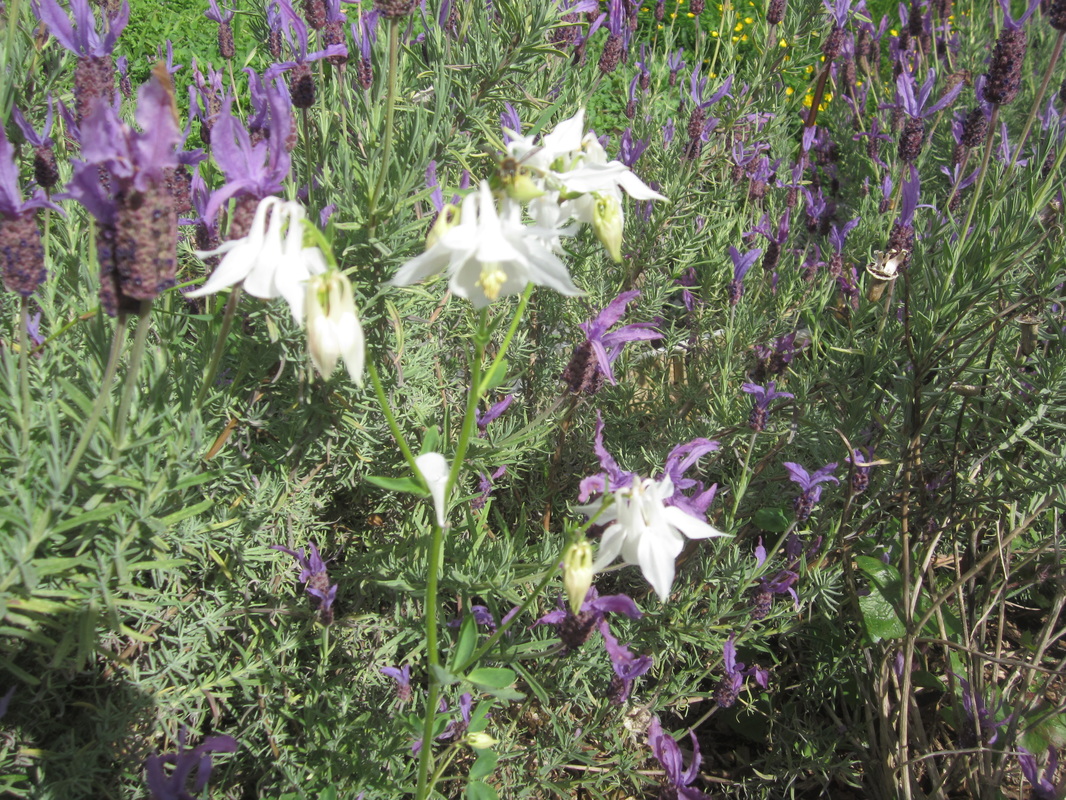
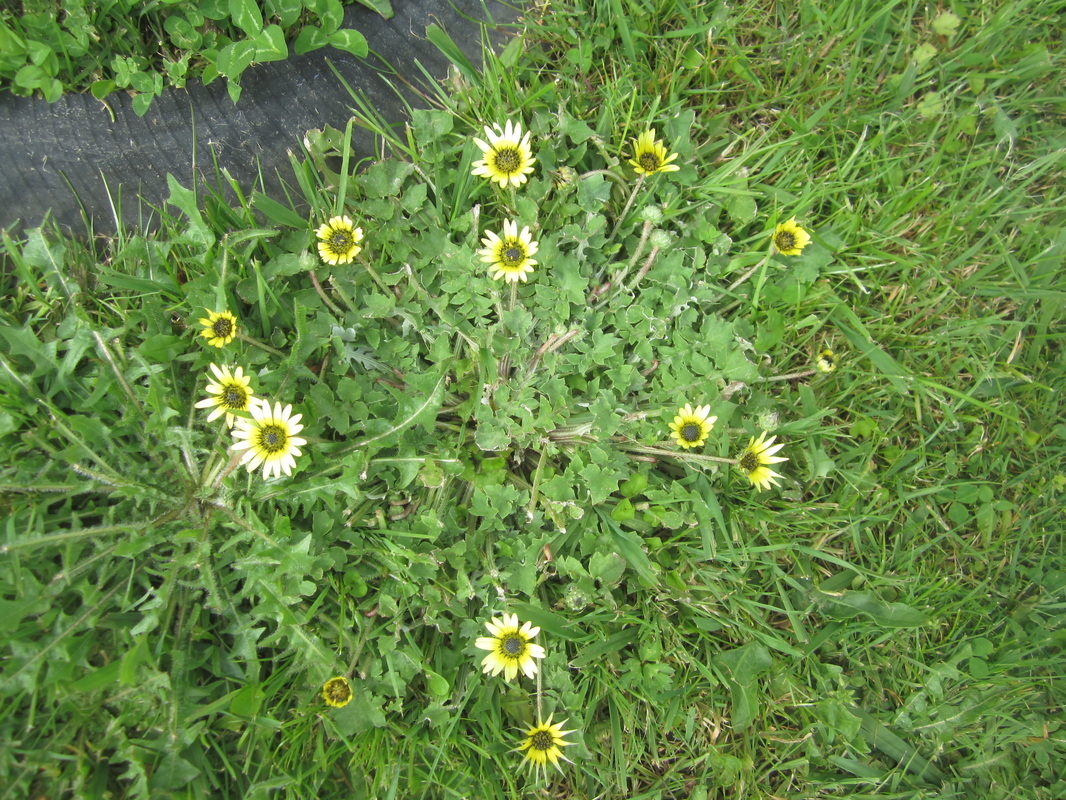
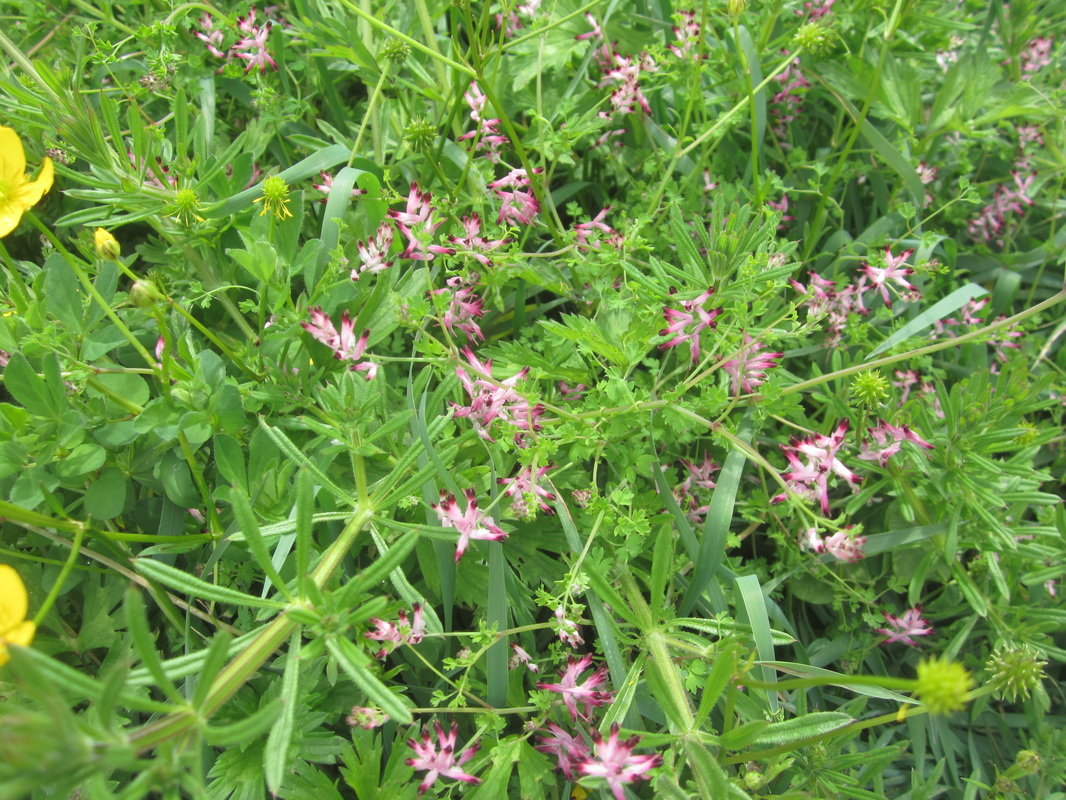
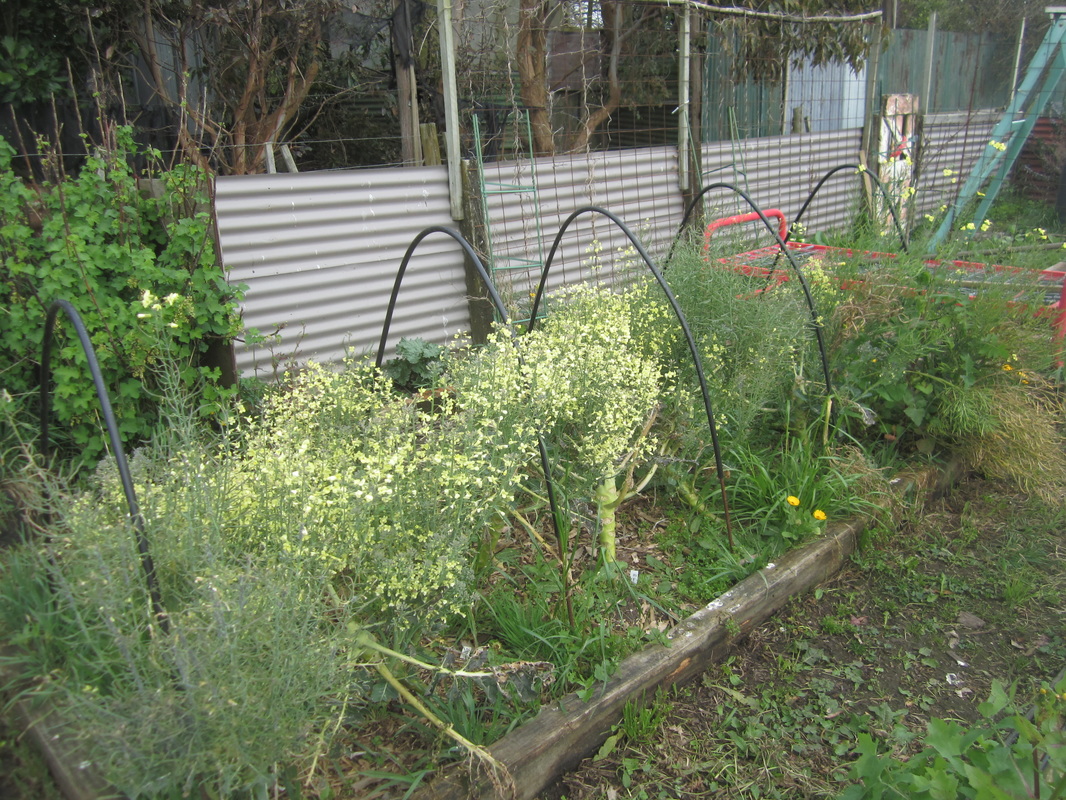
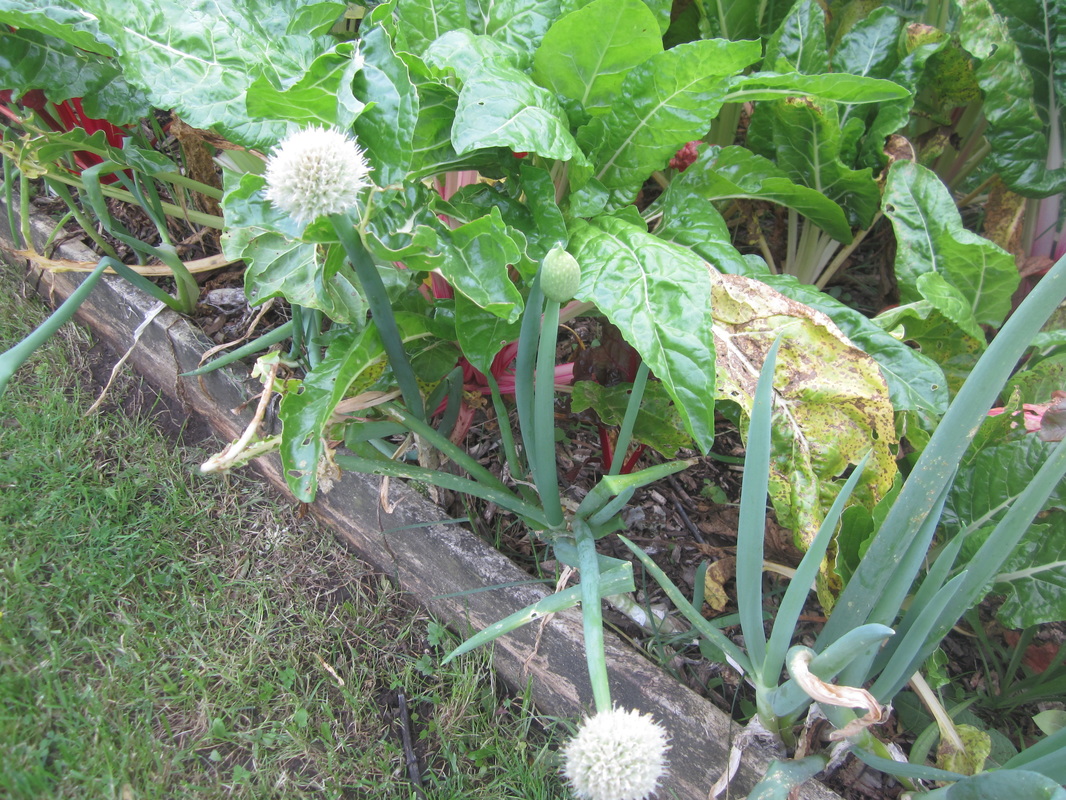
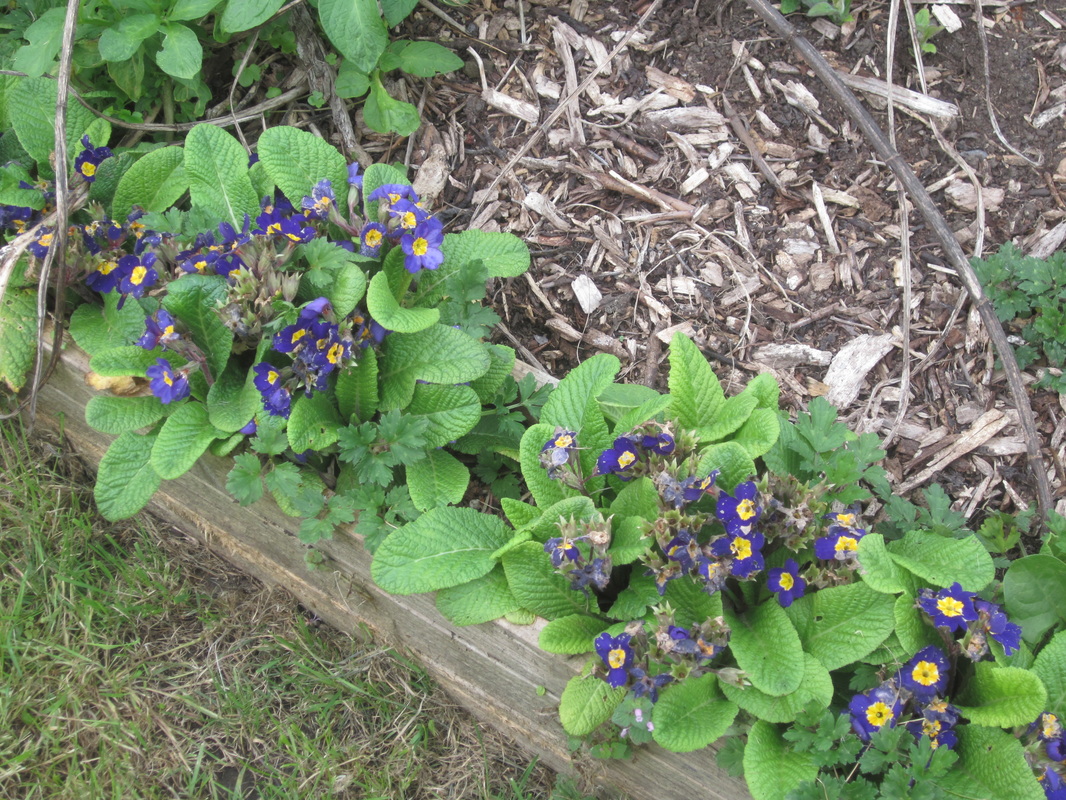
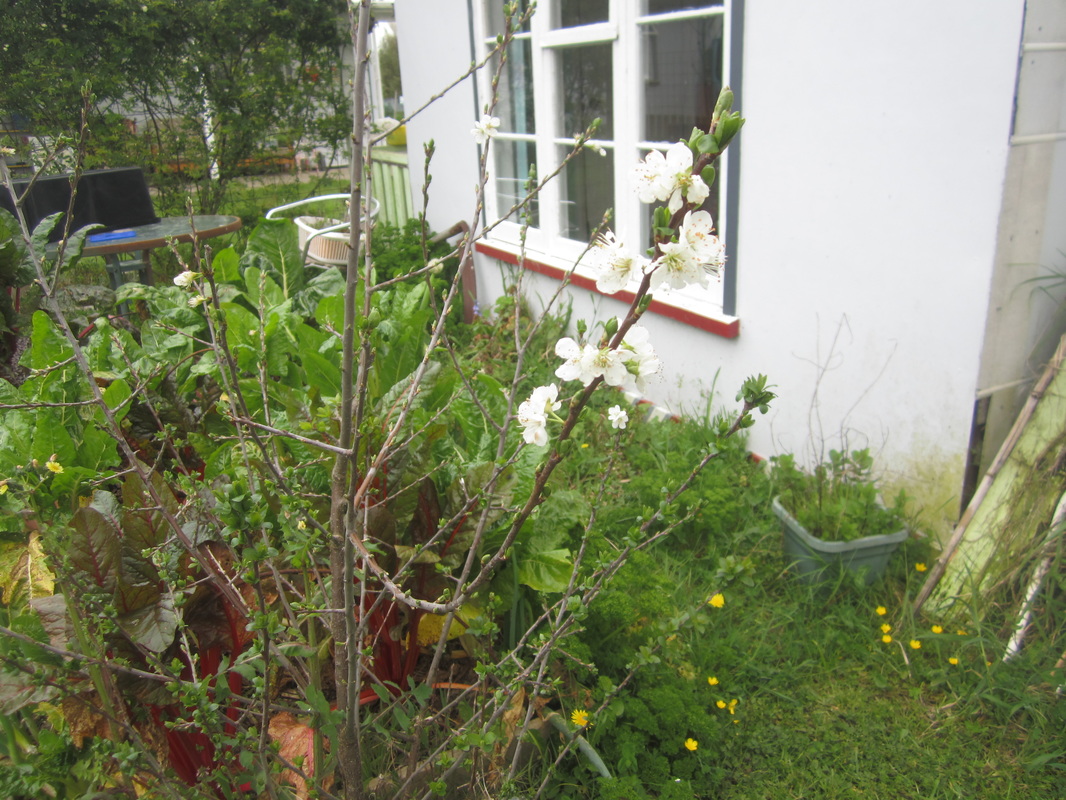
A garden bed I've deliberately get quite "wild" after I harvested all the brassicas from it is providing food for the monarchs, bees, and other beneficials. It's also full of human food. More on that in another post.


 RSS Feed
