Thrifty Kiwi
Like our Facebook page
  • Home
  • Blog
  • Homesteading
  • Gardening
    • 2025 Garden
    • 2021 Garden Blog
    • 2019-2020 Garden Blog
    • 2017-2018 Garden Blog
    • 2016-2017 Garden Blog
    • Kiwi Urban Homestead 2013-2015 Garden Blog
    • Pest & Diseases
  • Recipes
    • Autoimmune Protocol
    • Meals and Snacks
    • Preserving
    • Household Cleaners
    • Health & Beauty
  • Skills
    • Menu Planning & Grocery Shopping
    • Money & Budgeting
    • Preserving How-Tos
    • Housekeeping
    • DIY
    • How to Find Stuff Free or Cheap
  • Animals
    • Critter Blog
  • About
  • Contact

Any Way You Like It Stew

9/1/2018

0 Comments

 
I call this "Any Way You Like It Stew" because this recipe is so, so versatile! You can literally take the basic recipe and use it for ANY meat (beef, lamb, chicken, rabbit, duck, goat, venison, you name it - even the cheapest cuts work great) and you can cook it ANY way you like - in a pot on the stove, in a slow cooker, or in the oven! You can also add any veges you like to it, make it gluten free if you wish, and serve it with many different side dishes. Once you know how to make this, you really can have it any way you like it!

Basic Stew/Casserole Recipe

Picture
Ingredients:
2 onions, diced
2 cloves of garlic, crushed (optional)
1 kg (2 lbs) meat of choice, cut into cubes 
2-3 stalks celery, diced
1 tsp rosemary
1 tsp salt
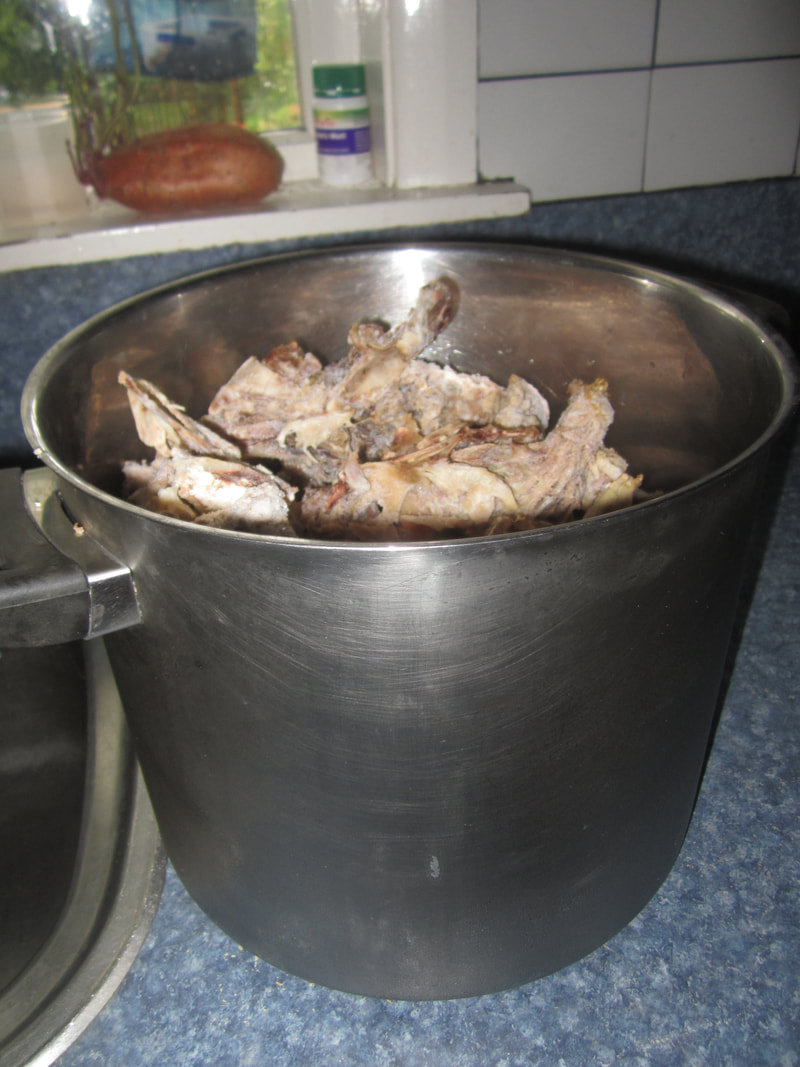
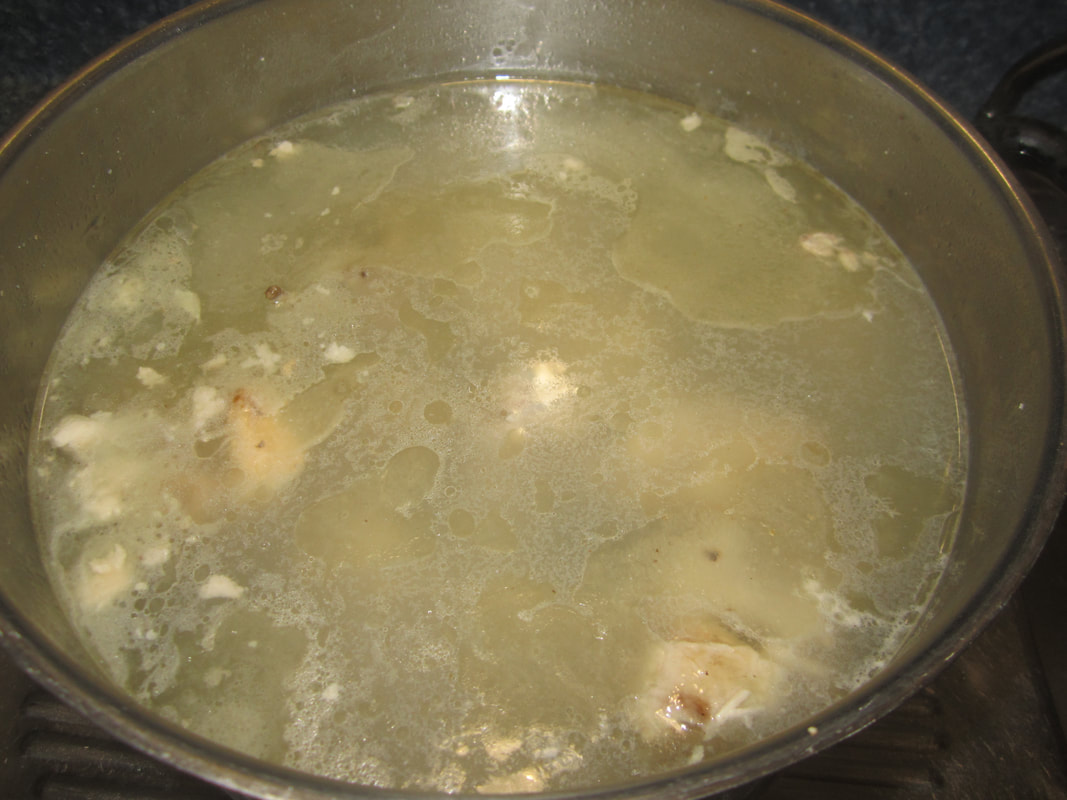
Either: 600ml homemade beef or lamb stock (for red meats) or homemade chicken stock (for poultry/rabbit)
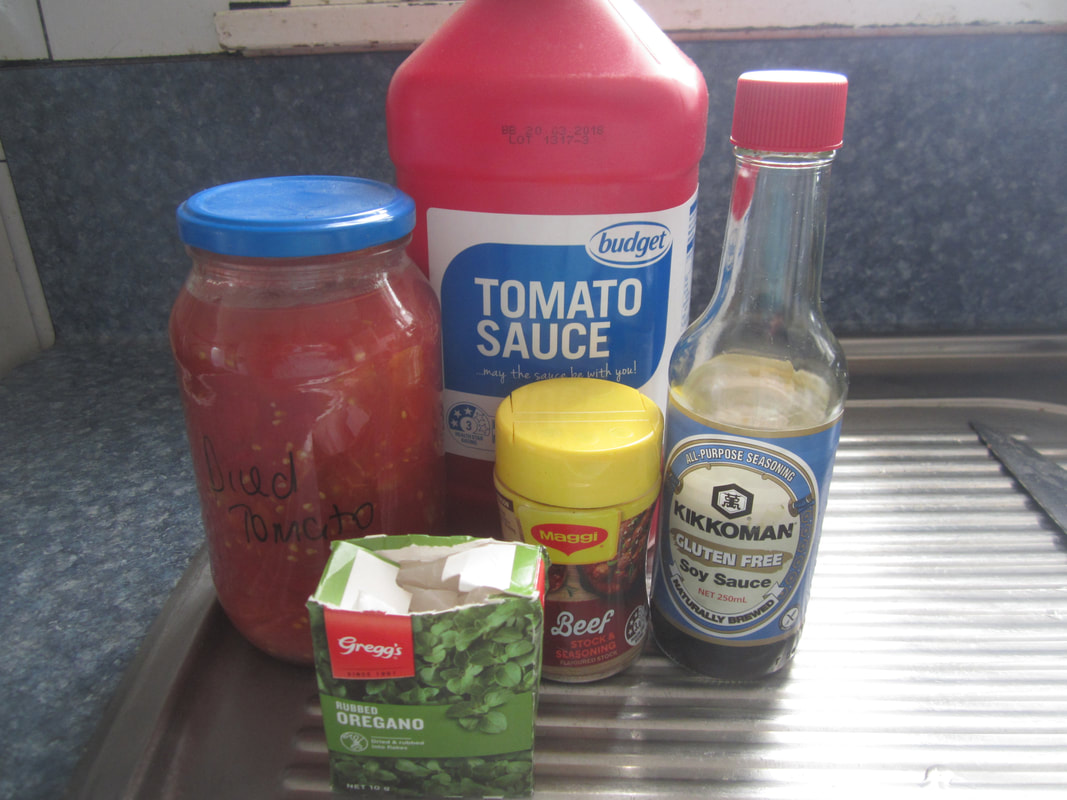
Or: 2 tsp organic soy sauce (OR beef stock powder) AND 600mls boiling water
Cornflour or similar to thicken (see variations below)

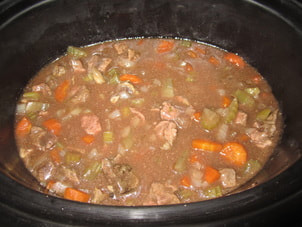
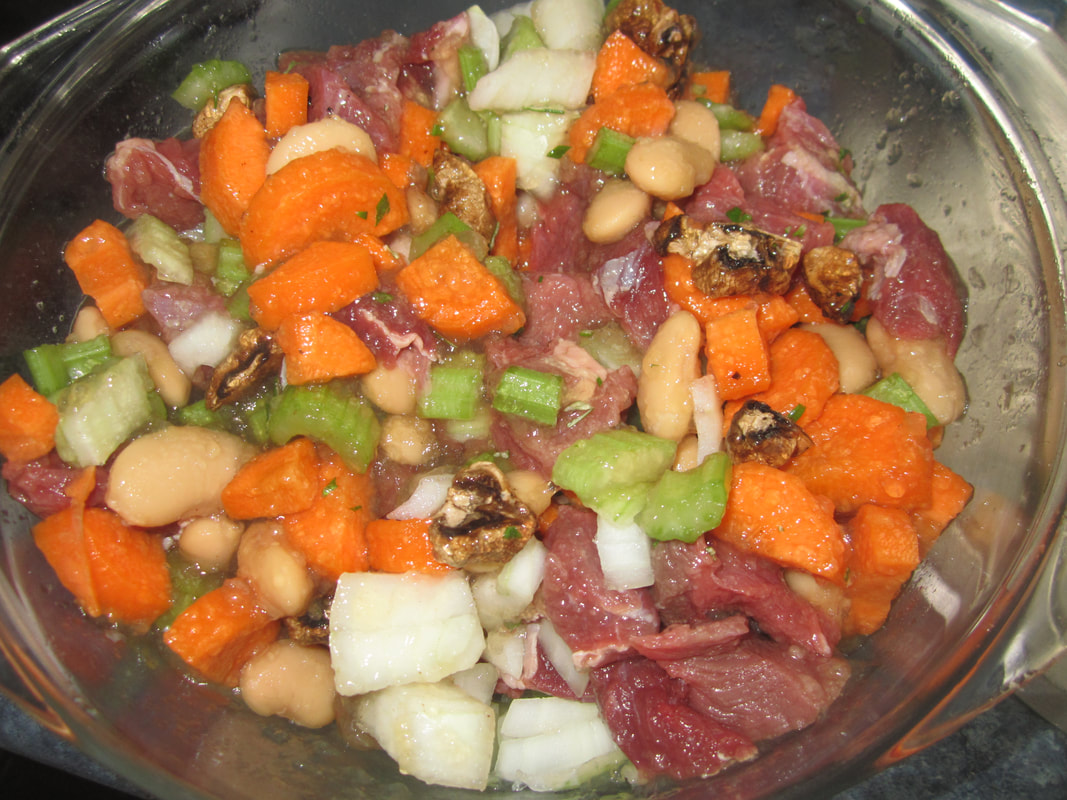
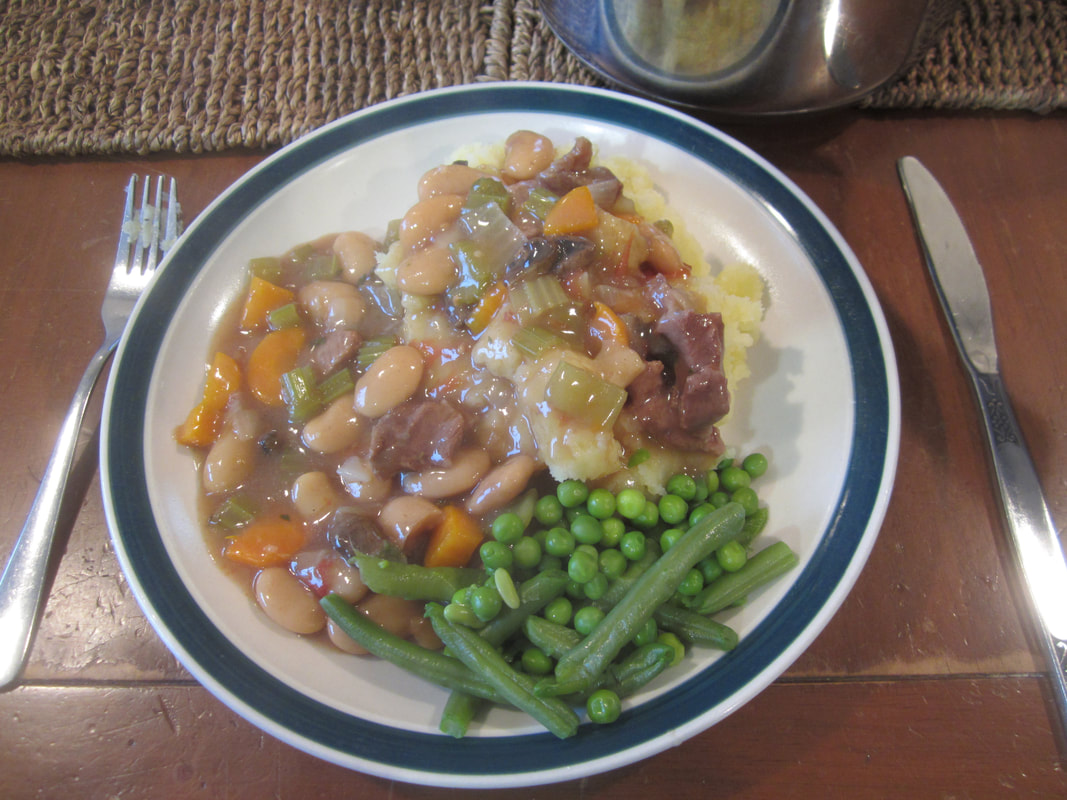
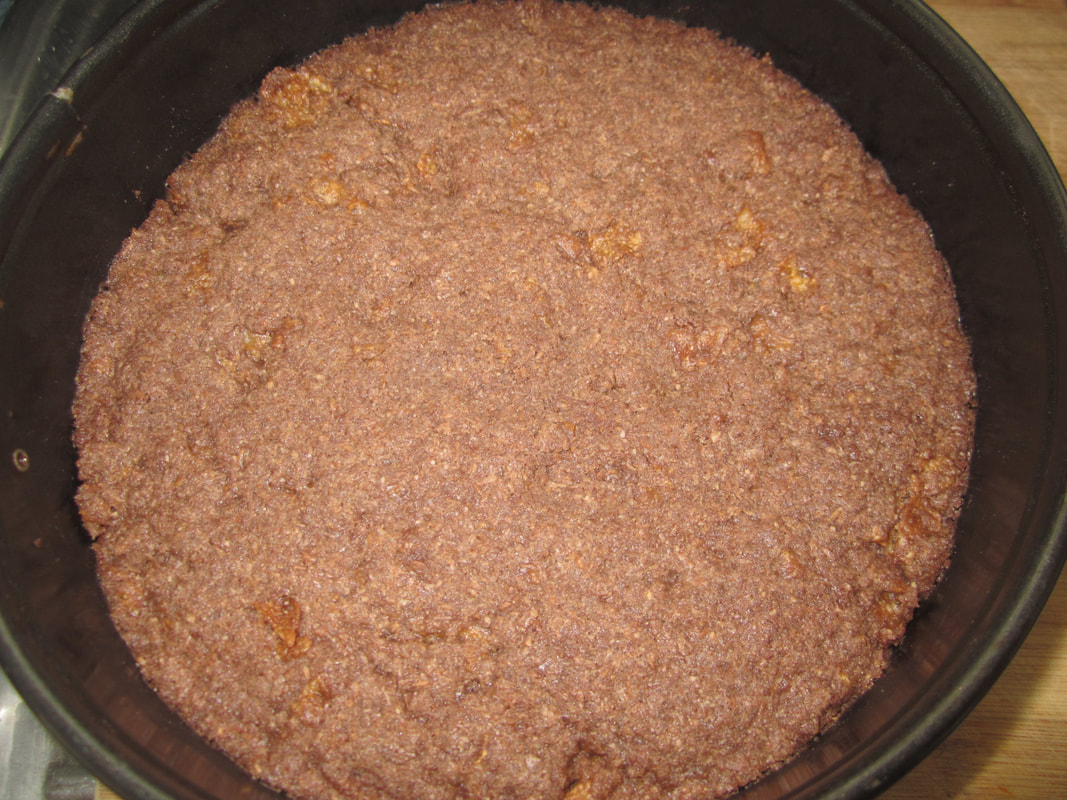
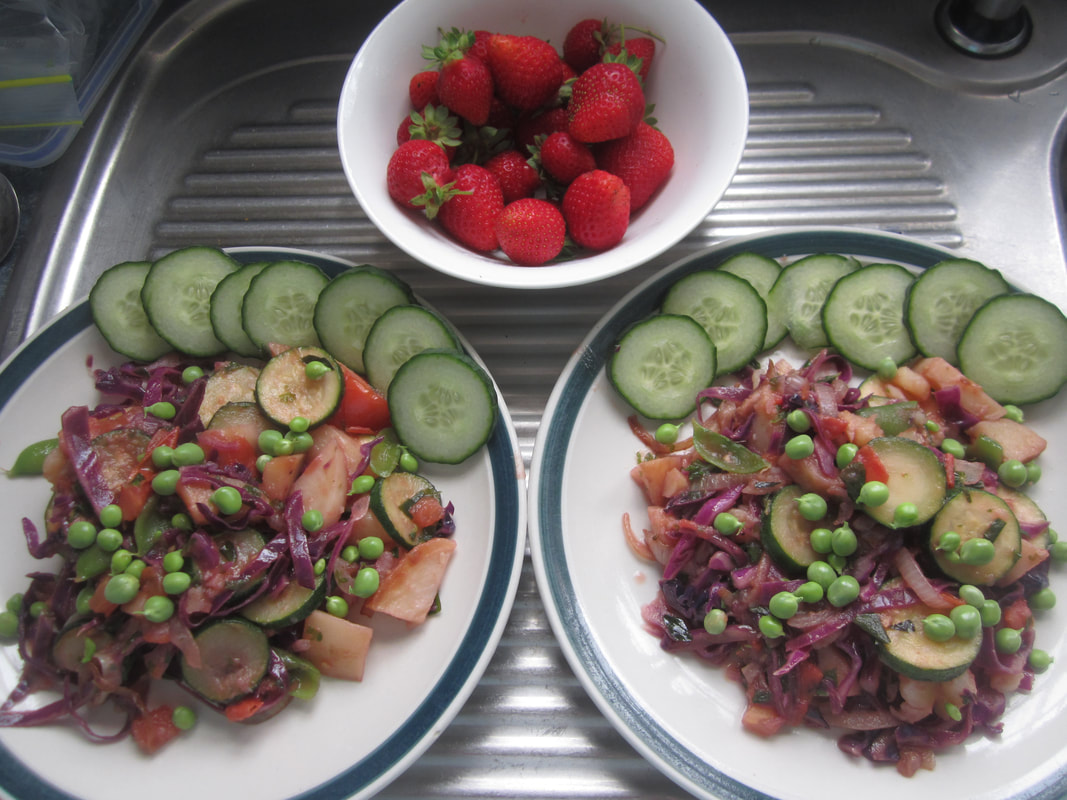
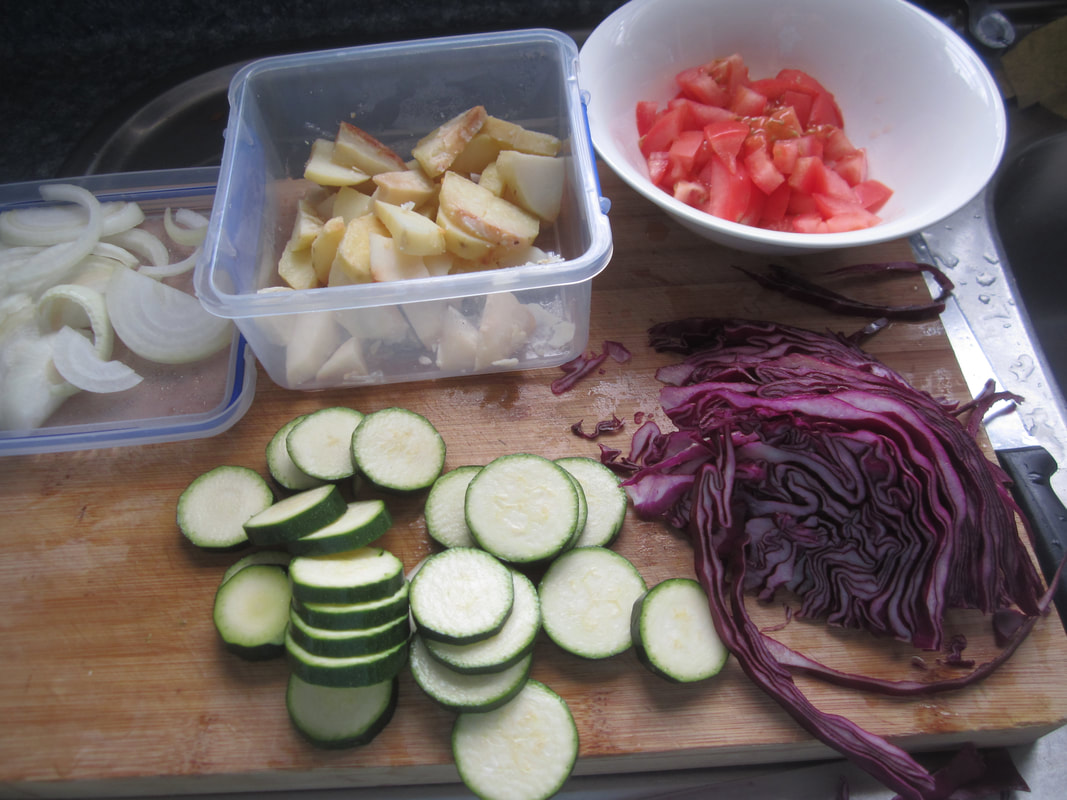
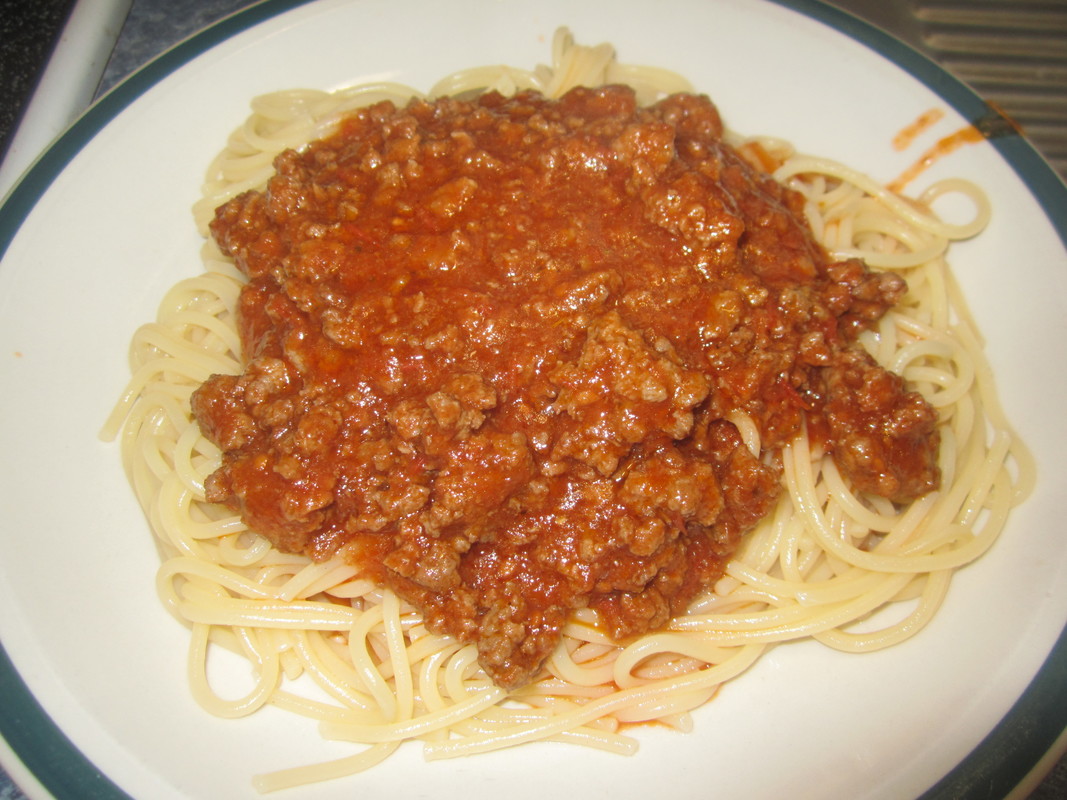
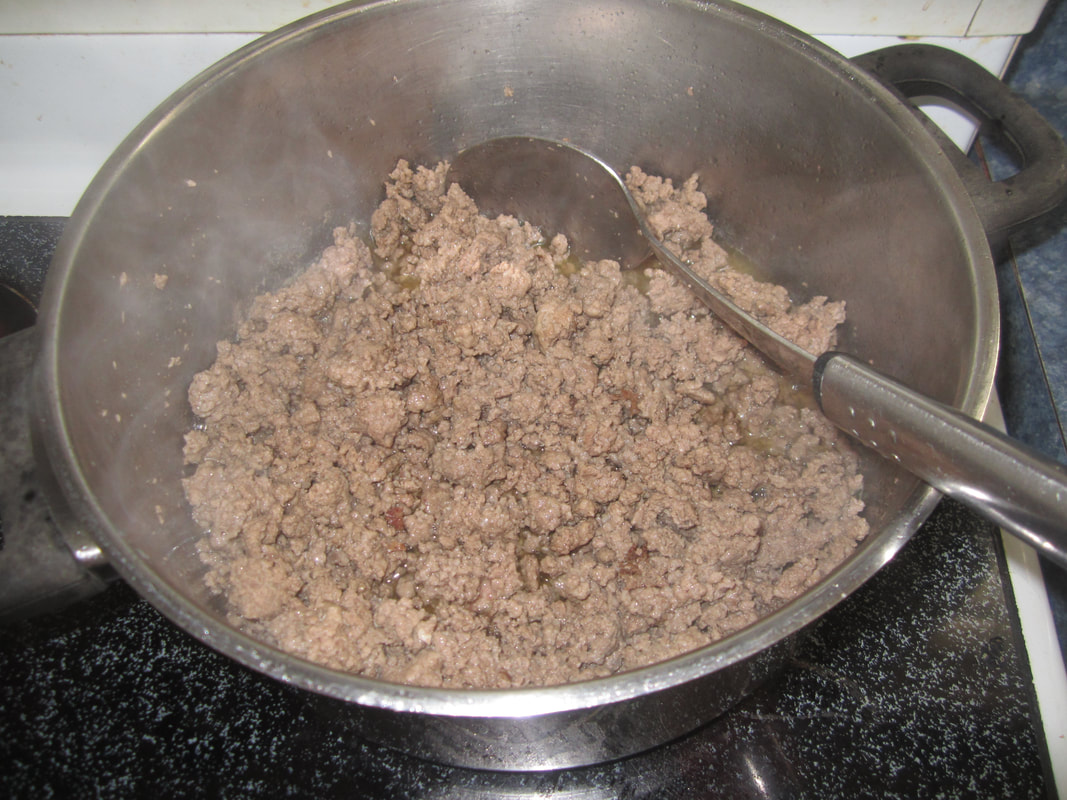
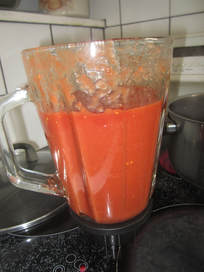
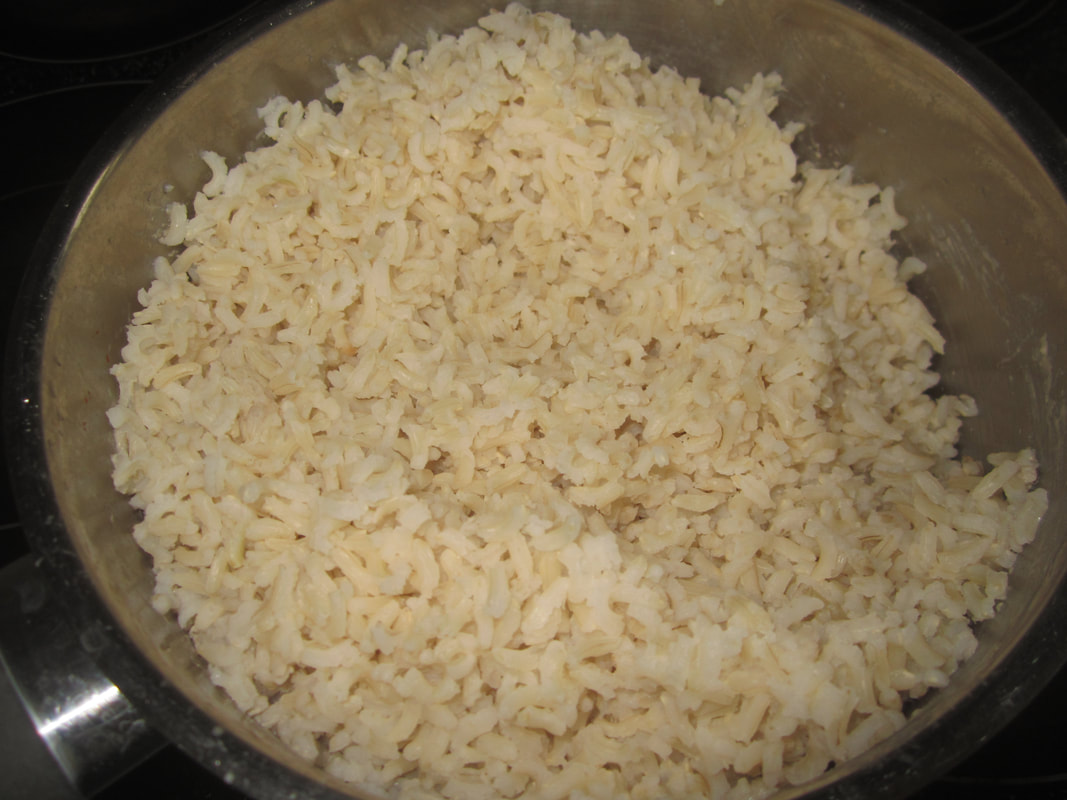
Method:
Meat may be browned with onions and garlic before assembling, but I only do this when cooking in pot on stove, and occasionally if I'm cooking it in the oven. Otherwise, I assemble all ingredients raw and then cook together in oven or crockpot.

Place ingredients in order given into crock pot or oven proof dish and stir to combine. Cook in crockpot on auto or low for approx. 6-7 hours, or in covered dish in oven at 180C (350 F) for 1.5 hours. Stir 2-3 times during cooking.

The photo to right shows assembled ingredients before cooking. The picture above shows it after cooking.

If cooking in pot on stove, brown meat with onion and garlic, then add remaining ingredients. Bring to boil, cover, and simmer on low for 1.5 hours, stirring occasionally. 

Thicken before serving by adding cornflour mixed with water, stirring, and cooking for another 10-15 mins. Serve with mashed potatoes or rice and green vegetables. Serves 6-8
Picture

Stew Variations and Hints

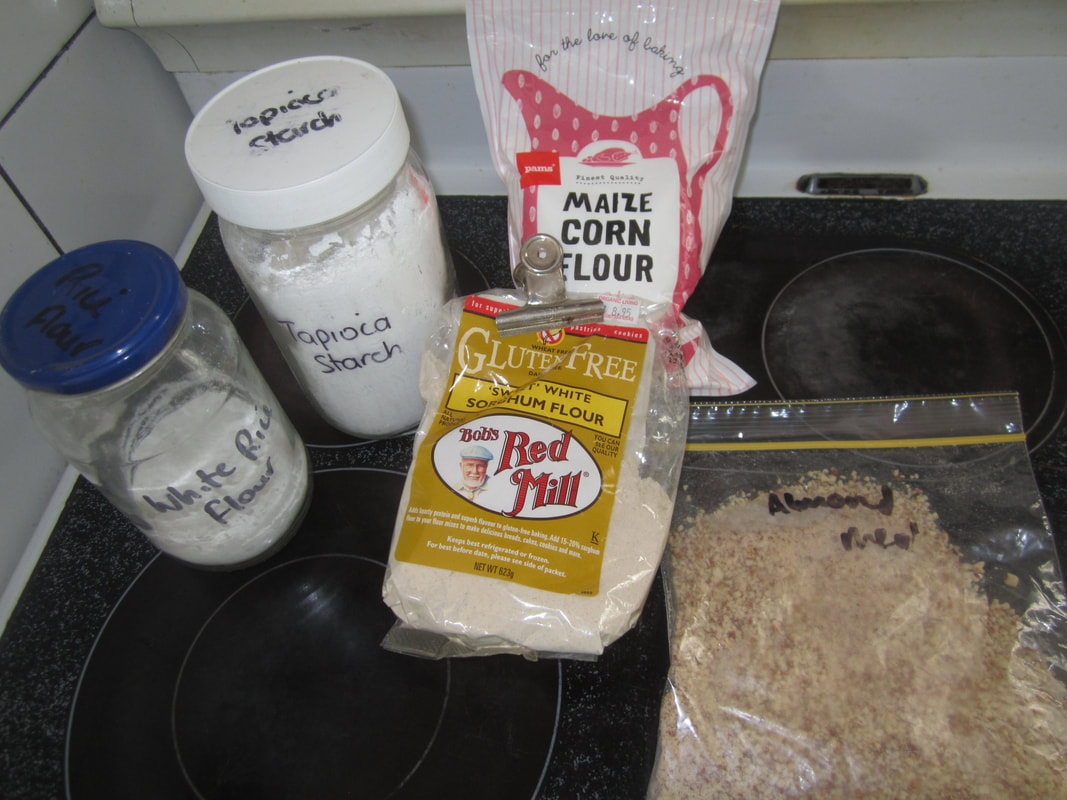
  • When I first used this recipe, many years ago, I used to add flour at the beginning of the assembly process to produce a nice gravy at the end, but I learned over time that cooking it without the flour means you don't get any bits burning at the edges, and the dish stays a lot cleaner. It is also easier to thicken it just the right amount at the end. However, if you wish to include flour at the beginning, place meat, onion and garlic in dish, add 1/2 cup flour and stir to coat everything, then add rest of ingredients and proceed as above. These days I thicken at the end with a cornflour/water mixture, or with rice flour/water.
  • If using a gamey meat to make this dish - such as venison or duck - add 2 TBSP of vinegar to the mix - 
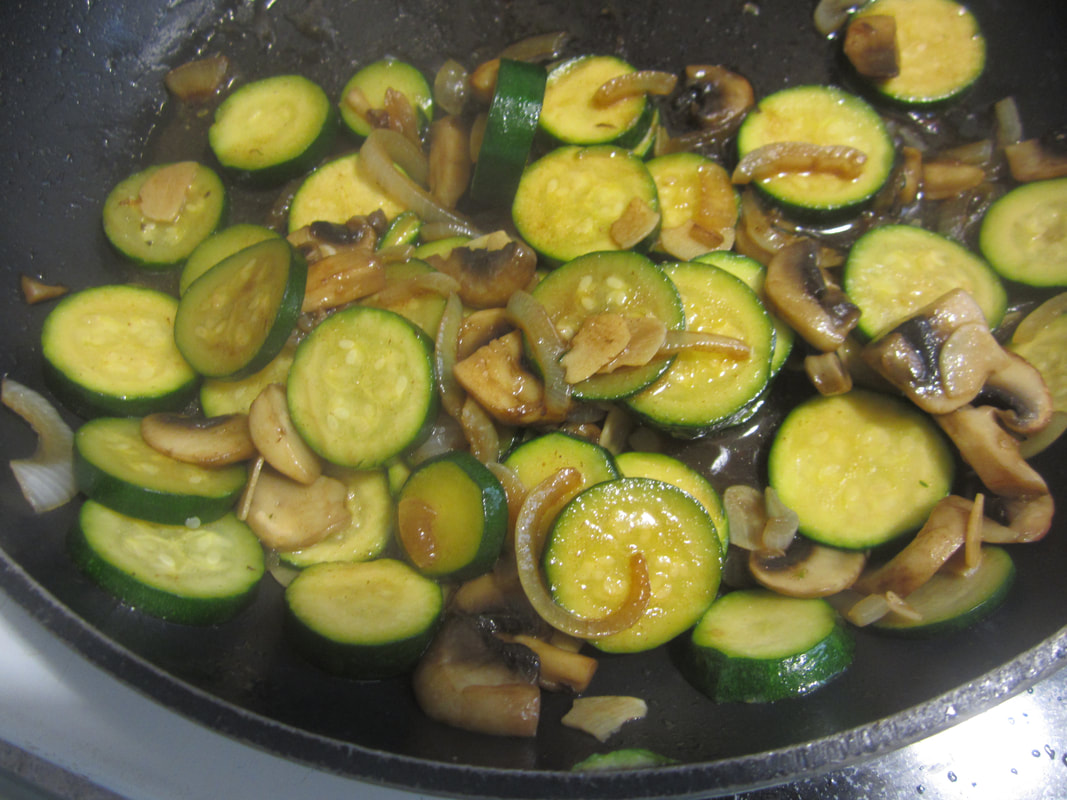
    this will tenderise the meat and completely eliminate any gamey flavour!
  • You can add any veges you like to this dish. For a long time, we couldn't use onions because of my daughter's food allergies, and so I used leek instead of onion. I often add diced pumpkin or kumera (sweet potato) to it, and my kids love it if I add hunks of potato to the dish as it comes out flavoured beautifully by the meat liquid. Play around and discover your own combinations!
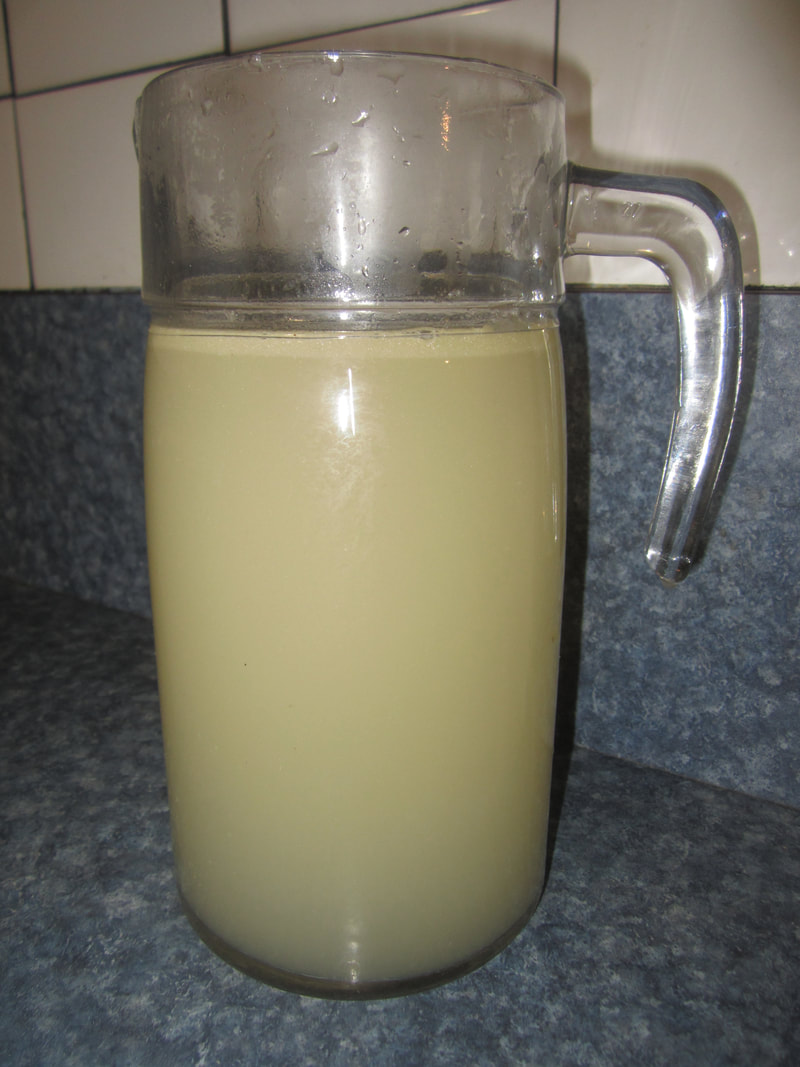
  • You may have noticed that I use organic soy sauce in a many dishes, and never bouillon  products. This is because stock powders and bouillon products are often loaded with MSG and other nasties, and I will not use them. Soy sauce acts as a natural flavour enhancer and adds that "beef stock" taste but is safer. Soy is naturally high in glutamates, so may not be suitable for those with glutamate sensitivities, but my daughter, who is allergic to MSG and most glutamates can tolerate it in small amounts. Use organic soy sauce and read labels to avoid nasty additives. Another alternative is to make your own stocks and use those in recipes. Homemade stocks make the best stew bases!
  • Other cuts of meat may also be used - such as mutton neck chops. I often look for the cheapest stewing beef, or use meat from animals we butcher that is from the less-than-terrific cuts. When using neck chops, leave them whole rather than trying to cube them. Once they are cooked in this recipe, the meat will be fall-off-the-bone and melt-in-your-mouth tender!
  • If cooking with a tougher type of meat, then lower temp to 150C after 30 mins, and cook for a total time of 2- 2 1/2 hours until meat is tender.
  • If you're a bit short on meat, then use a lesser amount, and stretch it by adding a can of butter beans or chickpeas (rinsed)
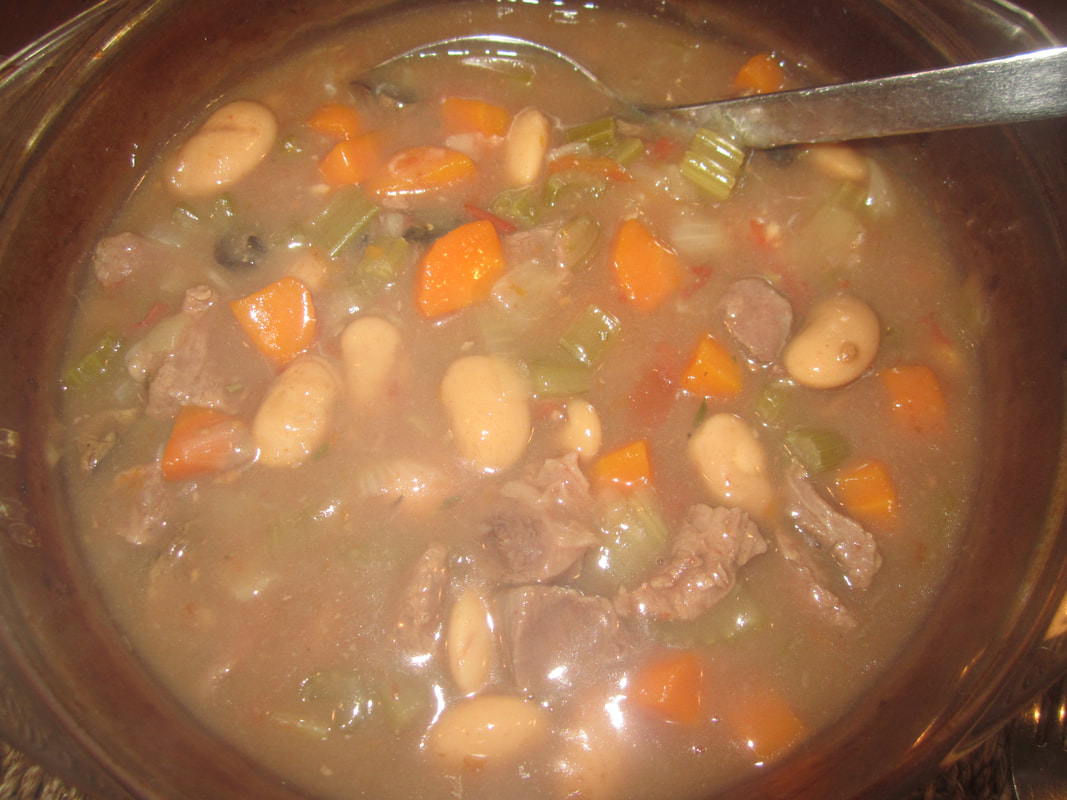
This tasty version below was made for 3-4 people with:
400g gravy beef
1 can butter beans
2 carrots, 3 stalks celery
Some wizened mushrooms
About 1/3 cup diced tomatoes
1 onion
Fresh rosemary
Salt
Homemade beef stock
Cornflour for thickening
Because the stock came out of the fridge and was very gelled, when I mixed it all together, it looked like there was no moisture in the dish. But it quickly becomes liquidy in the oven, as the stock warmed and fluids are drawn from the veges and meat during cooking. 
Picture
Picture
Picture
0 Comments

Chocolate Crunch - Gluten, Egg & Dairy Free

9/1/2018

0 Comments

 
This was an experiment that turned out well. I knew I'd got it right when my (fussy) youngest daughter stopped in while I was out and ate some. I asked her the next day what she thought of it? She said "Yum - just like you always used to make!" She was surprised when I told her it was GF/DF as the old version certainly wasn't! I found that the day I made it, it tasted a little different than I was used to, but from the next day on it tasted great! So maybe store for a day before eating (if you can wait that long!) 
Ingredients:
​7/8 cup coconut oil
1 1/2 cups cornflakes
1 1/2 cups dessicated coconut
1 cup castor sugar
1 1/2 cups all purpose gluten free flour mix 
2 1/4 tsp baking powder
​3 TBSP cocoa
Picture
Method:
Melt coconut oil in a pot over low heat. 
Combine cornflakes, coconut and sugar in a bowl (optional: crush cornflakes a bit with your fingers). Stir in flour, baking powder and sifted cocoa (you don't want lumps in the cocoa). Add melted coconut oil, mix well. 

Press into a greased (I brushed with a bit of the melted coconut oil) 8inch/20cm square tin. Turns out I've given all my small tins to my kids, so I used a spring-form cake tin, which turned out to be genius - made the finished slice easy to remove whole before icing and cutting. 

Bake 180C/350F for 20-25 mins. Will still be spongy in the middle if you touch it, but just starting to look slightly crispy on the edges. Cool in tin. Once cool, ice with basic chocolate icing, and lightly sprinkle with extra dessicated coconut. Cut into slices or squares. Store in an airtight container. 

Icing: Icing sugar, 1-2 TBSP cocoa, a few drops of vanilla essence, 1 tsp dairy free marg (eg Nuttelex), enough boiling water to mix (add water a VERY little at a time). Stand a bread and butter knife in a cup of boiling water to heat, then use it to spread the icing - dipping back into the water as needed. 
Picture
0 Comments

All-Purpose Gluten Free Flour Blend

9/1/2018

0 Comments

 
Purchased gluten free flours are ridiculously expensive, especially considering they ones available here are mostly made from only cheap starches. This blend has a better combo of starches and proteins, and is more nutritious. It is suitable for all baked goods NOT made with yeast. 
Ingredients:
1 cup rice flour
1 cup sorghum flour
1 cup tapioca flour/starch
1 cup corn flour
1 cup almond flour*  or coconut flour

Note: I don't buy almond flour. I simply grind raw almonds in my food processor to make almond meal, and then grind it further in a coffee grinder if I need a fine flour. Almond meal/flour can become rancid quite quickly and so should be stored in the freezer once ground. 
Picture
Method:
Combine all ingredients in a large bowl, mixing well until evenly distributed. Store in an airtight container in the fridge or freezer. 
Use in non-yeasted baked goods.
Picture
0 Comments

A Meal from the Garden - Bits & Pieces

7/1/2018

0 Comments

 
Today for lunch I whipped up this yummy dish from bits and pieces from the garden. What follows is not a recipe as such, but just the way I did it this particular time. I hope it inspires you to look at what you have on hand, and come up with your own yummy meal. :-) The only thing I don't have in my garden right now is onions, but I had part of one in the fridge to use up. I could have otherwise substituted shallots from the garden. 
Picture
First, I considered what was to hand - some left over roasted potatoes, part of a red cabbage, one zucchini, a tomato, 1/2 an onion, and some sugar snap peas I'd left a bit long on the plants. 

I prepared them - slicing the spuds and the onion, dicing the tomato, and slicing the zuccinin. I took some fine slices off the cabbage - I didn't need too much as I didn't want to overwhelm the rest of the dish-to-be. 
Picture
Picture
Picture
Next I popped back out in the garden to select a few herbs that would be good - a sprig of parsley, some oregano, and some young nasturium leaves. These I washed then finely chopped the celery, diced the nasturitum, and pulled the oregano leaves from the stalks then lightly chopped. 
Picture
Time to get cooking! I heated a spoonful of coconut oil in my frying pan, added the onion, and sauted until it began to caramelise. Next the spud pieces went in, and were stir fried until beginning to brown. Then I added the zucchini slices and some salt, and sauted for a few minutes. While these steps were happening, I shelled the peas, separating the pods into two piles - the ones that were still young and crisp, and the slightly older ones that were tougher (the latter I discarded to the chicken's bucket).

After a couple of minutes, I added the cabbage, tomato and herbs, as well as the tender pea pods (reserving the peas for now), and stirred to combine. I added 3 TBSP of homemade beef stock from the fridge, mainly to add some moisture to get the zucchini softening more quickly, and put on a lid for a couple of minutes, turning the temp down. I then took off the lid, and continued to cook with frequent stirring, until the excess moisture had evaporated, and the veges were just tender. 
Picture
​I spooned them onto plates, sprinkled with the raw, sweet, tender peas, and added some sliced cucumber to the side. A bowl of fresh strawberries picked last night was served afterwards.

Yum, yum, yum! That's real food folks - filling, nourishing, fresh and tasty. And is there anything better than a sweet, fresh, ripe strawberry? The melting sweetness is rich and satisfying! Food for body and soul!
Picture
0 Comments

Versatile Meat Sauce - Basic Version

6/1/2018

0 Comments

 
A good meat sauce can be used in so many ways - to make spaghetti bolognaise, lasagne, nachos, on toast, with rice or mashed spuds or as sloppy joes. This version is the basic way I made meat sauce for years, and is still how the youngest of my now grown kids prefers it. I'll post the other version next time I make it. 
Method:
Heat a little oil in a suitable pot. Brown the mince, breaking it up as it cooks. In a blender, combine all other ingredients and whiz (skip this step if you don't mind pieces of tomato and skin visible in the sauce). Pour tomato mix into pot of browned mince, stir, bring to boil, then turn to low and simmer for 15-20 mins, stirring occasionally.

Cook with the lid off if you want it thick, as for bolognaise or nachos. Cook with the lid on if you want more moisture retained, as for lasagne. Or if you're cooking up sauce to use later or freeze, do it with the lid on, as additional moisture will be driven off when reheating later. 

This is a good dish to make up in bulk and freeze in portions. 
Ingredients: (Serves 6-8)
1kg beef mince
1 can tomatoes, any kind (or 2 cups of chopped tomatoes)
2 cups tomato sauce - I like Budget/Value brand for this
1 tsp beef stock powder OR 1 tsp soy sauce
​1 tsp dried oregano
Picture
Picture
Picture
Picture
Picture
For spaghetti bolognaise: In a separate pot, boil plenty of water. Add salt and a glug of oil, then spaghetti noodles, and cook until al dente. If you're not sure when they're done, throw one at the wall - if it sticks, they're cooked. :-). Some years ago, my children were staying with friends and my then about 12 yo daughter was helping their daughter cook a meal. They were making pasta, and the other girl wanted to know how to tell when it was done. My daughter demonstrated by throwing some at the wall, just as the father of the family walked in!! ROFL Apparently they were unfamiliar with this Italian trick. ;-) Anyway, once cooked, drain your pasta, then serve portions on plates, topped with meat sauce, and grated cheese or sour cream (optional).

To make nachos: Pile corn chips onto plates and serve as above. (No need to throw any at the wall - they come cooked. ;-) ) 

For lasagne: Cook a packet of lasagne pasta. Drain. Grate lots of cheese. Layer in a small roasting dish as follows: 1/3 meat sauce, 1/2 pasta, 1/3 cheese, 1/3 meat sauce, 1/2 pasta, 1/3 cheese, remaining meat sauce, remaining cheese. Cover with foil and bake 180C/350F for 45 mins, removing foil after 30 mins. 
0 Comments

Delicious Courgette Dish (add any extra veges you like)

5/1/2018

0 Comments

 
Very quick, totally delicious!
Ingredients:
Onion, sliced. About 1/2 onion per person
1-2 courgettes per person, sliced
2 mushrooms per person (optional), sliced
1-2 tsp dried garlic flakes
​Small amount of beef stock
Dash soy sauce
Salt to taste
Optional: small handful fresh green beans and/or pea pods, or use frozen, and/or other suitable veges if you like.
A little coconut or olive oil
Method:
Heat oil in frying pan. Add onions, saute for a minute or two. Add mushrooms, if using, saute until slightly softened. Add courgettes, garlic, soy sauce and salt, as well as any other veges. Stir to coat and combine. Saute for a couple of minutes. Add beef stock. Stir to coat and combine. Place lid on pan and simmer on low for a few minutes until vegetables have softened. 

​Serve. 
Picture
0 Comments

Roasted Pumpkin Seeds

5/1/2018

0 Comments

 
Next time you're cutting up a pumpkin, don't throw out those seeds! They're full of goodness, and easy to turn into a tasty treat - and no, you don't have to shell them! Pumpkin seeds are packed with nutrition, and anti-oxidants, as well as being a natural dewormer. 
The basic method is simple. You can add whatever flavourings you like. Experiment!
Method:
1) Scoop seeds out of pumpkin. With your finger, separate seeds from pulp as much as possible. Discard pulp. No need to wash the seeds - small amounts of pulp still clinging to them are not a problem. Discard any damaged seeds or ones that are obviously flat, empty casings.

2) Spread seeds in single layer on an oven tray. Add a small amount of olive oil, and flavouring of choice. Try cinnamon and nutmeg. Or chilli flakes, salt and fennel seeds. Or use your imagination. Do add spices sparingly - a little goes a long way! Stir thoroughly to coat seeds and combine. Spread back out on tray. 

3) Bake at 180C/350F for 10 mins, or at 150C/300F for 20-30 mins. I prefer the slower method. Stir from time to time. Cook until caramelised/browned. 

4) Remove from oven and cool. Store in an airtight jar. Snack on as you like. :-) 
Picture
0 Comments

Homemade Chicken Stock

5/1/2018

0 Comments

 
Chicken stock is super easy to make. While one can do it with lots of veges in the same way as I make Beef Stock, usually for chicken I keep it simple - just chicken carcasses, water, and salt. 

Every time I roast a chicken, or if I have bones left over from cooking thighs, drumsticks etc, I pop them in a bag in the freezer. When I want to make stock, I pull out enough frozen bones to fill a big pot, cover with water, add some salt, cover, and bring to the boil then simmer for at least 2 hours. 

Remove bones, cool and strain, and that's it! Flavourful, delicous chicken stock - perfect as a base for soups and casseroles, or making chicken broth drinks etc. 

Chicken broth/stock is nourishing for the gut, and helps the immune system fight colds etc.
Picture
Picture
Picture
0 Comments

Absorption Method - Fluffy Rice, Every Time

5/1/2018

0 Comments

 
There are a number of ways to cook rice, but the one I always use is the absorption method. With a little bit of knowledge of the right steps to take, you can have perfect, fluffy rice every time. 
1) If using white rice, wash the rice TWICE - this is very important as it removes excess starch, preventing the cooked rice from being sticky. Simply measure your rice into a pot, pour water over it, stir with your hand, then drain, and repeat. If using brown rice, you do not need to wash it. 

2) Boil the kettle. For every cup of rice, pour 1 3/4 cup of boiling water into the pot of rice. Measure carefully! So for 2 cups of rice, use 3 1/2 cups water, 3 cups - 5 1/4 and so on. 

3) Add salt to taste, give the pot one stir with a fork, and set on stove with element turned just a LITTLE above it's lowest setting. Keep an eye on it, and when the pot has just barely come to the boil (some light movement and almost bubbling), then turn to low, and place a fork under the edge of the pot lid to allow some steam to escape.

4)Cook on low for 25 mins for white rice, and up to 40 min for brown rice (some brown rices don't take that long, so check from time to time). DO NOT STIR while cooking, else the rice will clump and stick. To check if water has been absorbed, use a fork to carefully press a hole in the middle, so you can see to the bottom of the pot. The rice is done when no water remains visible. Do not burn. 

5) Once finished, let sit off heat with lid on for 5 mins. Fluff with a fork, and serve.
Picture
0 Comments

Rice Milk Two Ways

5/1/2018

0 Comments

 
Rice milk is super easy to make, and can be made with either cooked or uncooked rice. Store bought rice milk is ridiculously expensive if you do the math on how much it costs for a cup of rice - which is all you need to make rice milk, along with some water. Sweeteners and flavourings are optional. Take a look at what they put in rice milk some time. And think about those tetra packs they sell it in - they can't be recycled and go to landfill. 

No-cook method

Place 1 cup of uncooked rice (any sort - I used brown) in a bowl. Cover well with water, and set covered bowl aside to soak overnight, or at least 8 hours. 

Drain rice but do not rinse. Put rice in blender with 4 cups filtered water, and if desired, 1 tsp honey and 1/4-1/2 tsp pure vanilla essense. Blend until smooth. 

Set a large strainer over a clean bowl, and line with cheesecloth or an old, clean tea towel, folded in half. Pour blender contents into cloth, leave to drip for a while, then gather up sides carefully and squeeze through liquid. Discard rice solids. 

​Pour rice milk into a bottle, cap, and refrigerate. Shake before using.

Cooked rice method

If you have some left over cooked rice, then make milk with it!

Put 1 cup cooked rice (again, any kind) in blender with 4 cups filtered water and optional flavourings as above. Blend until smooth. It is not essential to strain this type, as the result will be much less gritty and much smoother, but I do so anyway - straining through cheesecloth as above. However, take care when squeezing it, as the fine solids will squeeze right through the cloth. 

Bottle and refrigerate. Shake before using. 
Picture
Rice milk on the left made with raw, soaked rice. Rice milk on the right made with cooked rice (may have had a smidge more vanilla essence, accounting for slightly yellower colour).
0 Comments
<<Previous
Forward>>

    Archives

    October 2024
    April 2020
    February 2018
    January 2018
    April 2017
    January 2017
    September 2016
    April 2016
    March 2016
    February 2016

    RSS Feed

    Categories

    All
    Baking
    Basics
    Breadmaking
    Breakfast
    Dessert
    Dinner
    Dressings
    Drinks
    Fast Food
    Ferments
    Food From The Garden
    Left Overs
    Lunch
    One Dish Meals
    Quiches And Slices
    Salads
    Side Dishes
    Slow Cooker
    Snacks & Treats
    Soups
    Vege-nut Stuffer

Powered by Create your own unique website with customizable templates.