Thrifty Kiwi
Like our Facebook page
  • Home
  • Blog
  • Homesteading
  • Gardening
    • 2025 Garden
    • 2021 Garden Blog
    • 2019-2020 Garden Blog
    • 2017-2018 Garden Blog
    • 2016-2017 Garden Blog
    • Kiwi Urban Homestead 2013-2015 Garden Blog
    • Pest & Diseases
  • Recipes
    • Autoimmune Protocol
    • Meals and Snacks
    • Preserving
    • Household Cleaners
    • Health & Beauty
  • Skills
    • Menu Planning & Grocery Shopping
    • Money & Budgeting
    • Preserving How-Tos
    • Housekeeping
    • DIY
    • How to Find Stuff Free or Cheap
  • Animals
    • Critter Blog
  • About
  • Contact

Amazing Tea Loaf

12/2/2018

0 Comments

 
A great, economical and simple stand-by for feeding hungry kids or to take to an event, this is a family favourite. The ingredient list may surprise you! There are two steps - the soaking, then the mixing and cooking. I often do the first step and then move onto other things, and come back to complete it when I have time.
Picture
Ingredients:
​1 cup hot black tea
3/4 cup sugar
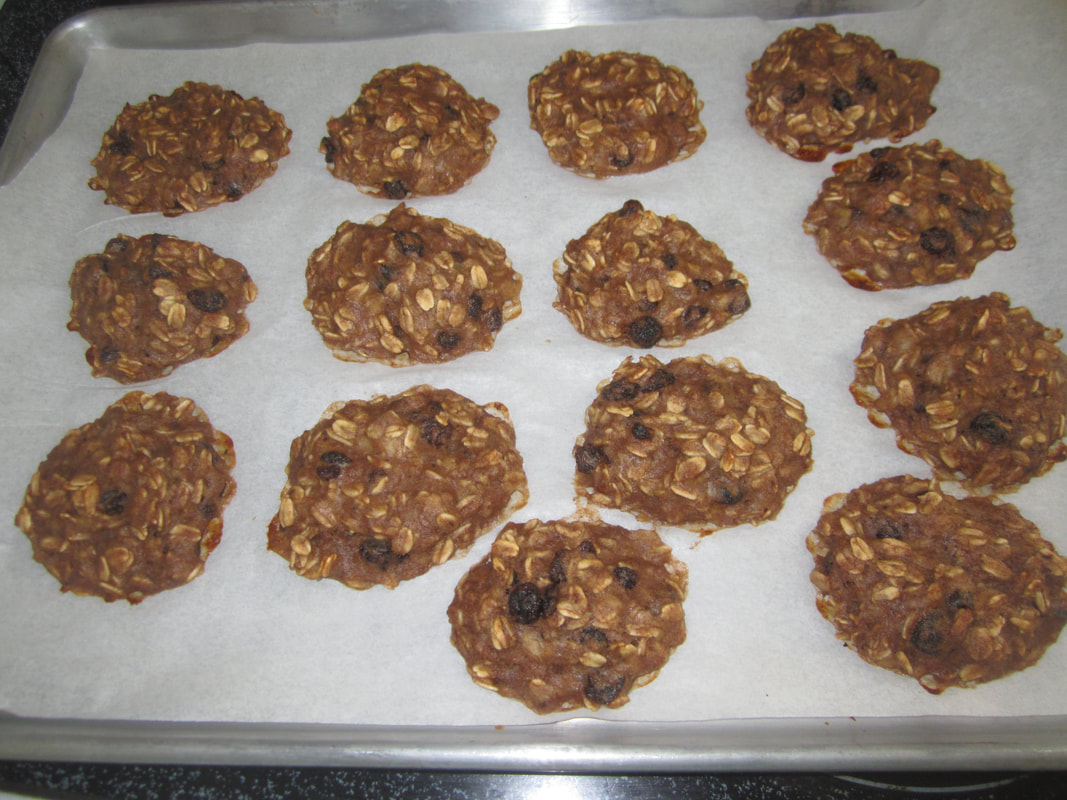
1 cup dried fruit - my fave is half and half diced apricots and sultanas
2 cups self-raising flour, or 2 cups plain flour plus 3 tsp baking powder
1 egg (optional)

Note: You can use any size cup to measure for this recipe, so long as it's consistent, as everything is based on the same measurement. I use a coffee mug (300ml) usually rather than a metric cup, and cook it in a large loaf tin.
Method:
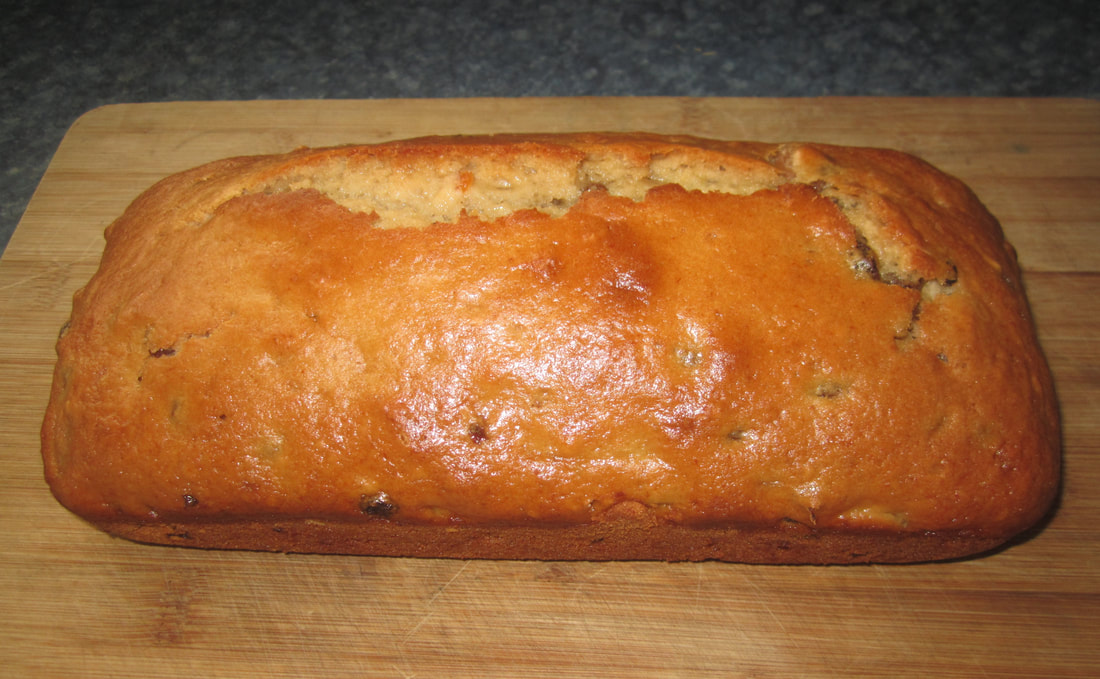
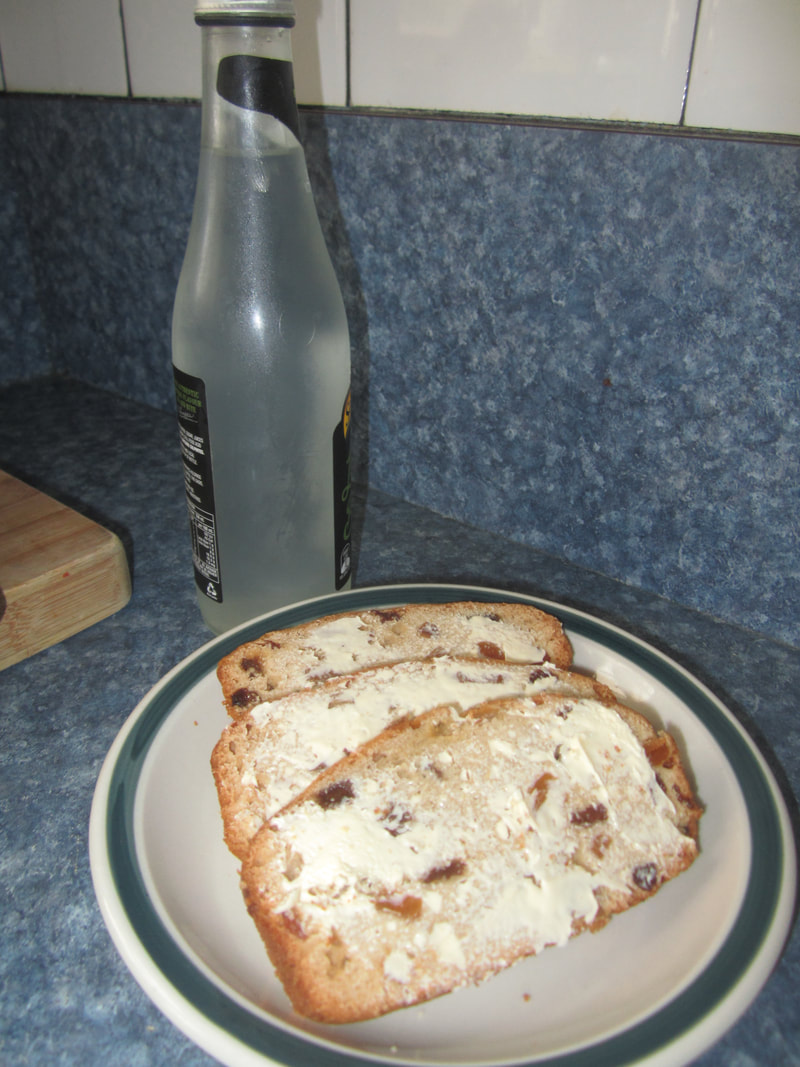
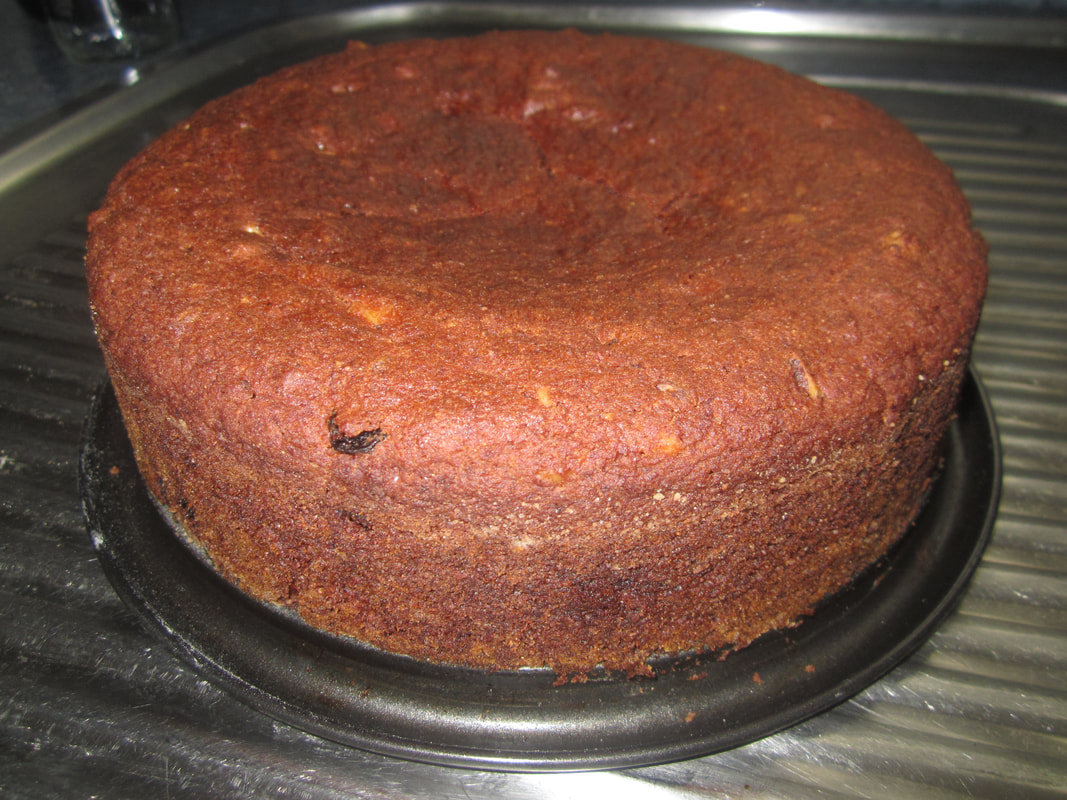
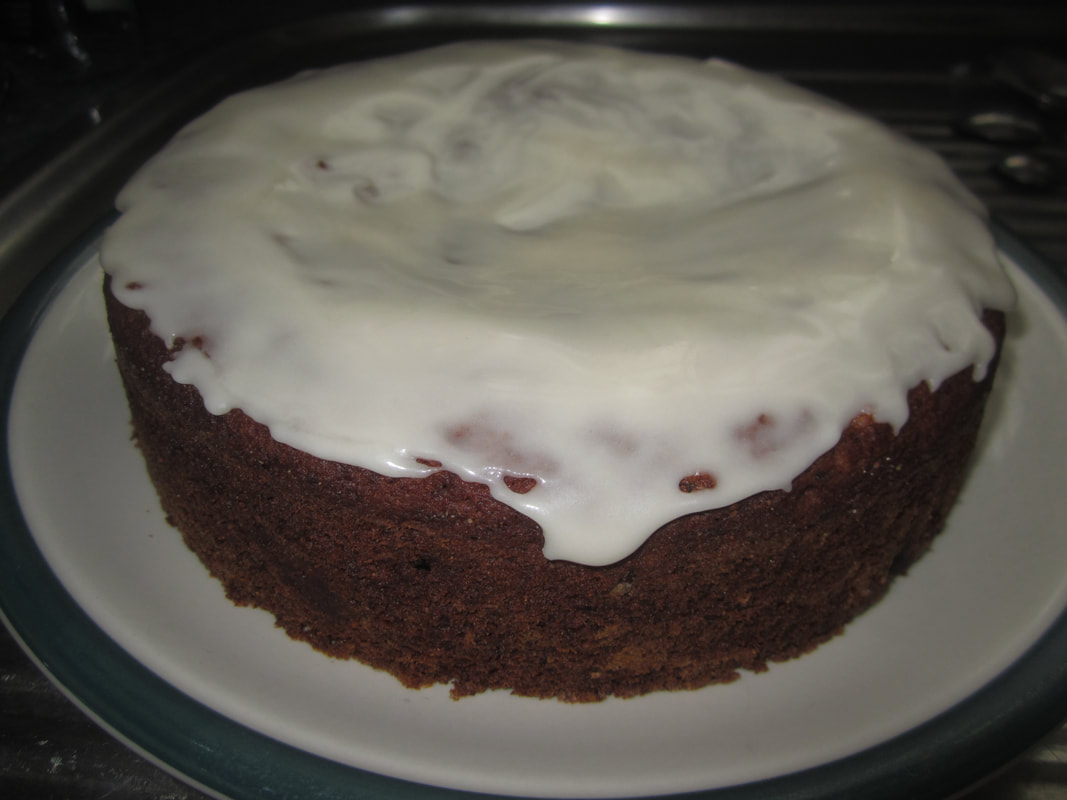
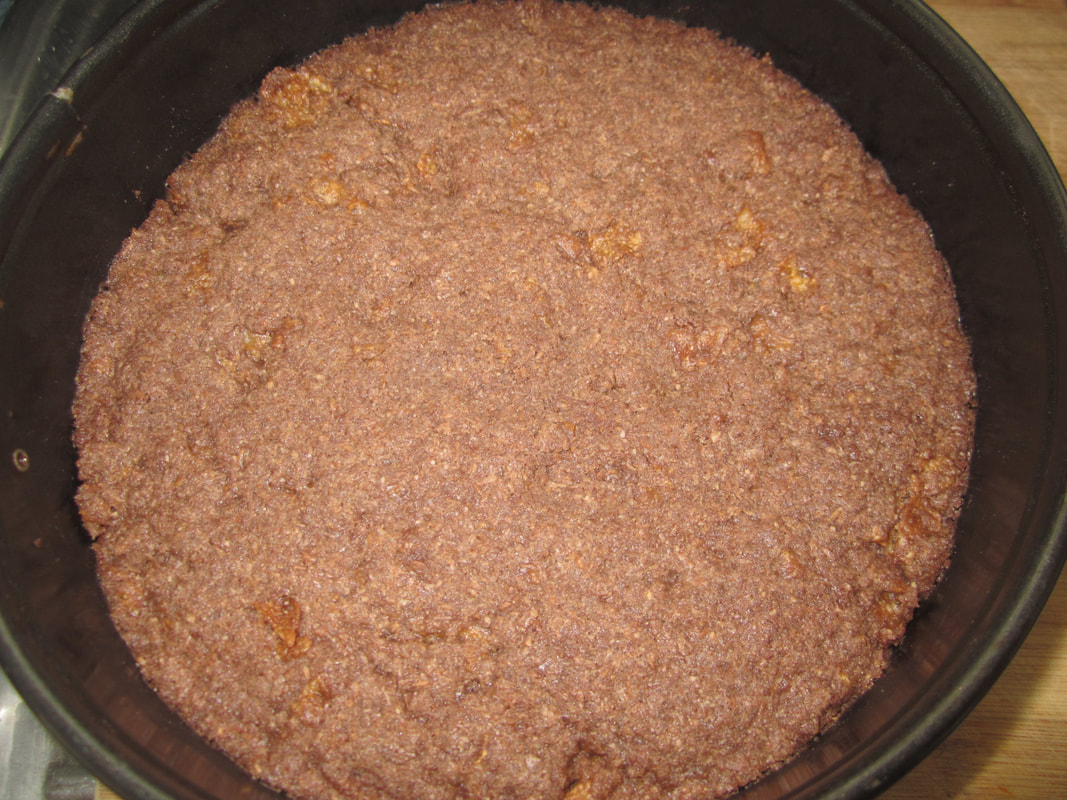
Place hot tea, sugar and dried fruit into a bowl. Stir, cover, and set aside until cool. Add flour/baking powder and egg. Stir to combine well. Pour batter into greased loaf tin. Bake 45 mins at 180C/350F until cooked through - skewer comes out clean. Cool on wire rack. To serve: slice thinly and butter. 

Notes: Adding the egg makes the loaf rise much better and cook more evenly. Without it, it can be difficult to tell when it's properly cooked. Cooked it is delicious. Undercooked in the middle, not nice at all! So if you skip the egg, err on the side of well done. 

I have made this using my gluten free flour blend, but the blend I used had coconut flour rather than almond meal (coconut flour can be very unpredictable in baking) and the result tasted good but was very crumbly. I need to play with it a bit more. 
Picture
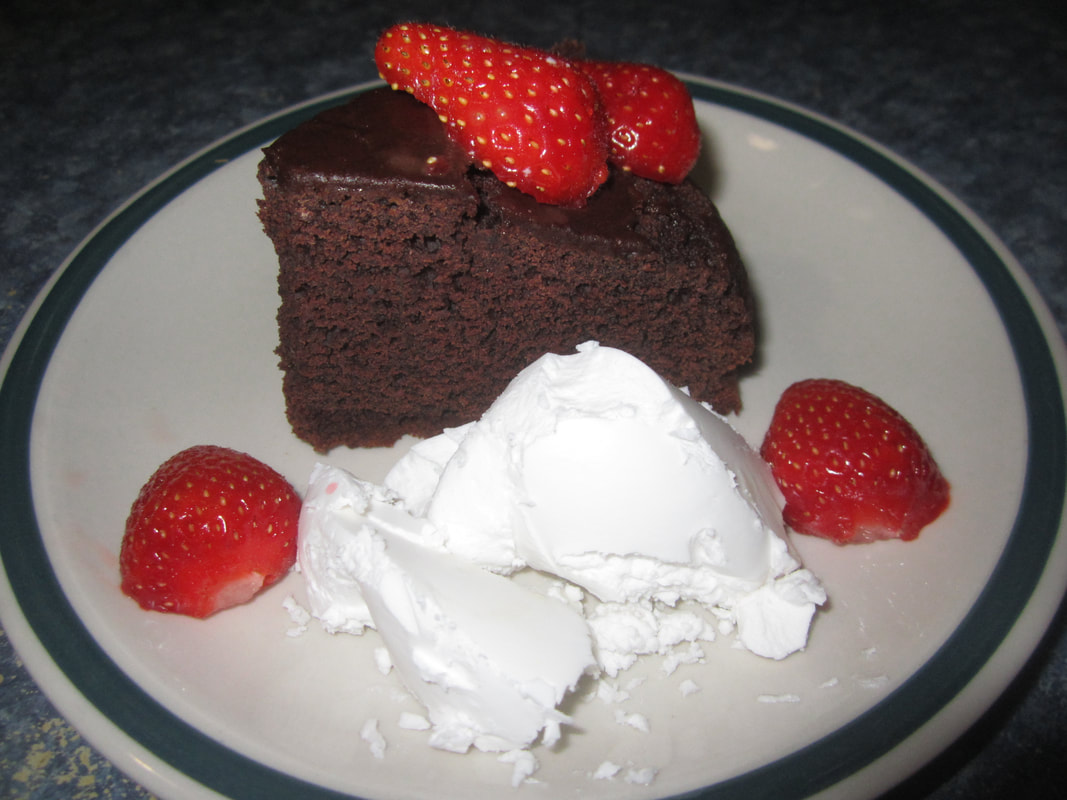
Perfect buttered and served with a nice hot cuppa, or some Water Kefir
Picture
0 Comments

Apple Nut Cake (no eggs, optional gluten/dairy)

28/1/2018

0 Comments

 
About 23 years ago, we lived in Murchison. Murchison is close to the convergence of a number of rivers, and surrounded by yet more rivers and river valleys. From Murchison, nearly every direction is "up the .....[.river]." There was a farming family "up the Owen" whom we visited several times. On one occassion, they served this lovely apple nut cake, and kindly shared the recipe. This week I decided to see if I could make this cake without gluten or dairy. Both options below.
Picture
Picture
Yummy with some blackcurrant and vanilla coconut yoghurt!
Ingredients:
125g butter OR 1/2 cup coconut oil
1 cup sugar
2 tsp baking soda
1 1/2 cups stewed unsweetened apples (I used my applesauce, and reduced the sugar to 3/4 cup)
1/2 cup raisins
1/2 cup chopped walnuts
2 TBSP cocoa
1/2 tsp mixed spice
1/2 tsp cinnamon (I reduced to 1/4 tsp as there is some in the applesauce)
2 cups plain flour OR 2 cups all purpose gluten free flour blend
1 tsp cream of tartar
Method:
The applesauce needs to be warm, so gently warm in a pot if it's not. 
Cream butter or oil and sugar. Dissolve 1 1/2 tsp bakingsoda in the warm apples and add them to the creamed mixture with raisins, walnuts, cocoa, and spices. Stir well. 

Mix together flour, remaining 1/2 tsp baking soda and cream of tartar, then stire into the apple mix. 

Bake in a greased, floured 20cm tin at 180C/350F for 45 mins. Leave to cool in tin before removing and icing. 

Icing: 1 tsp vanilla essense, 1 TBSP sherry/brandy/wine (optional), knob butter or a little coconut oil, icing sugar, hot water to mix. 
Picture
Picture
0 Comments

Fruity Drops (No dairy, egg, added sugar, can be GF)

28/1/2018

0 Comments

 
I wasn't sure what to call these as they aren't exactly cookies, but close. I called them fruity drops because they are mostly fruit, and you "drop" spoonfuls on the baking tray. A yummy, natural treat. 
Picture
Ingredients:
3 mashed bananas
1/3 cup applesauce (if you use plain stewed/pureed apples, you may wish to add a little honey - optional)
2 cups wholegrain rolled oats (gluten free if preferred)
1/4 cup almond milk
1/2 cup raisins 
1 tsp vanilla essence
​1/2-3/4 tsp cinnamon (or 1 tsp if using plain apple)
Method:
Mix together, then drop spoonfuls onto baking paper on an oven tray. Shape into cookie-like shapes. Leave spaces between, but they don't really spread. Bake at 180C/350F for 20-25 mins. Cool. 

I stored mine in a container in the fridge, as I don't get through them very fast. A nice fruity, naturally sweet treat. 
Picture
0 Comments

Chocolate and Strawberry Mousse (sugar/dairy/gluten free)

14/1/2018

0 Comments

 
Very easy to make, this is yummy. It could be sweetened if you desire, but the natural sweetness of the berries is enough. Could be made with other berries also.
Ingredients:
350g strawberries (or raspberries, blueberries, or other sweet berries) - plus a few more to garnish if desired
1/2 lemon, juiced
2 TBSP cocoa powder
1 tsp vanilla essence
1/2 tsp xanthum gum
​1 400g can coconut cream, well chilled
Method:
Put the can of cream in the fridge ahead of time - the night before would be great. If you forget, like I did, then at least an hour in the freezer will suffice (but don't freeze!). Coconut cream needs to be well chilled in order to whip. 

Remove stems from strawberries, chop in halves or quarters (raspberries or blueberries could be left whole), and place 300g of berries in small pot with the lemon juice. Cook until soft and juicy. For strawberries, use a spoon or fork to mash up. For berries with larger seeds, force through a large seive to remove seeds. 

Divide berry pulp/juice evenly between four serving glasses. Add remaining uncooked, chopped berries. 

Empty coconut cream into a bowl. Add cocoa, vanilla, and xanthum gum. Beat with an electric mixer until thick and softly peaked - about 4 mins. Carefully spoon mousse into glasses. Garnish with a half strawberry each. Chill for at least an hour before serving. 
Picture
0 Comments

Chocolate Crunch - Gluten, Egg & Dairy Free

9/1/2018

0 Comments

 
This was an experiment that turned out well. I knew I'd got it right when my (fussy) youngest daughter stopped in while I was out and ate some. I asked her the next day what she thought of it? She said "Yum - just like you always used to make!" She was surprised when I told her it was GF/DF as the old version certainly wasn't! I found that the day I made it, it tasted a little different than I was used to, but from the next day on it tasted great! So maybe store for a day before eating (if you can wait that long!) 
Ingredients:
​7/8 cup coconut oil
1 1/2 cups cornflakes
1 1/2 cups dessicated coconut
1 cup castor sugar
1 1/2 cups all purpose gluten free flour mix 
2 1/4 tsp baking powder
​3 TBSP cocoa
Picture
Method:
Melt coconut oil in a pot over low heat. 
Combine cornflakes, coconut and sugar in a bowl (optional: crush cornflakes a bit with your fingers). Stir in flour, baking powder and sifted cocoa (you don't want lumps in the cocoa). Add melted coconut oil, mix well. 

Press into a greased (I brushed with a bit of the melted coconut oil) 8inch/20cm square tin. Turns out I've given all my small tins to my kids, so I used a spring-form cake tin, which turned out to be genius - made the finished slice easy to remove whole before icing and cutting. 

Bake 180C/350F for 20-25 mins. Will still be spongy in the middle if you touch it, but just starting to look slightly crispy on the edges. Cool in tin. Once cool, ice with basic chocolate icing, and lightly sprinkle with extra dessicated coconut. Cut into slices or squares. Store in an airtight container. 

Icing: Icing sugar, 1-2 TBSP cocoa, a few drops of vanilla essence, 1 tsp dairy free marg (eg Nuttelex), enough boiling water to mix (add water a VERY little at a time). Stand a bread and butter knife in a cup of boiling water to heat, then use it to spread the icing - dipping back into the water as needed. 
Picture
0 Comments

Roasted Pumpkin Seeds

5/1/2018

0 Comments

 
Next time you're cutting up a pumpkin, don't throw out those seeds! They're full of goodness, and easy to turn into a tasty treat - and no, you don't have to shell them! Pumpkin seeds are packed with nutrition, and anti-oxidants, as well as being a natural dewormer. 
The basic method is simple. You can add whatever flavourings you like. Experiment!
Method:
1) Scoop seeds out of pumpkin. With your finger, separate seeds from pulp as much as possible. Discard pulp. No need to wash the seeds - small amounts of pulp still clinging to them are not a problem. Discard any damaged seeds or ones that are obviously flat, empty casings.

2) Spread seeds in single layer on an oven tray. Add a small amount of olive oil, and flavouring of choice. Try cinnamon and nutmeg. Or chilli flakes, salt and fennel seeds. Or use your imagination. Do add spices sparingly - a little goes a long way! Stir thoroughly to coat seeds and combine. Spread back out on tray. 

3) Bake at 180C/350F for 10 mins, or at 150C/300F for 20-30 mins. I prefer the slower method. Stir from time to time. Cook until caramelised/browned. 

4) Remove from oven and cool. Store in an airtight jar. Snack on as you like. :-) 
Picture
0 Comments

Raw Freezer Chocolate

3/1/2018

0 Comments

 
An old favourite from Rejuvenate Your Life, this is rich, chocolatey, and good for you. So nice to have stashed in the freezer when you feel the need for something sweet. 
Ingredients:
2 cups raw almonds, ground to a fine meal in food processor or coffee grinder (or leave not-so-fine if you prefer). 
1/2 cup tahini
1/2 cup carob powder
pinch sea salt
1/2 cup raw honey
Add a little more nut meal if you need it thicker or a little maple syrup if it's not wet enough (I've never needed to)

Mix well in a food processor. Press into a greased pyrex dish and freeze. After about an hour, cut into small squares with a knife. Freeze. Keep stored in the freezer in a covered dish. 
Picture
0 Comments

Chocolate Cake - Egg & Dairy Free - opt Gluten & Sugar

1/1/2018

0 Comments

 
Since my gluten and dairy free son was coming for Christmas, I decided to buy a bag of GF baking flour. Normally, I seldom bake these days as it's been a long while since there was anyone at home who was into eating baked goods. And if I wanted to bake, I generally go for various healthy and/or raw options, or make my own flour mixes. Anyway, this time I thought I'd whip up a GF cake using my old faithful egg and dairy free recipe from way-back-when. Only, it turned out I didn't have any vegetable oil or sugar on hand either, so I improvised with applesauce and honey. The result was rather good! Both versions of the cake below. Or you could play with these and just change out the ingredients you wish to, keeping the others.

Original Egg & Dairy Free Chocolate Cake

I started making this when my eldest kids were little, as we often didn't have eggs or butter in the house as we'd run out before shopping day.

Ingredients and Method:
Preheat oven to 180C/350F. Grease and line a suitable cake tin.
In a bowl, combine:
1 1/2 cups plain flour
1 cup sugar
1/3 cup cocoa
1 tsp baking soda
1/2 tsp salt

Make a well in the middle of the dry ingredients, and pour in the following:
1 tsp vanilla essence
1 TBSP cider vinegar
1/2 cup vegetable oil
1 cup water

Mix throughly until smooth. Pour batter into tin and bake until skewer comes out clean (around 30-40 mins). Cool.

This a very moist, fudgy cake - good on it's own or with icecream. Certain family members have been known to eat it for breakfast with milk or cream poured over.
​

GF, DF, No eggs, oil or sugar Chocolate Cake

Did you know that applesauce can be used in place of butter or oil in most recipes? I used my delicious homemade applesauce, but simply pureed cooked apples could be used too. When baking with honey, reduce overall fluids by 1/2 cup for each cup of honey used. Also lower oven temp a bit, as honey can cause products to brown quickly. 
Grease and line cake tin. Preheat oven to 160-170C
Ingredients:
1 1/2 cups gluten free flour - I used Healtheries, but the texture of this cake could have been even better with a good homemade blend.
1/3 cup cocoa
1 tsp baking soda
1/2 tsp baking powder
1/2 tsp salt
1 tsp vanilla essence
1 TBSP cider vinegar
1/2 cup applesauce
1/2 cup honey
3/4 cup water

Method:
Warm honey gently in a pot to make runny.

Combine dry ingredients in a bowl, then make a well and pour in wet ingredients. Stir to combine. Bake about 20-25 mins or until skewer comes out clean. Turn onto rack and cool. 

Delicious served with some yoghurt or icecream (I use dairy free coconut yoghurt or coconut icecream). This version is not as fudgy as the above one.
Picture
0 Comments

Carob Balls

30/1/2017

0 Comments

 
An updated version of an old family favourite, these tasty treats are made with whole food ingredients. Like all sweet treats, they should be eaten occasionally, not every day. No cooking required. 
Picture
Ingredients:
(Makes about 30)
100g coconut oil (original version used softened butter)
3 TBSP honey
2 TBSP carob powder
1-2 cups dried fruit (3/4 cup dates plus 3/4 cup sultanas is very nice!)
1 1/2 cups rolled oats (the chopped kind, but since they are being processed anyway, you could use wholegrain if you wish)
1 cup dessicated coconut, plus extra for rolling in 
1/2 cup sunflower seeds

Method:
Place rolled oats in a food processor and whiz until well chopped. Tip into a bowl. Place carob, coconut oil and honey in processor and whiz until smooth. Add all other ingredients and whiz until well blended. 

Take small spoonfuls of mixture, roll into balls, and roll in extra coconut. Place on a tray and refridgerate. Once firm, transfer to airtight container and keep refridgerated. 

Note: the orginal version was done without a food processor, melting the first three ingredients in a pot, adding everything else plus some milk and stirring them making the balls. Do-able, but they were always very hard to get to stick together. This new version works way better - easy and tastes great!
0 Comments

    Archives

    October 2024
    April 2020
    February 2018
    January 2018
    April 2017
    January 2017
    September 2016
    April 2016
    March 2016
    February 2016

    RSS Feed

    Categories

    All
    Baking
    Basics
    Breadmaking
    Breakfast
    Dessert
    Dinner
    Dressings
    Drinks
    Fast Food
    Ferments
    Food From The Garden
    Left Overs
    Lunch
    One Dish Meals
    Quiches And Slices
    Salads
    Side Dishes
    Slow Cooker
    Snacks & Treats
    Soups
    Vege-nut Stuffer

Powered by Create your own unique website with customizable templates.