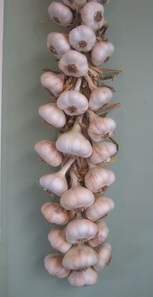
My garlic growing experiences....
The market garden garlic, however, did very well, and produced large, satisfying garlic bulbs. In due course I hung them to dry, then braided them to hang on the wall near my kitchen. The following winter, I took cloves from the fattest bulbs, and planted my crop. They grew well. But.....
Last summer, when I harvested the garlic, quite a number of the bulbs had split open and appeared to have a fungal infection. They smelled really bad! I still got a lot of useable garlic, but any bulbs that were even slightly damaged did not store well.
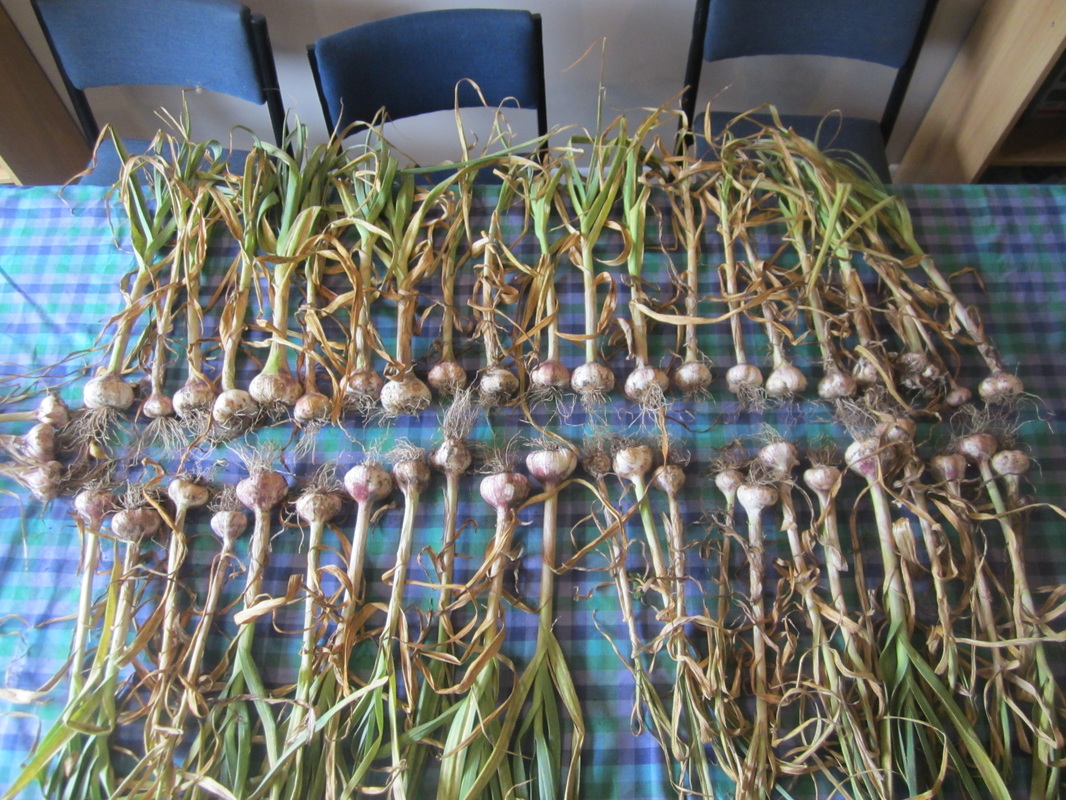
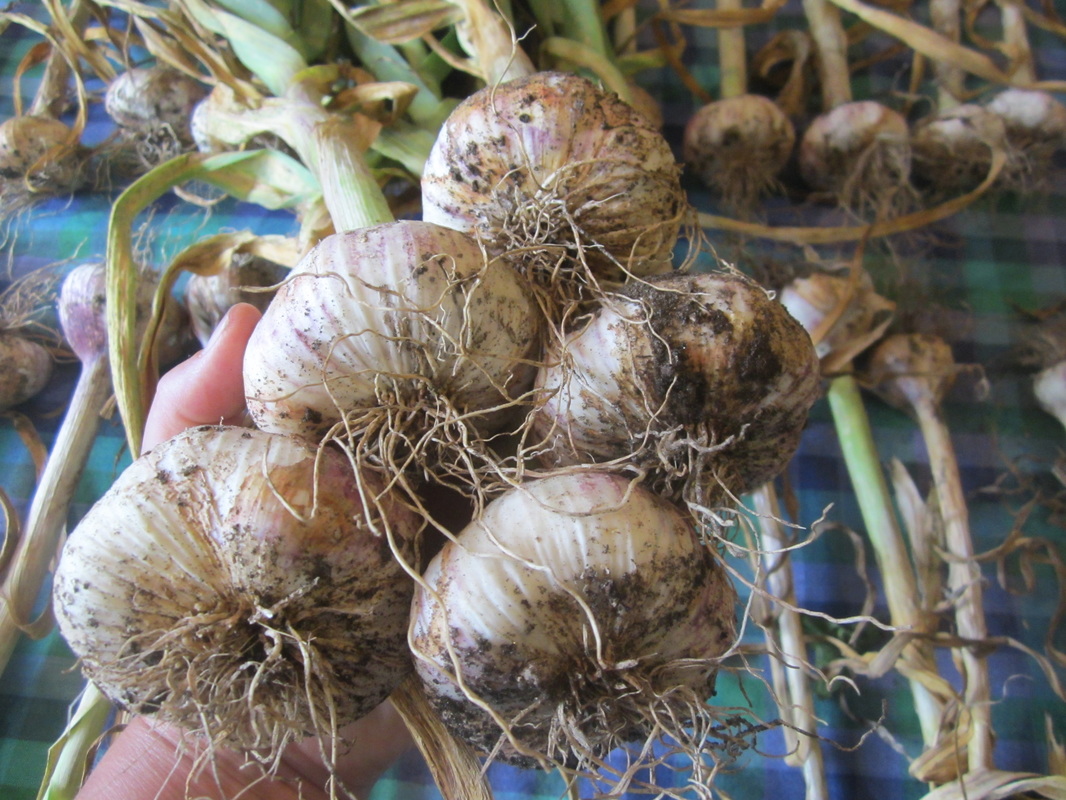
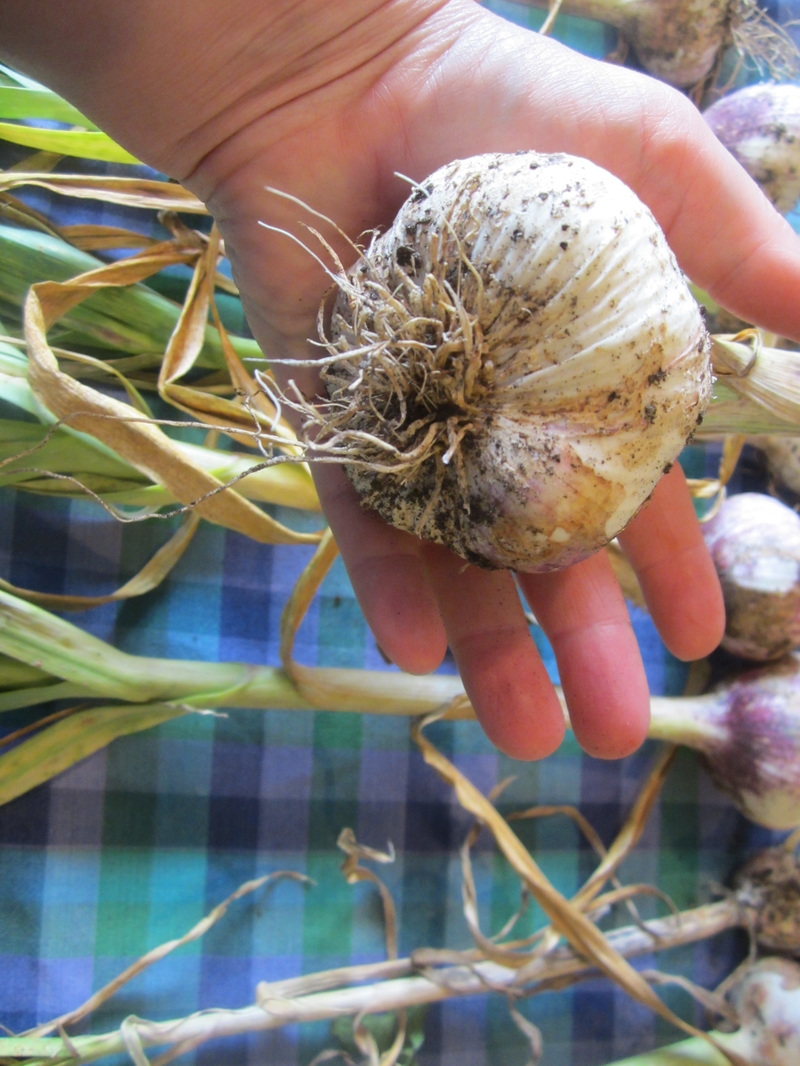
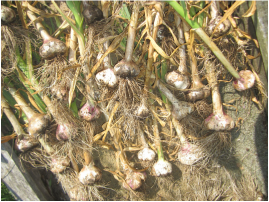
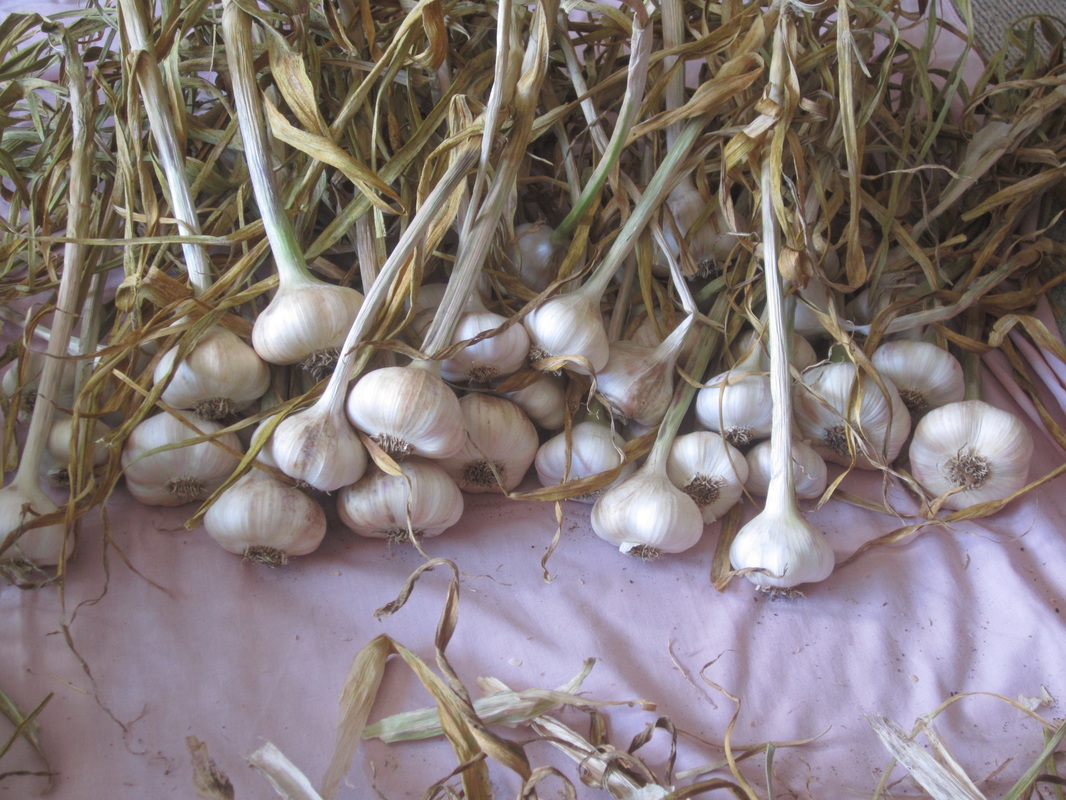
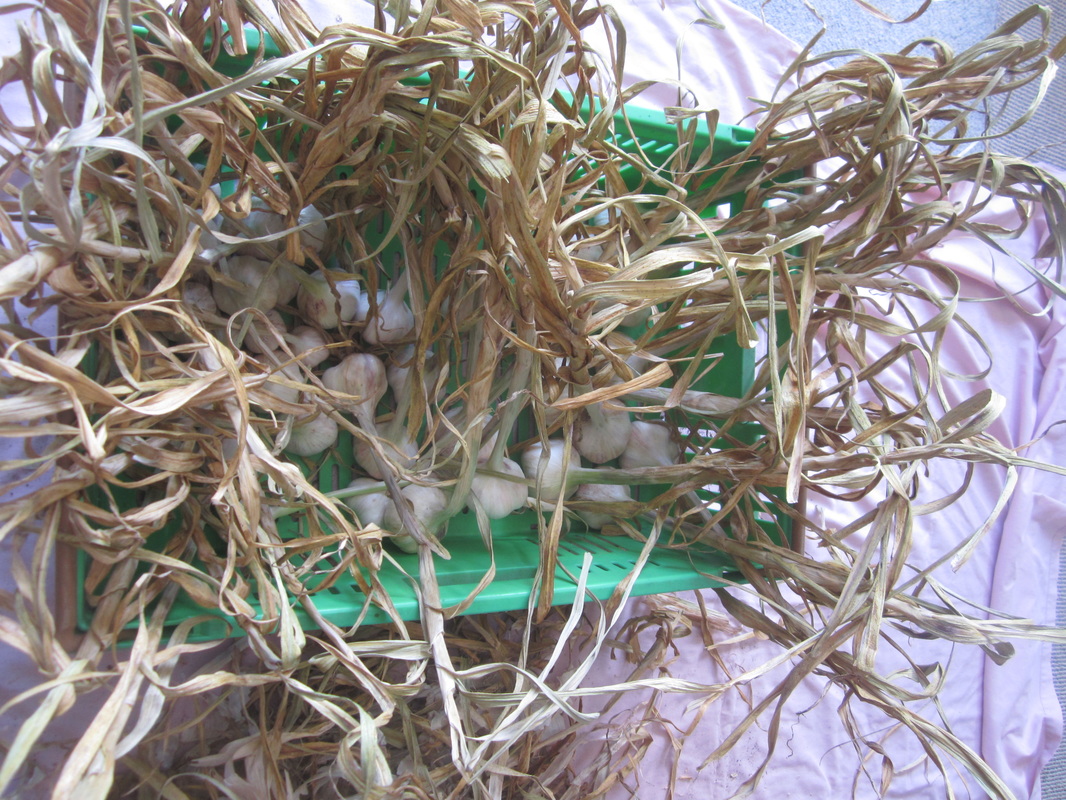
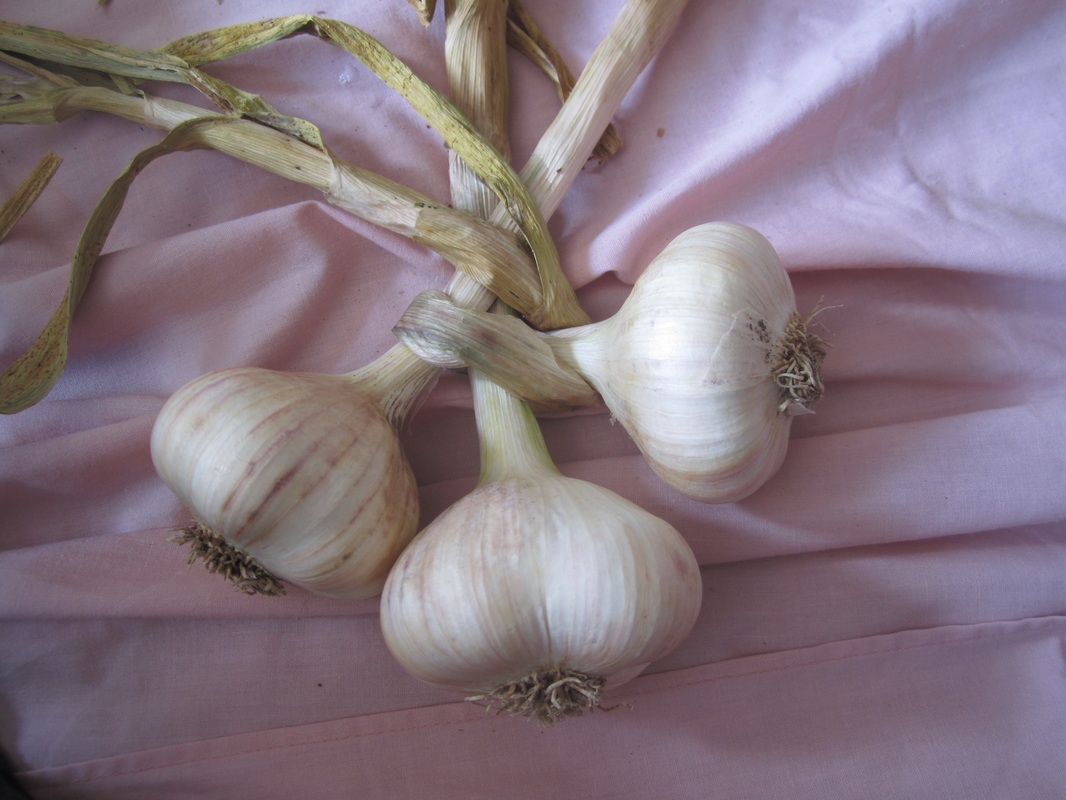
I was also aware you need to have a least three dry days before harvest. So on the 17th of Jan, noting the forecast for rain in the next few days, I went and checked on my crop. The garlic I had grown from my previous crop was looking like it might be ready to harvest. I dug around in the soil with a finger, and sure enough, nice fat bulbs with defined cloves. So I whipped out that half of the bed. The other half, the Prinators, though, didn't seem to be there yet, so I left them in. I hung the harvested garlic in bunches in an airy shed to dry. Here are some photos taken before I hung them up:
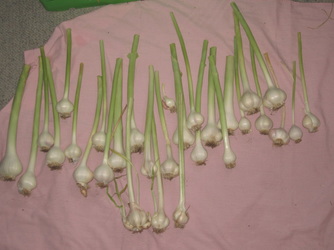
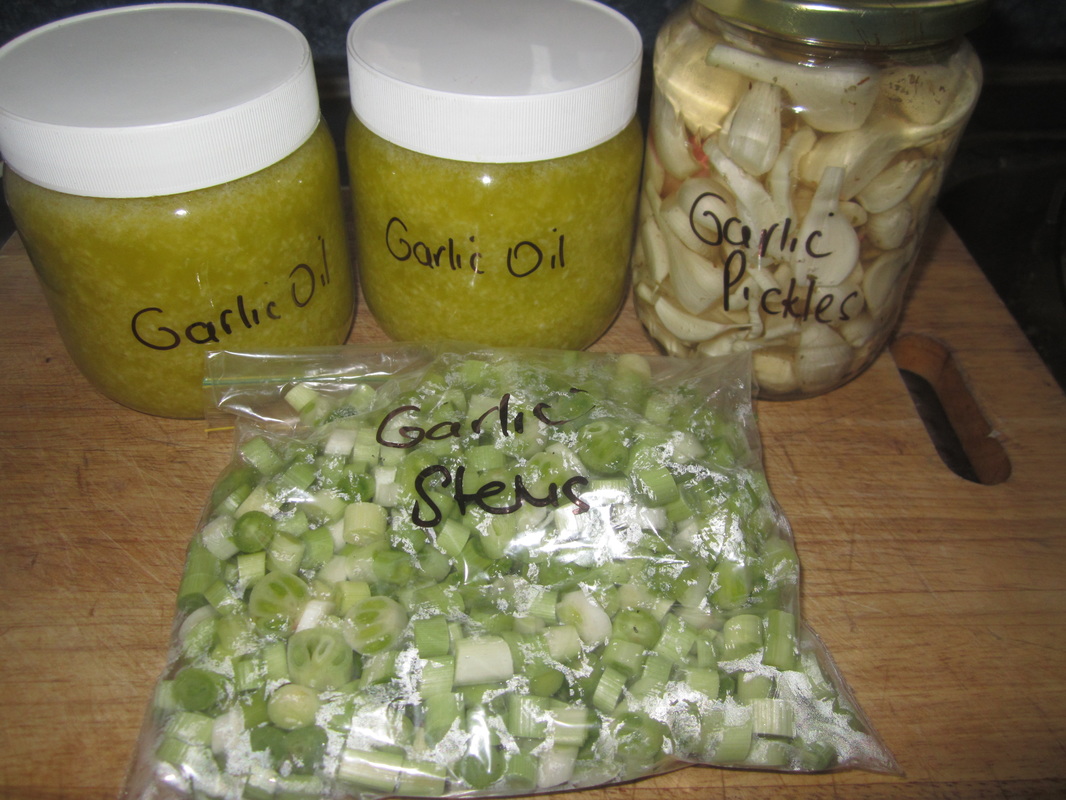
| 3 weeks later, I took another look at the Prinators. There was plenty of yellowing of the leaves, and they have some rust. I decided to harvest them for better or worse. Because they were mostly very immature, unformed bulbs, I decided rather than hang and store them like I usually would, to just use them up in various preserving ways. Here's a pic of the pathetic Prinators after I cleaned off the outside layers of dirty covering, trimmed the roots, and chopped off the leaves (as I'm going to use bulbs and green stalks). |
Harvesting & Curing Garlic
| When you decide it's time to harvest your garlic, loosen the soil around each bulb and gently lift it out of the ground. Before storing, garlic must be cured by allowing it to dry thoroughly. If you're going to preserve your garlic by immediately making such things as garlic oils and garlic butters for the freezer, or by pickling, you can skip this step. (Recipes below). Otherwise, hang your garlic up by tying small bunches with strings, and hang it somewhere airy and dry, out of the sun. I use our semi-enclosed carport, and hang the bunches from washing line ropes strung up in there. Cure for about 2 weeks. The next step is "cleaning" the garlic. Some people like to do this before curing, but I do it after. Cleaning involves peeling off an outer layer or two (don't take too much as you don't want to expose the cloves too much) of the "wrapping" on the bulbs, along with any dirt that might be on it. Each leaf on a garlic plant is part of one layer of wrapping, so you'll be also removing a leaf or two from the stem. Be careful not to damage the cloves as you do this - I just peel with my fingers, and use fingernails to pick up the harder to remove pieces. But this can be painful - sharp pieces of dried garlic wrappers can poke you right under the fingernails! As well as removing the outer wrapping, the roots also need to be trimmed off with some scissors. Cleaning garlic is simple by takes some time - this year I decided it was too hot to work outside, so spread out a sheet on the living room floor, put a nice cold drink close to hand, and watched a DVD while I cleaned. | Above: Garlic just lifted from the ground. Below: Cured and cleaned garlic, ready for braiding. |
Braiding Garlic
| If you know how to do a simple three-stranded plait, then you can braid garlic! It's not very difficult at all, but your results will become neater with practice. I find it useful to prepare by laying my garlic out in groups by size, so all the biggest ones are together, the middle sized ones are together, and the smallest are in their own pile. The bottom of the braid will be formed with the biggest bulbs, and you'll work upwards from biggest to smallest, so it helps if the right ones are easy to grab. The first year I did this, I followed a recommendation to use the biggest bulbs up the middle of the braid, with smaller ones to either side. That's fine too, but I find just going in size order seems to make it easier to get a neat braid. |
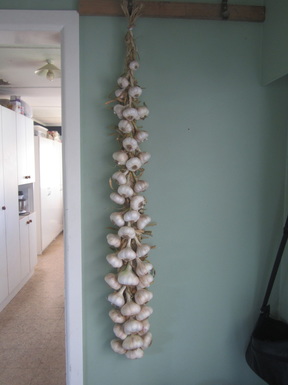
| Find a nice place to hang your braid. I don't put it in the kitchen, which tends to be too moist and warm, but hang mine on the wall just outside my kitchen, next to the main door - it looks nice, is an airy location, and it is easy to snip off a bulb when I need a new one in the kitchen. I tend to use up the smaller bulbs first, so that come June when I'm thinking about planting some more, there are plenty of big bulbs to chose from. The garlic hung here lasts just about right through until the next harvest, or whenever I use it up. From about August onwards, it does have a tendency to start sprouting, depending on conditions, so I check it and use up those ones first. Alternatively you can then take any of the remaining bulbs and use one of the other preserving methods discussed below. Remember: The bigger the cloves you plant, the bigger the bulbs you will harvest, so you want to reserve the fattest cloves for planting. But, you do not want to separate the cloves from the bulbs until you're ready to plant, as doing so can trigger sprouting - therefore you want to leave your biggest bulbs intact until that time, when you will remove and plant the fattest cloves, and keep the smaller, inner ones for cooking. |
 RSS Feed
