This year I grew two varieties of pumpkin - Whangaparoa Crowns from purchased seed, and my own experimental hybrid of Pink Banana Jumbo squash crossed with Whangaparoa Crowns last time I grew them side by side back in 2017/2018. I love PBJs - they have a very flavourful sweet flesh (not as sweet as butternuts which I find too sweet, but much better than standard crowns), but when I grow them the fruits are typically 10-18kg each, which is way too much pumpkin at a time now our household is down to 2-3 people most of the time. So I was aiming to get the same flavour with smaller size.
NB: For photos of the pumpkin patch over the growing season, scroll to the end of this post.
The previous crop I grew was very successful - yielding 378kg (in 5 varieties) of squash/pumpkins from 50sqm. At the time it was done to also reclaim overgrown ground, and as this time I had another area which was formerly in garden beds but was now completely overrun with couch, buttercup and bindweed, I use the same, slightly modified, technique to grow the crops this season too, so I could reclaim the area while also yielding a crop. (For pics etc not long after planting see HERE). In a nutshell, I laid out compost in two rows (there was a third between in which I planted zucchini and watermelon), covered the compost with weedmat, and laid down black plastic between the rows and over the surrounding area I wanted to reclaim, all pegged down. I cut 6 holes in each row of weedmat, sowed seeds directly into it. A couple of weeks later I added a dessertspoon of dolomite to each hole and watered in (because I forgot to sprinkle it on the compost as I would otherwise have done). I did not feed with anything else. I watered in the first few weeks until the plants spread, and only twice since. The total original covered area was 70sqm. I did extend this with some carpet we pulled from our house over summer (to keep the grass down) and let the plants spread somewhat further, to a total of approx 90sqm overall, bearing in mind I was encouraging them to grow away from the centre row of other plants, and had lots of space. They could otherwise easily have remained within the 70sqm, or less. Ultimately there were 10 plants each of crowns and hybrids.
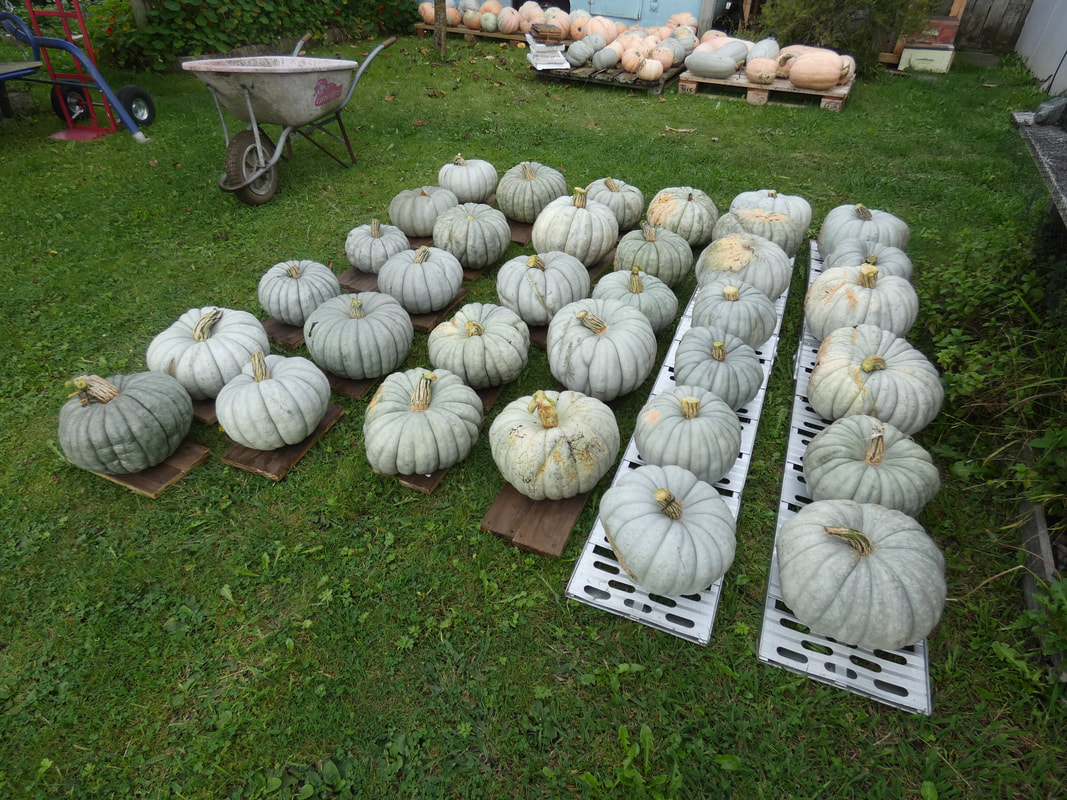
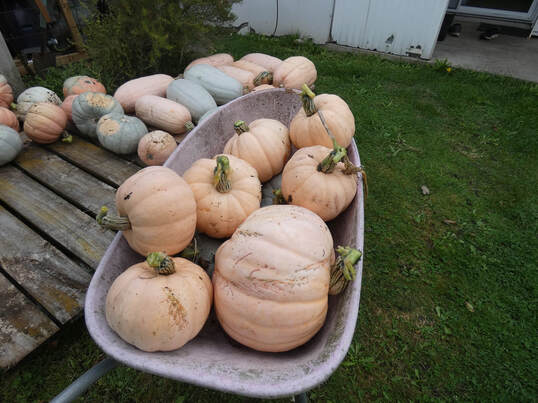
As the plants grew, the supposedly Whangaparoa Crowns looked more like an Aussie variety such as Jarrah to me - their size is larger, groves deeper, and until the very end of their ripening their colour much greener than a W.C and more like a Jarrah. Either way they are a crown pumpkin. The hybrid was fascinating to watch - at first I was seeing lots of rounder orange pumpkins form (as I expected). But once the plants started to peak and subside, I could see I also had quite a few long orange (like PBJs) as well as some long greys, and some round grey pumpkins too. All expressions of the two they were hybridized from were growing. The orange hue turns to pink as they ripen.
And then it came time to harvest, count up, and weigh the pumpkins.
And then it came time to harvest, count up, and weigh the pumpkins.
 |  |
Crown Pumpkin Harvest
Number |
Weight (kg) |
Number |
Weight (kg) |
Number |
Weight (kg) |
1 |
13.3 |
18 |
8.4 |
35 |
7.7 |
2 |
10.5 |
19 |
8.9 |
36 |
6.4 |
3 |
10.0 |
20 |
7.6 |
37 |
5.7 |
4 |
11.7 |
21 |
7.6 |
38 |
5.7 |
5 |
10.3 |
22 |
7.4 |
39 |
4.1 |
6 |
10.6 |
23 |
7.0 |
40 |
3.7 |
7 |
9.5 |
24 |
7.6 |
41 |
2.6 |
8 |
9.3 |
25 |
6.6 |
42 |
2.5 |
9 |
9.1 |
26 |
6.4 |
- |
- |
10 |
9.5 |
27 |
6.2 |
- |
- |
11 |
9.9 |
28 |
6.7 |
- |
- |
12 |
9.7 |
29 |
6.3 |
- |
- |
13 |
8.9 |
30 |
6.5 |
- |
- |
14 |
8.7 |
31 |
5.6 |
- |
- |
15 |
8.9 |
32 |
5.8 |
- |
- |
16 |
8.7 |
33 |
4.7 |
- |
- |
17 |
8.2 |
34 |
4.3 |
- |
- |
Total weight of crown pumpkins: 308.2 kg
Total plants: 10
Average number of pumpkins per plant: 4.2
Average per fruit: 7.3 kg
Average yield per plant: 30.8 kg of pumpkin
Total plants: 10
Average number of pumpkins per plant: 4.2
Average per fruit: 7.3 kg
Average yield per plant: 30.8 kg of pumpkin
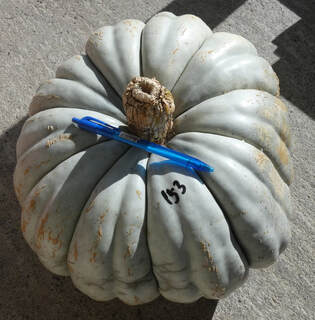 Biggest Crown - 13.3kg | 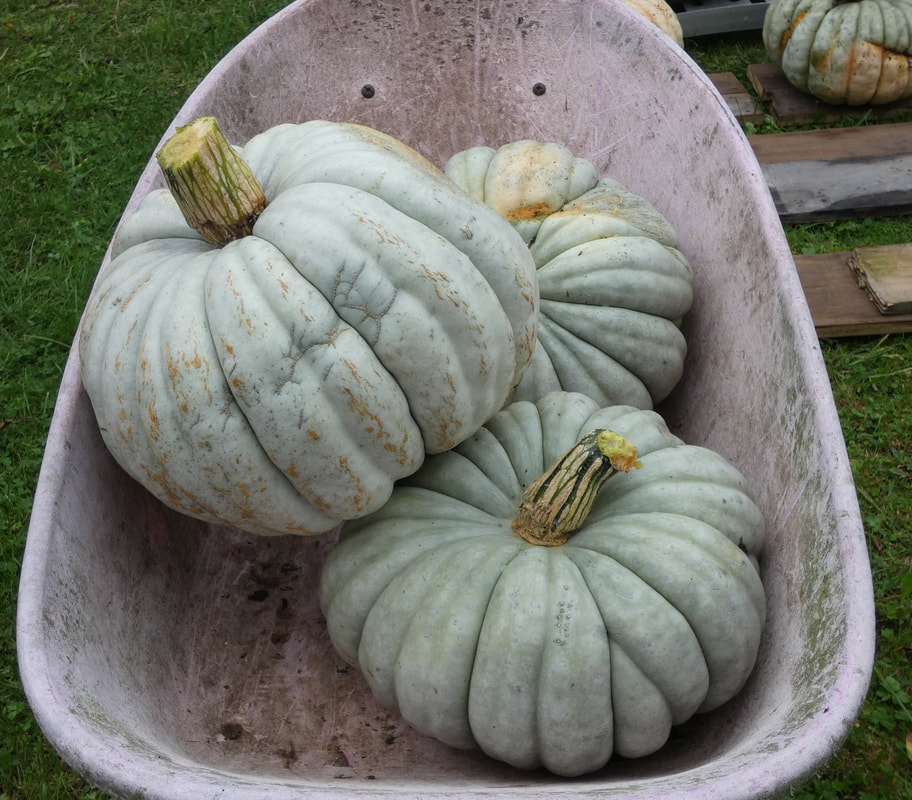 |
Pink Banana Jumbo x Whangaparoa Crown Harvest
For interest's sake, I've divided the results here into groups according to the shape and colour of the harvested fruits. Note, some individual plants had a variety of fruits on them.
Pink and Round Pumpkins
Number |
Weight (kg) |
Number |
Weight (kg) |
Number |
Weight (kg) |
1 |
10.8 |
12 |
4.3 |
23 |
2.9 |
2 |
8.3 |
13 |
3.9 |
24 |
2.7 |
3 |
7.8 |
14 |
3.3 |
25 |
2.7 |
4 |
7.5 |
15 |
3.1 |
26 |
2.6 |
5 |
7.0 |
16 |
3.4 |
27 |
2.4 |
6 |
6.4 |
17 |
3.1 |
28 |
2.1 |
7 |
5.8 |
18 |
3.2 |
29 |
1.9 |
8 |
5.5 |
19 |
3.2 |
30 |
1.7 |
9 |
5.4 |
20 |
3.1 |
31 |
4.6 |
10 |
4.6 |
21 |
3.3 |
- |
- |
11 |
4.4 |
22 |
2.8 |
- |
- |
Total weight pink and round: 133.8 kg
Average per fruit: 4.3kg
Average per fruit: 4.3kg
Grey and Round Pumpkins
Number |
Weight (kg) |
Number |
Weight (kg) |
Number |
Weight (kg) |
1 |
7.1 |
5 |
5.8 |
9 |
4.8 |
2 |
6.6 |
6 |
5.3 |
10 |
2.9 |
3 |
6.6 |
7 |
4.3 |
11 |
2.5 |
4 |
6.3 |
8 |
4.0 |
- |
- |
Total weight grey and round: 56.2kg
Average per fruit: 5.1 kg
Average per fruit: 5.1 kg
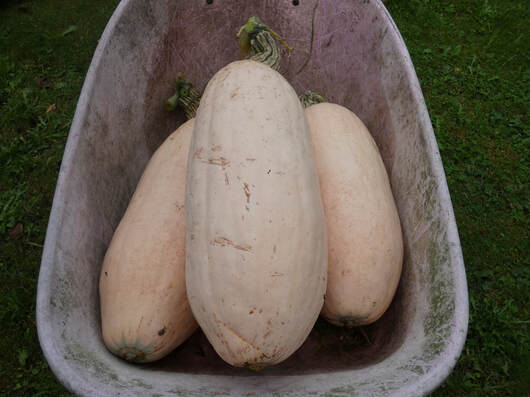
Pink or Grey and Long Pumpkins
There were three pumpkins that were long like a Pink Banana Jumbo, but grey in colour like a Whangaparoa Crown. They are marked with an asterix in the chart.
Number |
Weight (kg) |
Number |
Weight (kg) |
Number |
Weight (kg) |
1 |
8.5 |
5 |
6.1 |
9 |
9.3* |
2 |
8.3 |
6 |
5.7 |
10 |
8.4* |
3 |
7.2 |
7 |
4.2 |
11 |
4.7* |
4 |
6.5 |
8 |
3.1 |
- |
- |
Total weight long pumpkins: 72 kg
Average weight per fruit: 6.6 kg
Average weight per fruit: 6.6 kg
Total weight of hybrid pumpkins: 262 kg
Total plants: 10
Average number of pumpkins per plant: 5.3
Average per fruit: 5 kg
Average yield per plant: 26.2 kg of pumpkin
Total plants: 10
Average number of pumpkins per plant: 5.3
Average per fruit: 5 kg
Average yield per plant: 26.2 kg of pumpkin
Grand Total: 95 squash = 570.2 kg
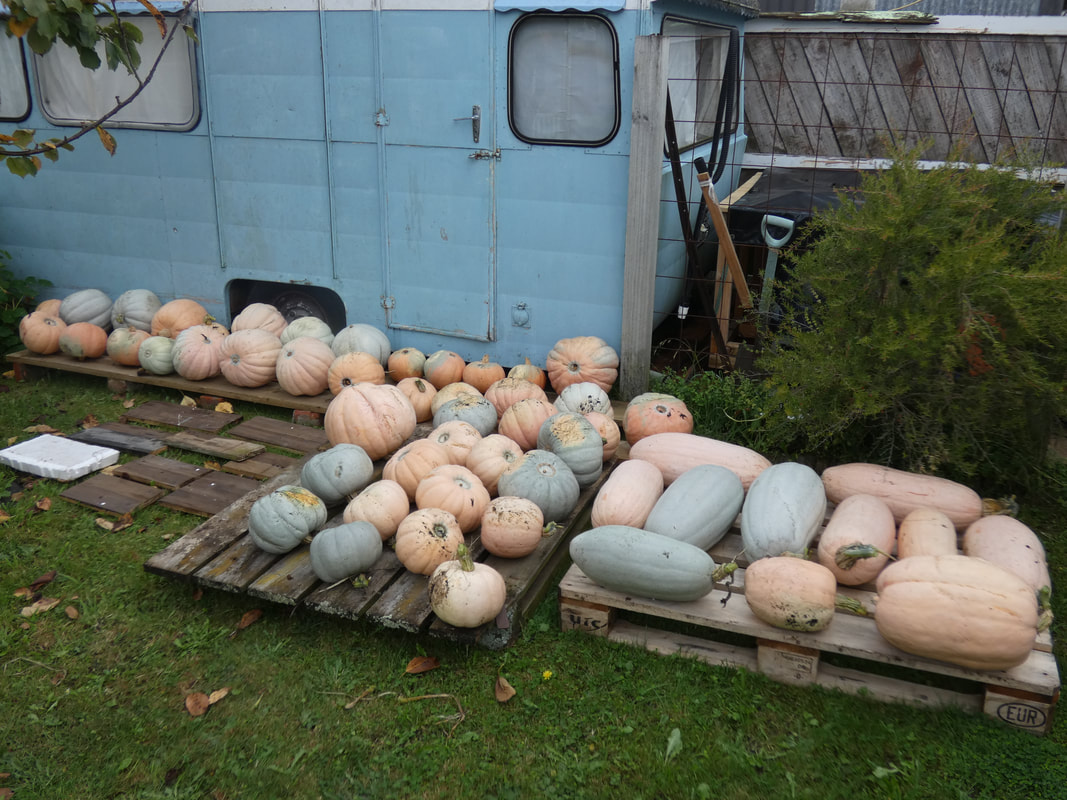
Storing
Pumpkins, properly prepped and stored, will keep up to a year. In fact from the last harvest I still had quite a lot of perfectly fine spaghetti squash 2 years later. I was sick of them by then and sold the lot.
How I prepare my pumpkins or squash for storage:
Harvest with at least a couple of inches of stem left on. Sit in airy and/or somewhat sunny place until dry.
Brush off any loose dirt.
Wipe over entire surface, especially around the stem, with mild white vinegar solution (to kill any fungal spores present).
Air dry thoroughly.
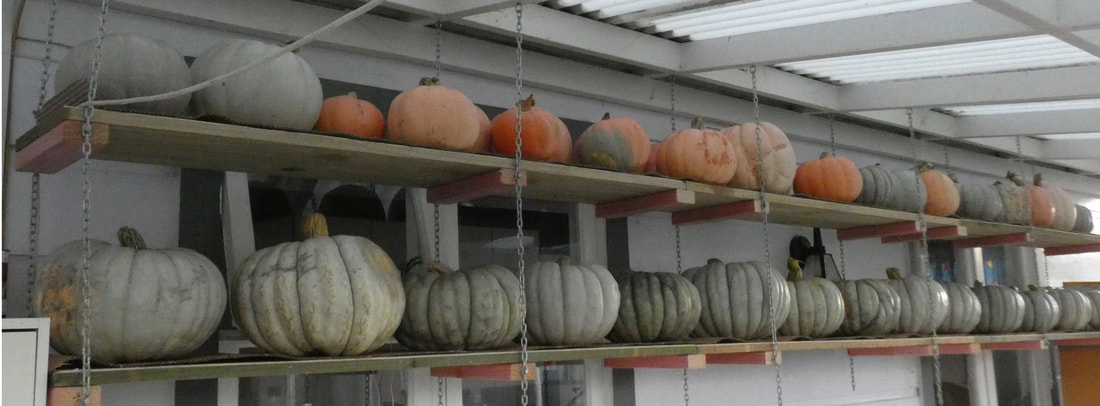
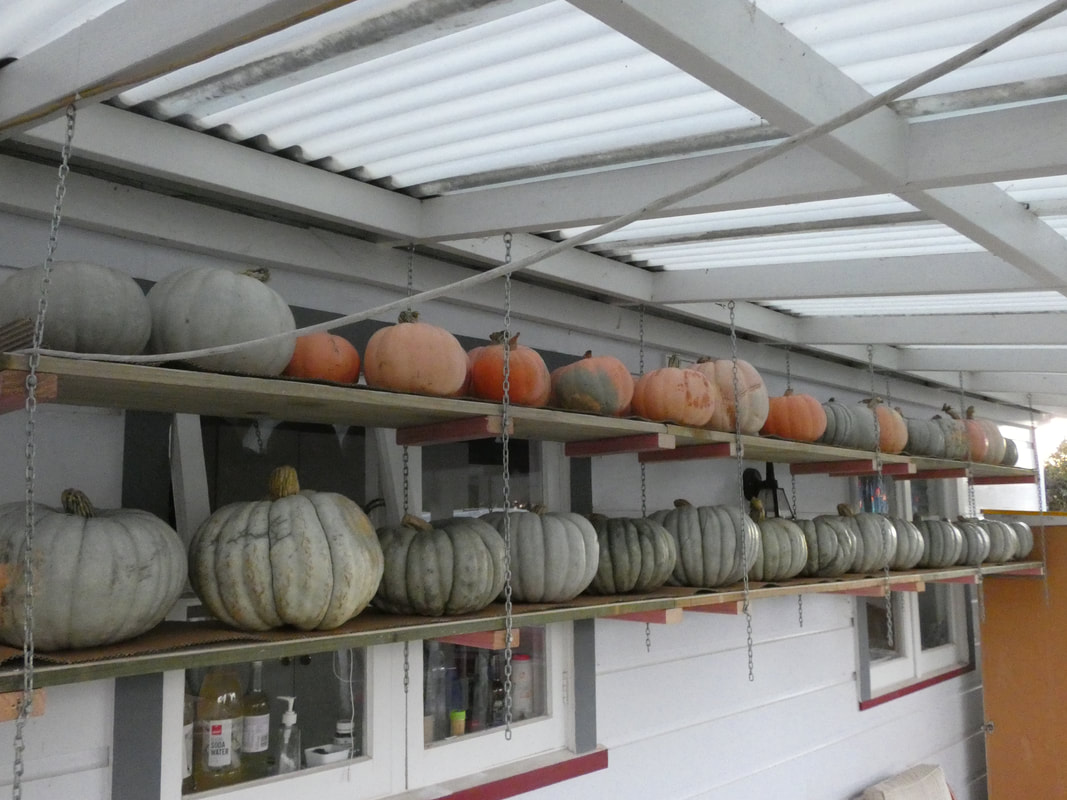
I then store them so they are not touching each other on shelves on my north-facing verandah. This is a warm, airy position. They also keep well in racks inside, but I don't have enough space in my very small kitchen to keep many. I have previously tried keeping them in a garage, but it is south-facing and not fully enclosed or insulated. As a result, they would get damp air condensing on them overnight, and then quickly rotted.
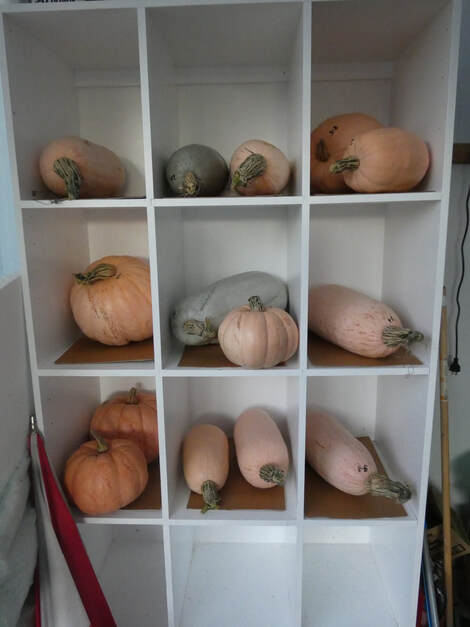
Last time I made shelves out of planks of wood on bee boxes. This year my lovely husband has built me some hanging shelves for most of the crop, and also helped me purchase a shelving unit for some of the bigger ones. I have kept/stored 50 pumpkins this way, and given the rest away to family and friends. More will be given to those in need of them during the year.
How I prepare my pumpkins or squash for storage:
Harvest with at least a couple of inches of stem left on. Sit in airy and/or somewhat sunny place until dry.
Brush off any loose dirt.
Wipe over entire surface, especially around the stem, with mild white vinegar solution (to kill any fungal spores present).
Air dry thoroughly.
I then store them so they are not touching each other on shelves on my north-facing verandah. This is a warm, airy position. They also keep well in racks inside, but I don't have enough space in my very small kitchen to keep many. I have previously tried keeping them in a garage, but it is south-facing and not fully enclosed or insulated. As a result, they would get damp air condensing on them overnight, and then quickly rotted.
Last time I made shelves out of planks of wood on bee boxes. This year my lovely husband has built me some hanging shelves for most of the crop, and also helped me purchase a shelving unit for some of the bigger ones. I have kept/stored 50 pumpkins this way, and given the rest away to family and friends. More will be given to those in need of them during the year.
 |  |
FAQs
Doesn't growing pumpkins over plastic prevent them putting down extra roots? It is possible for pumpkins grown directly on the ground to put down what is known as "peg roots" from some of the junctures in the stems. As far as I can tell, these roots serve mostly to stabilise the plant, not to provide much in the way of additional nutrition. Either way, I'm more than happy with the results, which speak for themselves. And I was using plastic not just for the sake of the crop, but to kill off underlying weeds in anticipation of future redevelopment of this area.
Doesn't plastic "kill" the ground underneath so it won't grow anything? I was asked this a lot during the growing of my 2017/2018 crop; but that area has been in very productive garden beds since, with the addition of only an inch deep layer of compost and a sprinkle of dolomite as I've pulled back the plastic bit by bit and planted each bed. Most of the pics you see of garden beds in my monthly garden updates this year are in that area. Plastic as a short-term solution to kill weeds works very well. Charles Dowding uses it quite a lot when developing new garden areas in his no-dig system. Sure, if you leave it in place for a long time, especially if the ground underneath is dry, it will eventually cause damage to soil microbes etc. But in the short term, over soil with plenty of organic matter and moisture, I have found it to not be a problem.
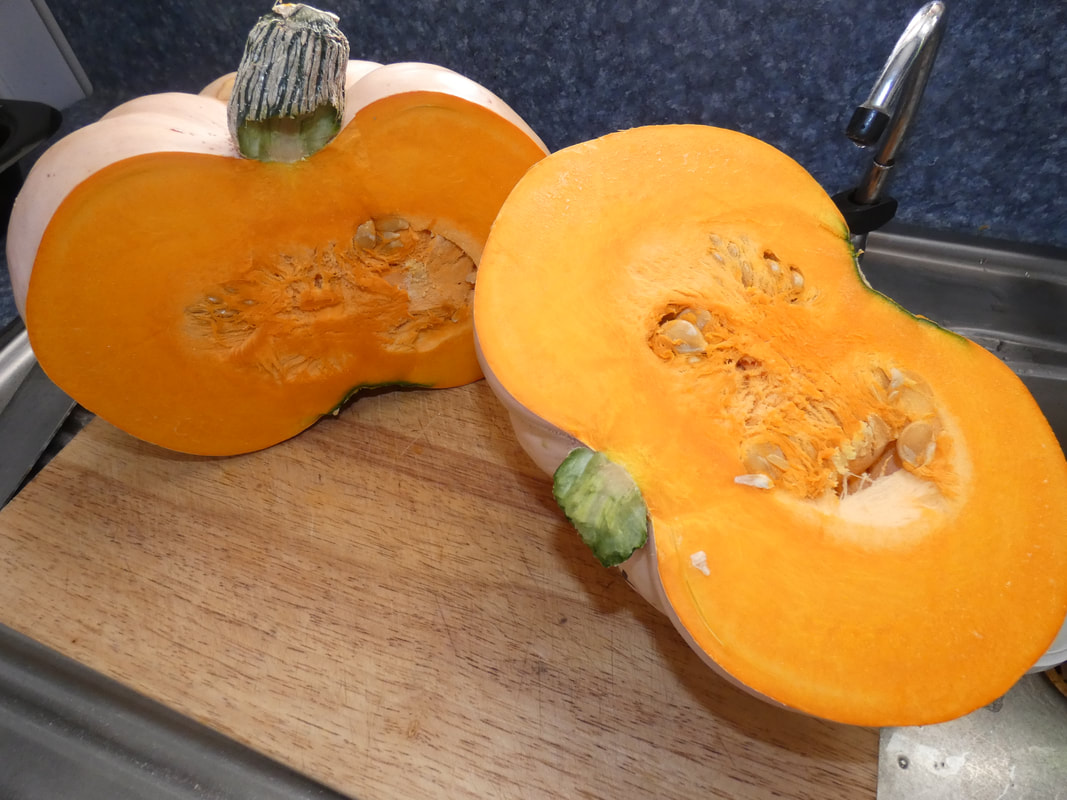
Why'd you grow so many pumpkins?- we couldn't eat that many in 5 years! When I sowed the crop, I was certain only of reasonable, edible crops from the crowns. The other, being an experiment, could have yielded inedible fruits only suitable for stock food or compost. Fortunately they've turned out very well so far. The ones I've cut open (example pictured below) have had lovely, orange, sweet and edible flesh, just like I was hoping. And I had the space, so why not? Besides, I love to grow extra and feed people with it.
Was there a cost to doing this? Yes, there was, though there did not necessarily have to be. I purchased 2 cubic metres of compost, most of which went into the three rows set up. I was also recovering from a bad back/hip injury and not capable of shovelling and wheelbarrowing that compost myself, or bending to lay the plastic and weedmat in the first place, so I hired some help for the initial set up. I already had the plastic (reused from the previous crop), weedmat (left overs from other projects) and pins in the shed. So I invested about $250-$300 in setting this up, which turned out to be around $2/kg yielded. In a different year, I might have had enough home made compost to use, and been able to do the work myself, so would only have spent the approx $4 for the packet of crown seeds. However, I could easily sell part of the crop as a cash crop to recover the costs.
Doesn't plastic "kill" the ground underneath so it won't grow anything? I was asked this a lot during the growing of my 2017/2018 crop; but that area has been in very productive garden beds since, with the addition of only an inch deep layer of compost and a sprinkle of dolomite as I've pulled back the plastic bit by bit and planted each bed. Most of the pics you see of garden beds in my monthly garden updates this year are in that area. Plastic as a short-term solution to kill weeds works very well. Charles Dowding uses it quite a lot when developing new garden areas in his no-dig system. Sure, if you leave it in place for a long time, especially if the ground underneath is dry, it will eventually cause damage to soil microbes etc. But in the short term, over soil with plenty of organic matter and moisture, I have found it to not be a problem.
Why'd you grow so many pumpkins?- we couldn't eat that many in 5 years! When I sowed the crop, I was certain only of reasonable, edible crops from the crowns. The other, being an experiment, could have yielded inedible fruits only suitable for stock food or compost. Fortunately they've turned out very well so far. The ones I've cut open (example pictured below) have had lovely, orange, sweet and edible flesh, just like I was hoping. And I had the space, so why not? Besides, I love to grow extra and feed people with it.
Was there a cost to doing this? Yes, there was, though there did not necessarily have to be. I purchased 2 cubic metres of compost, most of which went into the three rows set up. I was also recovering from a bad back/hip injury and not capable of shovelling and wheelbarrowing that compost myself, or bending to lay the plastic and weedmat in the first place, so I hired some help for the initial set up. I already had the plastic (reused from the previous crop), weedmat (left overs from other projects) and pins in the shed. So I invested about $250-$300 in setting this up, which turned out to be around $2/kg yielded. In a different year, I might have had enough home made compost to use, and been able to do the work myself, so would only have spent the approx $4 for the packet of crown seeds. However, I could easily sell part of the crop as a cash crop to recover the costs.
 |  |
Photos of the Growing Pumpkin Patch
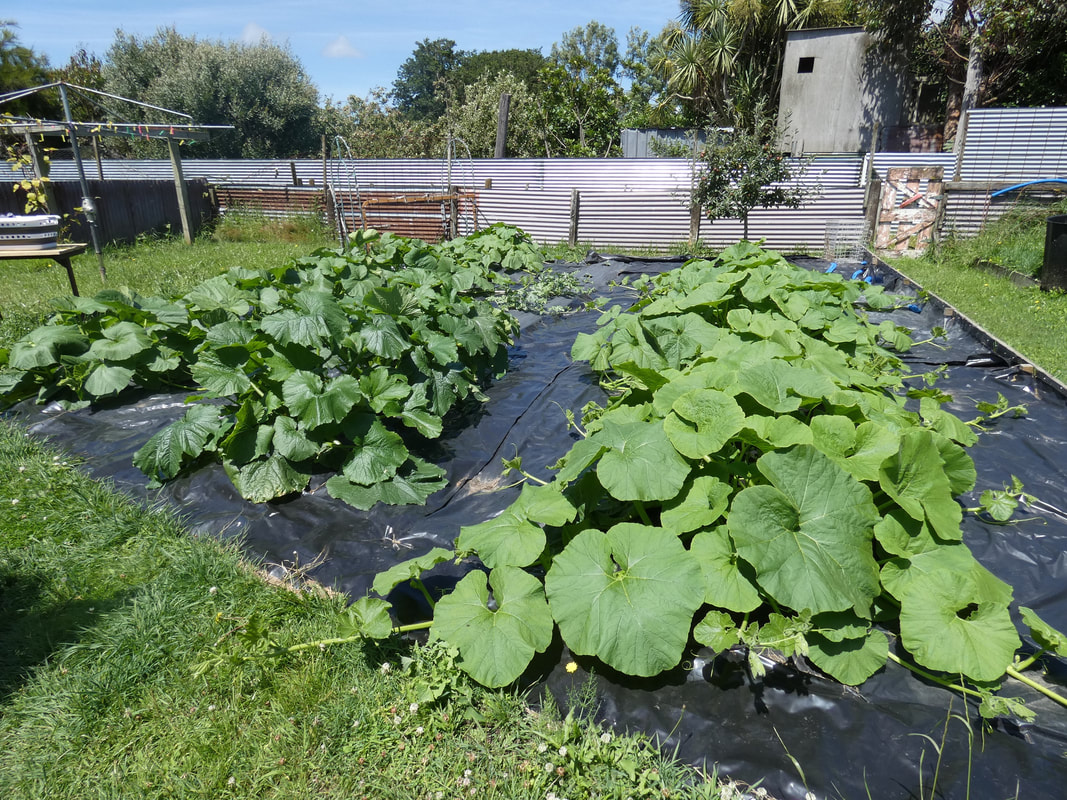
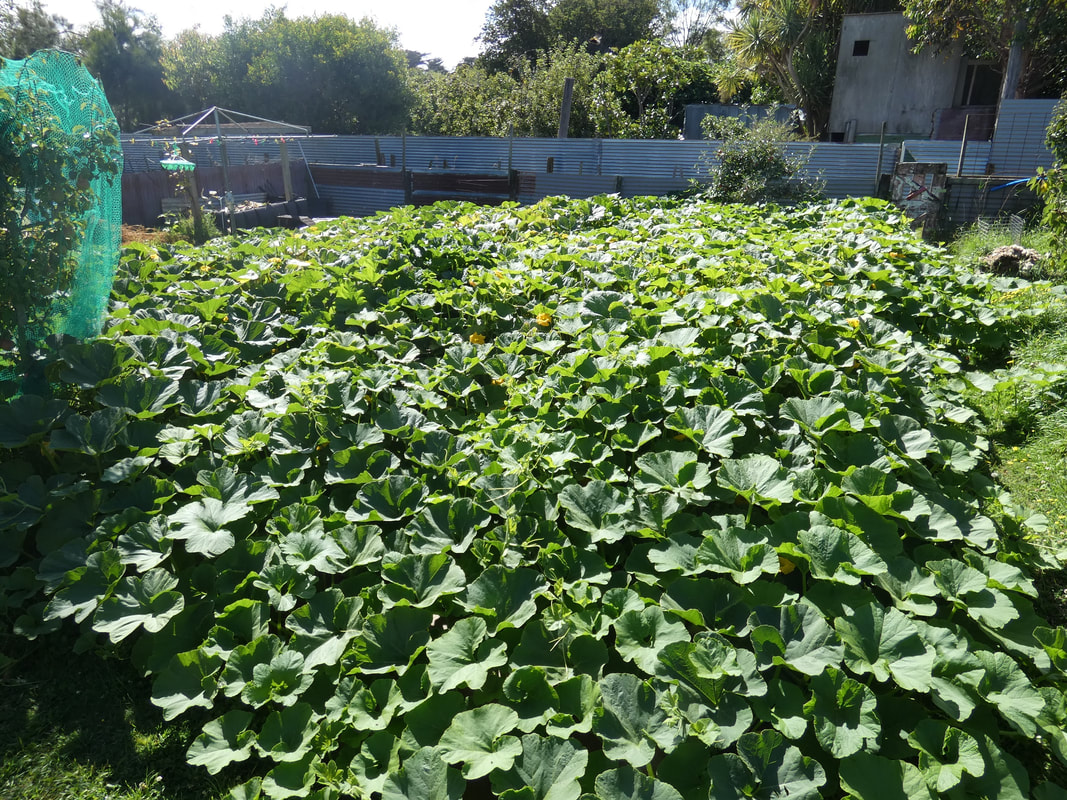
The patch was prepared in early November. I had sown seeds in pots in the greenhouse, intending to plant them out. However, I was not happy with the quality of the seedlings, so tossed them, and sowed directly into the ground with fresh seed in late November. The following pics are captioned with dates. The first one I took was 3rd Jan. From that point on the growth was exponential.
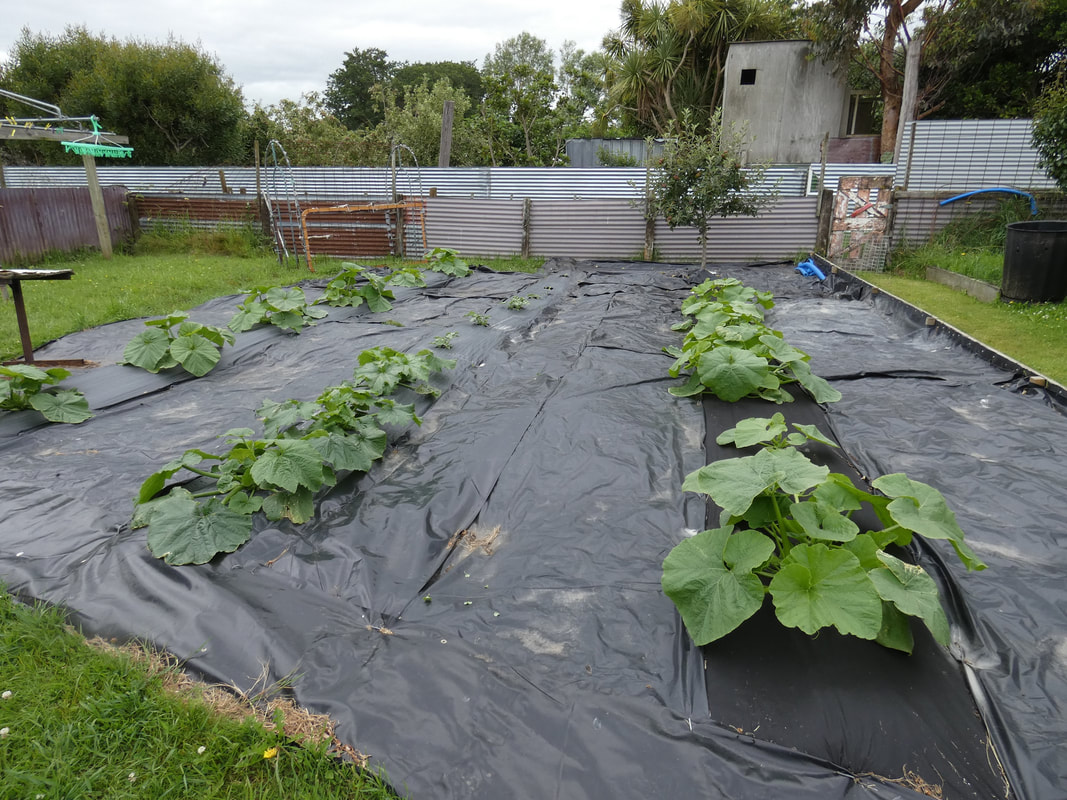
3rd January - the left and right rows are pumpkin, centre row has three zucchini at the front and watermelon behind. The zucchini did well but became hard to harvest, but the watermelon eventually got very overrun, despite my efforts.
11th January
14th January
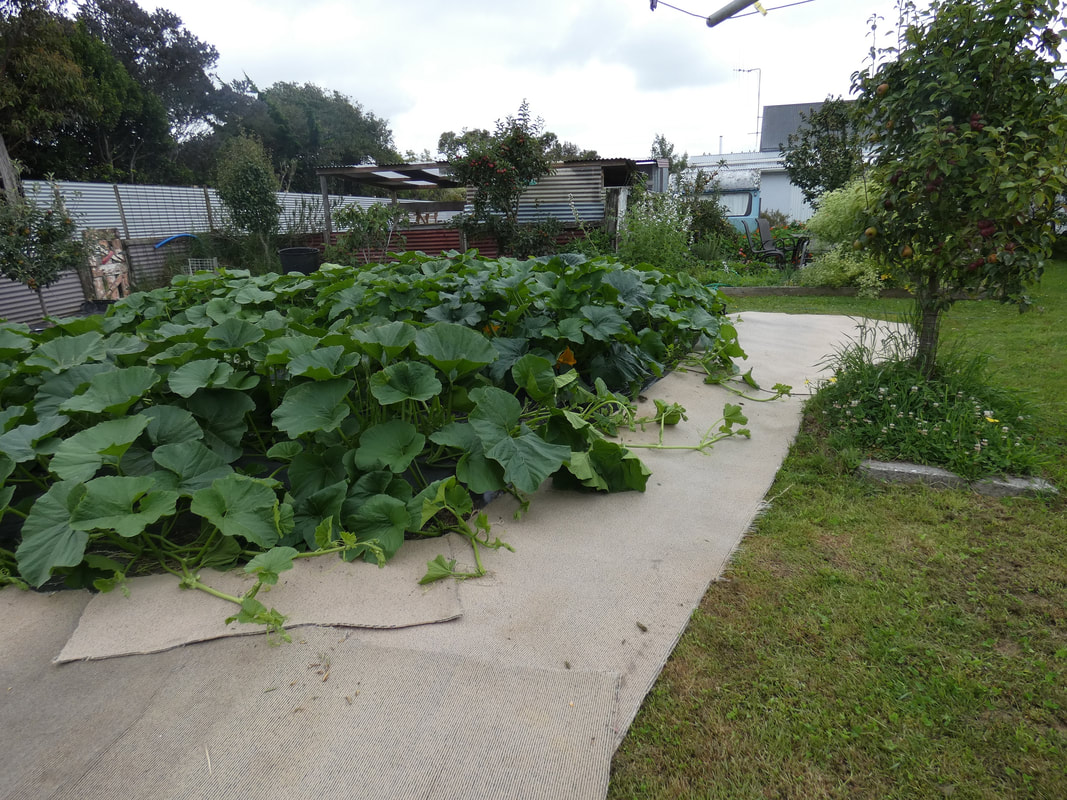 17th Jan - I laid wool carpets we had just pulled from our house down to extend area for pumpkins will keeping weeds down. | 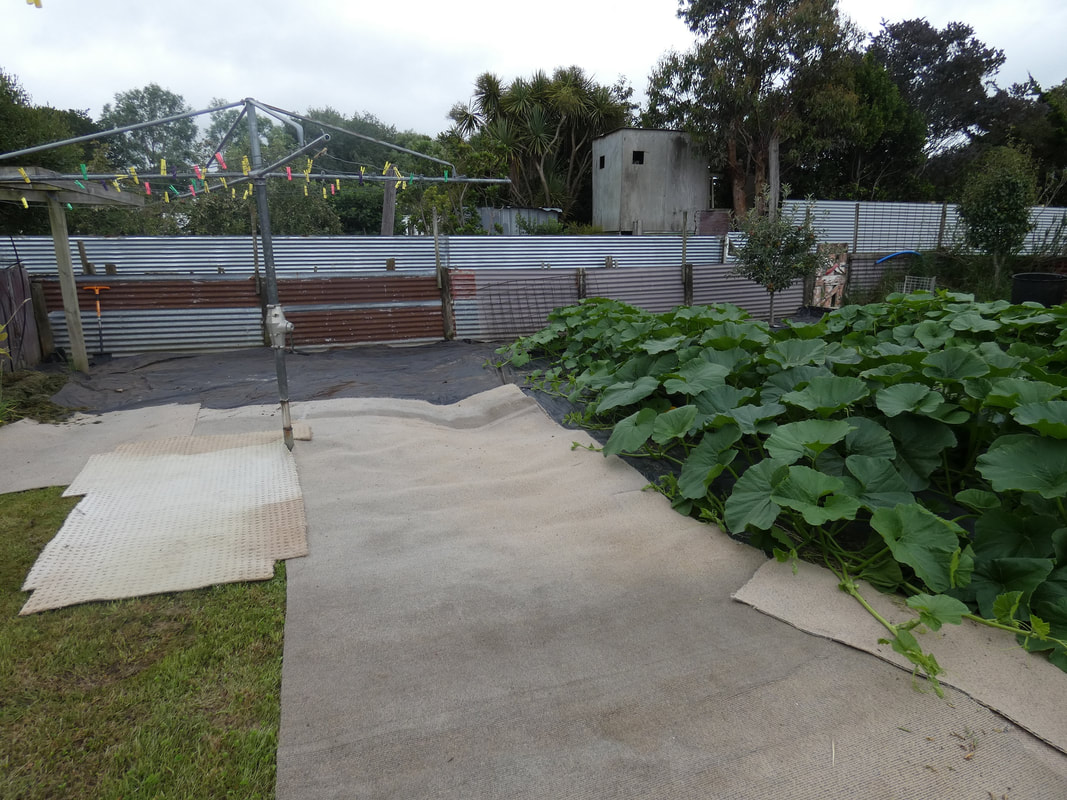 This was part of my efforts to encourage the pumpkins to grow away from the watermelons |
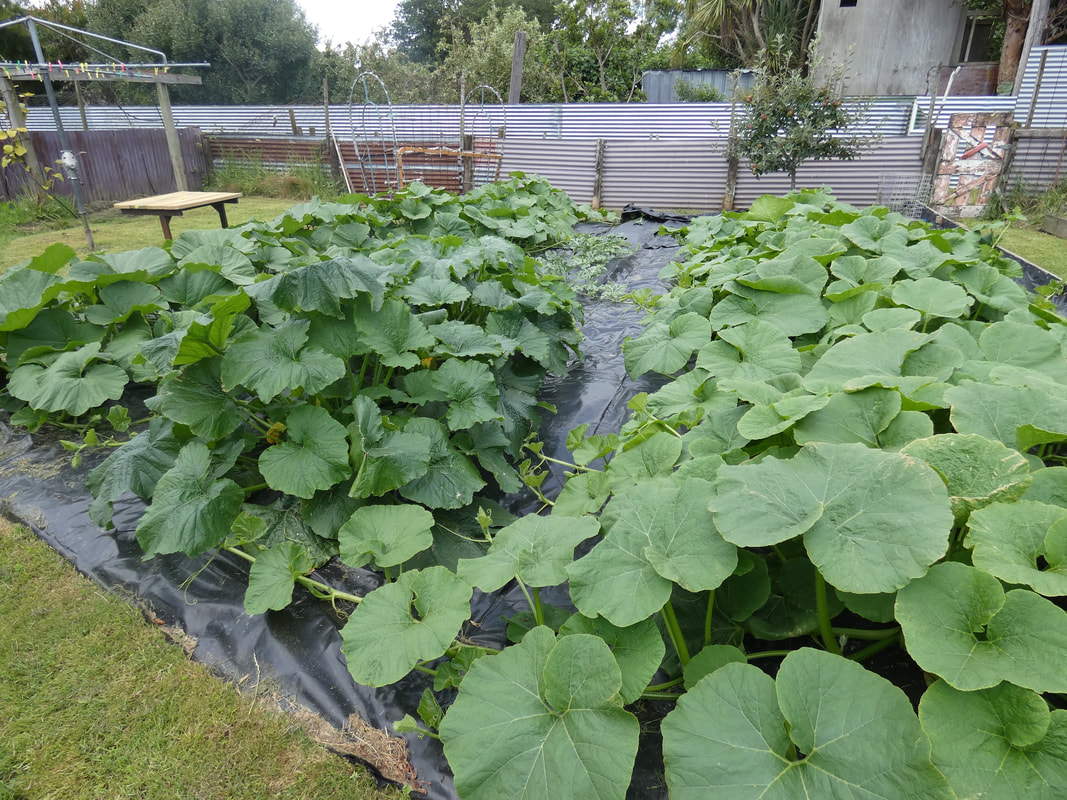
12 February
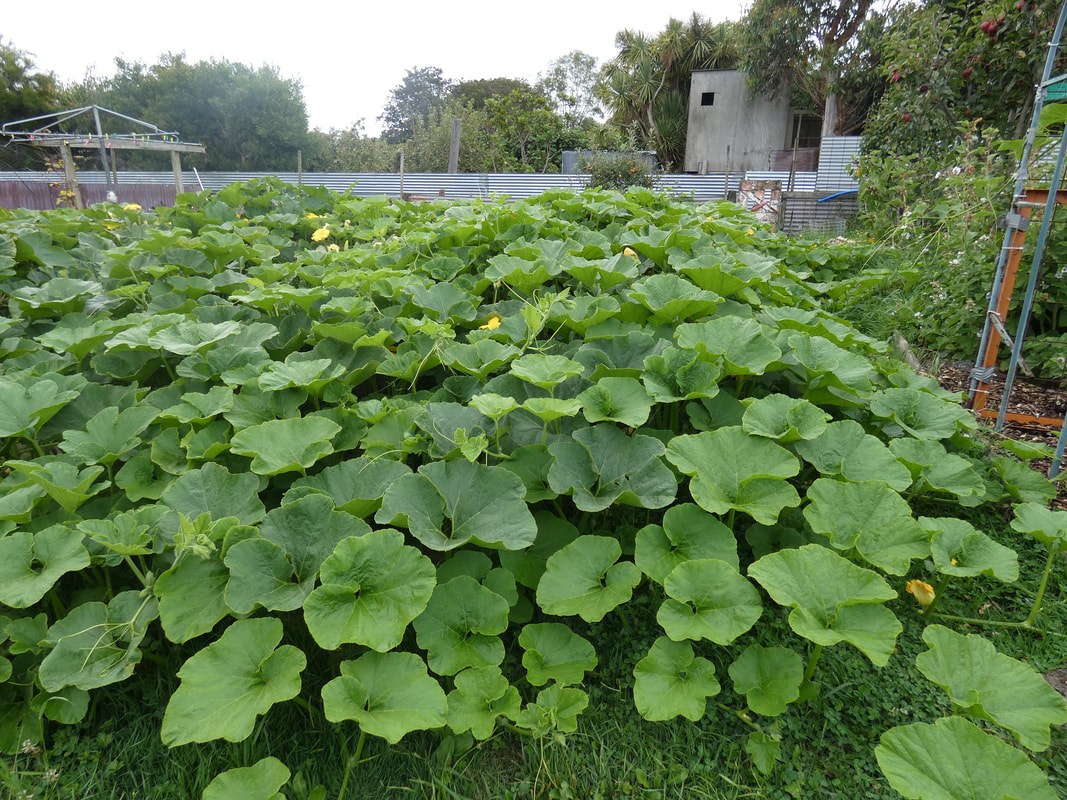
16th February
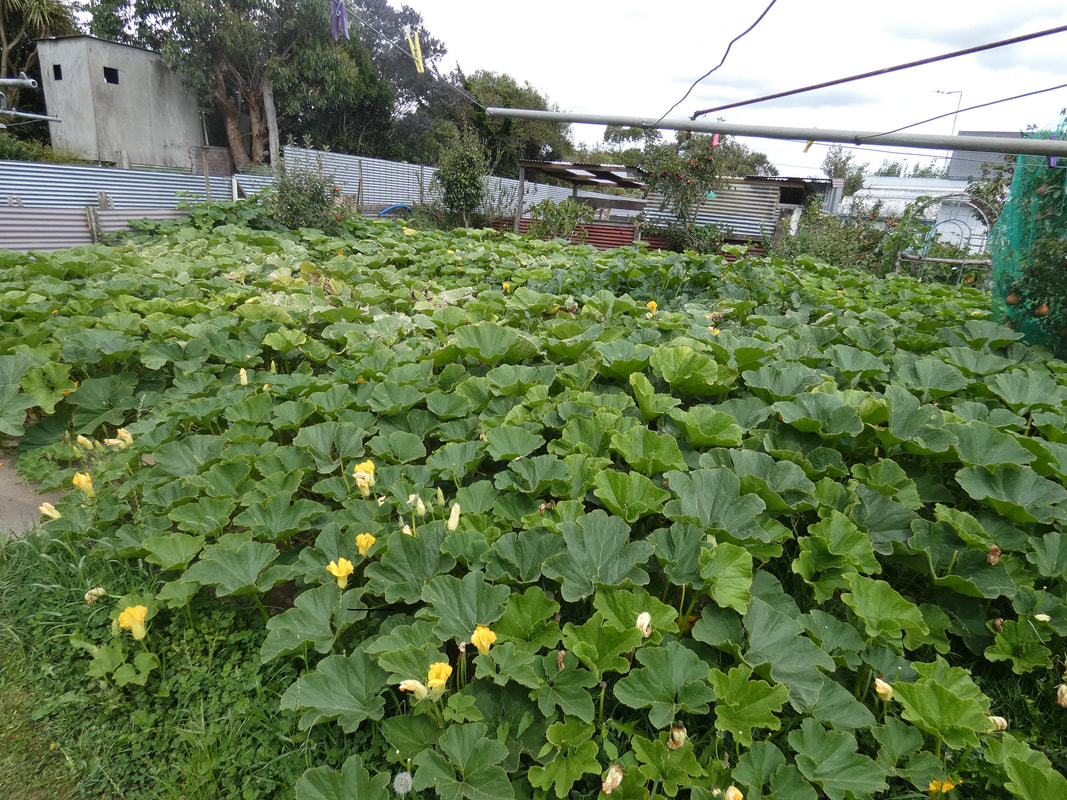
1st March
21st March
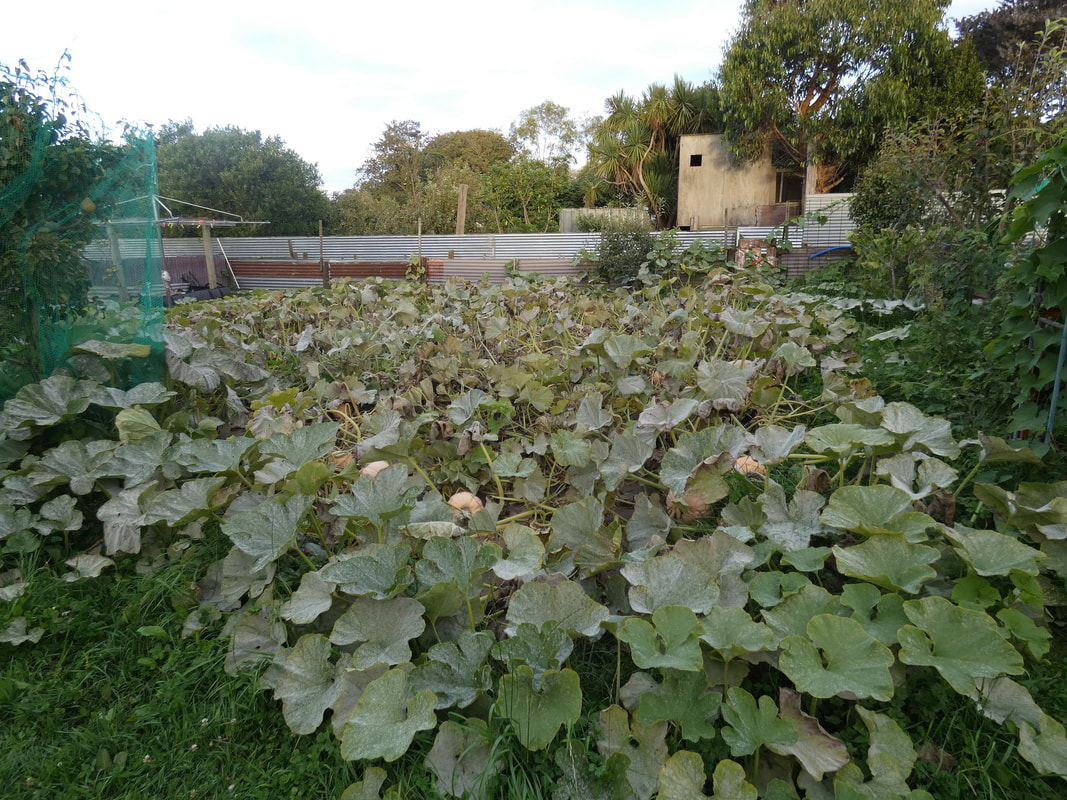
1st April
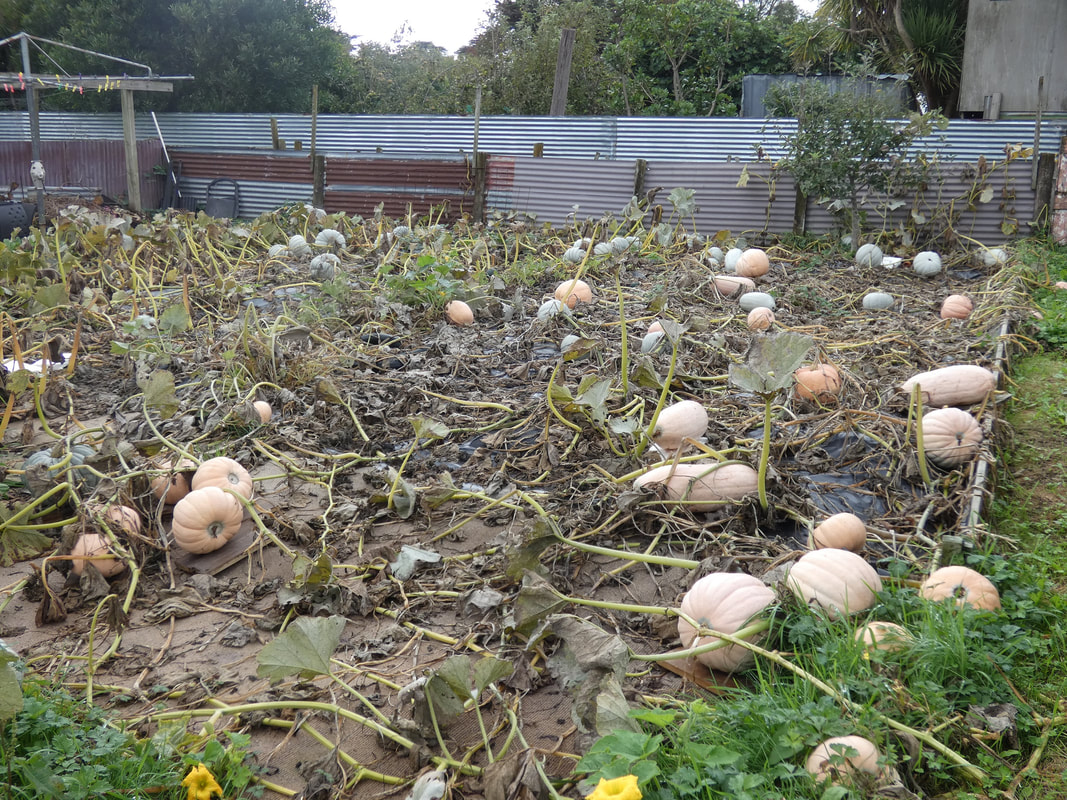
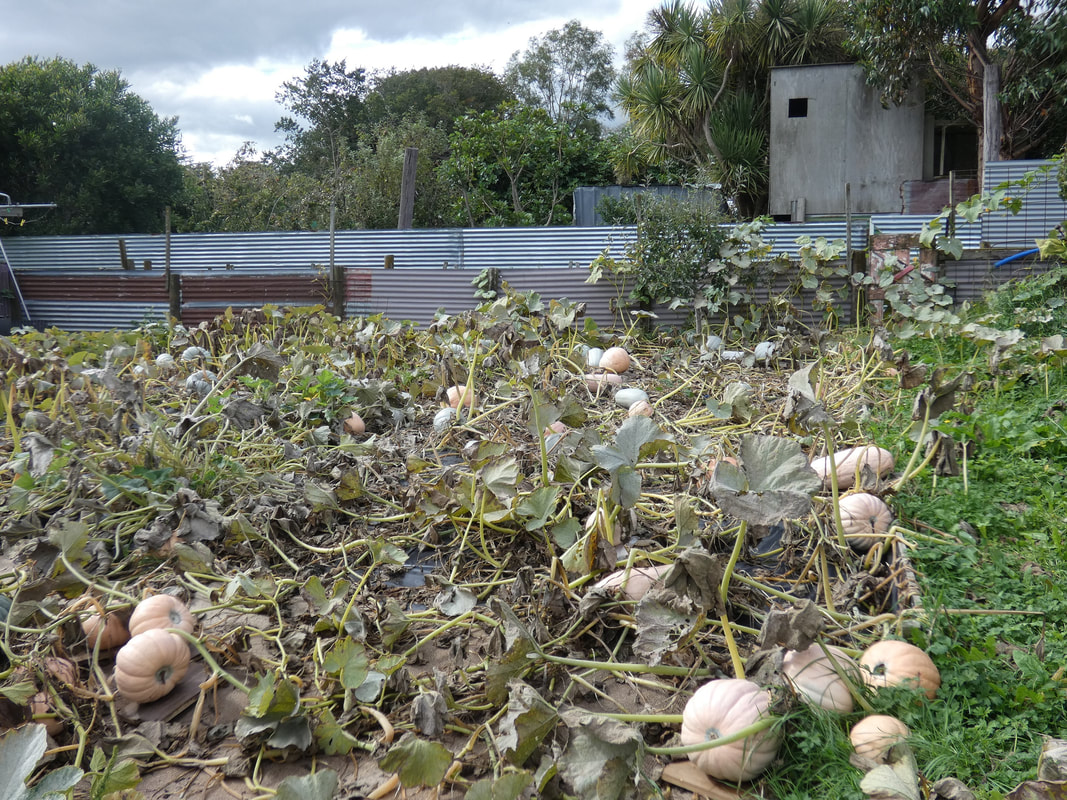
11th April - harvest day. I could have left it longer, but for various reasons needed to get them up, plus the stems were starting to break down on some of them.
 RSS Feed
