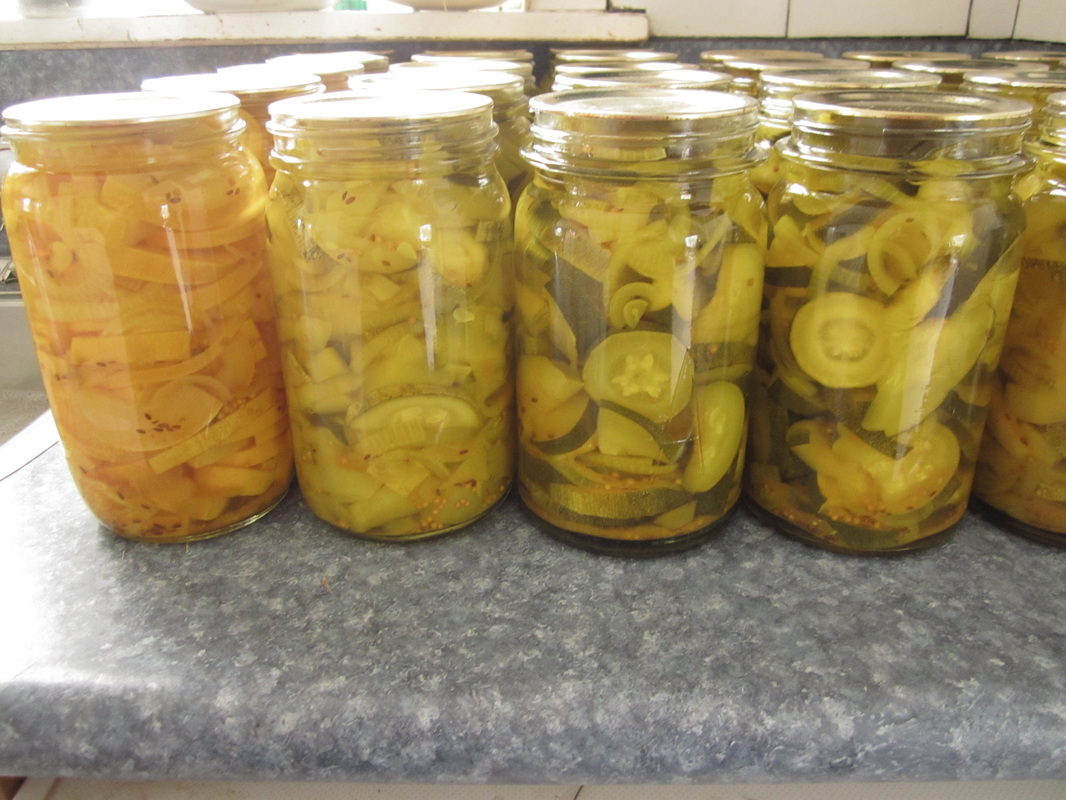
Many years ago, when we lived in Golden Bay, a very capable and frugal Dutch homeschooler shared this recipe with me, and I've been using it ever since. It's super easy, very tasty, and always a hit with visitors. You can use cucumber, zucchini or marrow to make this pickle. Over the last few years, when we had a ton of zucchinis (I harvested something like 134kg each of my first two years of gardening!) I made a ton of zucchini pickle. Since then I've grown more cucumbers too, and to be honest I do prefer this with cucumbers (though it's possible I just went so overboard with pickled zucchini that I'm over it for now - 100 odd jars is rather a lot!). I've also cut back on the sugar to half the original recipe, and prefer it that way too. You can increase the sugar if you like, and freely substitute cucumber, zucchini and marrow, according to what you have on hand.

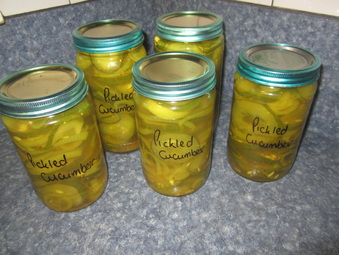
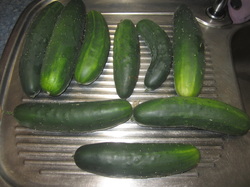
A couple of days ago I picked these cucumbers from the garden. I ended up discarding two that were dry and unpleasant inside. The rest worked out to be about 18 cups of sliced cucumber, and made up 5 jars of pickle, with a mugful left over that I popped in the fridge to use immediately. The 5 jars are pictured above - I will remove the rings before putting them away to store.
Since I was already putting the oven on at a low temperature to sterilise the jars, I took advantage of that to also make a batch of muesli. Now isn't that thrifty? :-)
Since I was already putting the oven on at a low temperature to sterilise the jars, I took advantage of that to also make a batch of muesli. Now isn't that thrifty? :-)
Pickled Cucumber or Zucchini/Marrow
Day 1
Thinly slice 10-12 cups cucumber, zucchini or marrow. If using marrow, remove rind and seeds
Slice 4 or more onions.
Place vegetables in a large bowl. Sprinkle ½ cup salt over, then cover with water. Place a plate in the top to hold the veges under water, cover with a tea towel and leave overnight.
Day 2
Sterilise jars, seals and rings: Wash jars in hot, soapy water. Rinse and drain but do not dry. Place jars on a tray in a COLD oven (to prevent cracking). Turn oven on to 100C - bring to temp, and let jars remain in oven for 30 mins to sterilise; leave them there until you are ready to fill them, as you need them to be hot so that adding the boiling vegetables and pickle solution won't crack them. Wash lids or rings and seals and rinse. Boil a pot of water and drop them in - they need to boil for 5 mins to sterilise, and then remain in the pot until you're ready to use them.
(Note: if you decide to follow my thrifty example and make museli simultaneously, still ensure you put the jars in a cold oven, then add the museli once it is hot. You can make up the pan full of museli while the oven is heating).
Strain veges in a sieve or colander. (Rinsing is optional) Drain well. Do this one colander full at a time, draining the first while you bring the solution below to the boil, and draining a second while the first cooks and so on.
In a large pot, bring to boil:
4 cups white vinegar
1 cup sugar
1 tsp mustard seeds
1 tsp dill seeds or fresh dill (The last few years dill seed has suddenly stopped being in the supermarket herb/spice section, but you can still find it at Asian and bulk food places. If you can't get it, you can leave it out, but it does as a wonderful flavour and aroma).
1 tsp tumeric
Note: the above quantities can be a bit borderline for more than 10 cups veges; you might want to do 1 1/2 times this amount, just to be on the safe side.
Add vegetables, one colander at a time, return to boil, bottle and seal.
Makes approx. 2 quart preserving jars of pickle.
If you are a novice preserver, see my post on Easy Home Preserving with Overflow Method
Some additional tips:
- If you find during the filling of the jars that you have a part-jar in a batch, simply pop that jar into the oven to keep it hot while you bring the next colander full of veges to the boil, then get it back out and finish filling it first.
- Rings can be removed the following day once jars are sealed.
- Wipe cold jars down thoroughly to remove any sticky residue
- I like to label my jars with a simple permanent marker - it stays on well, but when it's time to reuse the jars, it will come off with a cloth and hot soapy water and a little elbow grease - much easier than sticky labels!


 RSS Feed
