Thrifty Kiwi
Like our Facebook page
  • Home
  • Blog
  • Homesteading
  • Gardening
    • 2025 Garden
    • 2021 Garden Blog
    • 2019-2020 Garden Blog
    • 2017-2018 Garden Blog
    • 2016-2017 Garden Blog
    • Kiwi Urban Homestead 2013-2015 Garden Blog
    • Pest & Diseases
  • Recipes
    • Autoimmune Protocol
    • Meals and Snacks
    • Preserving
    • Household Cleaners
    • Health & Beauty
  • Skills
    • Menu Planning & Grocery Shopping
    • Money & Budgeting
    • Preserving How-Tos
    • Housekeeping
    • DIY
    • How to Find Stuff Free or Cheap
  • Animals
    • Critter Blog
  • About
  • Contact

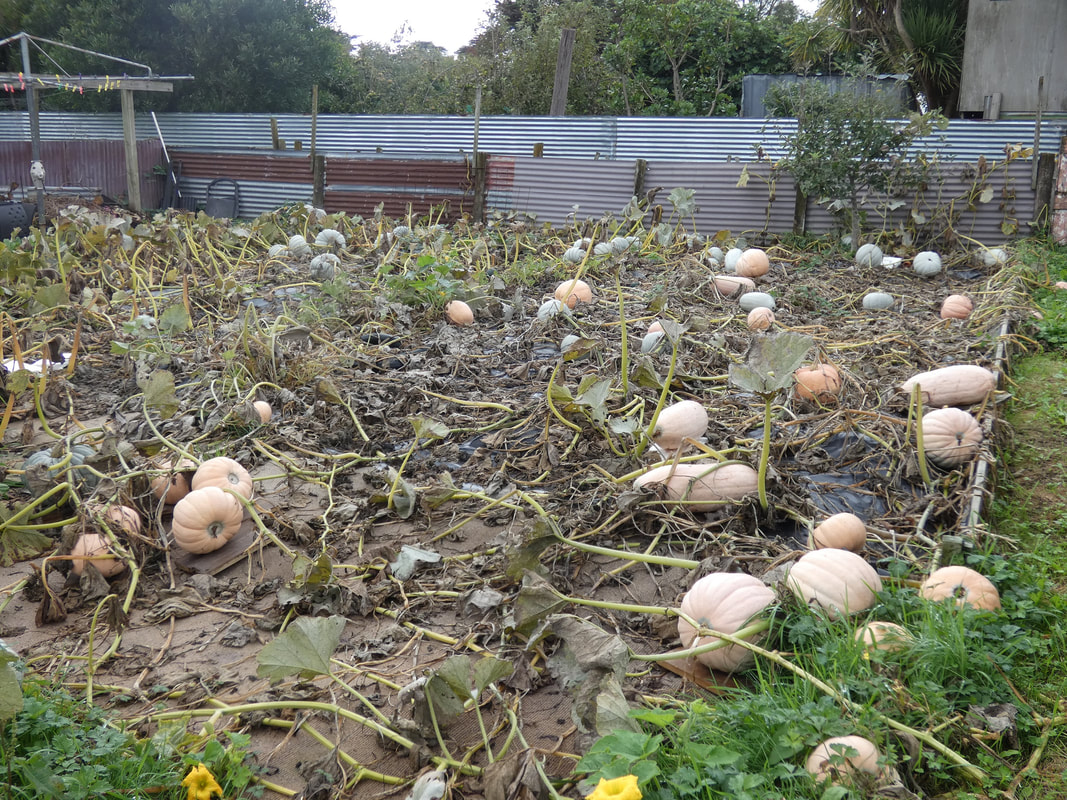
Harvested: 570.2 kg Pumpkin, Planted in 70sqm Patch

28/4/2021

2 Comments

 
Picture
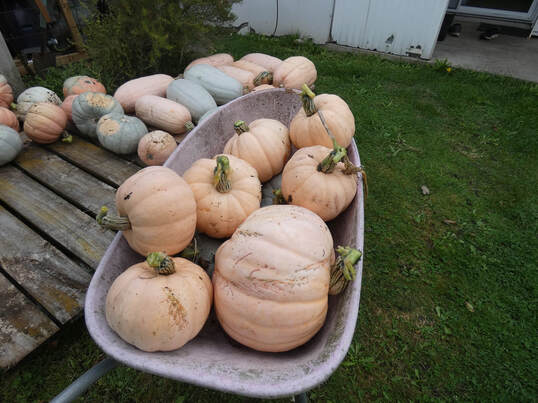
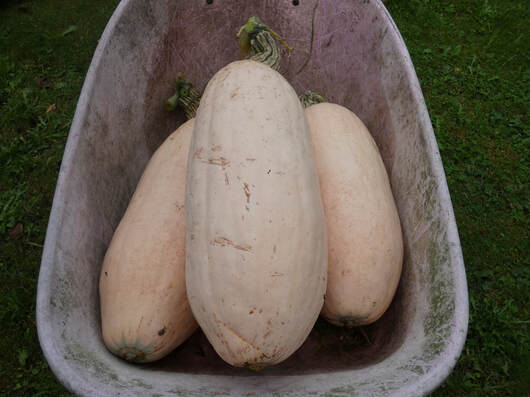
This year I grew two varieties of pumpkin - Whangaparoa Crowns from purchased seed, and my own experimental hybrid of Pink Banana Jumbo squash crossed with Whangaparoa Crowns last time I grew them side by side back in 2017/2018. I love PBJs - they have a very flavourful sweet flesh (not as sweet as butternuts which I find too sweet, but much better than standard crowns), but when I grow them the fruits are typically 10-18kg each, which is way too much pumpkin at a time now our household is down to 2-3 people most of the time. So I was aiming to get the same flavour with smaller size. 
NB: For photos of the pumpkin patch over the growing season, scroll to the end of this post.
​

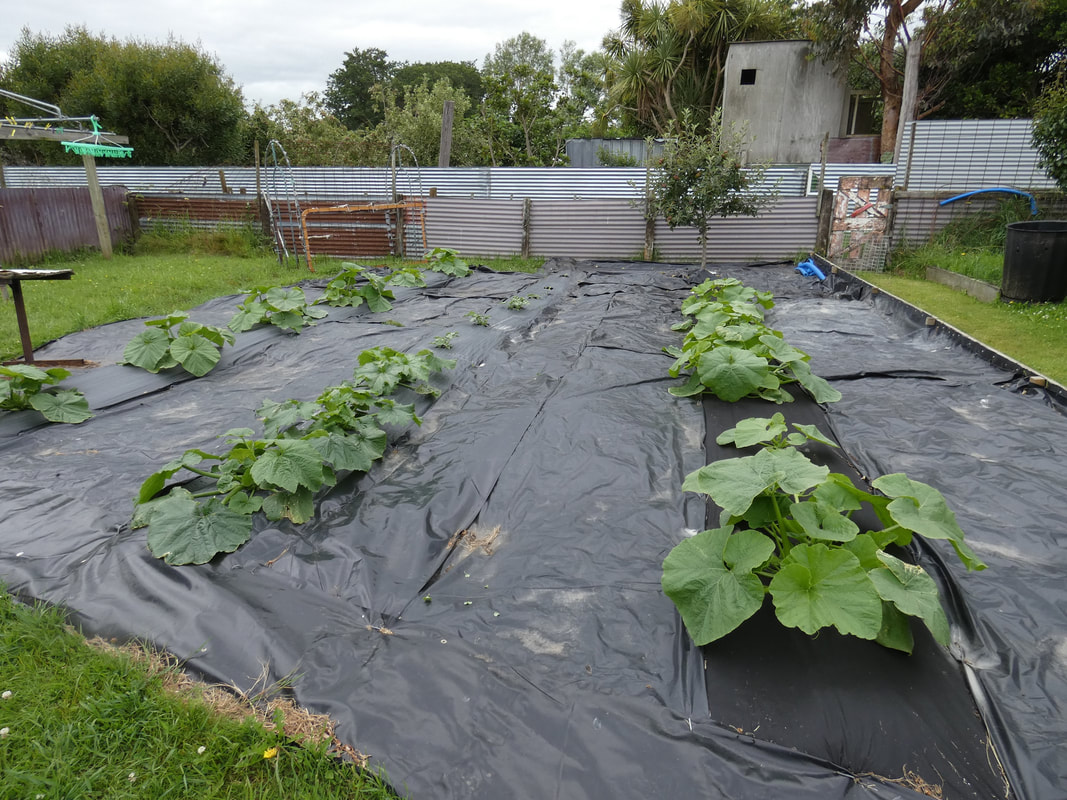
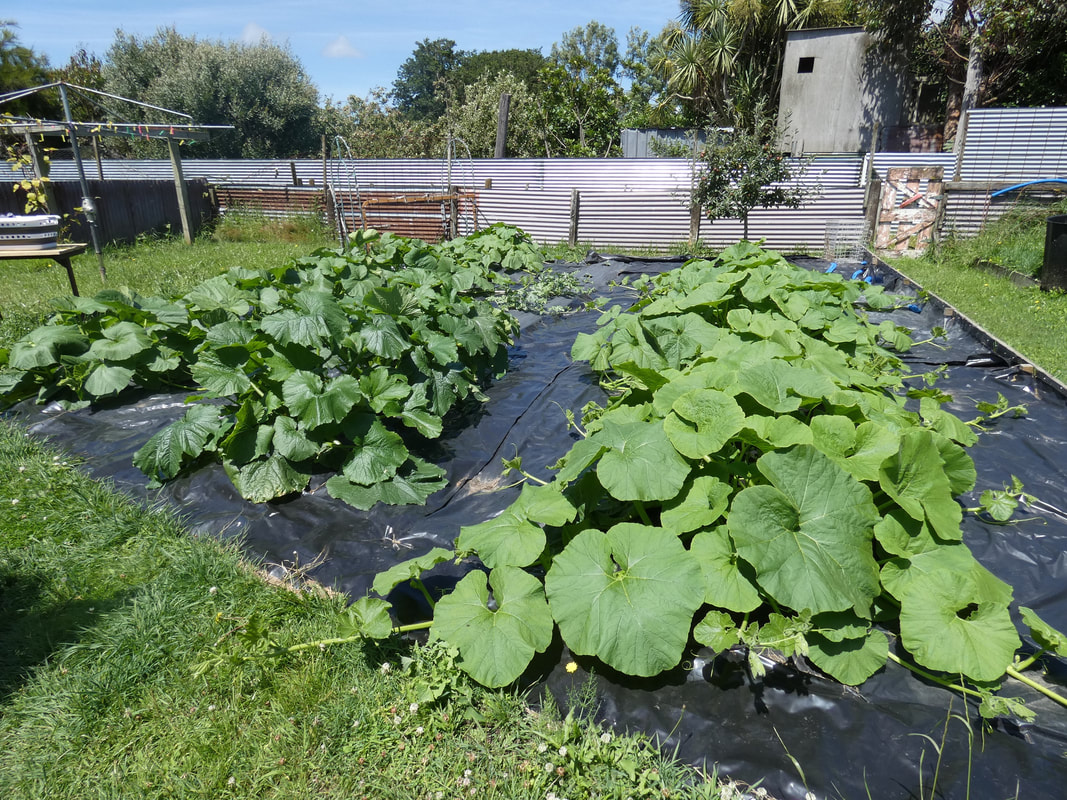
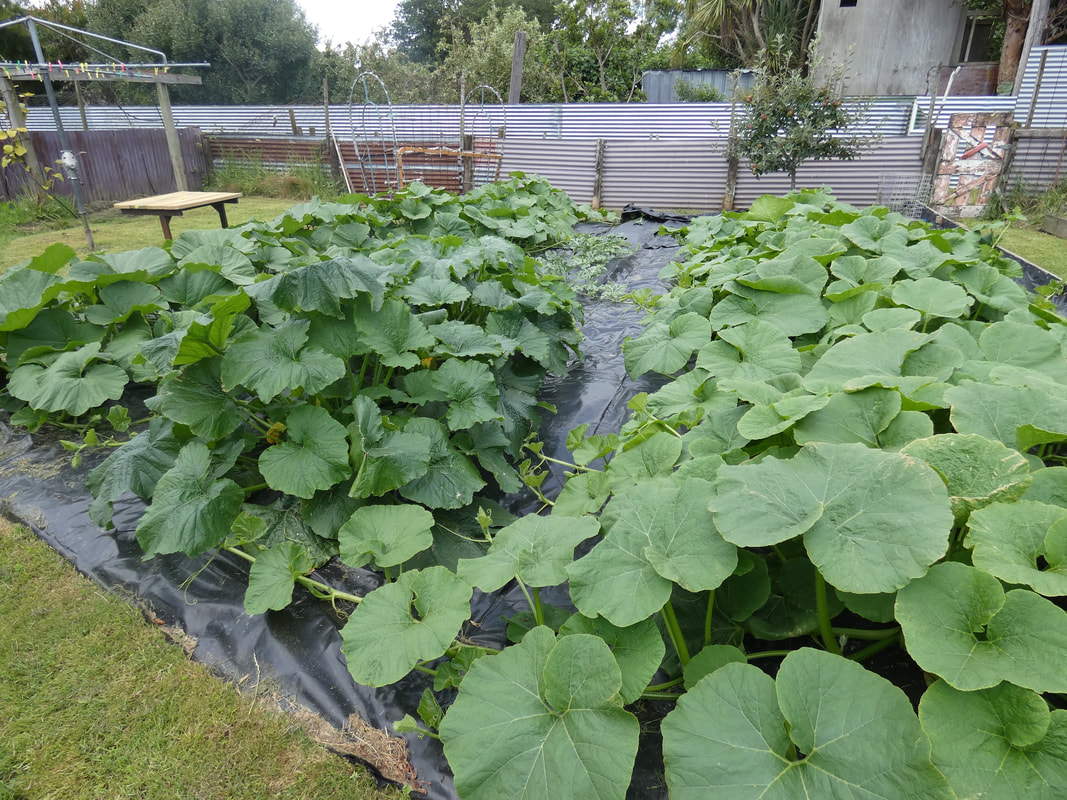
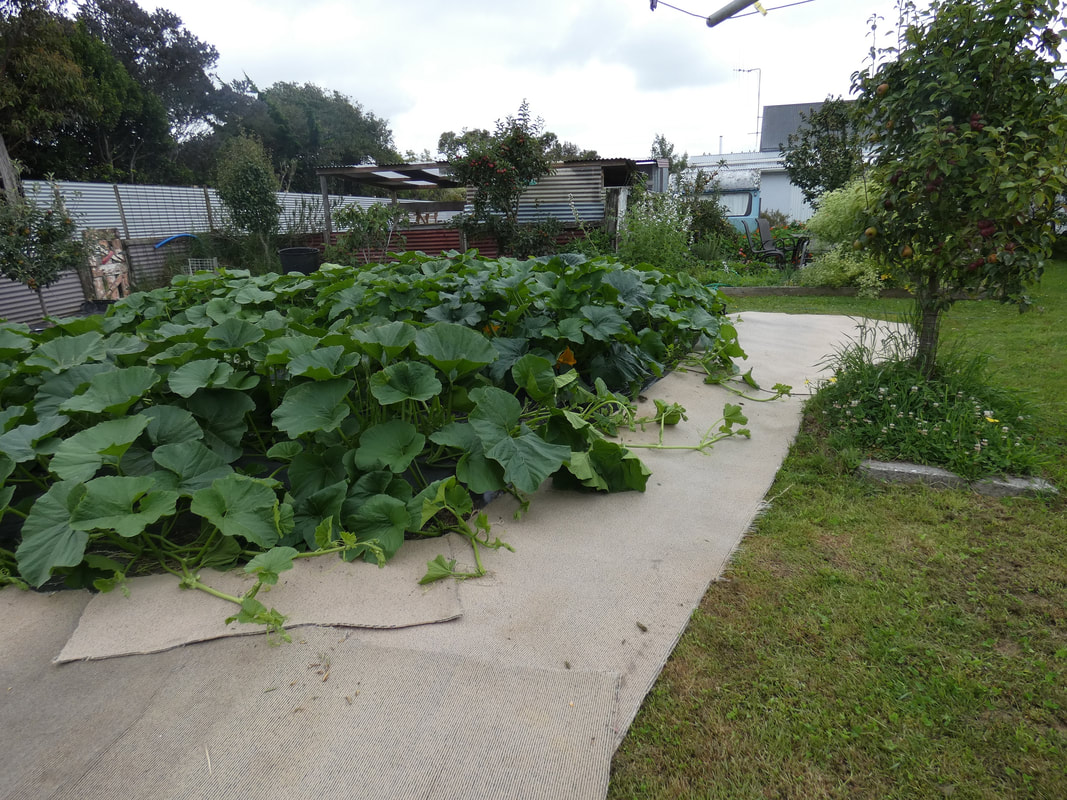
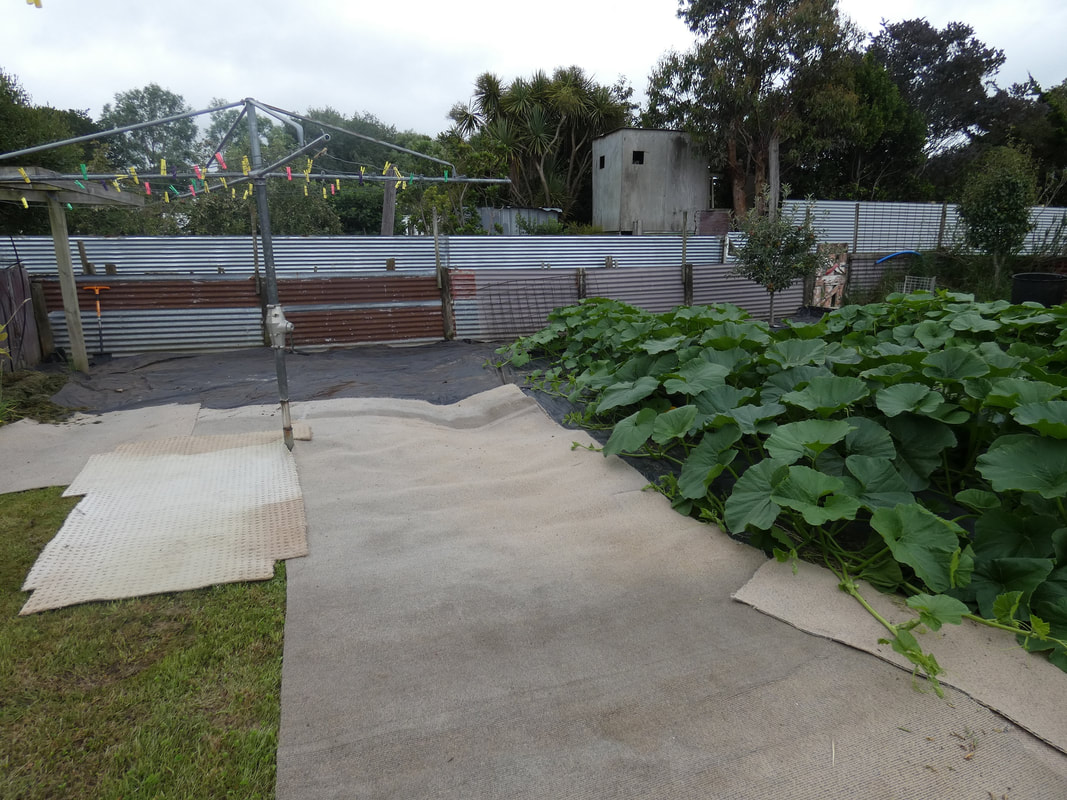
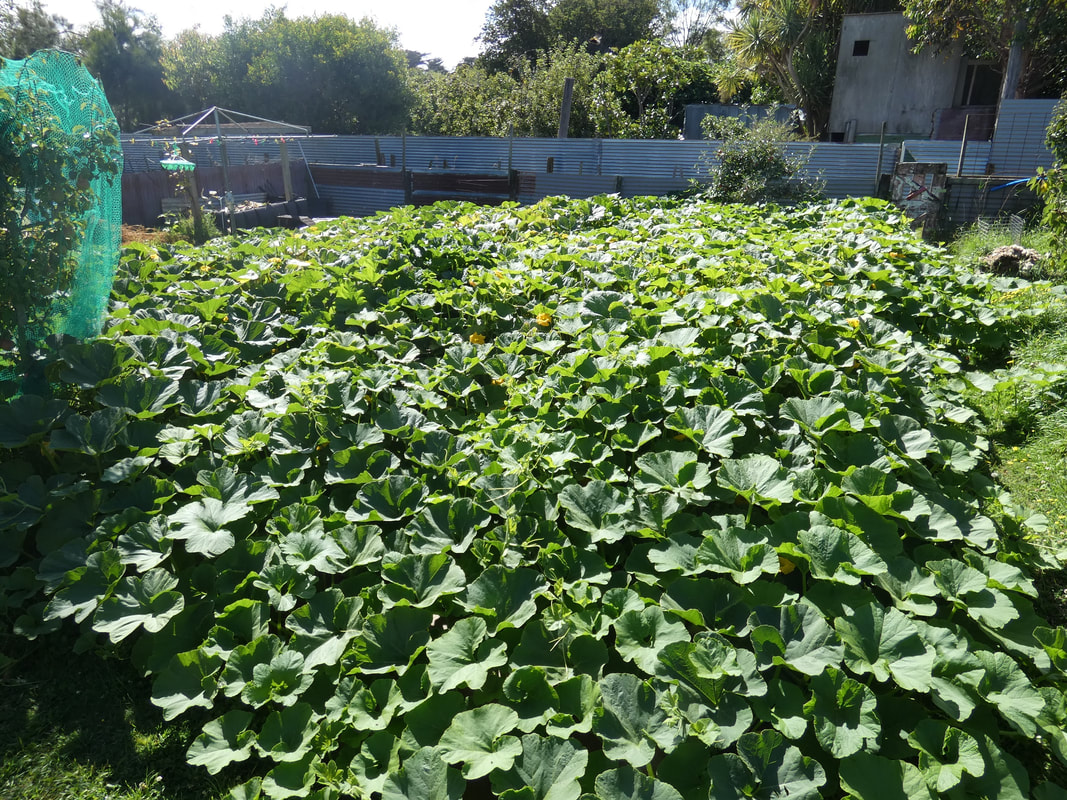
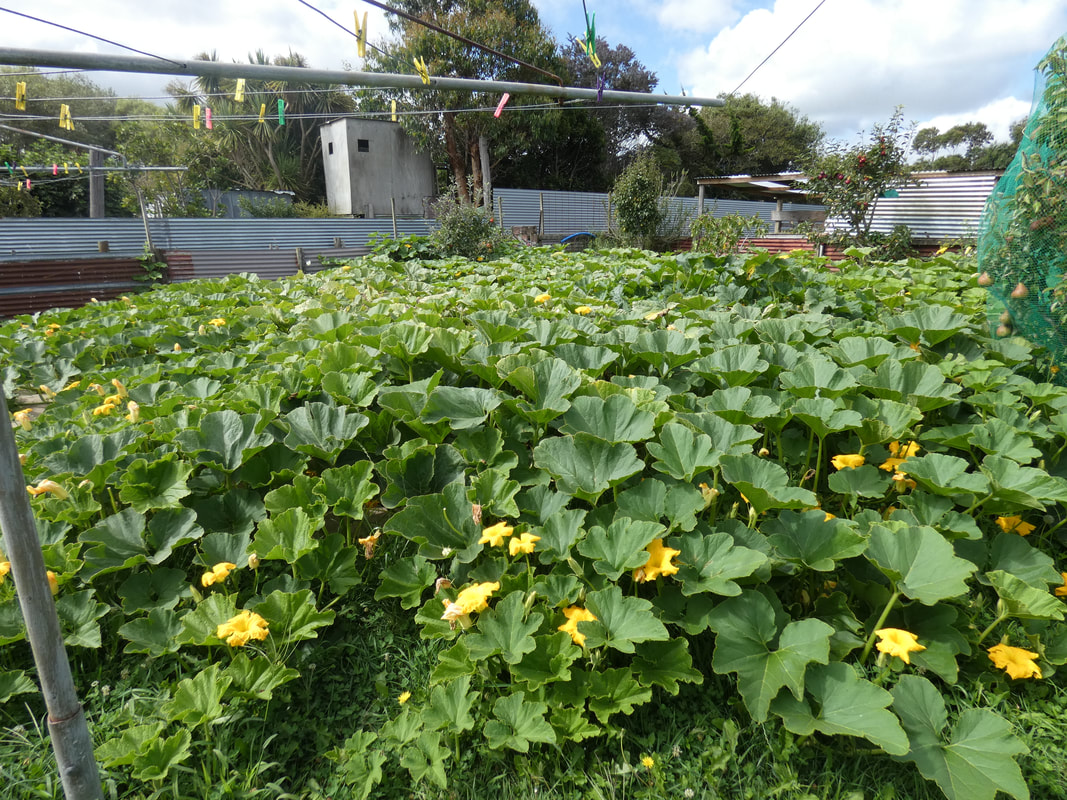
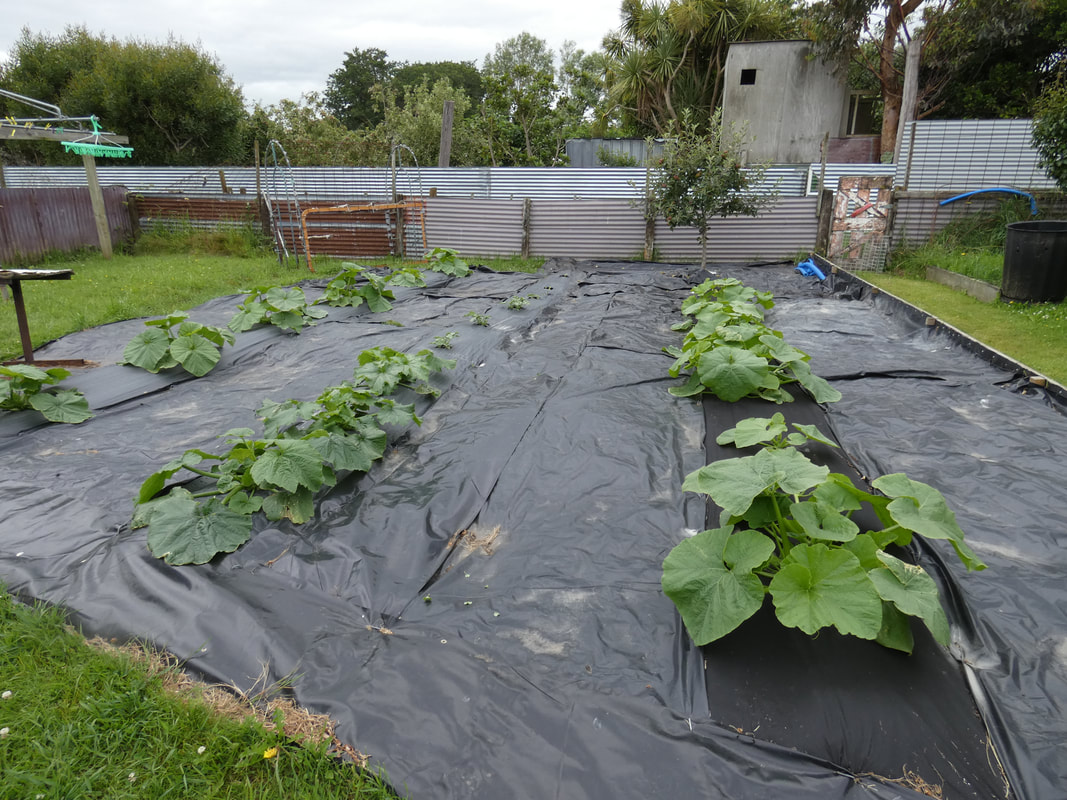
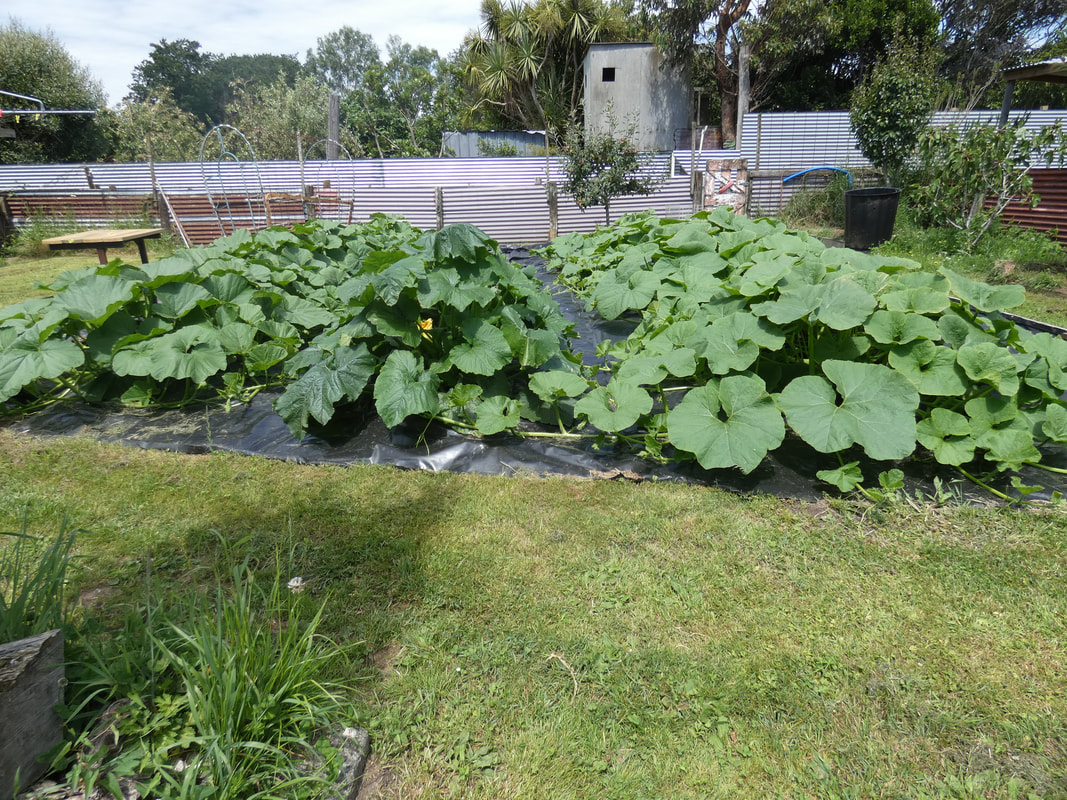
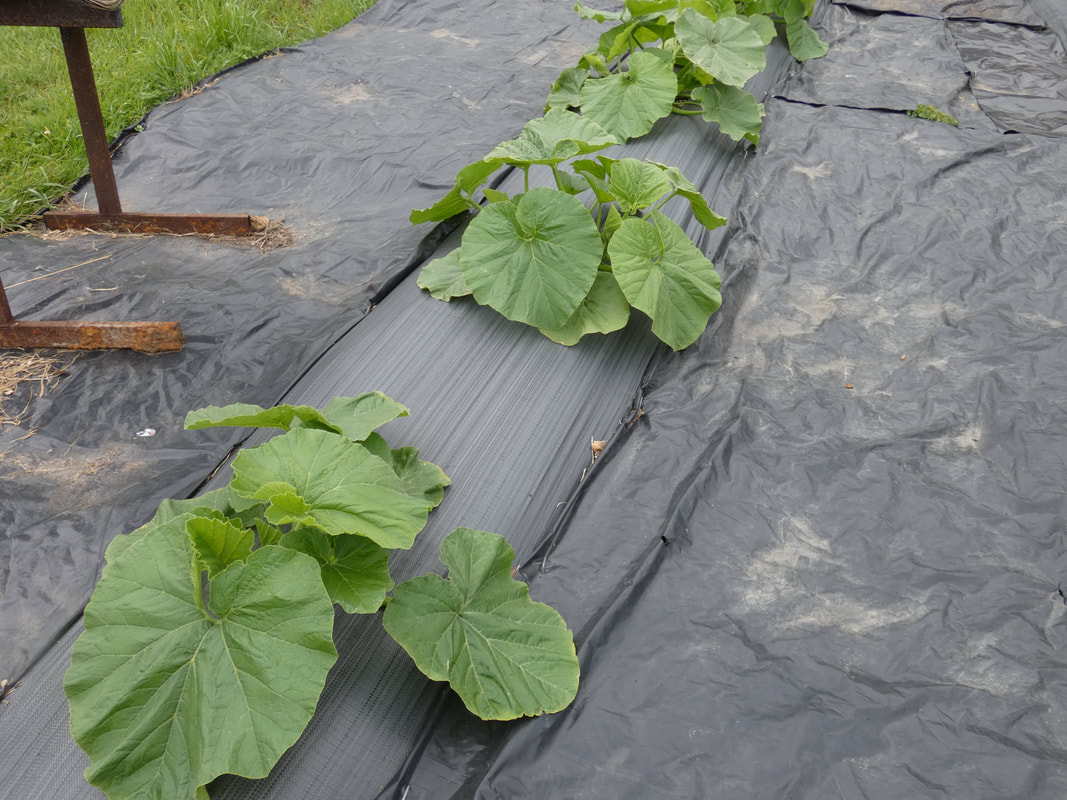
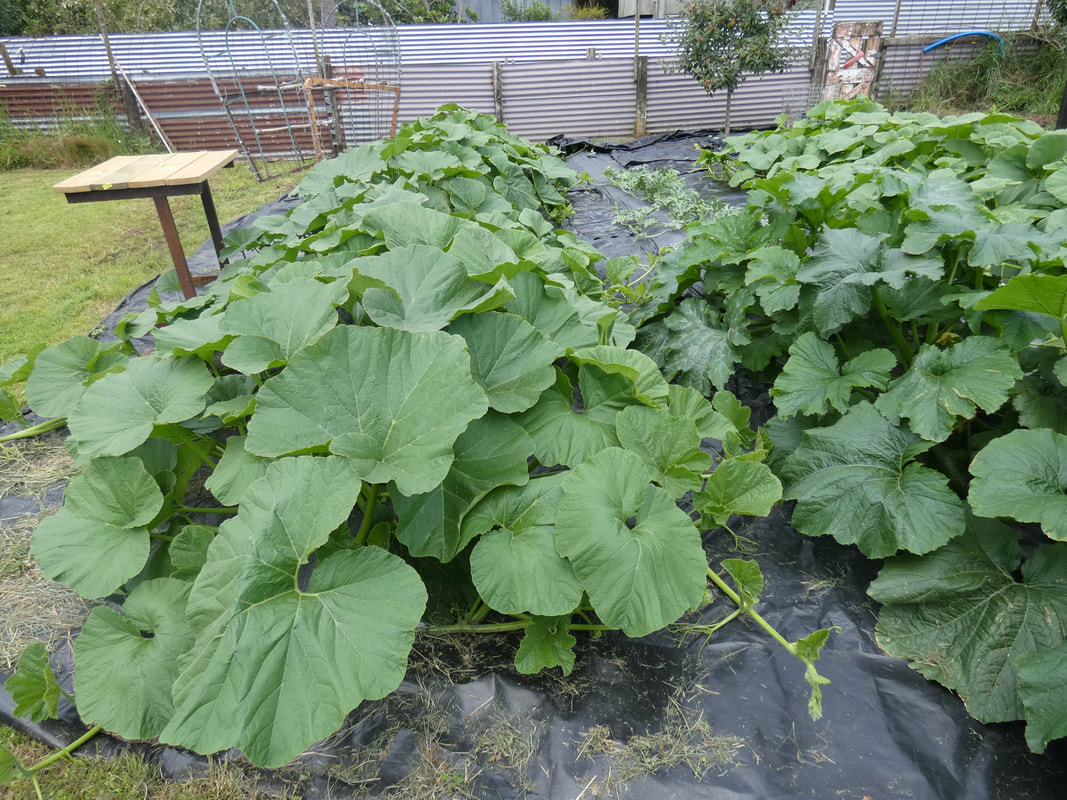
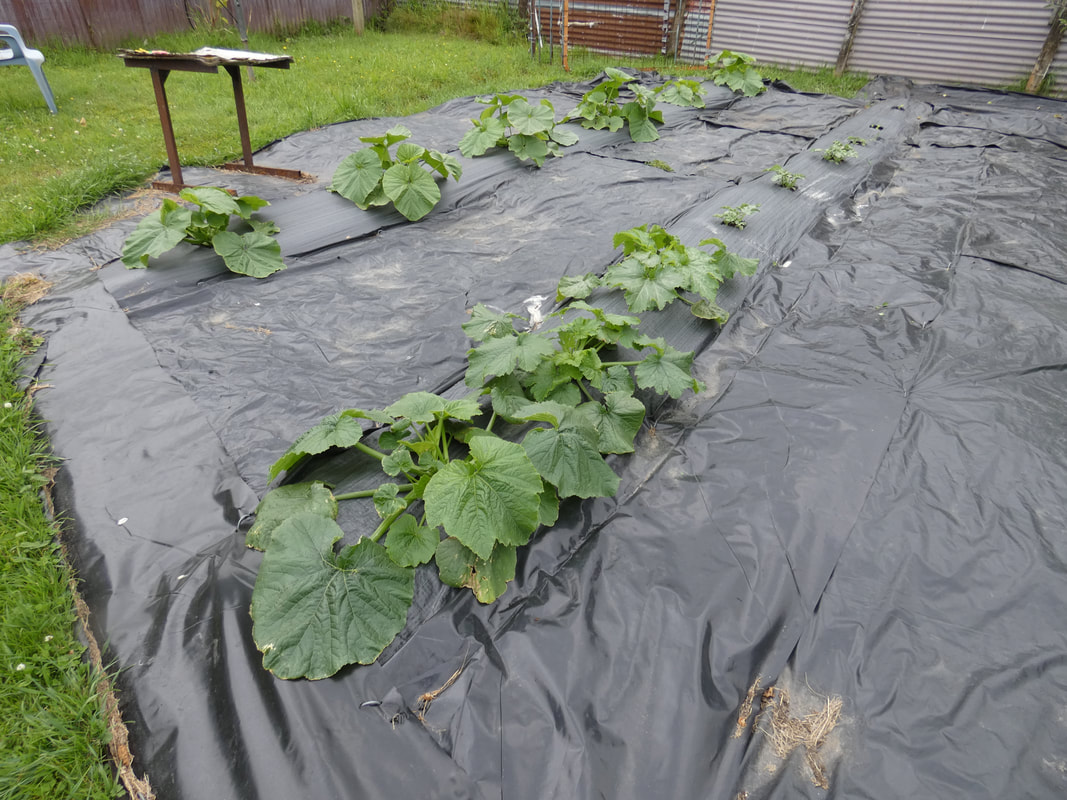
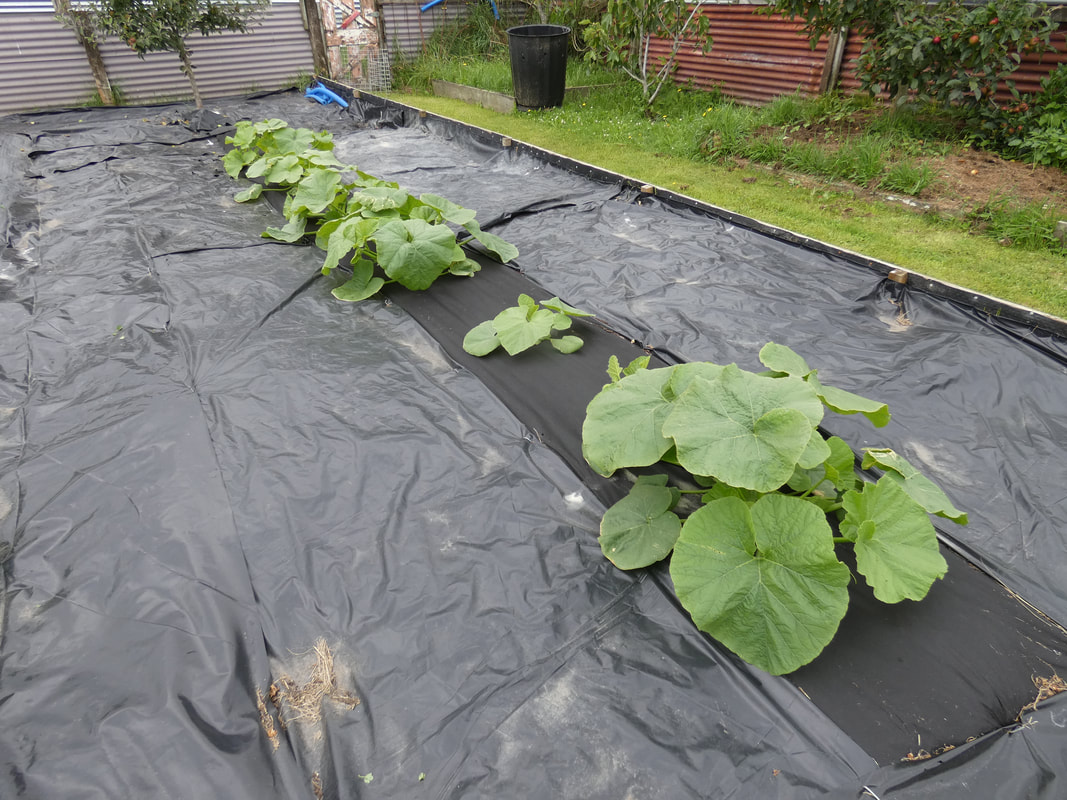
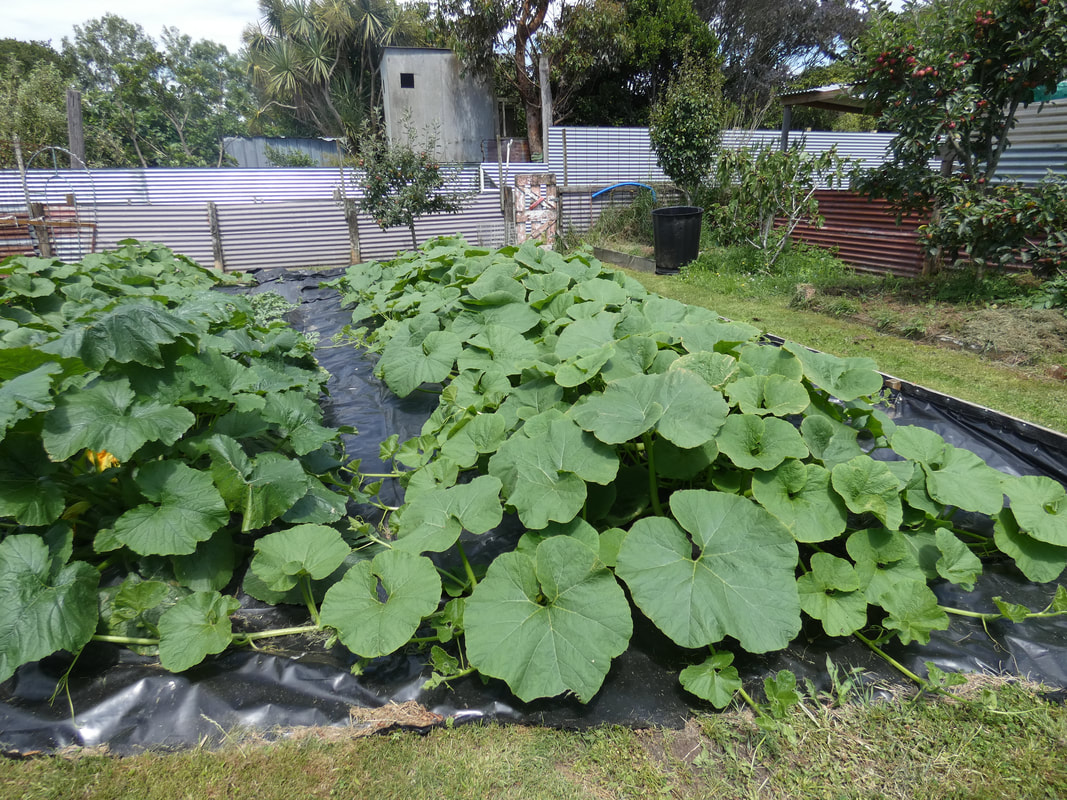
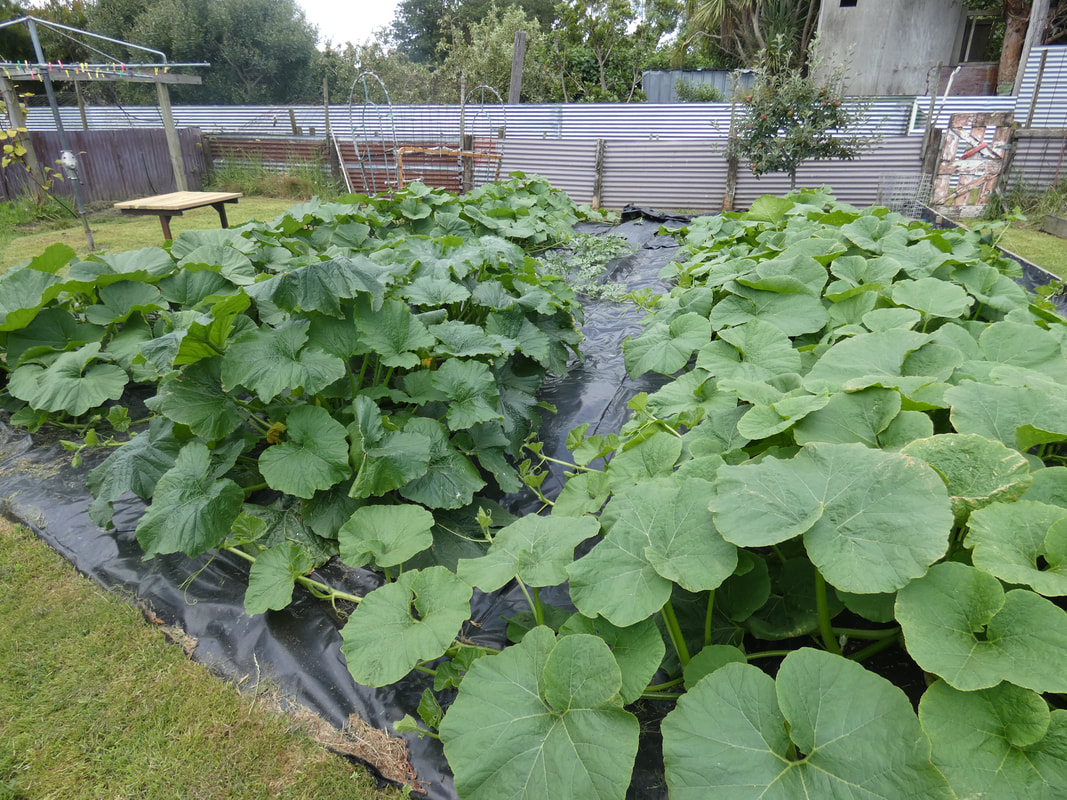
The previous crop I grew was very successful - yielding 378kg (in 5 varieties) of squash/pumpkins from 50sqm. At the time it was done to also reclaim overgrown ground, and as this time I had another area which was formerly in garden beds but was now completely overrun with couch, buttercup and bindweed, I use the same, slightly modified, technique to grow the crops this season too, so I could reclaim the area while also yielding a crop. (For pics etc not long after planting see HERE). In a nutshell, I laid out compost in two rows (there was a third between in which I planted zucchini and watermelon), covered the compost with weedmat, and laid down black plastic between the rows and over the surrounding area I wanted to reclaim, all pegged down. I cut 6 holes in each row of weedmat, sowed seeds directly into it. A couple of weeks later I added a dessertspoon of dolomite to each hole and watered in (because I forgot to sprinkle it on the compost as I would otherwise have done). I did not feed with anything else. I watered in the first few weeks until the plants spread, and only twice since. The total original covered area was 70sqm. I did extend this with some carpet we pulled from our house over summer (to keep the grass down) and let the plants spread somewhat further, to a total of approx 90sqm overall, bearing in mind I was encouraging them to grow away from the centre row of other plants, and had lots of space. They could otherwise easily have remained within the 70sqm, or less. Ultimately there were 10 plants each of crowns and hybrids. 
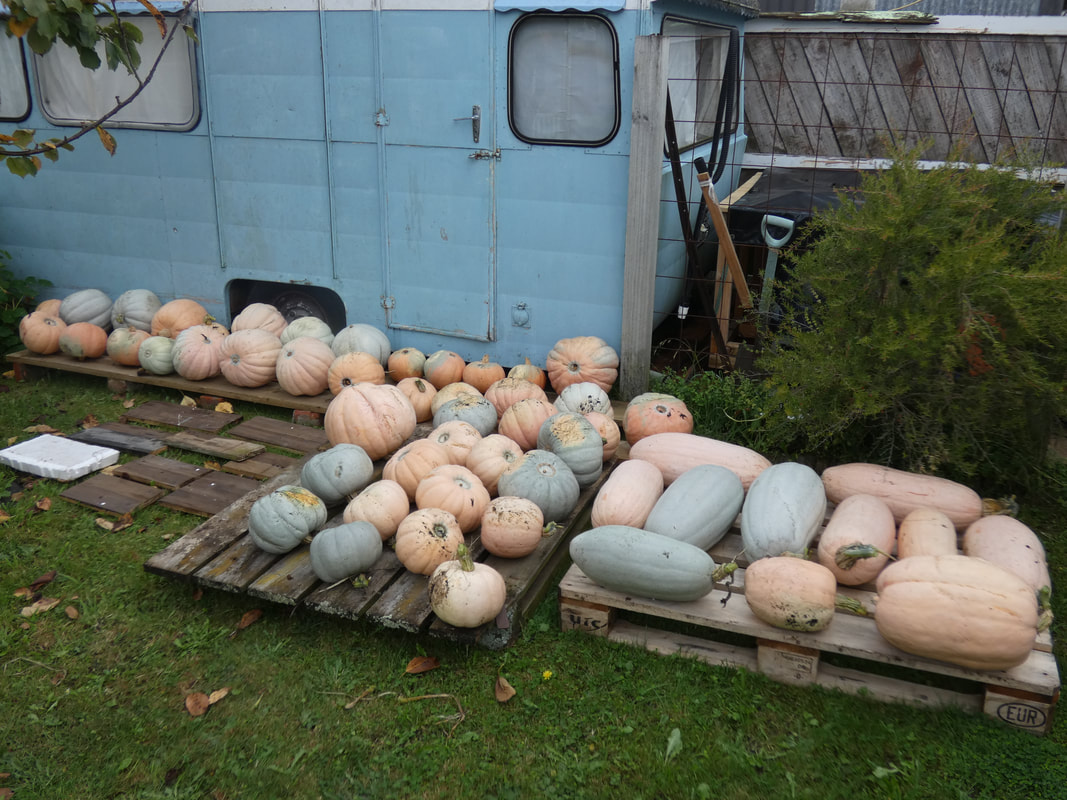
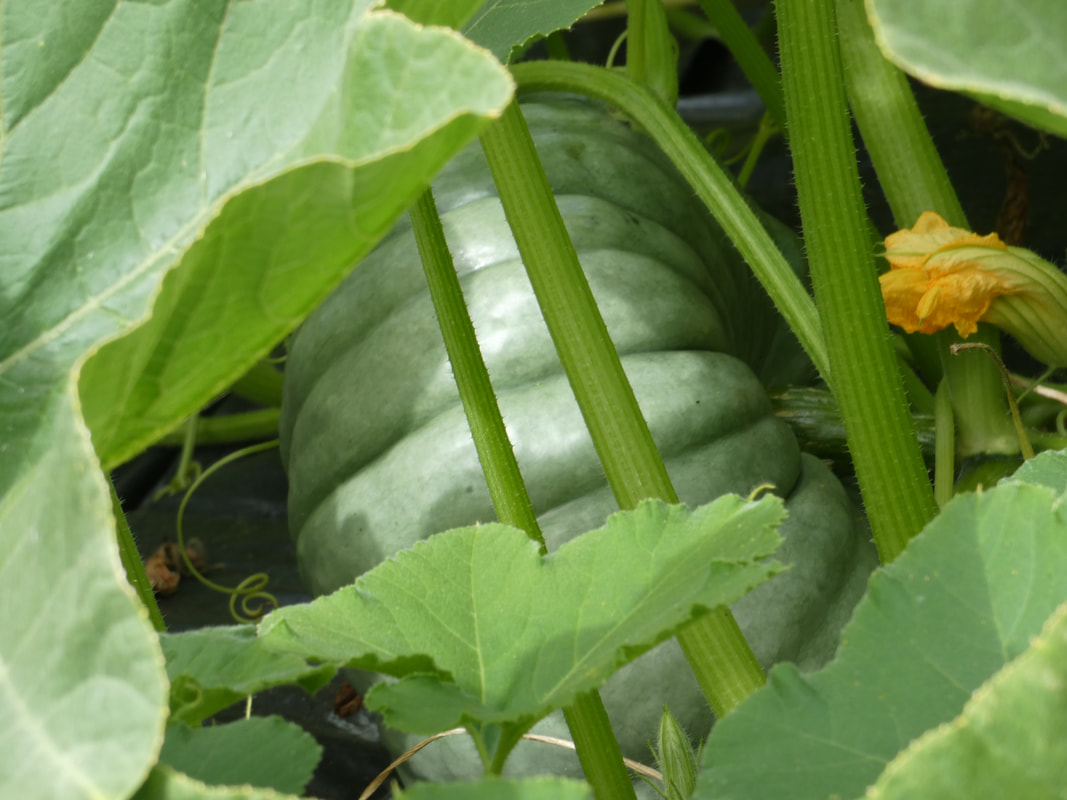
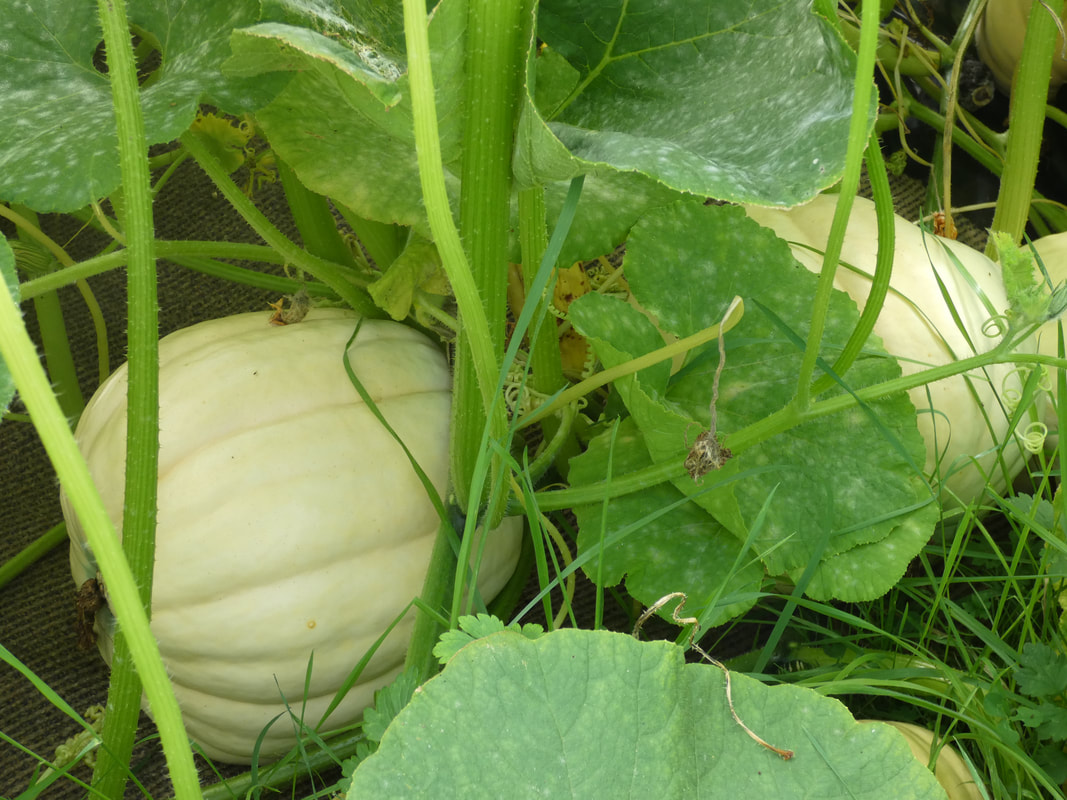
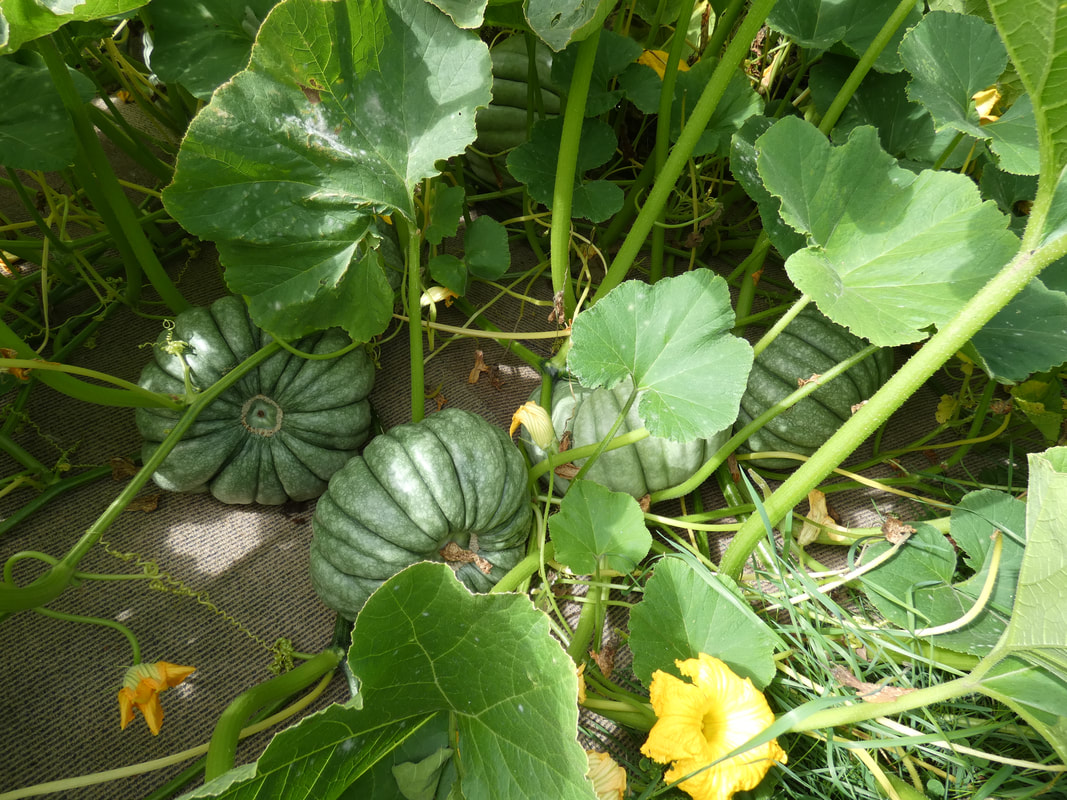
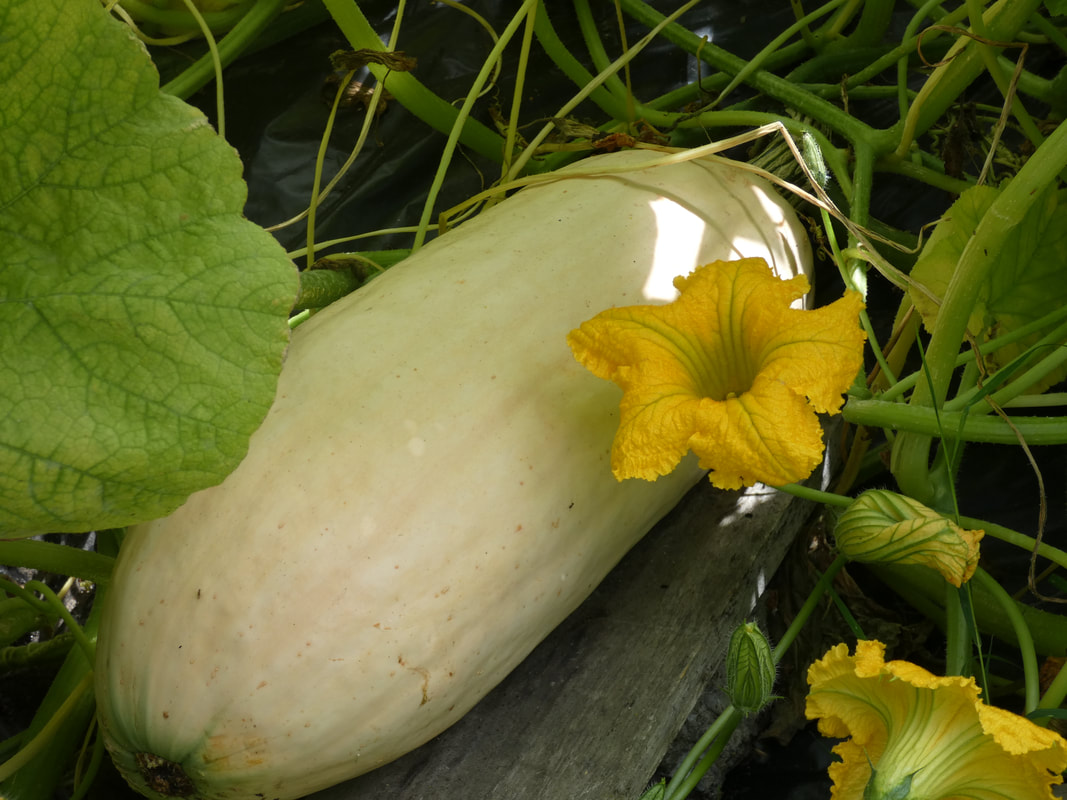
As the plants grew, the supposedly Whangaparoa Crowns looked more like an Aussie variety such as Jarrah to me - their size is larger, groves deeper, and until the very end of their ripening their colour much greener than a W.C and more like a Jarrah. Either way they are a crown pumpkin. The hybrid was fascinating to watch - at first I was seeing lots of rounder orange pumpkins form (as I expected). But once the plants started to peak and subside, I could see I also had quite a few long orange (like PBJs) as well as some long greys, and some round grey pumpkins too. All expressions of the two they were hybridized from were growing. The orange hue turns to pink as they ripen.

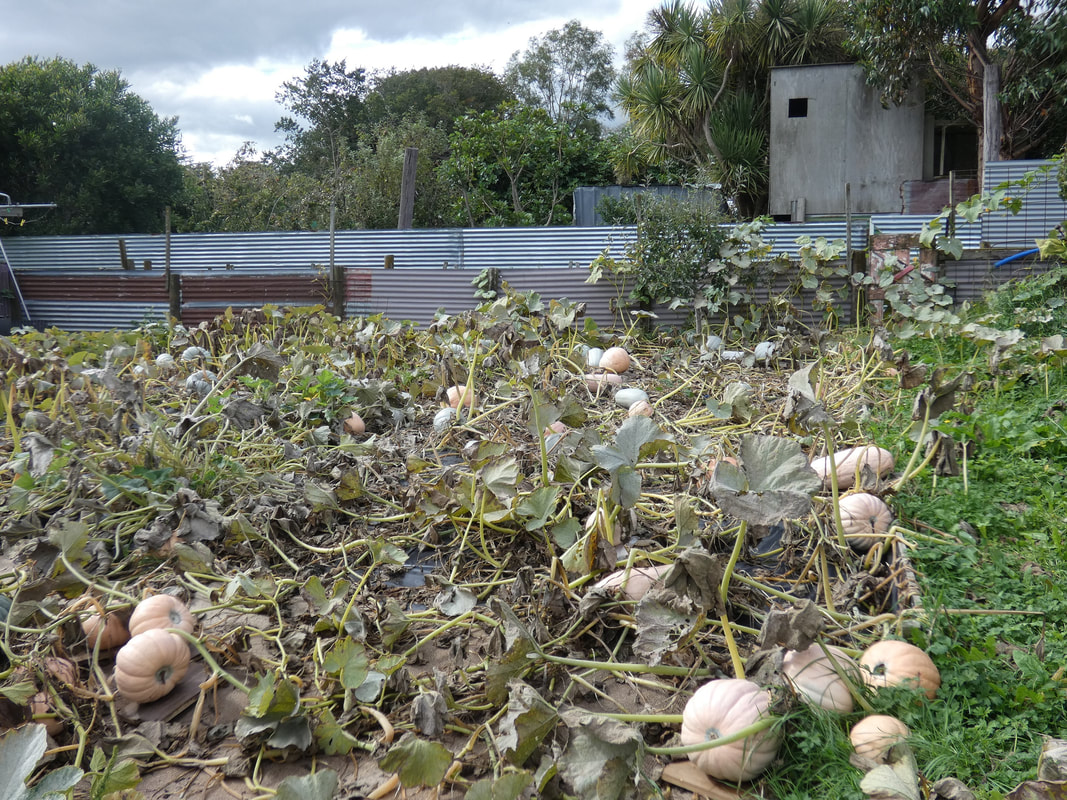
And then it came time to harvest, count up, and weigh the pumpkins.
Picture
Picture

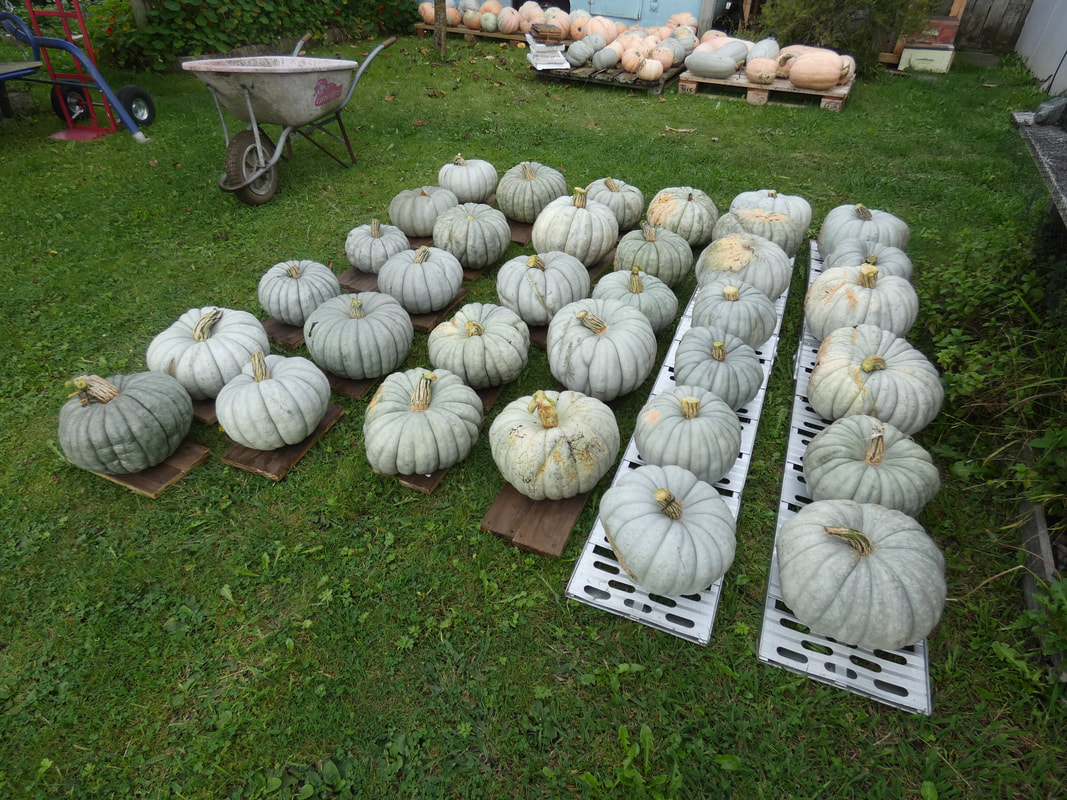
Crown Pumpkin Harvest

Number
Weight (kg)
Number
Weight (kg)
Number
Weight (kg)
1
13.3
18
8.4
35
7.7
2
10.5
19
8.9
36
6.4
3
10.0
20
7.6
37
5.7
4
11.7
21
7.6
38
5.7
5
10.3
22
7.4
39
4.1
6
10.6
23
7.0
40
3.7
7
9.5
24
7.6
41
2.6
8
9.3
25
6.6
42
2.5
9
9.1
26
6.4
-
-
10
9.5
27
6.2
-
-
11
9.9
28
6.7
-
-
12
9.7
29
6.3
-
-
13
8.9
30
6.5
-
-
14
8.7
31
5.6
-
-
15
8.9
32
5.8
-
-
16
8.7
33
4.7
-
-
17
8.2
34
4.3
-
-
Total weight of crown pumpkins: 308.2 kg
Total plants: 10
​Average number of pumpkins per plant: 4.2
Average per fruit: 7.3 kg
Average yield per plant: 30.8 kg of pumpkin
Picture
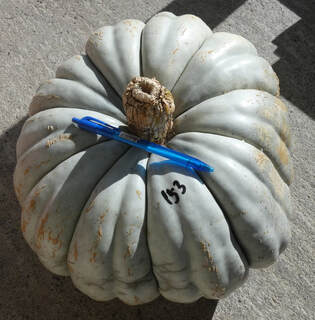
Biggest Crown - 13.3kg
Picture

Pink Banana Jumbo x Whangaparoa Crown Harvest

For interest's sake, I've divided the results here into groups according to the shape and colour of the harvested fruits. Note, some individual plants had a variety of fruits on them. 

Pink and Round Pumpkins

Number
Weight (kg)
Number
Weight (kg)
Number
Weight (kg)
1
10.8
12
4.3
23
2.9
2
8.3
13
3.9
24
2.7
3
7.8
14
3.3
25
2.7
4
7.5
15
3.1
26
2.6
5
7.0
16
3.4
27
2.4
6
6.4
17
3.1
28
2.1
7
5.8
18
3.2
29
1.9
8
5.5
19
3.2
30
1.7
9
5.4
20
3.1
31
4.6
10
4.6
21
3.3
-
-
11
4.4
22
2.8
-
-
Total weight pink and round: 133.8 kg
Average per fruit: 4.3kg
Picture

Grey and Round Pumpkins

Number
Weight (kg)
Number
Weight (kg)
Number
Weight (kg)
1
7.1
5
5.8
9
4.8
2
6.6
6
5.3
10
2.9
3
6.6
7
4.3
11
2.5
4
6.3
8
4.0
-
-
Total weight grey and round: 56.2kg
Average per fruit: 5.1 kg

Pink or Grey and Long Pumpkins

There were three pumpkins that were long like a Pink Banana Jumbo, but grey in colour like a Whangaparoa Crown. They are marked with an asterix in the chart.
Number
Weight (kg)
Number
Weight (kg)
Number
Weight (kg)
1
8.5
5
6.1
9
9.3*
2
8.3
6
5.7
10
8.4*
3
7.2
7
4.2
11
4.7*
4
6.5
8
3.1
-
-
Total weight long pumpkins: 72 kg
Average weight per fruit: 6.6 kg
Picture
Total weight of hybrid pumpkins: 262 kg
Total plants: 10
​Average number of pumpkins per plant: 5.3
Average per fruit: 5 kg
Average yield per plant: 26.2 kg of pumpkin

Grand Total: 95 squash = 570.2 kg

Storing

Pumpkins, properly prepped and stored, will keep up to a year. In fact from the last harvest I still had quite a lot of perfectly fine spaghetti squash 2 years later. I was sick of them by then and sold the lot.

How I prepare my pumpkins or squash for storage:
Harvest with at least a couple of inches of stem left on. Sit in airy and/or somewhat sunny place until dry.
Brush off any loose dirt. 
Wipe over entire surface, especially around the stem, with mild white vinegar solution (to kill any fungal spores present).
Air dry thoroughly.

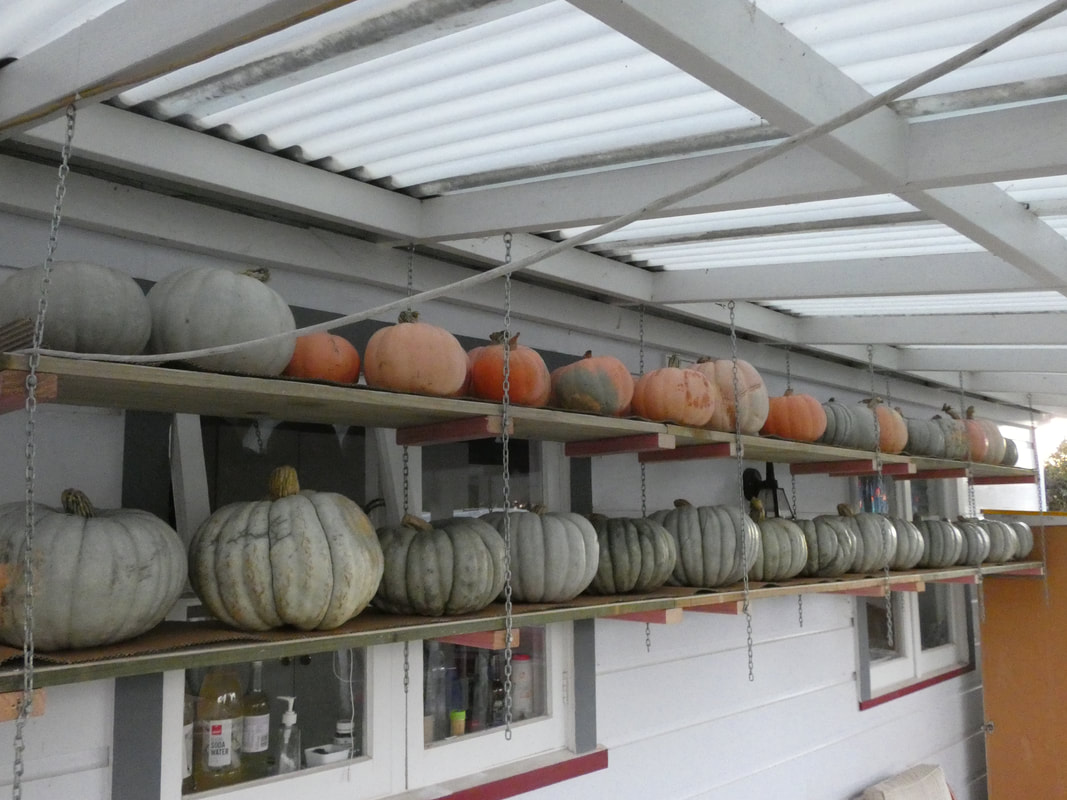
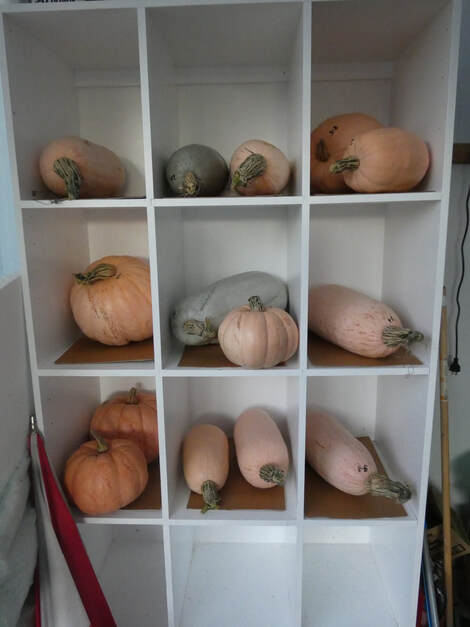
I then store them so they are not touching each other on shelves on my north-facing verandah. This is a warm, airy position. They also keep well in racks inside, but I don't have enough space in my very small kitchen to keep many. I have previously tried keeping them in a garage, but it is south-facing and not fully enclosed or insulated. As a result, they would get damp air condensing on them overnight, and then quickly rotted. 

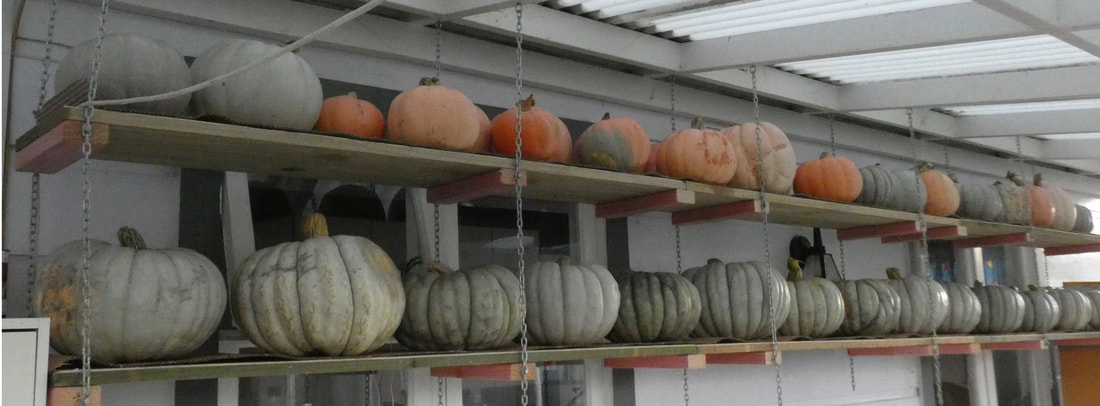
Last time I made shelves out of planks of wood on bee boxes. This year my lovely husband has built me some hanging shelves for most of the crop, and also helped me purchase a shelving unit for some of the bigger ones. I have kept/stored 50 pumpkins this way, and given the rest away to family and friends. More will be given to those in need of them during the year. 
Picture
Picture

FAQs

Doesn't growing pumpkins over plastic prevent them putting down extra roots? It is possible for pumpkins grown directly on the ground to put down what is known as "peg roots" from some of the junctures in the stems. As far as I can tell, these roots serve mostly to stabilise the plant, not to provide much in the way of additional nutrition. Either way, I'm more than happy with the results, which speak for themselves. And I was using plastic not just for the sake of the crop, but to kill off underlying weeds in anticipation of future redevelopment of this area.

Doesn't plastic "kill" the ground underneath so it won't grow anything? I was asked this a lot during the growing of my 2017/2018 crop; but that area has been in very productive garden beds since, with the addition of only an inch deep layer of compost and a sprinkle of dolomite as I've pulled back the plastic bit by bit and planted each bed. Most of the pics you see of garden beds in my monthly garden updates this year are in that area. Plastic as a short-term solution to kill weeds works very well. Charles Dowding uses it quite a lot when developing new garden areas in his no-dig system. Sure, if you leave it in place for a long time, especially if the ground underneath is dry, it will eventually cause damage to soil microbes etc. But in the short term, over soil with plenty of organic matter and moisture, I have found it to not be a problem. 

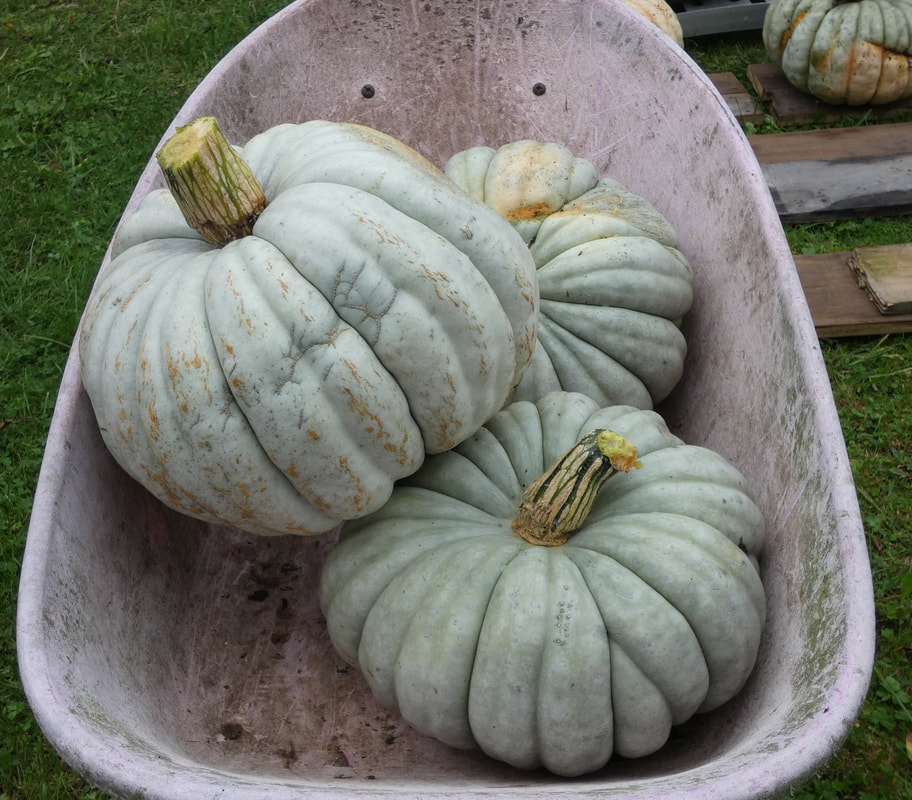
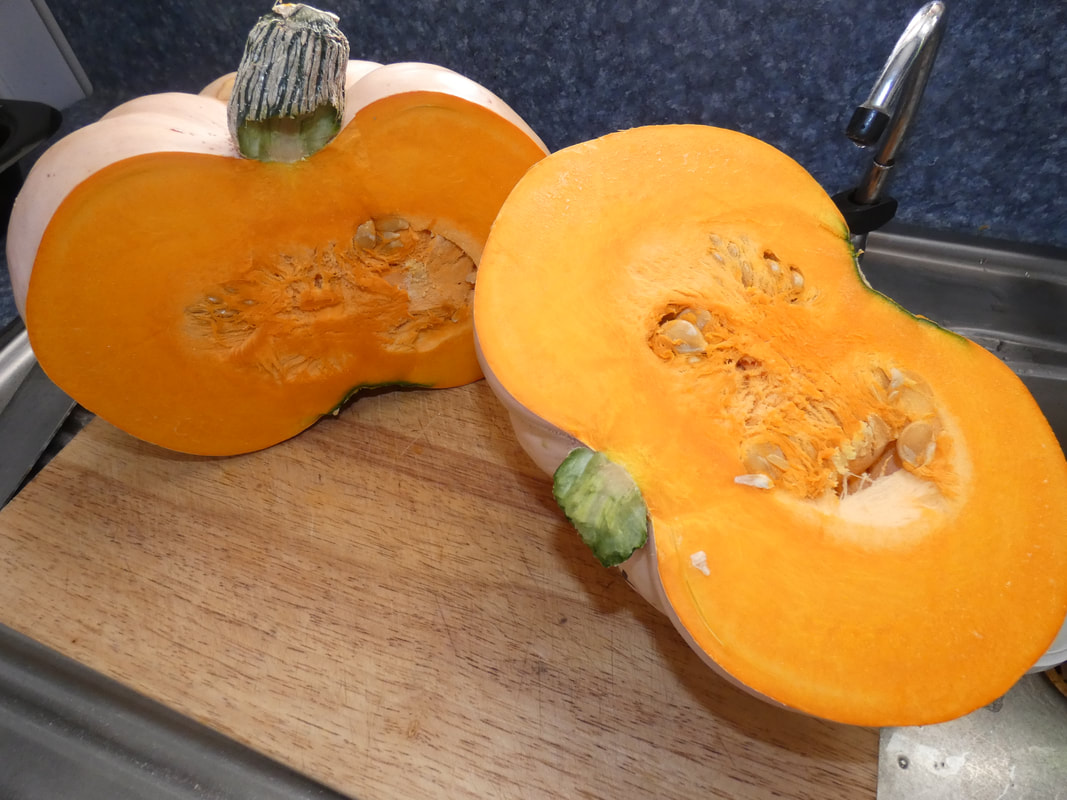
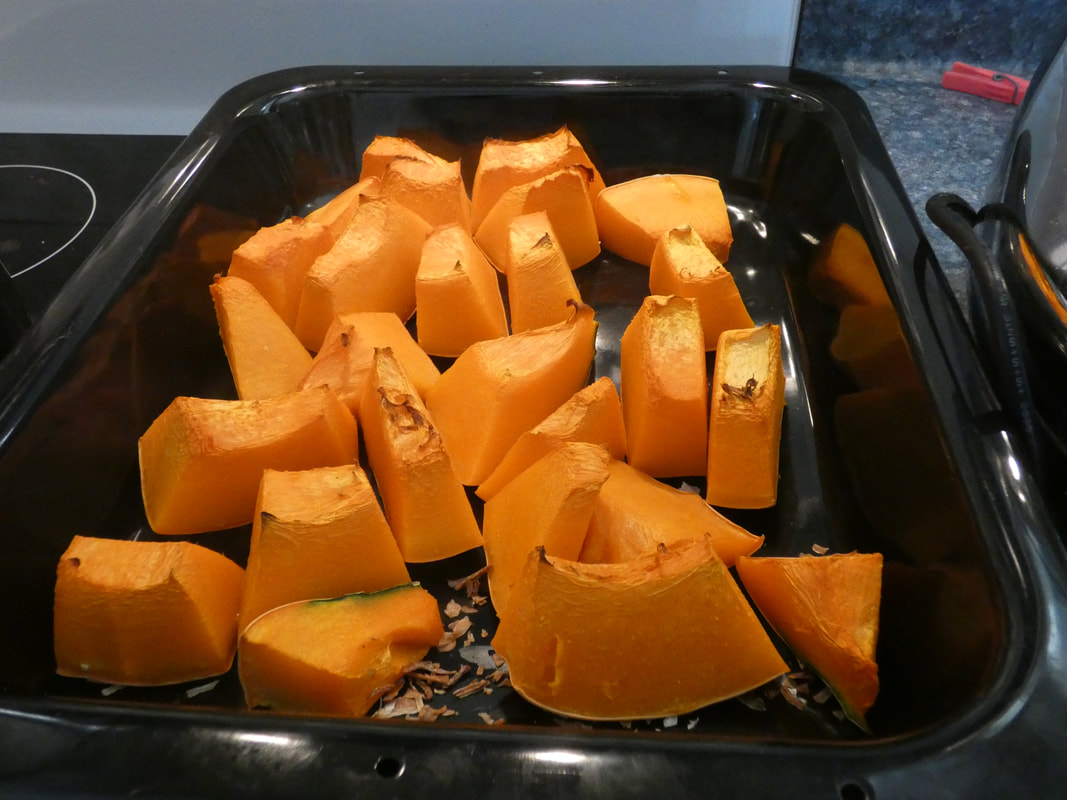
Why'd you grow so many pumpkins?- we couldn't eat that many in 5 years! When I sowed the crop, I was certain only of reasonable, edible crops from the crowns. The other, being an experiment, could have yielded inedible fruits only suitable for stock food or compost. Fortunately they've turned out very well so far. The ones I've cut open (example pictured below) have had lovely, orange, sweet and edible flesh, just like I was hoping. And I had the space, so why not? Besides, I love to grow extra and feed people with it. 

Was there a cost to doing this? Yes, there was, though there did not necessarily have to be. I purchased 2 cubic metres of compost, most of which went into the three rows set up. I was also recovering from a bad back/hip injury and not capable of shovelling and wheelbarrowing that compost myself, or bending to lay the plastic and weedmat in the first place, so I hired some help for the initial set up. I already had the plastic (reused from the previous crop), weedmat (left overs from other projects) and pins in the shed. So I invested about $250-$300 in setting this up, which turned out to be around $2/kg yielded. In a different year, I might have had enough home made compost to use, and been able to do the work myself, so would only have spent the approx $4 for the packet of crown seeds. However, I could easily sell part of the crop as a cash crop to recover the costs. 
Picture
Picture

Photos of the Growing Pumpkin Patch

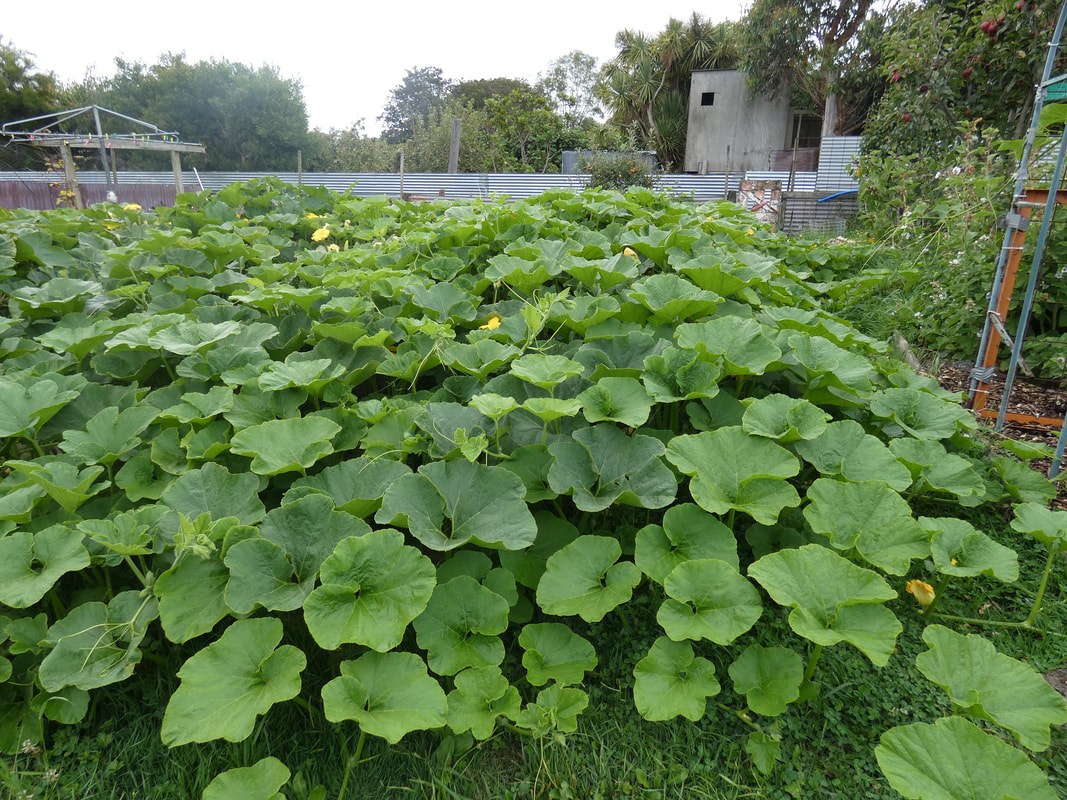
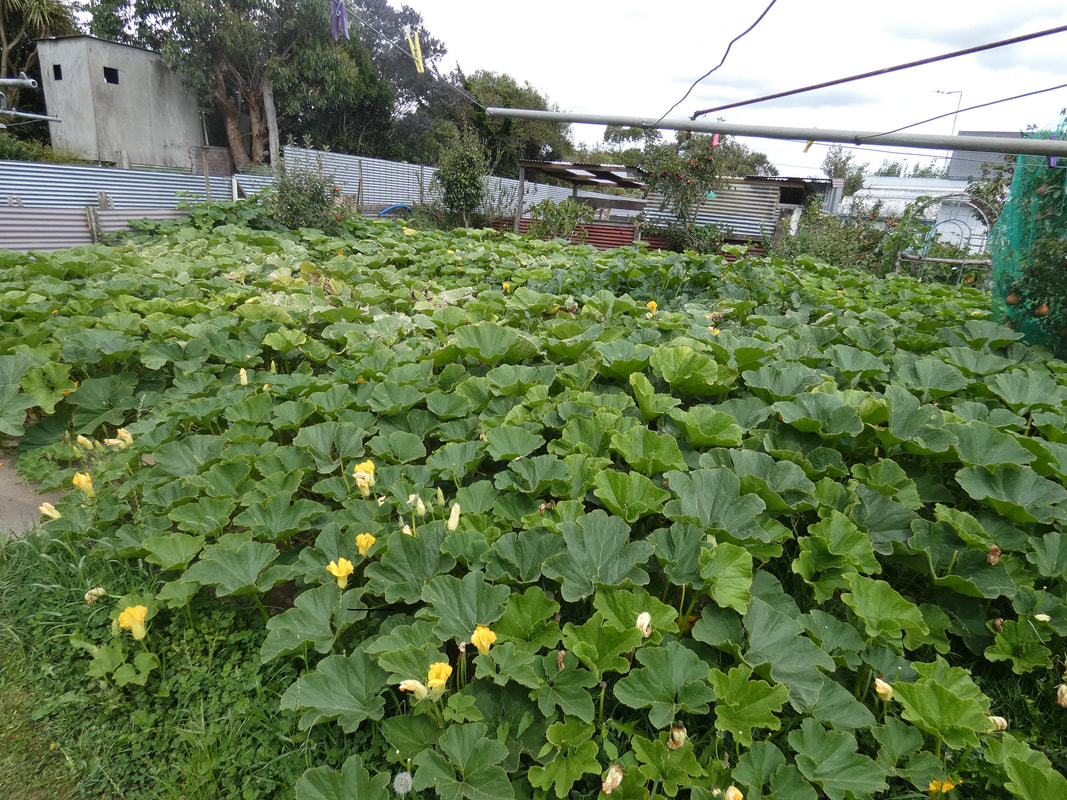
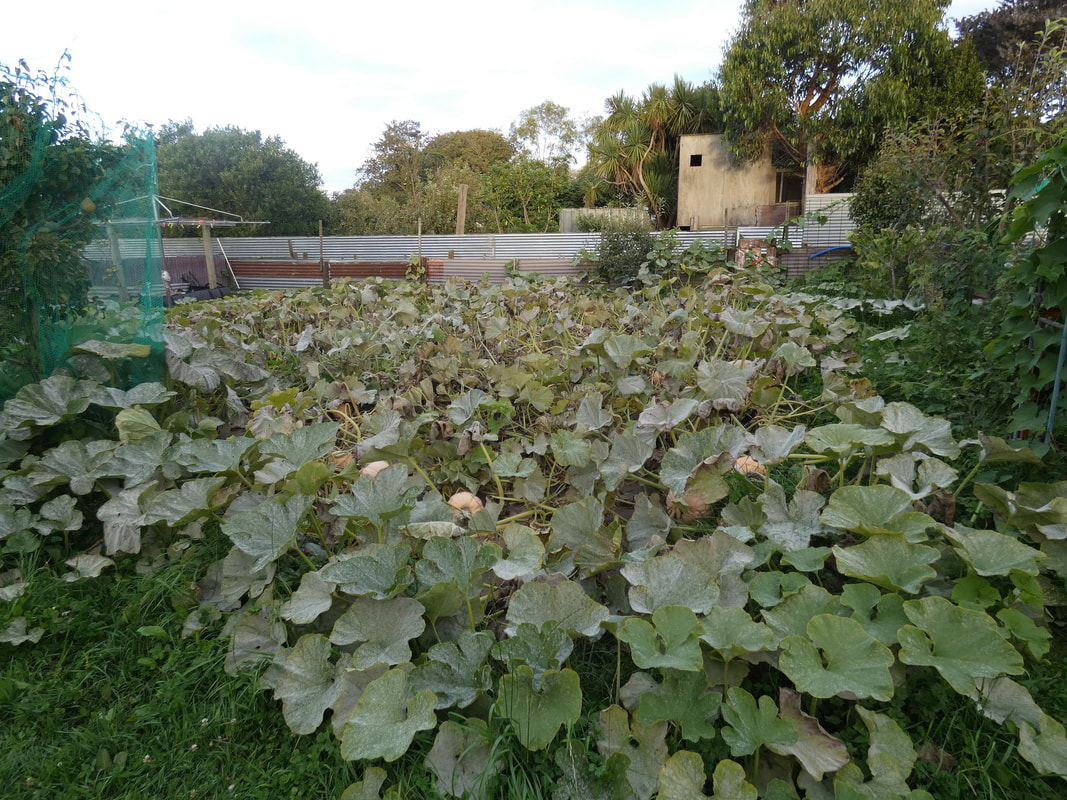
The patch was prepared in early November. I had sown seeds in pots in the greenhouse, intending to plant them out. However, I was not happy with the quality of the seedlings, so tossed them, and sowed directly into the ground with fresh seed in late November. The following pics are captioned with dates. The first one I took was 3rd Jan. From that point on the growth was exponential. 
Picture
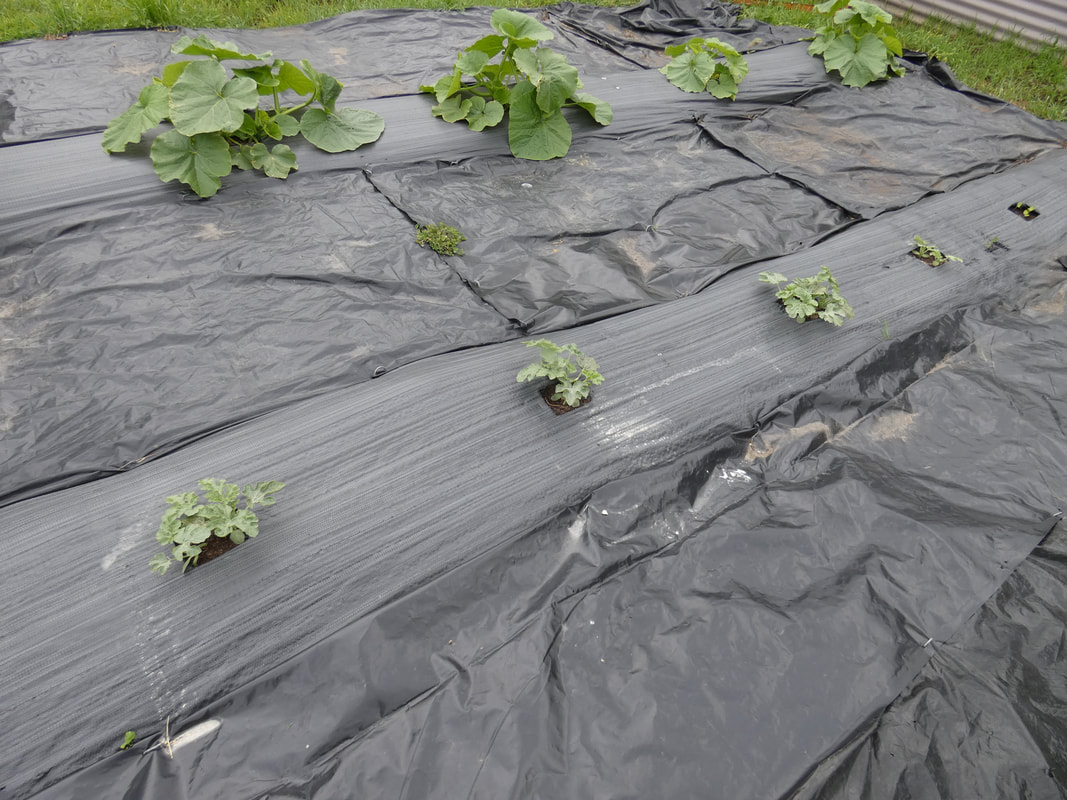
3rd January - the left and right rows are pumpkin, centre row has three zucchini at the front and watermelon behind. The zucchini did well but became hard to harvest, but the watermelon eventually got very overrun, despite my efforts.
Picture
11th January
Picture
14th January
Picture
17th Jan - I laid wool carpets we had just pulled from our house down to extend area for pumpkins will keeping weeds down.
Picture
This was part of my efforts to encourage the pumpkins to grow away from the watermelons
Picture
12 February
Picture
16th February
Picture
1st March
Picture
21st March
Picture
1st April
Picture
11th April - harvest day. I could have left it longer, but for various reasons needed to get them up, plus the stems were starting to break down on some of them.
2 Comments

March: Winter Brassica Planting Time

16/3/2021

0 Comments

 
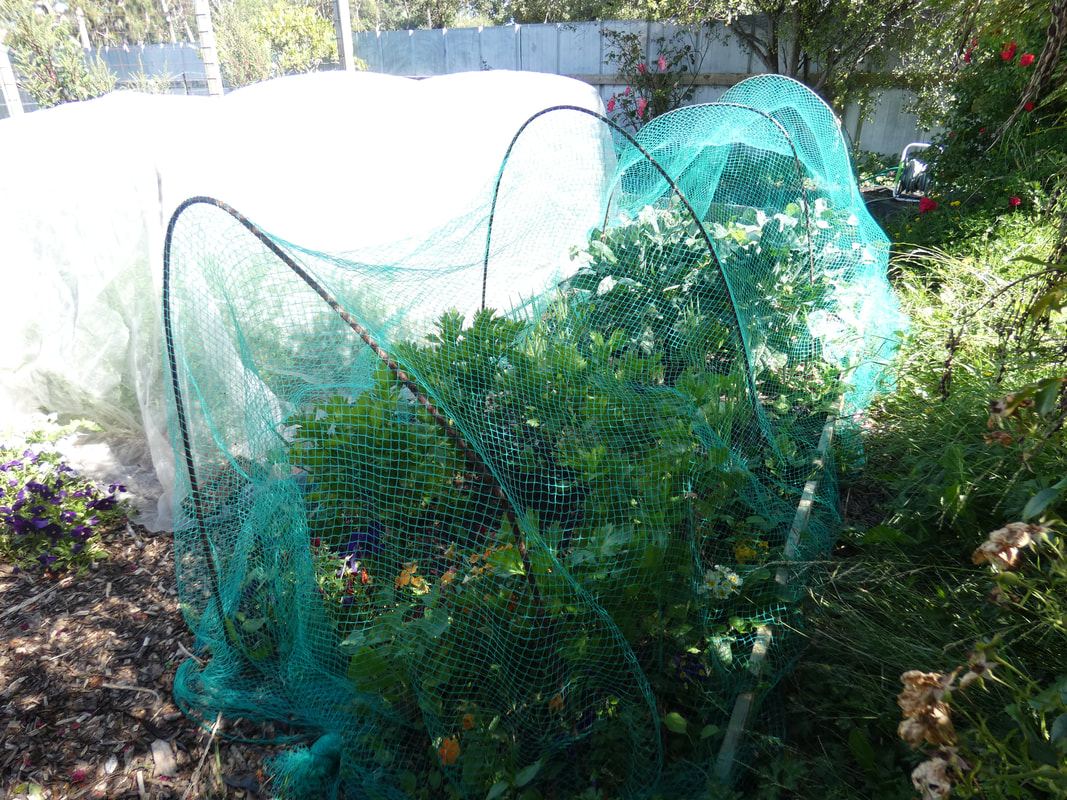
This week, according to the moon calendar, is the perfect time to plant above-ground growing crops, and this month is the perfect time to get winter brassicas in, so today I did just that. In past years I have found that I needed to get them in by February to enjoy harvestable crops by winter - brassicas become essentially dormant when temps drop below 10C and if they haven't had time to get to a good size before then, they sit small in the garden, then bolt when the weather warms up again in spring. However, since I started using Wondermesh over my brassica crops (to keep off white butterflies and diamondback moths), I've found that the microclimate it creates encourages faster growth in my plants, so March works well. Folk in other parts of the country may need to plant earlier or be able to plant later.

I don't stick strictly to the moon calendar for planting, but try to use it when I can; I've seen the difference it can make in crops such as the dwarf beans and corn crops I experimented with. The main principal in the moon calendar planting plan is that as the moon is waxing (getting bigger) is the best time for planting crops that grow mostly above ground, due to the "drawing up" effect of the moon on plant sap. I've also noticed the tendency of the weather to be more unsettled during this period - today it's turned cloudy and rainy, which is also great for planting as the seedlings get a bit of time to settle in before they are exposed to hotter days. The weather is also often likely to be more unsettled as we approach the autumn equinox on March 22nd - it's not usually as profoundly so as during the spring equinox, but still, good to get these plants in now. 
Picture
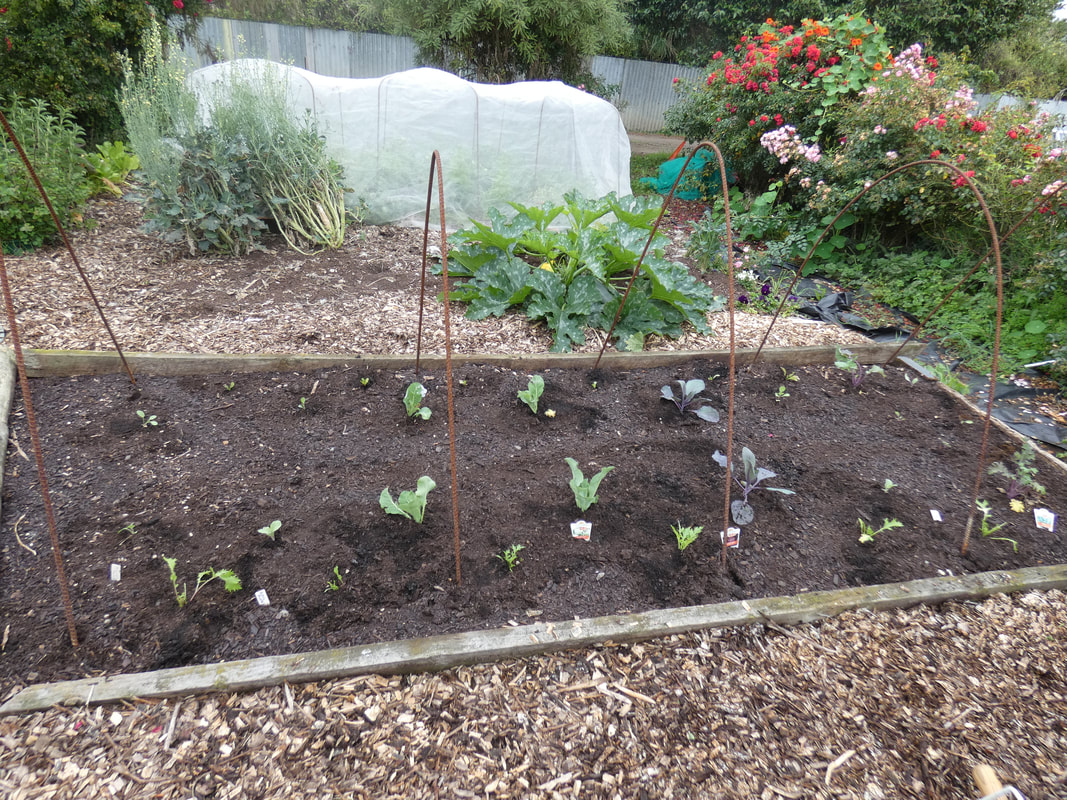
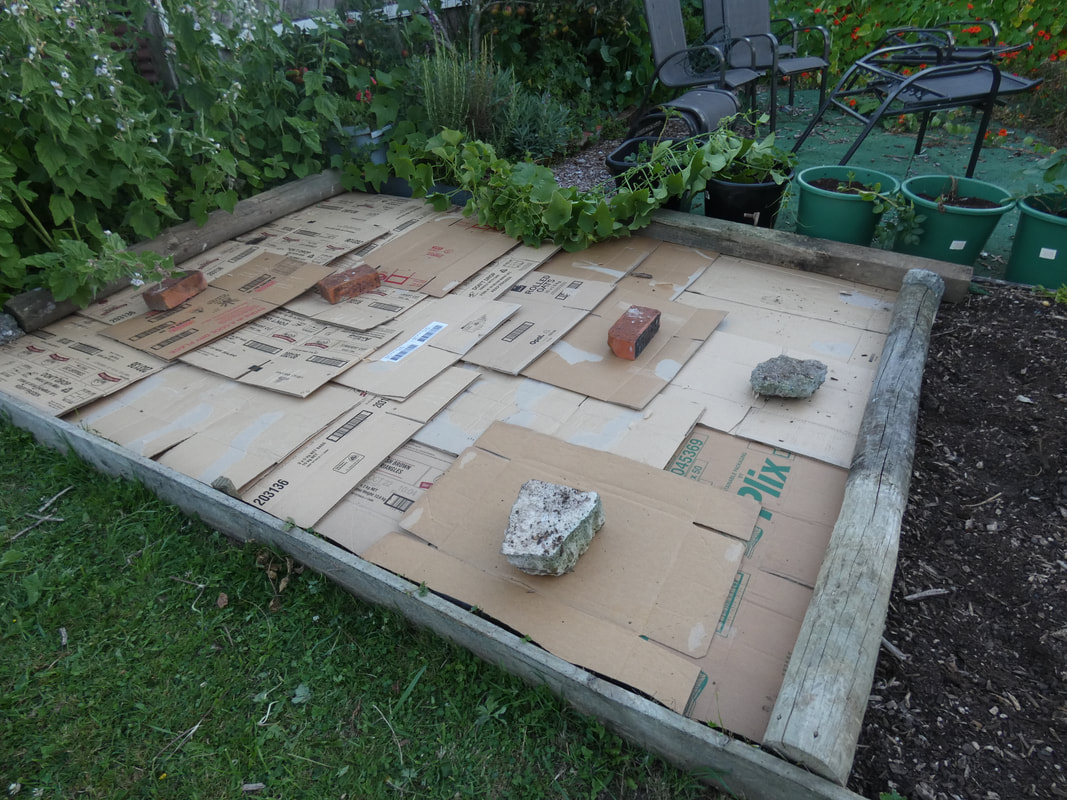
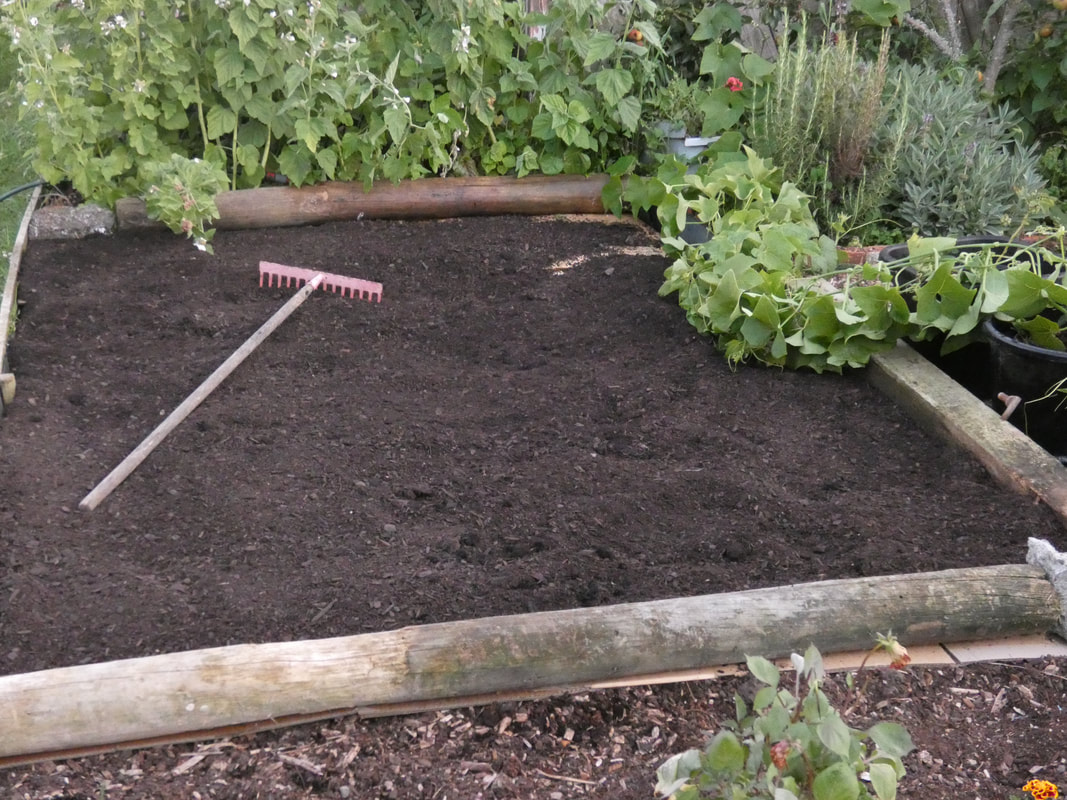
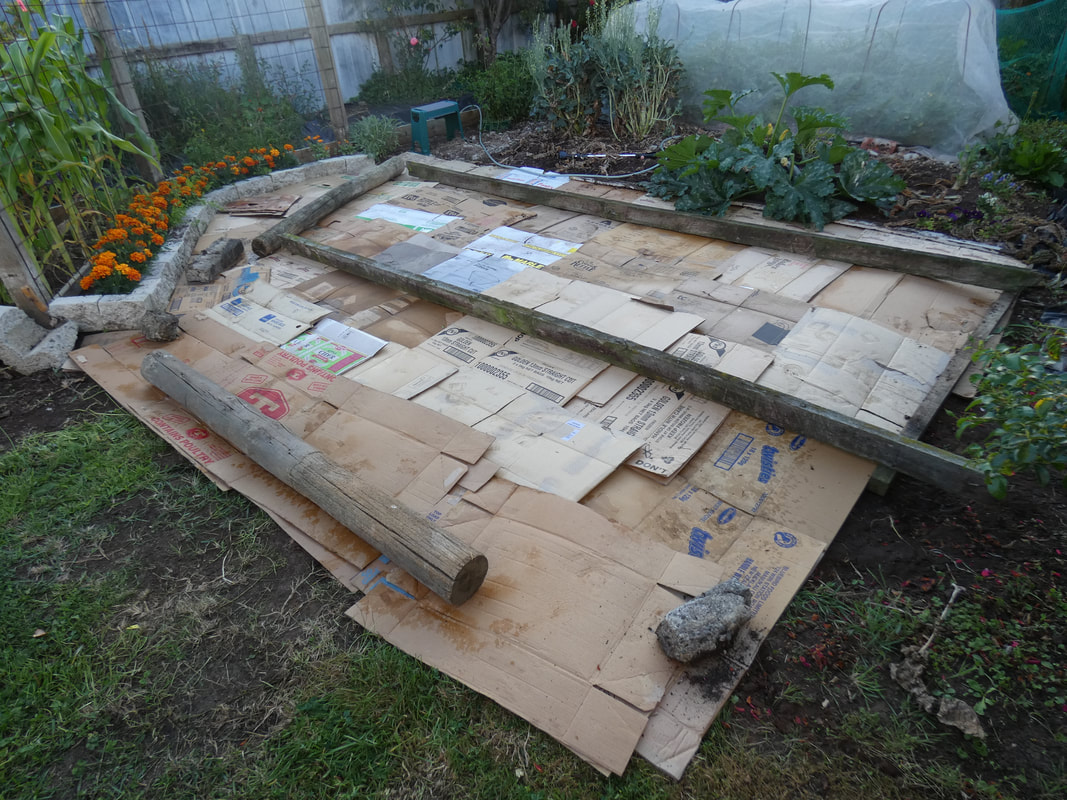
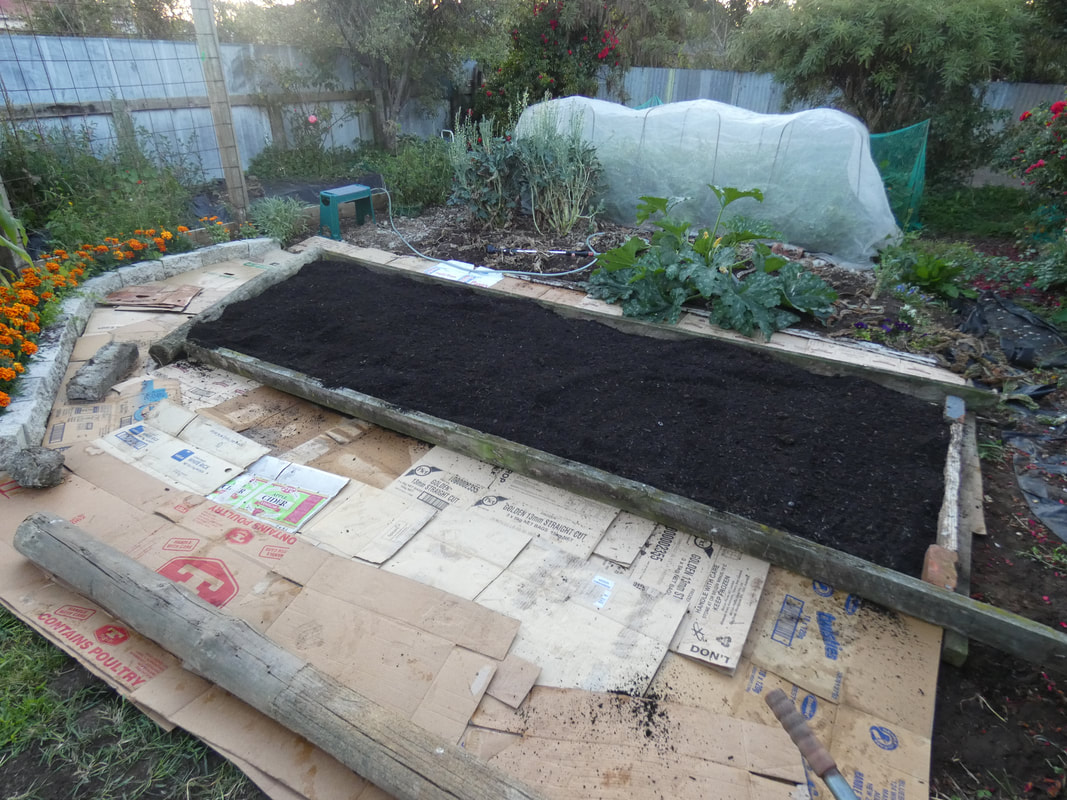
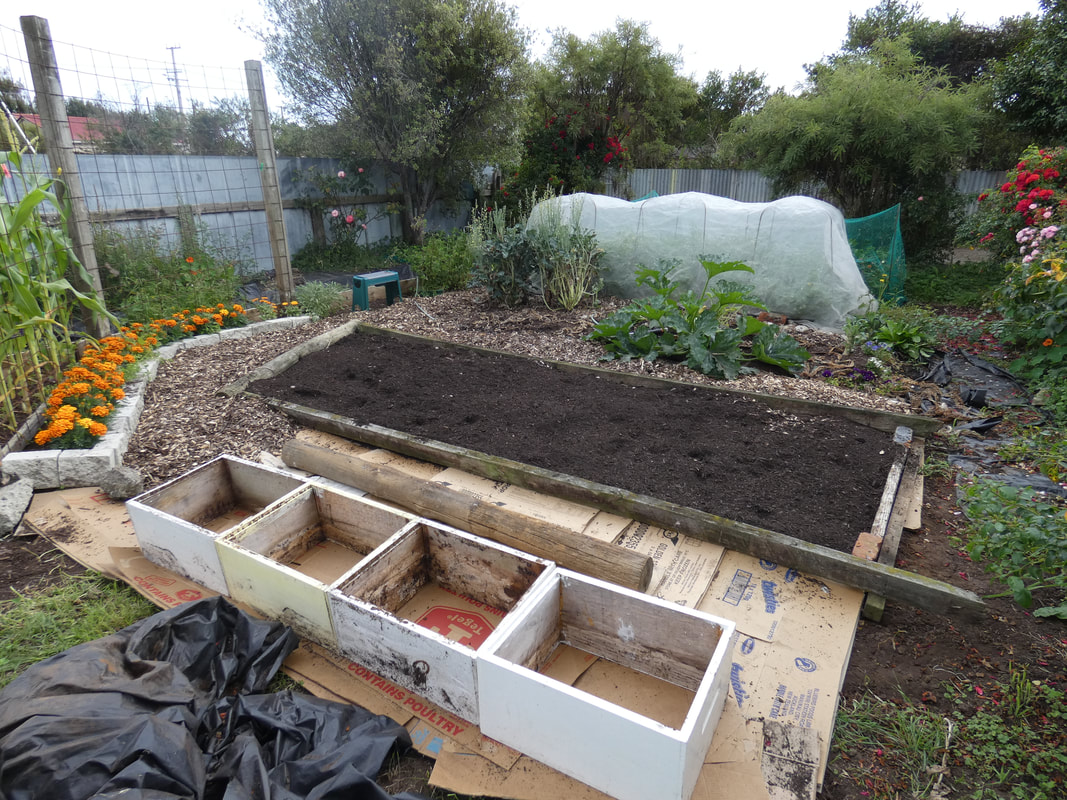
So, today I have planted the following in this garden bed, which I created a couple of weeks ago by laying down cardboard and covering with 2-3 inches of compost. When planting, I've used a trowel to break through the now-soggy cardboard so the plants can root down into the soil below as well. 
2x Broccoli - Marathon
2x Purple sprouting Broccoli
4x Cauliflower - mini white
2x Red Cabbage
2x Cabbage - Derby Day (green)
4x Russian Red kale
2x purple Kohl Rabi
2x green Kohl Rabi
6x Mizuna down one side of the bed
6x Rocket down the other side of the bed
In the open space along the middle of the bed I've sown some seeds of Rat-tailed Radish in the middle, and Detroit Dark Red beetroot (2-3 to a hole). These should grow quickly and be harvested before the brassicas get very big - the raddishes will be grown for their seed pods, though by then I'd need the nets off so the flowers are pollinated (which just occurred to me as I am typing, so we'll see about that). 

As you can see in the below slideshow, the seedlings vary in size. Most of the smaller ones were sown in my greenhouse in January. They've been slower to grow this year than ever; not sure what that's about. The bigger ones were some additional seedlings I purchased because some of my seeds didn't germinate. I have grown three times as many of everything as planted here - equal amounts are for my daughter who is starting a garden, and a local friend who is too. Honestly, I would have purchased more seedlings, but it's been difficult to find any of the varieties I actually want, or find ones in good enough condition that I'd pay for them.
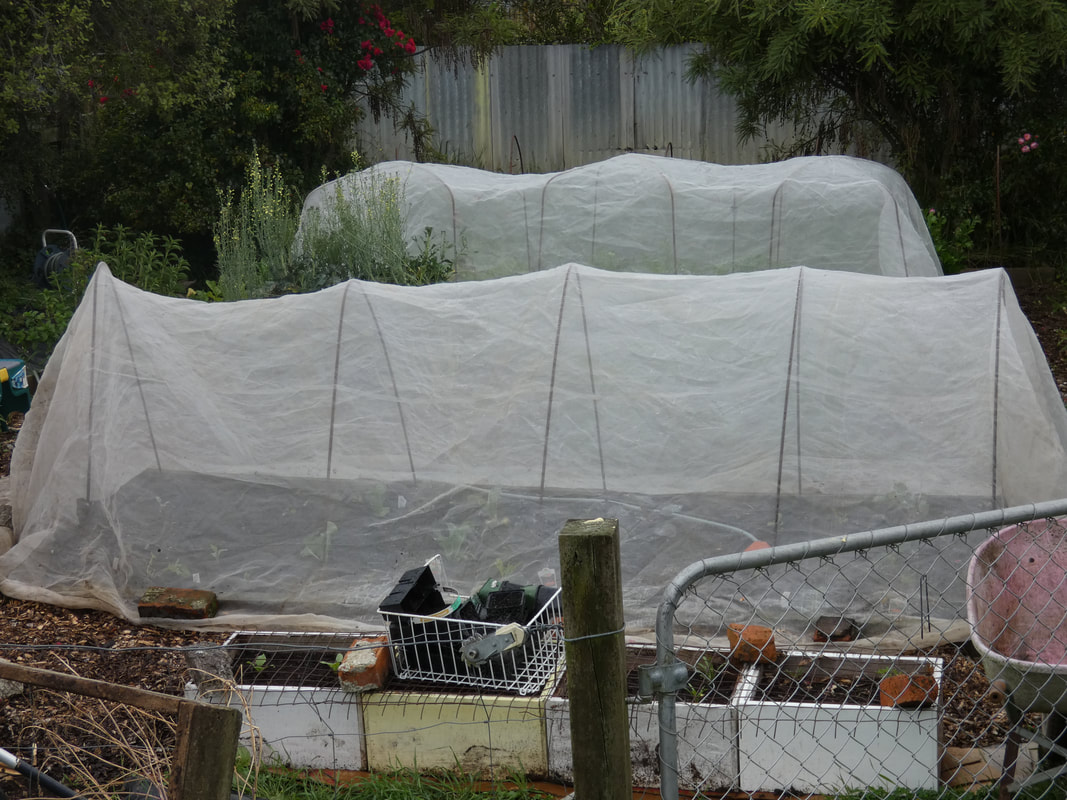
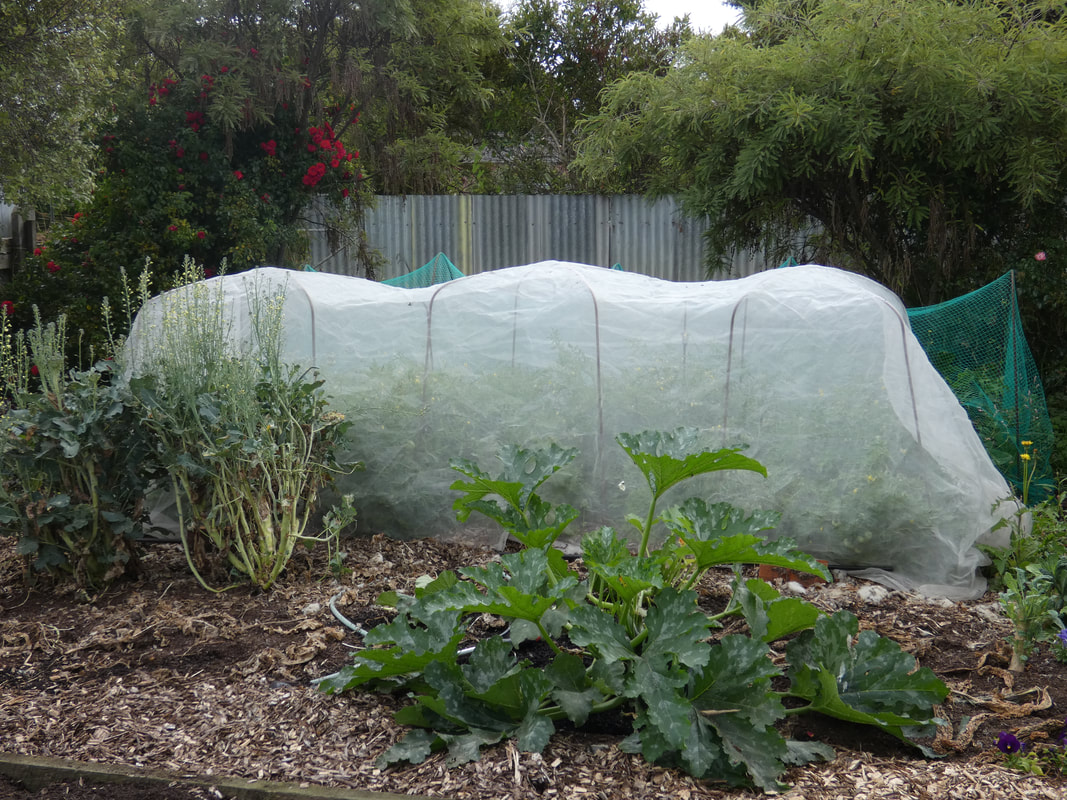
After giving the bed a good watering, I have covered it in Wondermesh. This past pic taken from inside as it's now raining.
Picture
I will also sow more brassica seeds this week; it's too late to sow them for outdoor planting, so these ones will be to grow in beds in my greenhouse. I think I'll do more broccoli, and perhaps just a couple each of cauli and cabbage. Maybe some more mizuna and rocket too. I don't sow or plant brussel sprouts at this time of year - to get a decent harvest here, they need to be sown in December and planted out in January. 
0 Comments

1st March Garden Photo Tour

6/3/2021

6 Comments

 
March. The beginning of autumn. The last week or two have still been mostly very hot days but with somewhat cooler nights. February has been another very dry month - we had two brief patches of rain and that was it. This is also the time of year of much harvesting and preserving or putting food up for storage in various ways. Work and life have been very busy, but I've managed to make a little progress here and there in the garden. Let's take a wander....
Picture
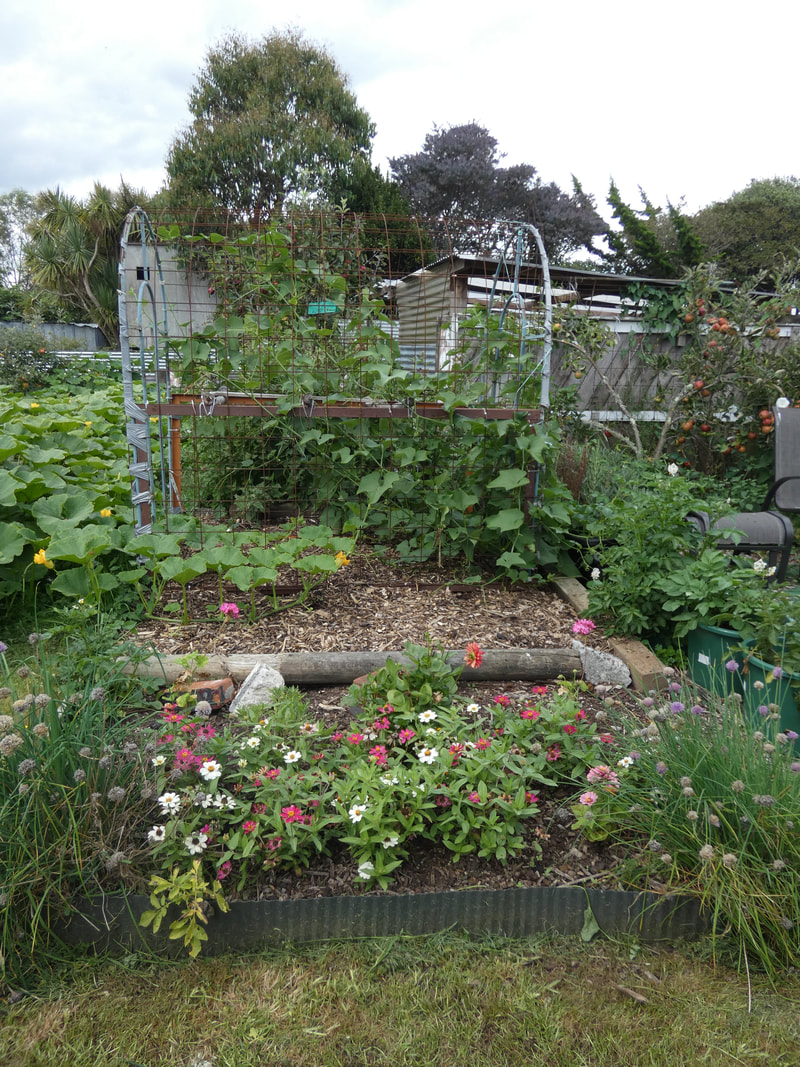
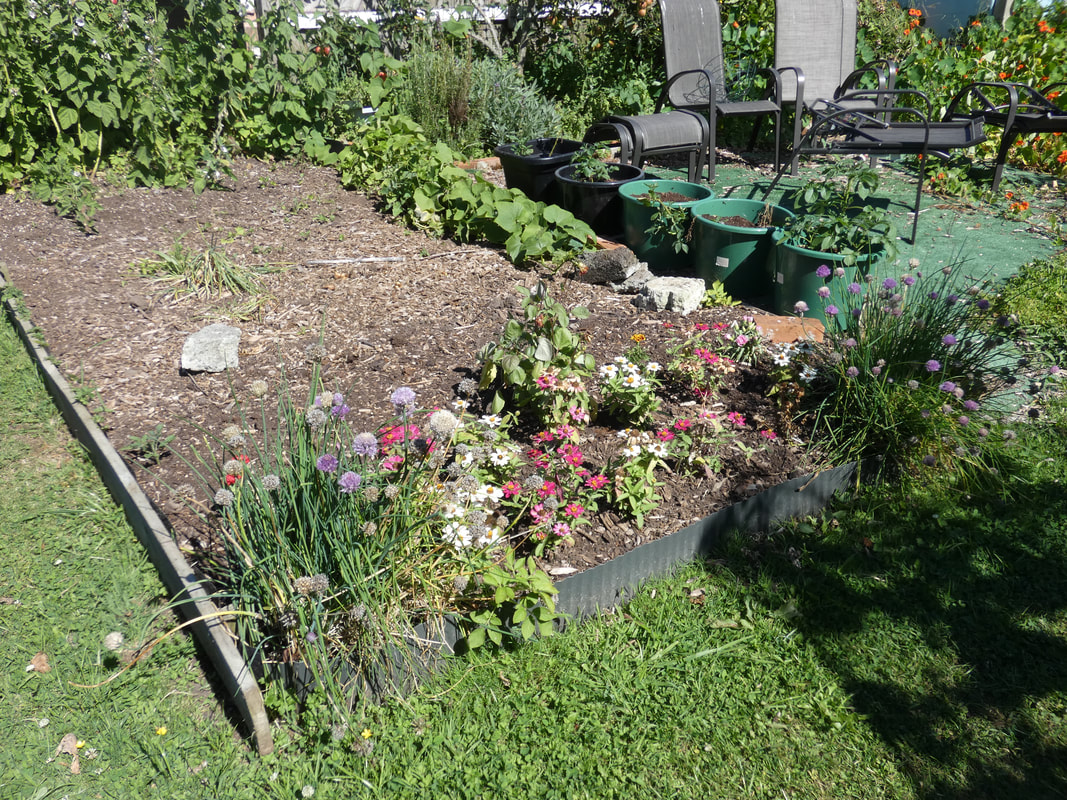
Since last month's pics, the bed shown above has had the major middle section of it refreshed, no-dig style. I pulled out the shallots that were there, laid cardboard down. used some posts I got from a guy who was dumping them at the local tip to create some temporary edges, spread compost on top, and topped off with wood chip. The intention here is simply to feed the soil and suppress weeds, knowing I wouldn't be planting here for a couple of months yet, as I wanted to let the self-sown choko that was on the right edge grow - I moved onto the space the growing frame I made from various dump finds some years ago, and the choko is now happily growing up it, and just beginning to flower. Some more pics of this being done below. At the front end of this bed are zinnia (bees and butterflies are loving them) and chives, and a few other bits and pieces I needed to plant - a dahlia, a self-seeded marigold, a couple of geraniums and a daisy grown from cutting this season etc. At the far end are still my marshmellow plants, with some beetroot and kohl rabi behind and under them. 
Picture
Picture
Picture
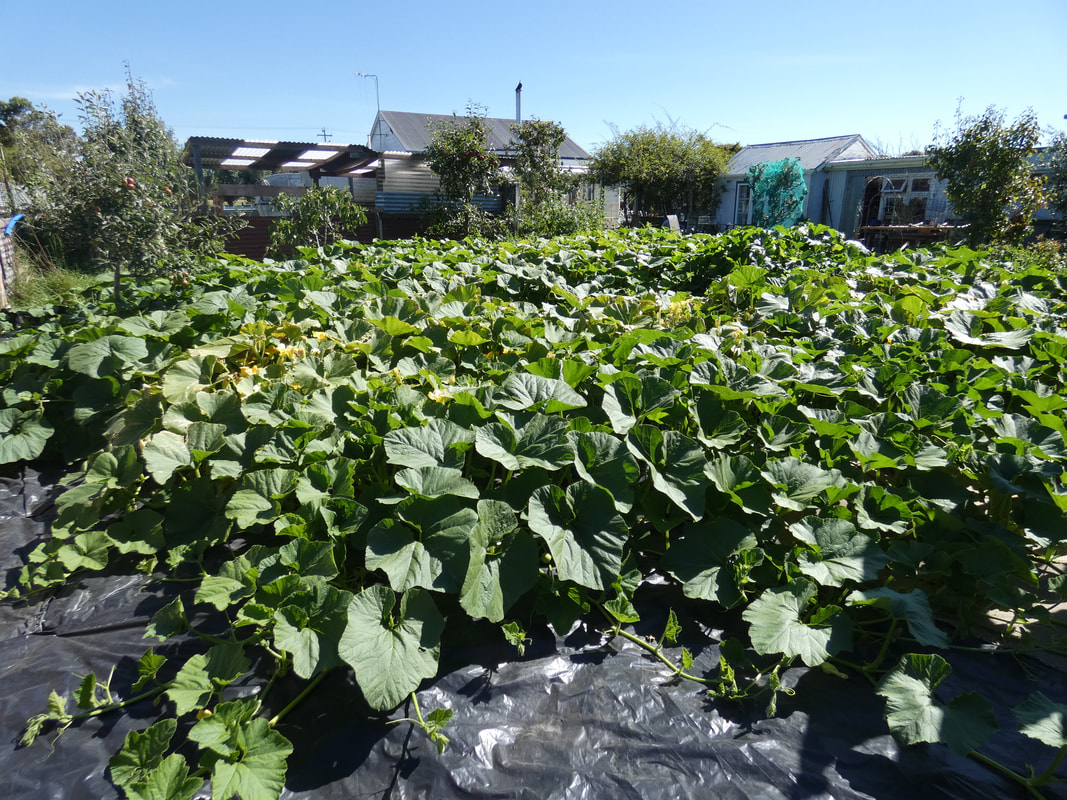
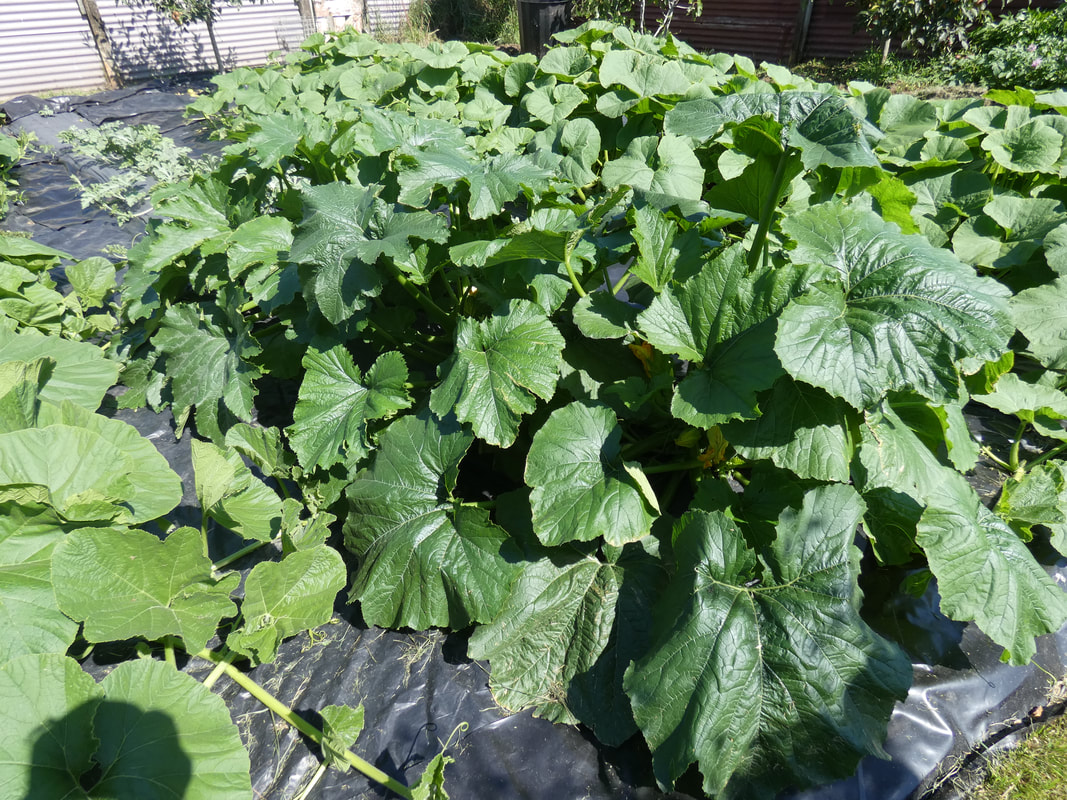
Now starting to try and encroach on the above is my pumpkin patch (below). Still pumping out flowers and new fruits, there are lots of really big pumpkins hiding under there. 
Picture
​I sowed Whangaparoa Crowns on one half, but most of the fruits look more like Jarrahdale or similar, being more grey-green with deeper groves than the usually light grey W.Cs. As long as they taste good! My hybrid Pink Banana Jumbos in the back half are all producing well, with a few of the longer fruits typical of PBJs, but most being the rounder shape I expected. 
Picture
Picture
Picture
Picture
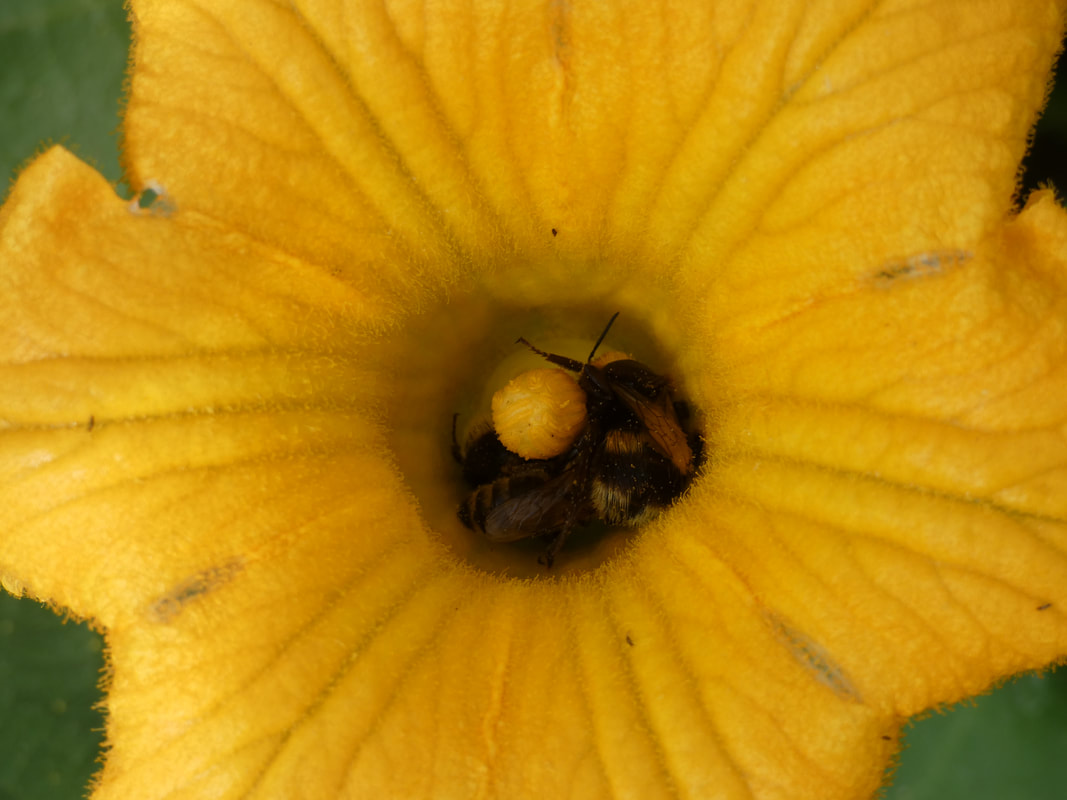
Some of the older leaves that are underneath and shadowed by the younger ones are just starting to show the first signs of powdery mildew, right on cue. By that I mean, I find it's normal for curcubits (pumpkins, squash, cucumbers, zucchini etc) to get powdery mildew at the end of the season as they start to decline. Healthy, well fed plants should not succumb to it during their prime, but as they age (like most of us) they weaken and become vulnerable. I don't do anything about it - as I've found in the past that's a complete waste of effort. I expect it will run it's course and by about the end of this month the plants will all be dead, revealing all the mature pumpkins that are currently hidden from view, which is always exciting :-). Someone asked me today whether I should take off the flowers that are still coming up. My answer is no - the bees are loving them; from no honeybees only a month ago, my garden is now swarming with them. It's very common to see 3-4 honeybees and a bumble bee all in the same pumpkin flower together, or as in the pic below, two bumbles and a honeybee. There were several flowers close together, all similarly laden.
Picture
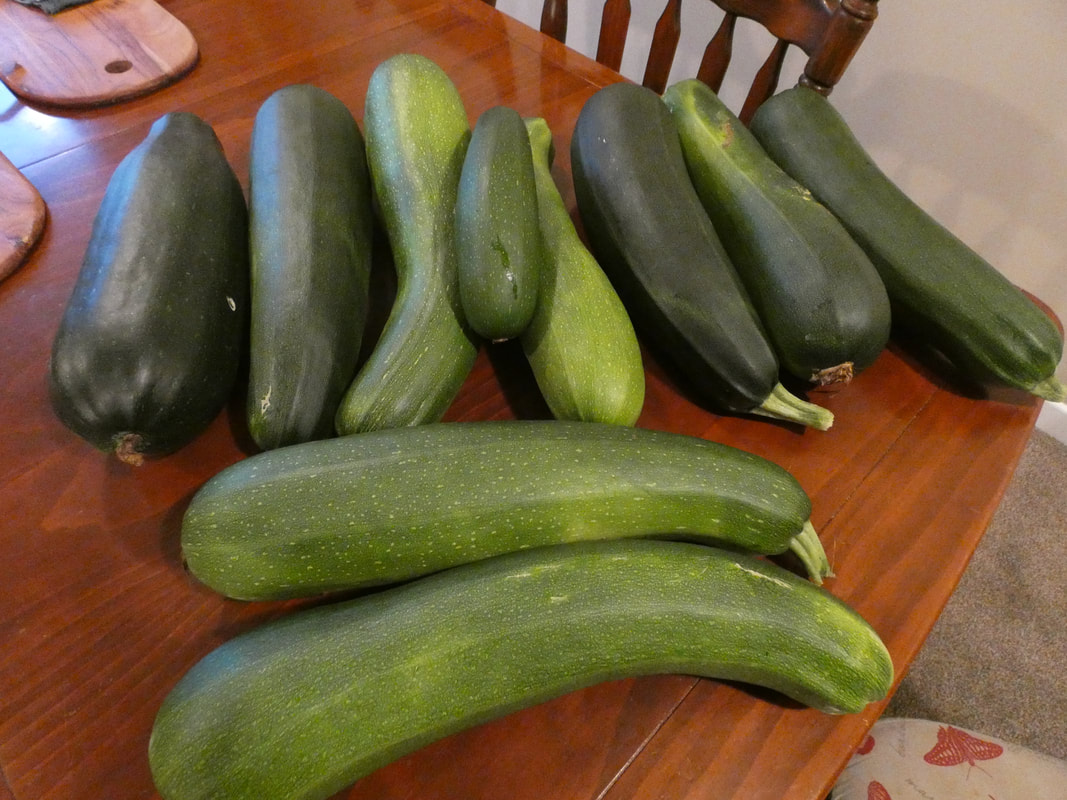
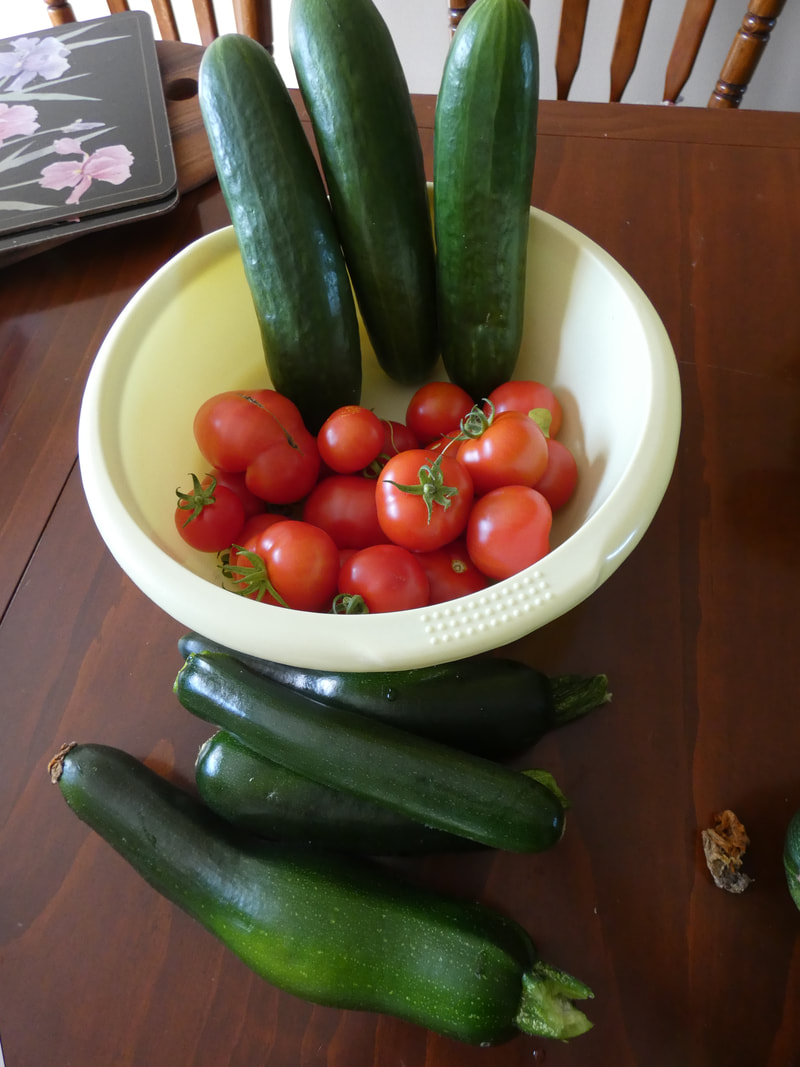
The zucchini in the middle of the pumpkin patch have been pumping. I wade in there once a week or so and harvest. I'm happy to let most of the fruit grow to marrows, which I like to use to make big batches of pasta sauce, and which also store well out of the fridge, in which I have severely limited space. We can only eat so many zucchini. The pictures below are from one picking, along with some tomatoes and cucumbers from the greenhouse. The watermelon, however, aren't doing well - it was a mistake to plant them there, as I can't easily access them for regular watering, which they need. The pumpkins have been fine with only one watering since they started to sprawl, as they have much deeper root systems, but the watermelon needed less crowding and more water. 
Picture
Picture
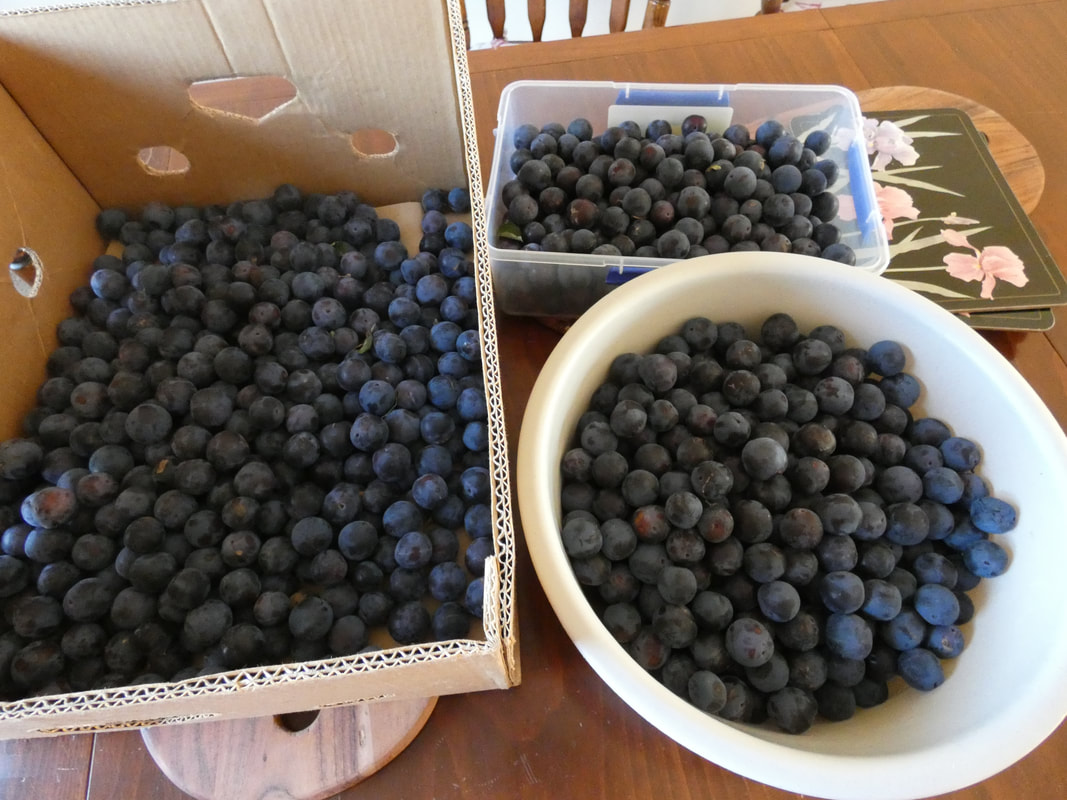
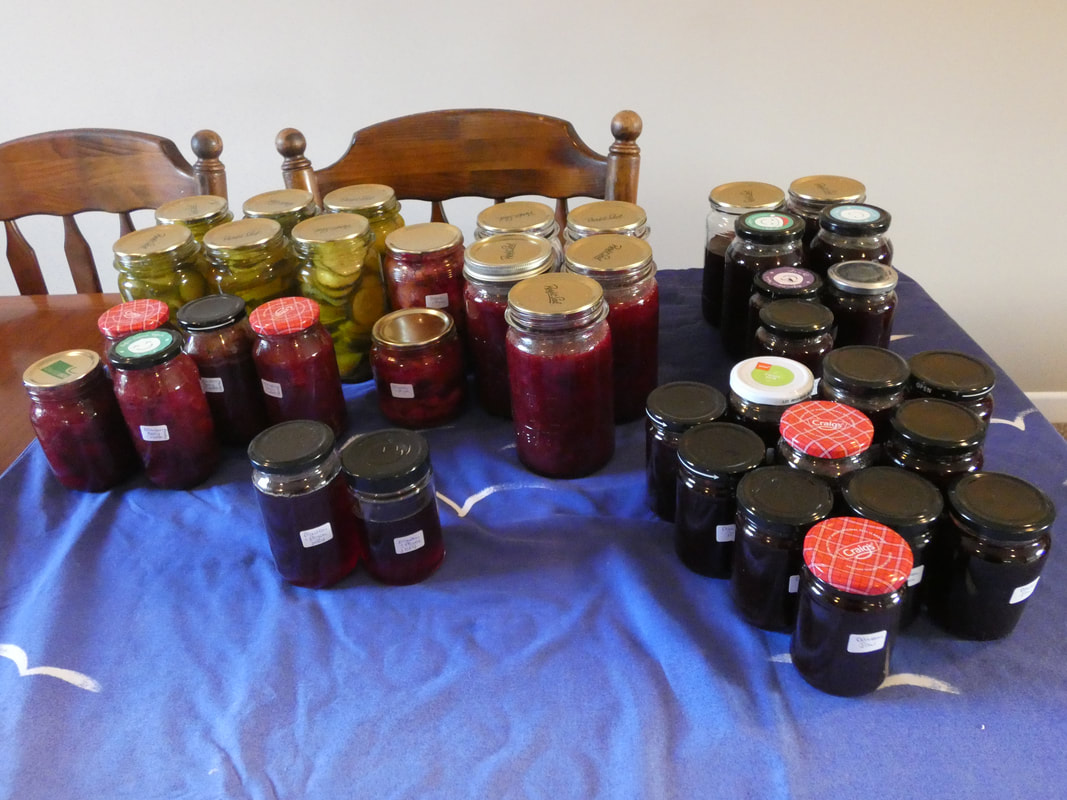
A couple of weeks ago I picked my Damson plum crop. It's just a little tree, which I keep pruned small so I can reach everything from the ground, but it produces prolifically! I turned this lot into a mixture of jams, bottled fruit (some just plums, some in combo with mixed berries and chokos, and some more in combo with feijoas) and some plum and feijoa jelly, as well as giving some away.
Picture
Because I had a lot to get through and limited time, this year I did the following:
​For most of the fruit, I washed it, removing any stems, then put (in batches) into a big pot with an inch or so of water to start it off, bought to the boil and cooked until soft enough to mash. Mashed, then used the back of a spoon to press the flesh through the largest food mill "sieve" I have (couldn't use the normal winding part of the mill as the stones just jammed it up), then picked out all the stones with a spoon before adding the skins back to the fruit. I then went ahead with whatever I was going to make. I did remove stones from raw fruit by hand for the feijoa and plum combo, but then decided I just don't have time. The downside of doing it this way is the stones can make the fruit taste more bitter, but it's fine for making sweeter things like jams etc.
Picture
I made two different lots of jam - one like normal, the other with less sugar and deliberately aiming for a softer, less set jam. That's because those jars will be used again to make dressings and plum sauce down the track, but I didn't have time for that now; making the soft jam as a base saves time and gets it all preserved. Not that it has to be soft; just didn't seem necessary to cook as long, but at the end of the day it set pretty well anyway, as damsons are high in pectin.
Wanting to try something a bit different to use on porridge or cereal and also use up things from the freezers, I defrosted a bag of mixed berries from the freezer as well as a bag of diced chokos, and cooked those up with some plums, adding some honey to sweeten to taste before bottling. 

I also defrosted a container of last year's feijoas and cooked those up with some plums and a little sugar. When I bottled them, there was quite a lot of left over liquid, so I strained it through a muslin cloth and turned it into jelly, just because I could. Looks gorgeous. 

I also bottled some plain stewed plums with some honey to sweeten a bit, but left deliberately quite tart. Later I plan to add to this with stewed apples or other fruits and rebottle or make into pies or whatever. I can adjust the sweetness accordingly. 

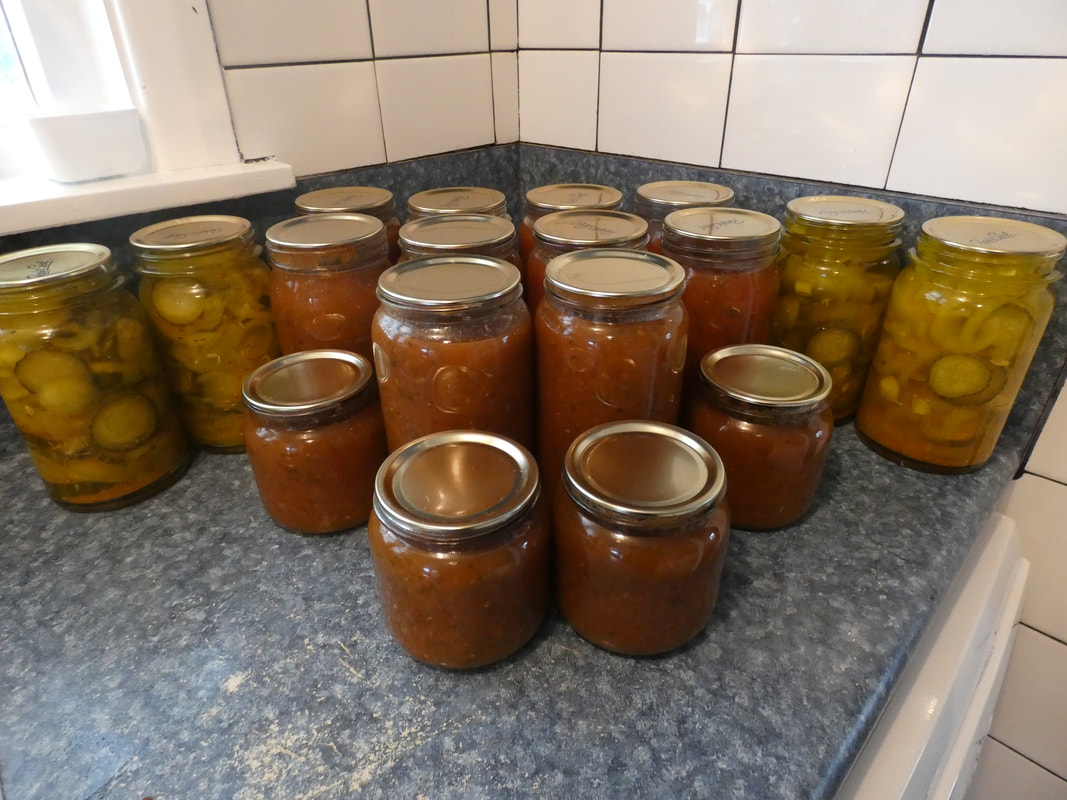
Also pictured above is a batch of cucumber pickle I made at the same time, to use up the cucumbers my neighbour gave me as hers started producing before mine.

Use the slideshow below for closer pics of each product.
Getting back to the garden....there will be lots more fruits to harvest soon...Click on the small photos below to see some of them via the slideshow.
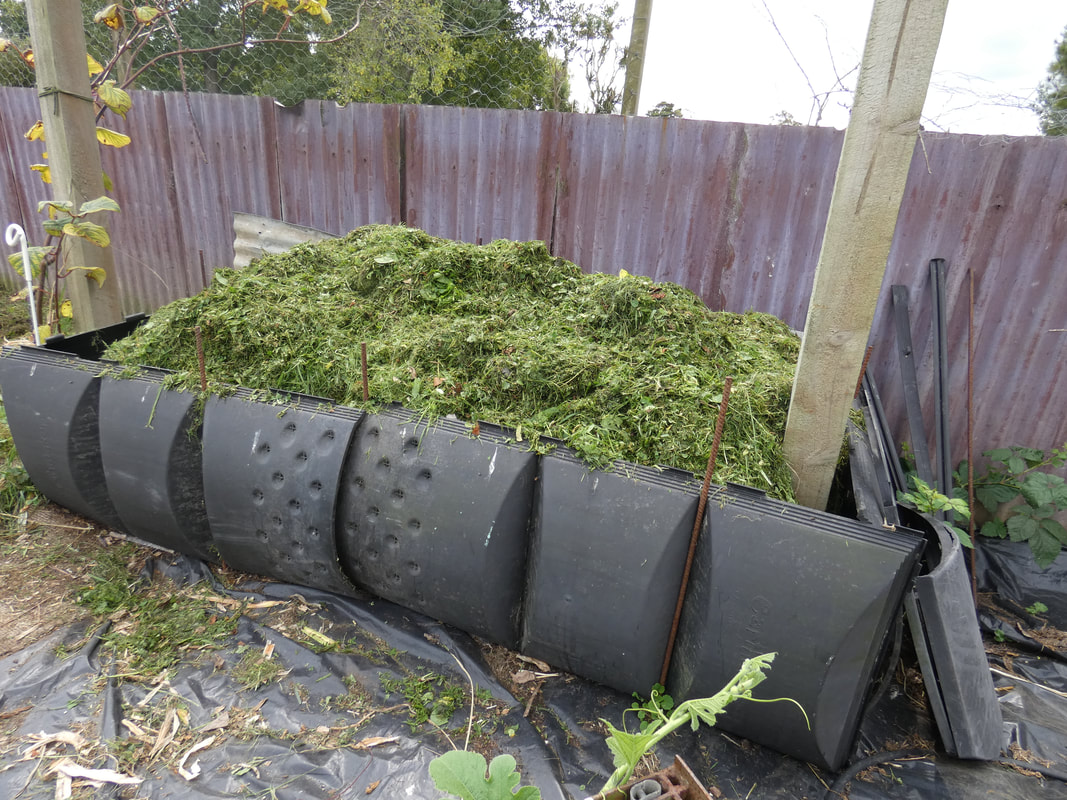
This compost pile is nearly as full as it's going to get - since taking the pic I've added another brown layer on top - just waiting for some rain to give it a good wetting and then I'll cover and leave it, and start another pile. I'm aiming to produce as close to 3-4 cubic metres of compost as I can this year. 
Picture
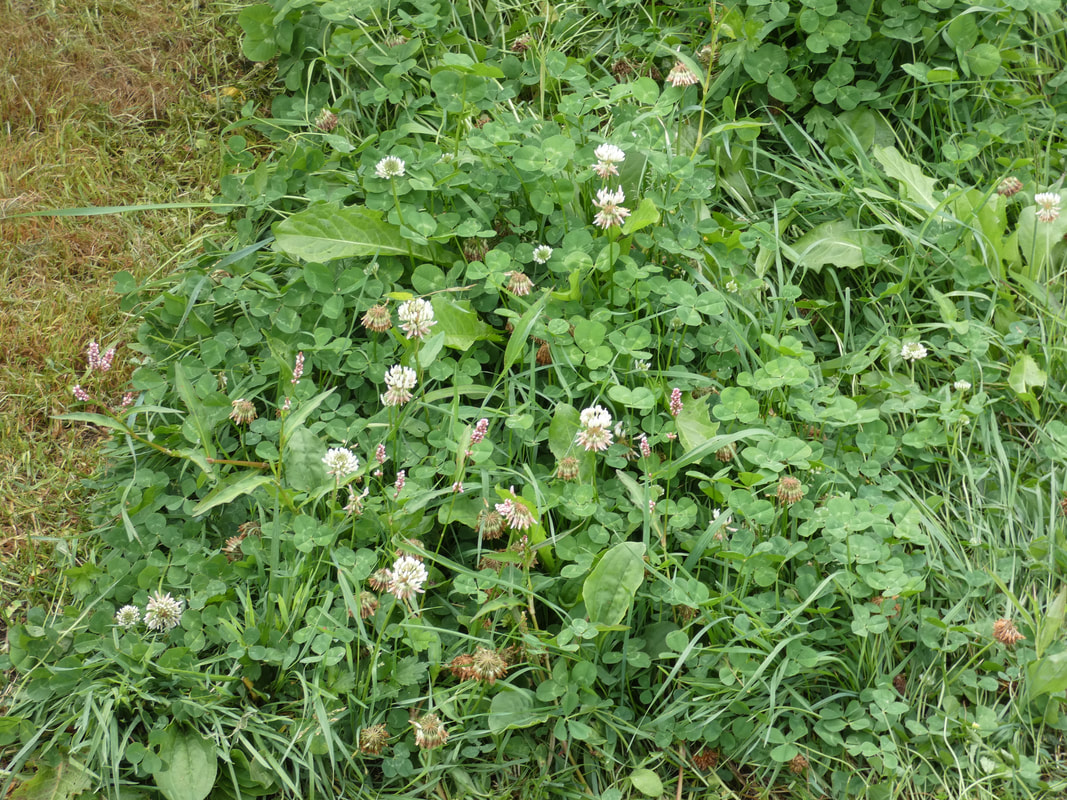
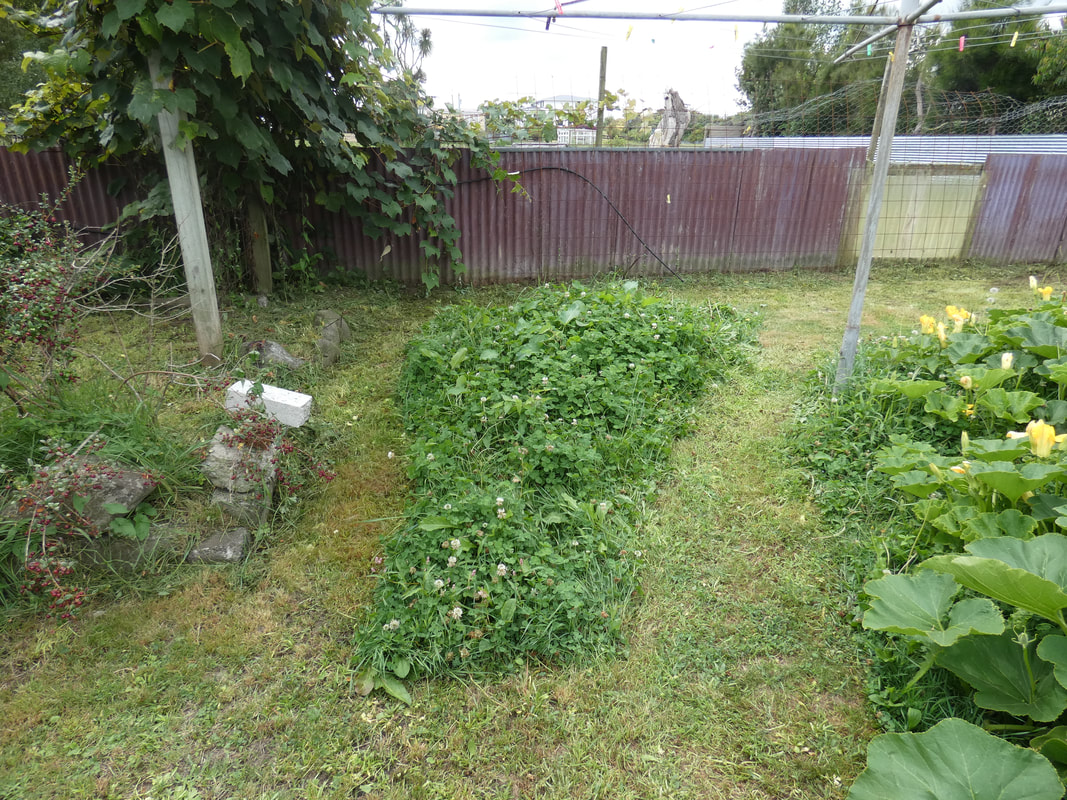
When mowing the lawns I left this patch of clover for the bees, along with plants that are around the edges of the pumpkin patch. It won't take long for the clover in the rest of the lawn to spring back to flowers, and once it does I'll mow this patch. 
Picture
Picture
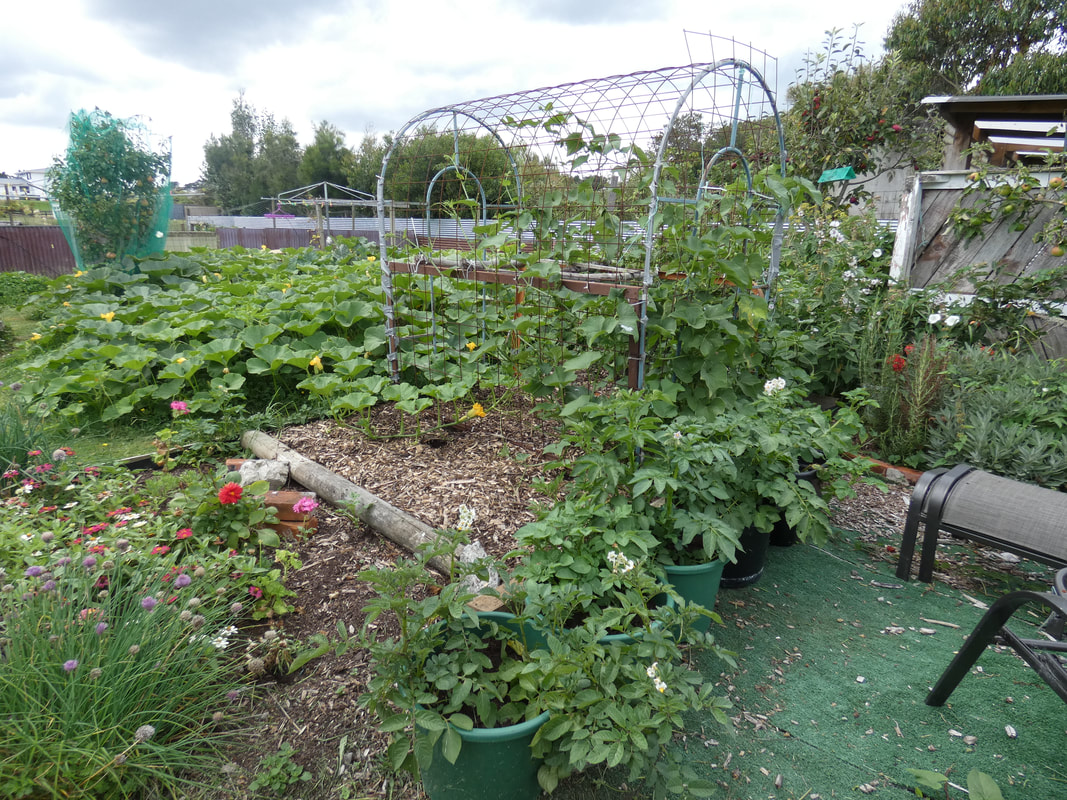
Five varieties of potatoes in pots next to the bed with the choko are doing well. 
Picture
Now to the greenhouse...slideshow with captions below.
And in the front garden (below)...over the last weekend of the month I started working on this....laying cardboard down after roughly weeding this bare part (and also removing a wooden edged garden bed that was there). More posts from the dump and old timber we had lying around form the edge of where I want to put a garden bed.
Picture
About 3 inches of compost added
Picture
I've started to lay woodchip on the paths. Bee boxes added in the foreground will be filled with soil, topped with compost, and planted in beneficial flowers for now. Later I'll remove the boxes, add an edging, and plant strawberries along there. The space this side of the bee boxes is full of couch and buttercup - I'm going to lay the plastic down to kill that off before I finish expanding the gardens to fill the available space - there is a fence off frame to the left that divides this area from a rough lawn that the sheep graze; I want the fence re-done with a deep root barrier below it to stop the weeds spreading back in.
Picture
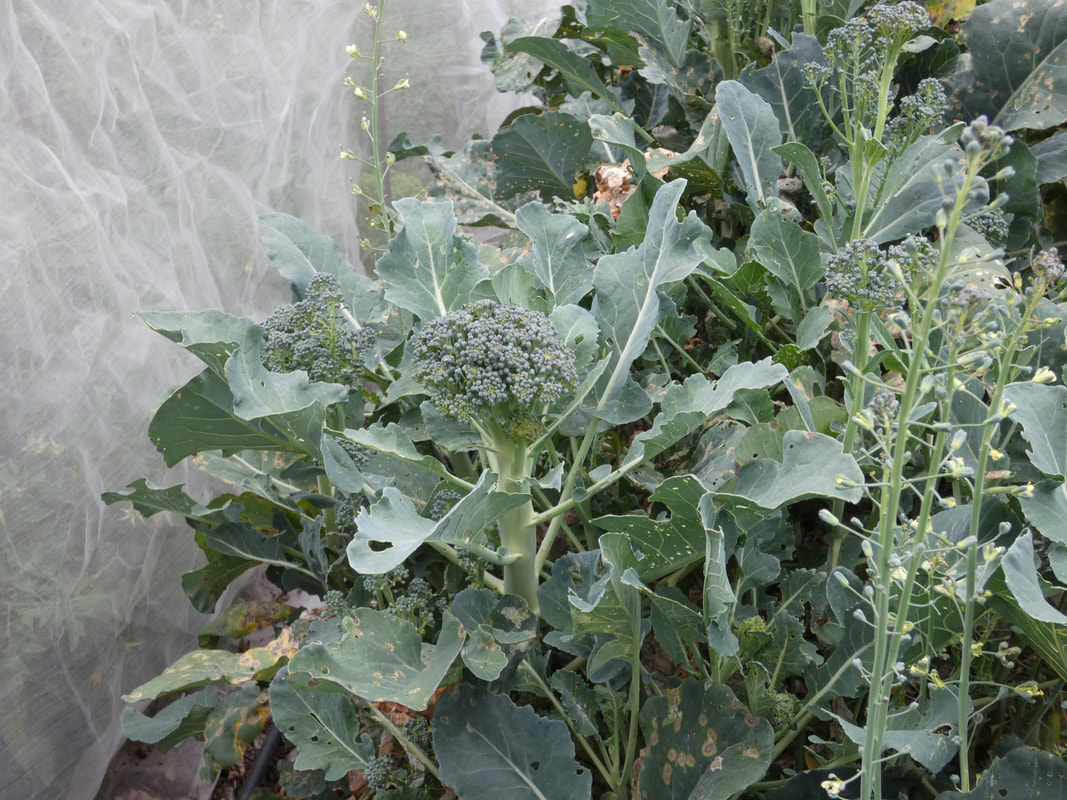
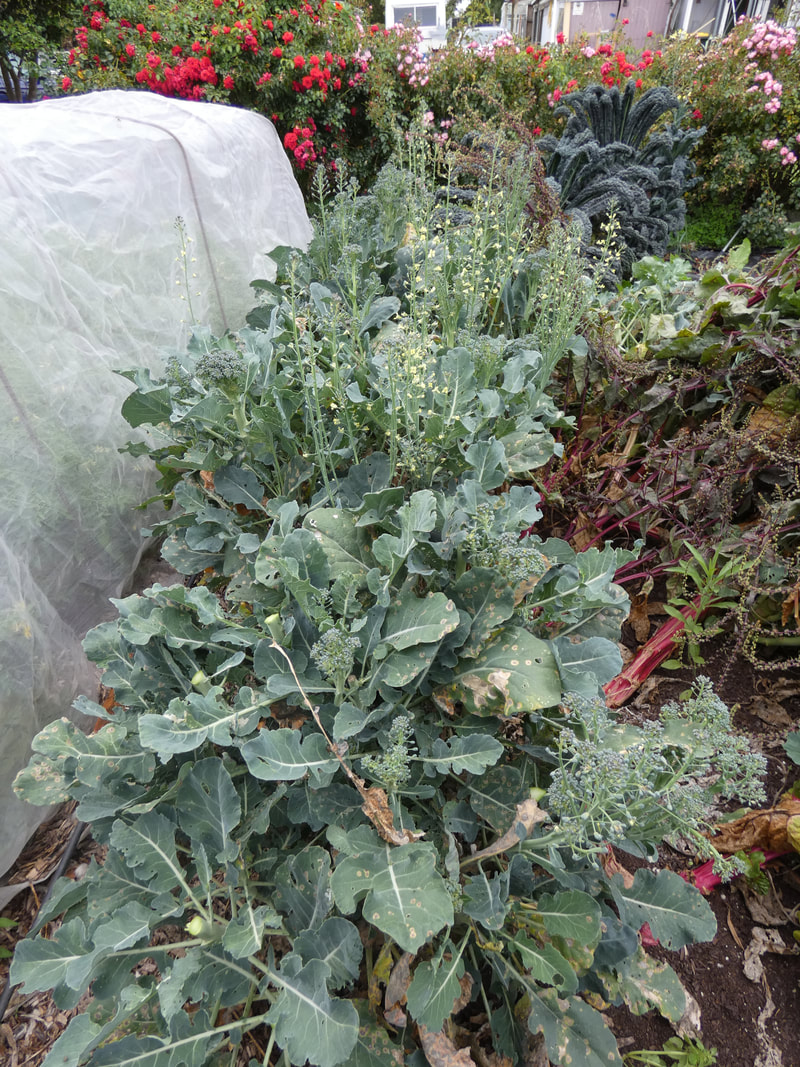
In the past week I've, taken out most of my year-old broccoli and kale plants, leaving in two broccoli to flower for the bees, and couple of kale stubs to regrow. I'm thinking now though I may clear them all together. The late planted zucchini in the middle is doing well. This bed will get an inch of compost added as a much before planting out new seedlings that are nearly ready to go. 
Picture
These pics below were taken on 21/2 - these plants were put in last March and have been steadily producing heads and side shoots ever since. I've just got tired of broccoli and it's time to make room for something else. Besides I have more broccoli a couple of beds over. As you can see I haven't been keeping up with picking them.
Picture
Picture
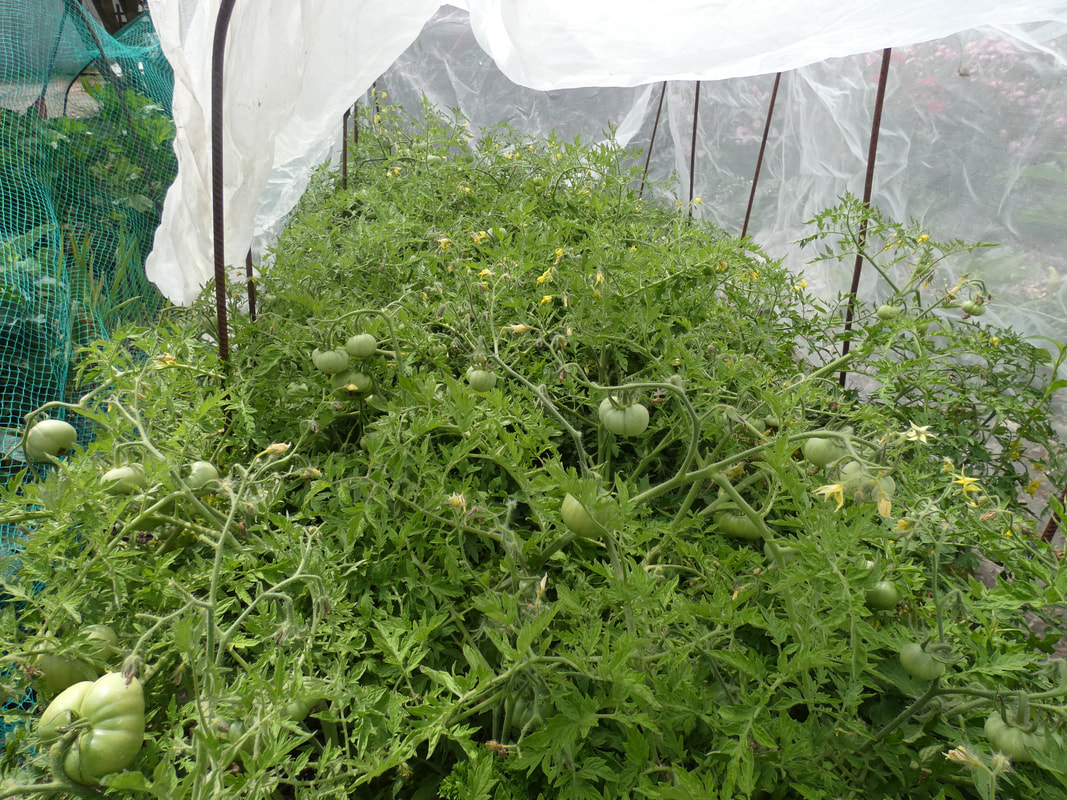
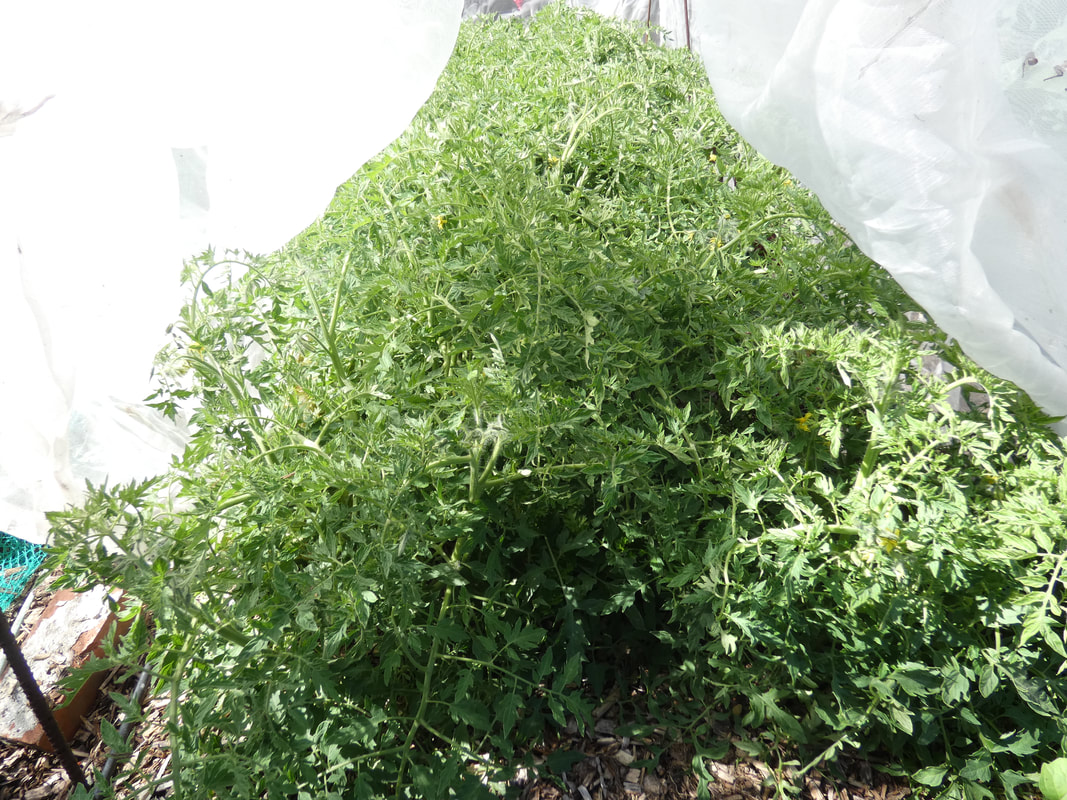
Really pleased with how my Russian Silvery Fir bush tomatoes are doing under the micromesh - lots of fruit forming - even some at the far end that are becoming red. Lettuces planted along each long side are also doing well. This is definitely proving to the be the best (basically only!) way to successfully grow this variety of tomatoes.
Picture
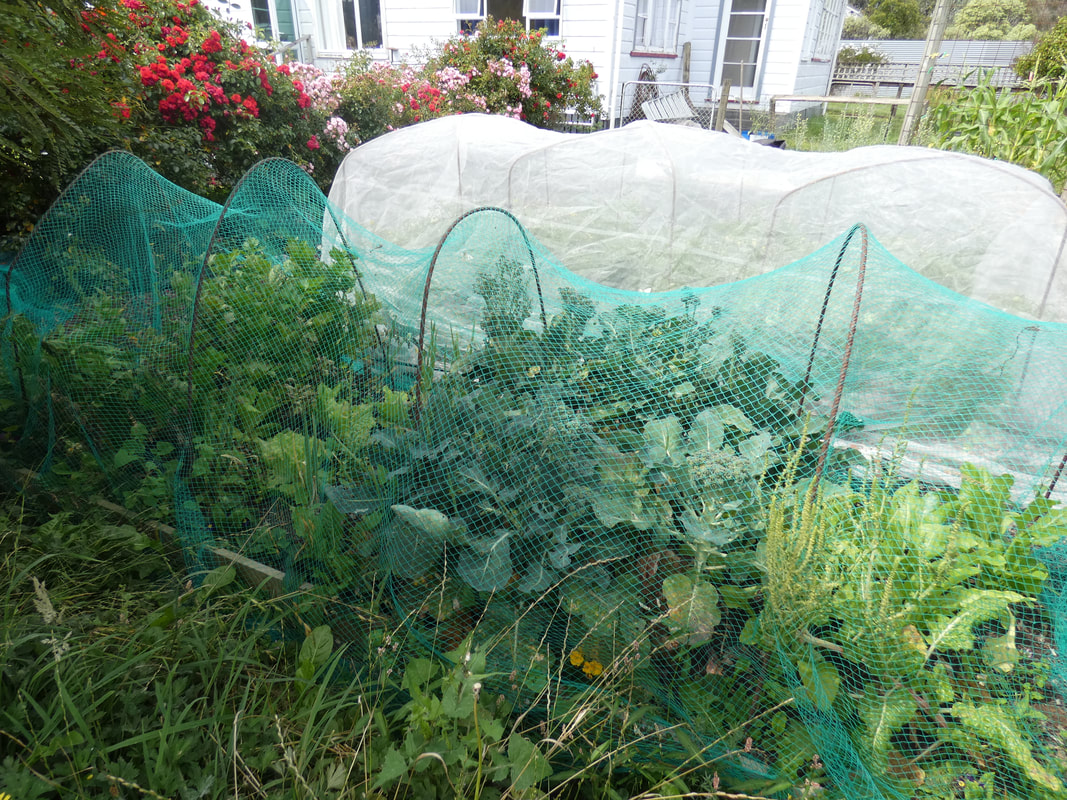
The messy bed at the end - producing lots of broccoli, lettuce, spring onions, celery and perpetual spinach. But needs the nets removing and a good weeding!
Picture
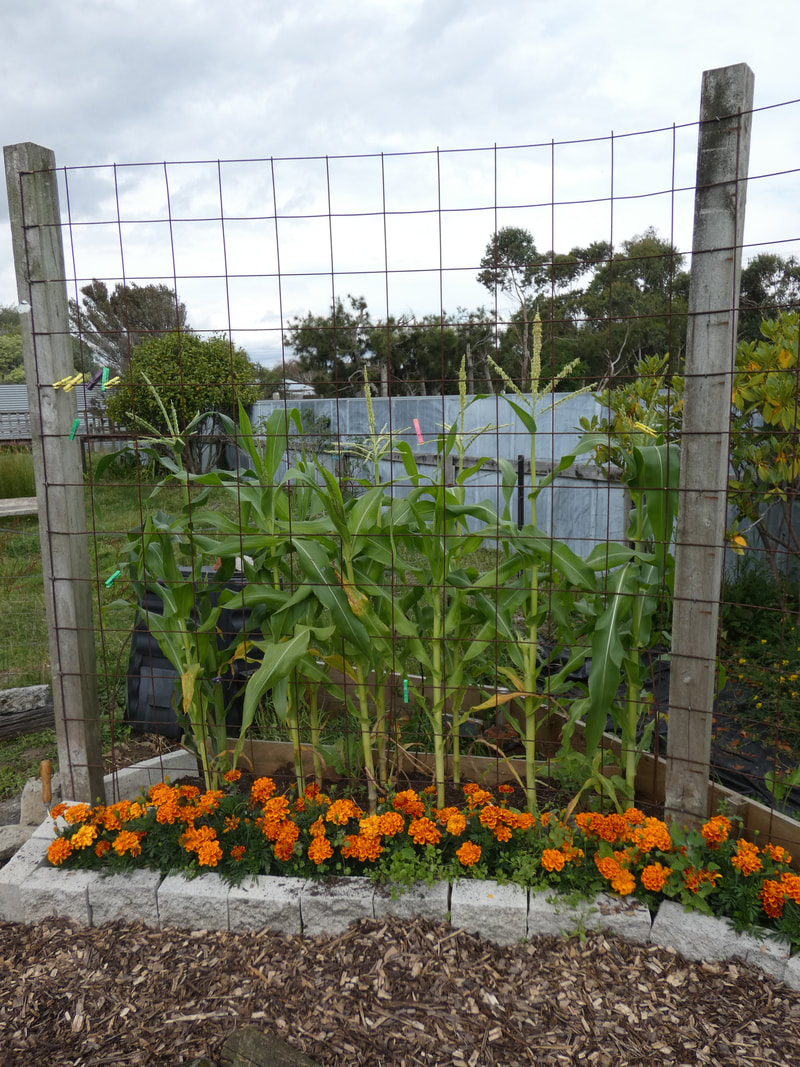
Sweetcorn and marigolds coming along nicely. Need to pop in some pea seed along the base of the trellis soon. The corn was a late addition, but hope to get some nice cobs from it.
Picture
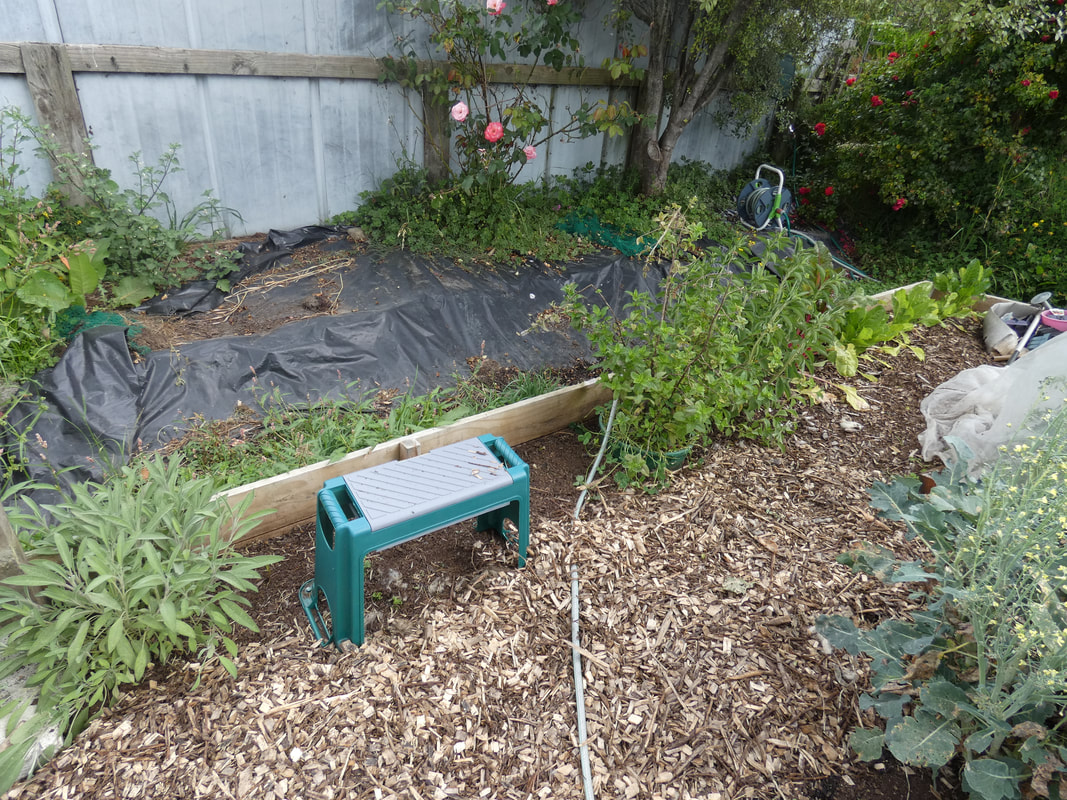
Sage, mint, stevia and perpetual spinach along the back edge. Where the stool is I'm going to add some thymes that are growing in my kitchen currently. 
Picture
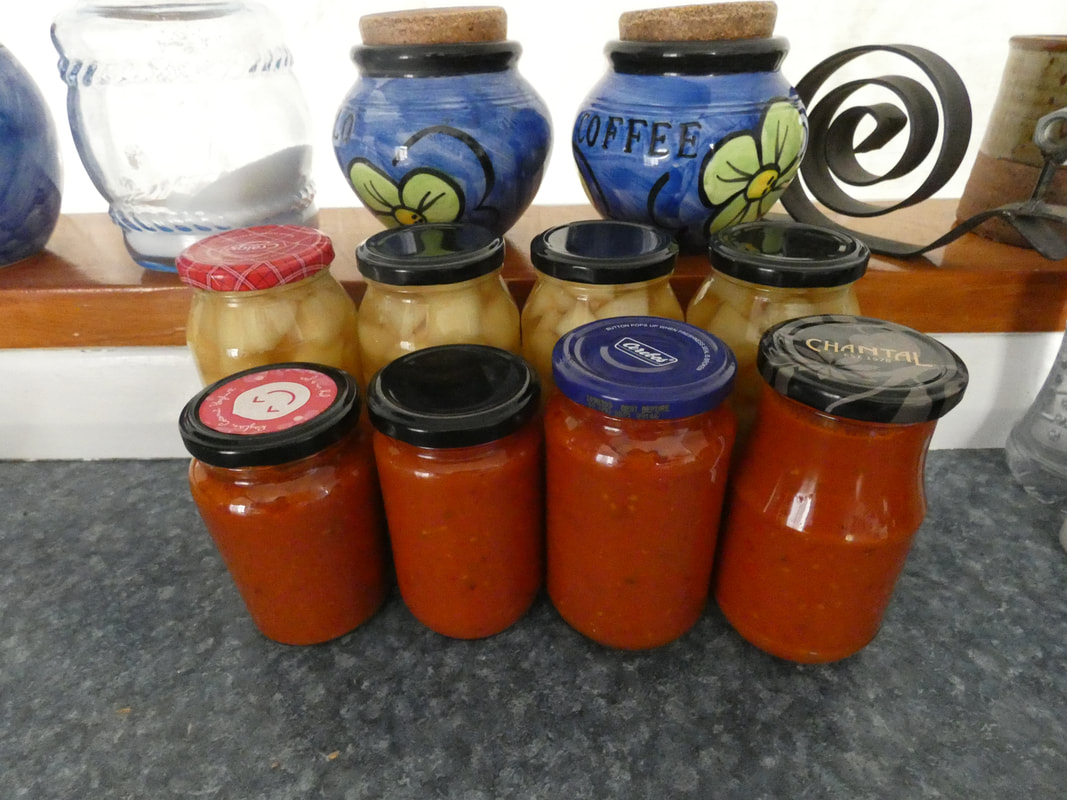
More bottling - the Garden Goodies Pasta Sauce is what I use lots of marrows and tomatoes in, along with lots of other goodies as the name suggests. And my pickled cucumbers are always big favourites.
Picture
There's always more to see, but I'm going to sign off here and go set up another batch of pasta sauce to cook. I've got beef stock loaded with veges simmering in the crockpot, and I'm going to brine a rooster to tenderise it before slow cooking. I better check the sauerkraut that is fermenting on the bench too. 

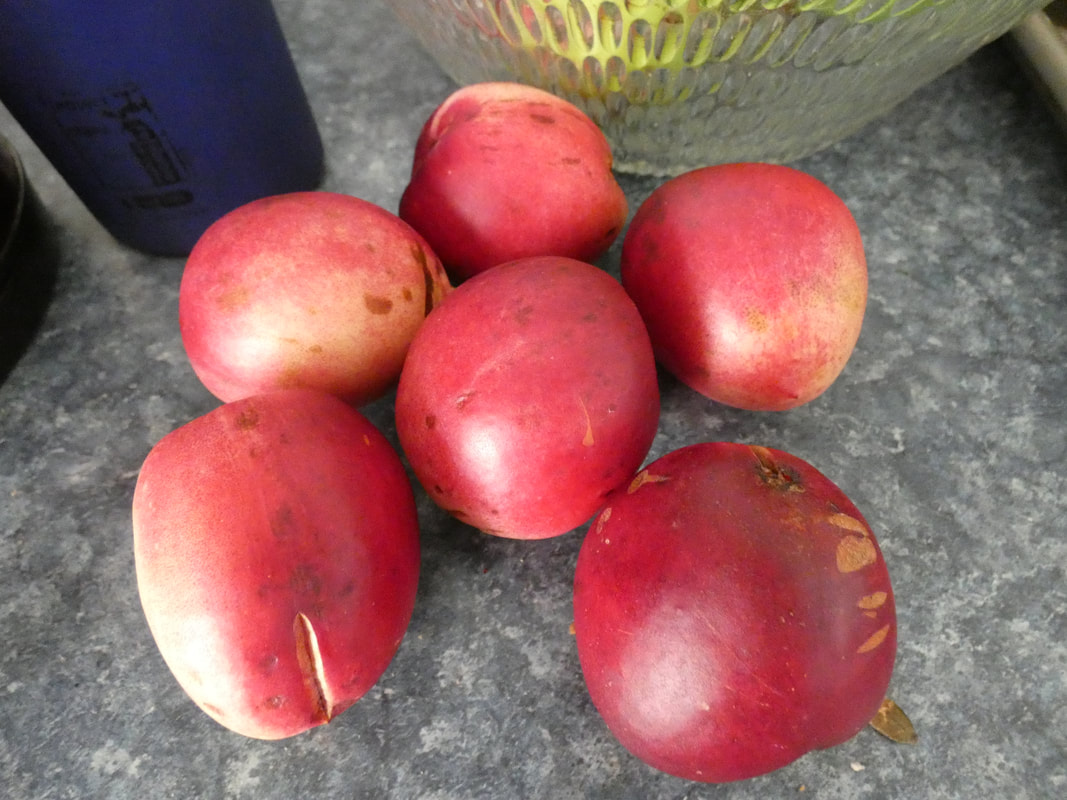
I'll leave you with a pic of the first harvest of nectarines from a seedling my son dug up from the side of the road, that had sprung from a discarded pit, and I've had sitting in a pot ever since. This winter I plan to plant it out, along with more fruit trees, in part of where my pumpkin patch currently is. They were yum!!
Picture
Happy gardening everyone!
6 Comments

3rd February Garden Photo Tour

4/2/2021

0 Comments

 
This is the time of year of rampant growth, flourishing critter populations (for better or worse), and lots of harvesting. A month ago I posted pics of my garden - the difference between those and these pics is amazing!

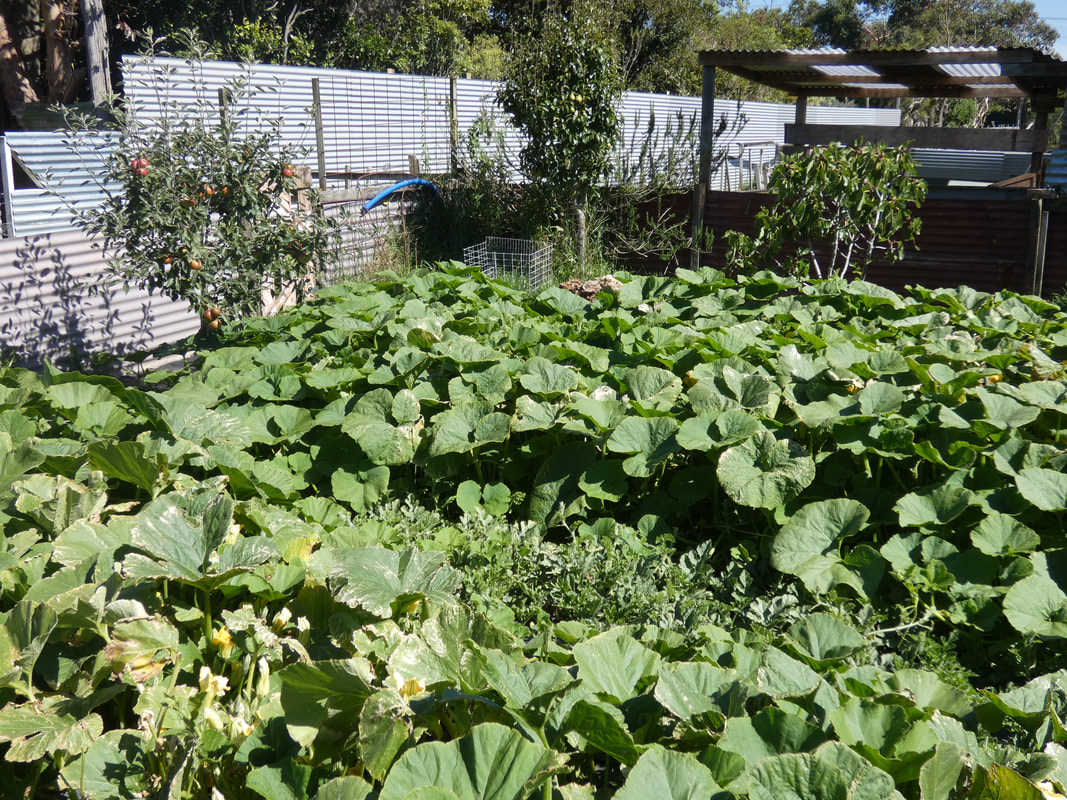
The pumpkin/zucchini/watermelon patch which was tiny a month ago is now a veritable sea of green, with lots of flowers and small developing fruits. On Jan 24th, I extended the area by adding carpets that we removed from our house and some extra black plastic in one corner, to keep down/kill off more grass and weeds, to give me a bigger area to develop into new gardens after the squash etc are finished. The plants have almost entirely covered all that as well as their original patch.
Picture
Clearly, I was overly optimistic when I planned to keep the two rows of pumpkins turned away from the row of watermelon and zucchini in the middle! Still working on it, but it's getting harder and harder to get in there to do so. 
Picture
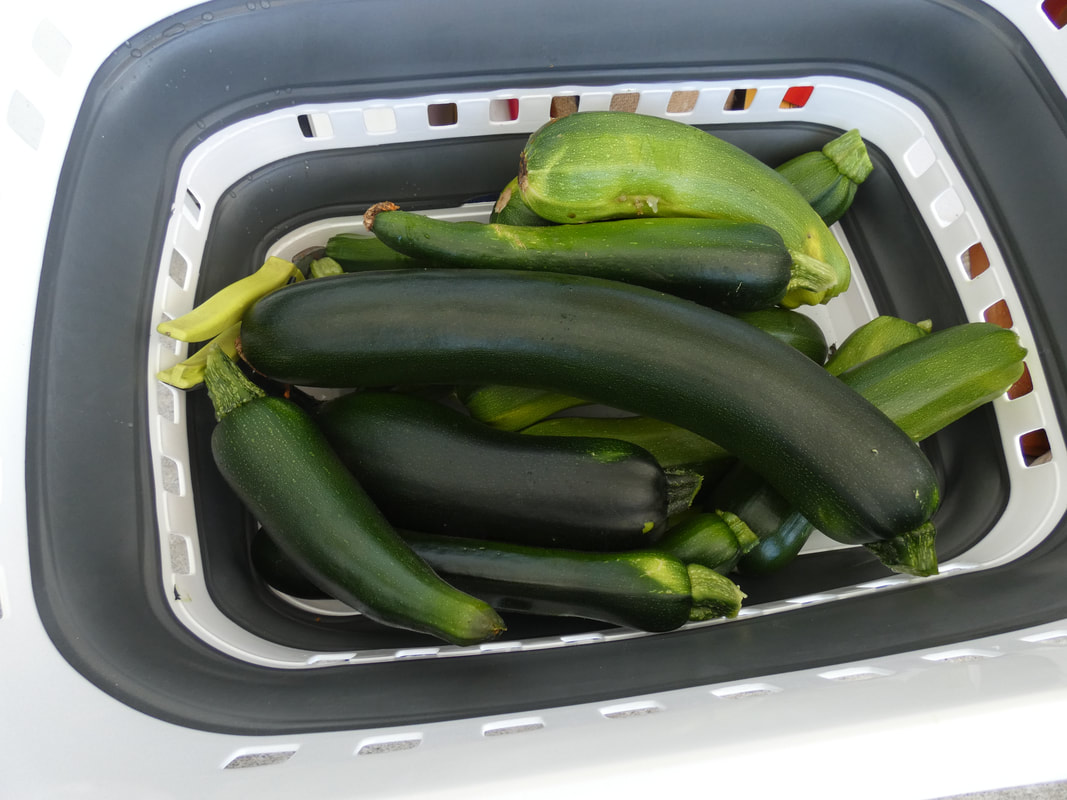
The three zucchini plants in this patch are now huge, and have started producing. I picked this washing basketful yesterday from them and the two plants in my greenhouse. I gave some away, kept some for fresh eating, and dried the rest to make zucchini flour - more on that in another post.
Picture
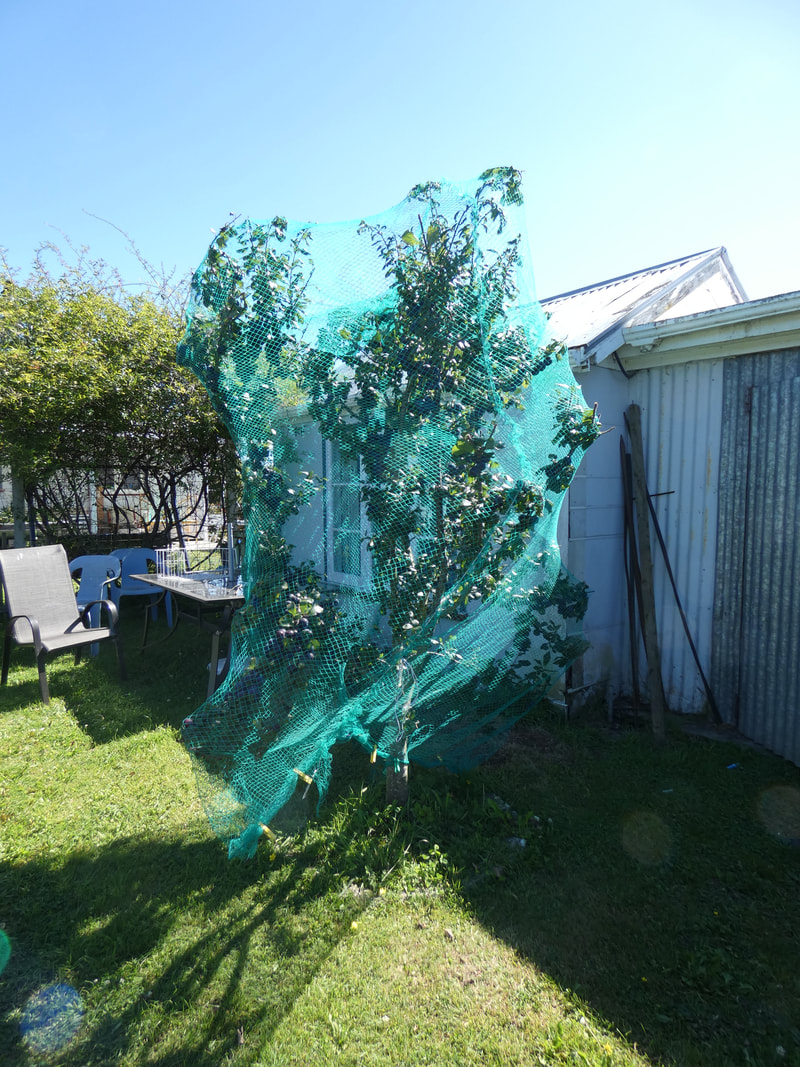
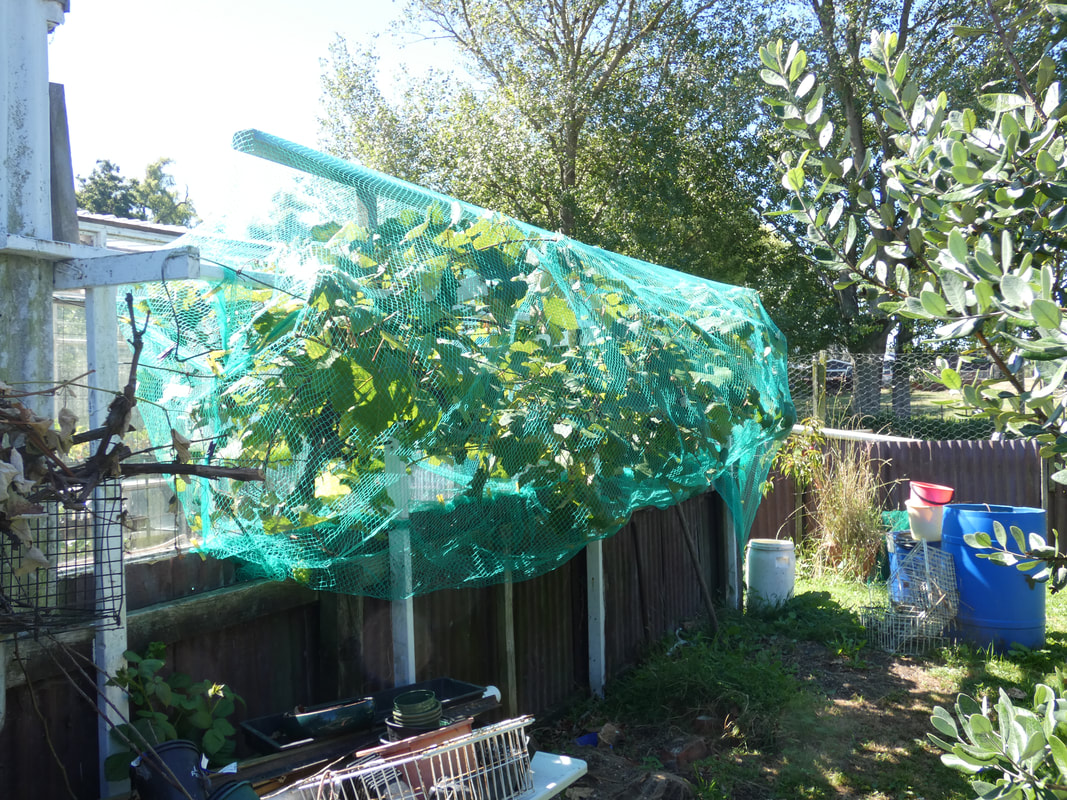
In the last few days I've gotten nets up on my Damson plum (which will be ready to harvest soon) and over my grapevine (after giving it a summer prune), to protect the crops from the birds. After these photos were taken, I also netted my dwarf double pear tree. I do have another grapevine I leave unnetted, so the birds are welcome to feed from that - but they're supposed to stay away from my covered ones! Every year there are some Houdini's that get in, so we'll see how we go this time.
Picture
Picture
This garden bed has flowers at one end, a self-sown choko on the edge of the middle section which has some shallots to harvest and then I'm going to give a make-over to, and marshmellow with beetroot and kohl rabi at the other. The pots have some potatoes that I just want to keep perpetuating for now. 
Picture
Picture
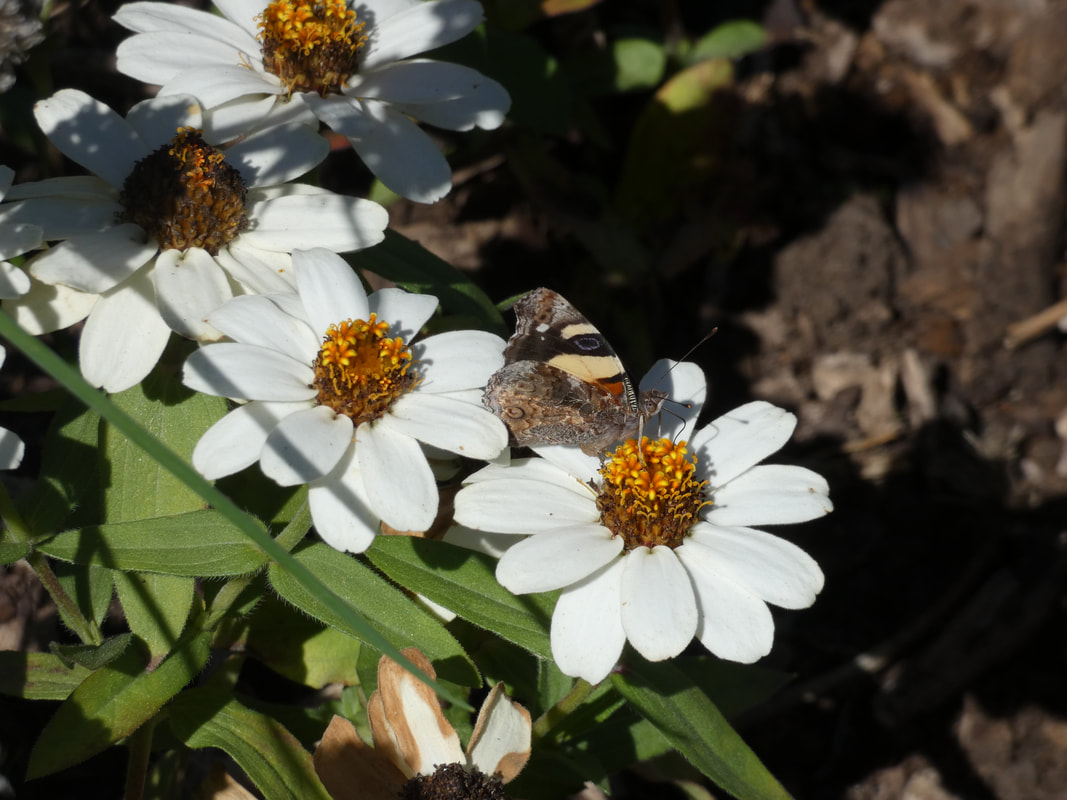
A Yellow Admiral butterfly was visiting my Zinnias. 3rd Feb is also the first day I have seen any honeybees in my garden this season. They're now visiting the squash flowers and white clover in the lawn, among other things. Yay!
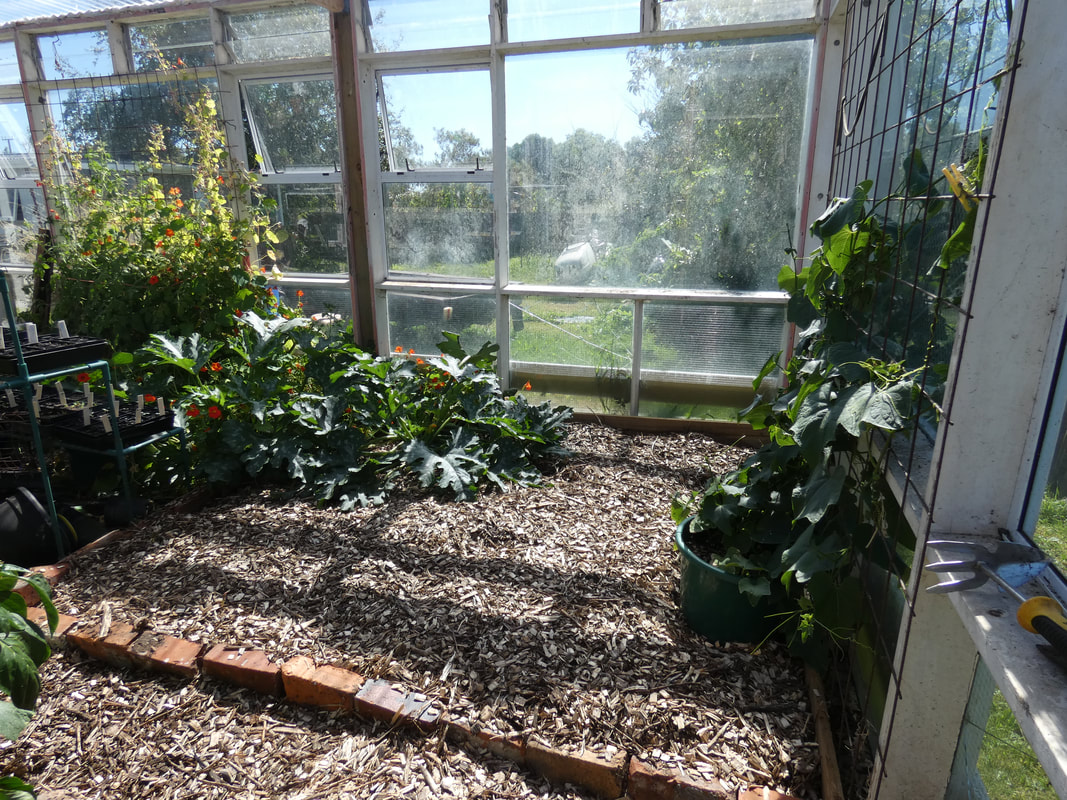
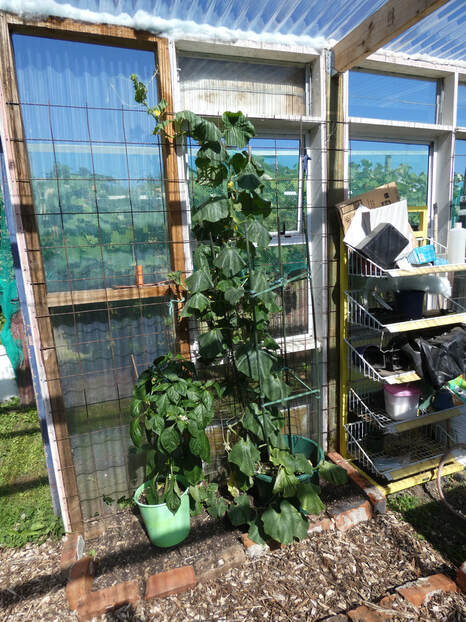
In this half of my greenhouse I've weedeatered, laid down cardboard, covered it in a couple of inches of compost, and topped off with woodchip from our trees that were pruned last winter, then watered it. I'm just going to let that sit for a while. The zucchini in the corner was already there - it was looking quite pale-leafed and sad compared to it's neighbour; I was tempted to pull it out but decided to lift it a wee bit, put down the compost etc, not under or around it per se (as the compost was very fresh and not safe to put on plants yet), but up to the edge of it's outer leaves. Within a few days it perked right up and the leaves have darkened to where it looks like the healthy one next to it, and is once again producing well. On the right, is a choko in a pot which is growing up a trellis that extends across the roof. I haven't grown one indoors before - it's partly an experiment to see how much I can extend it's season (outdoors they are killed off by the first decent frost). 
Picture
The cucumber (pic taken just before I watered it, so looking a wee bit droopy - it's 30 degrees in the shade, and more in the greenhouse!) is producing well. The capsicum next to it has lots of fruit. 
Picture
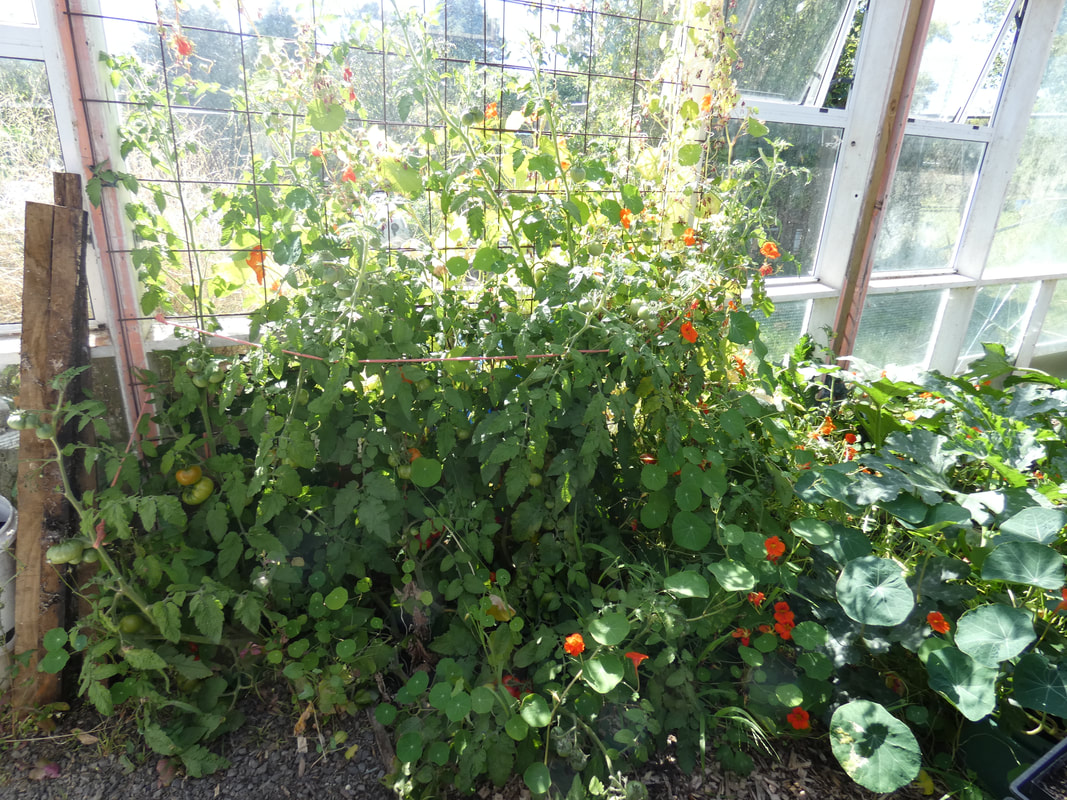
Russian Red tomato - less vigorous than the Moneymaker I usually grow, I have not taken off laterals etc, just lifted and loosely tied those that start to sprawl in my way. Have been steadily picking off it for the last month. 
Picture
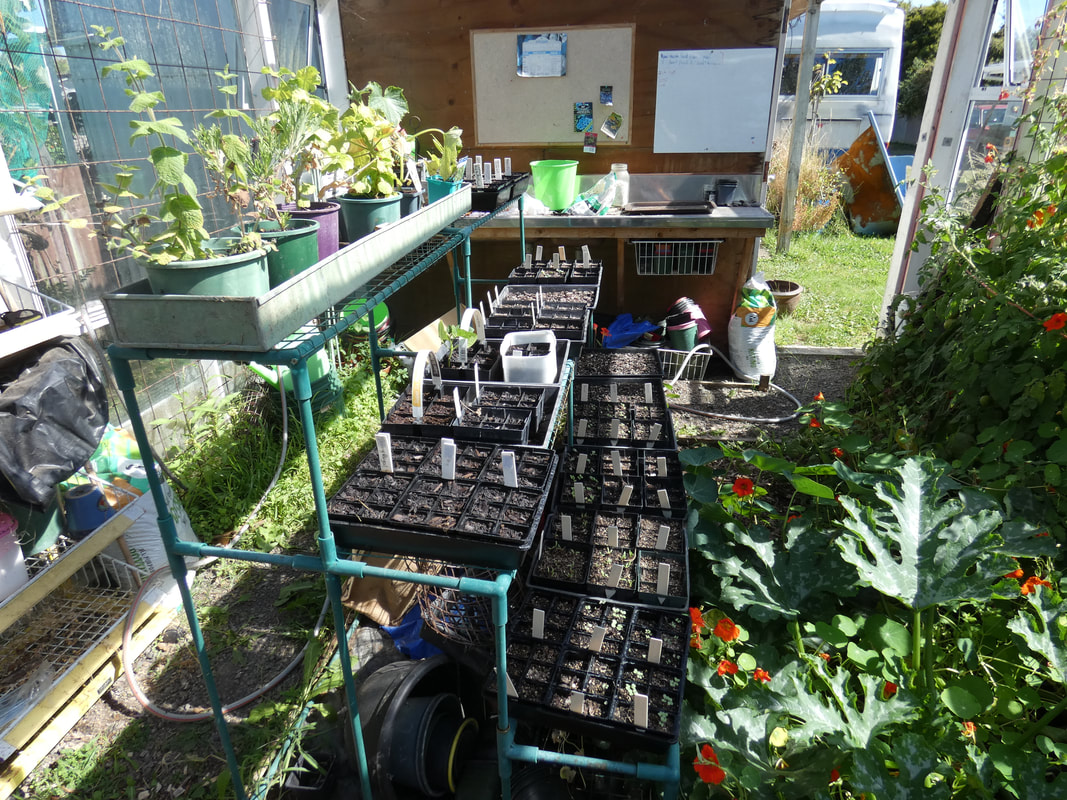
A couple of weeks ago I sowed a lot of seed - lots are coming up. A few aren't though - either it's too hot in the greenhouse for them, or I need to ditch some of my older seed and get fresh. Top shelf is all plants started from cuttings which I need to plant out, plus two apple cucumbers a friend found for me after I mentioned I was looking for another cucumber seedling to plant. 
Picture
Out to my front garden now. These Russian Silvery Fir tomatoes were planted as small seedlings on 1st Jan, under micromesh. They're doing wonderfully, as are the leaf lettuces planted along both sides (there's parsley hidden down the middle, but it's completely overshadowed now). Lettuces planted in a neighbouring bed, partly shaded but without mesh, are struggling considerably compared to those under the mesh. We, like much of the country, had a week of extremely high winds and storms; these tomatoes can be quite fussy and delicate, but they took the storms completely in their stride, thanks to the mesh. It's the only way I grow this variety now.
Picture
Picture
My broccoli is still steadily producing lots of side shoots (pic taken just after I'd done another picking). In all honesty, I'm suffering from what one might call "broccoli fatigue"  - I just don't feel much like eating it any more so am giving most of it away (also have plenty in the freezer). I may pull the plants out soon, but I don't need the space just yet for anything else, and they're providing for others, along with the kale, so they can continue for a while. White butterfly are around now, but not causing any more than minor issues - the rampant nasturtium I have elsewhere keeps them somewhat distracted, and the predatory insects I encourage keep them mostly under control, assisted by birds which I often see hopping around under the plants picking off any bugs.
Picture
Now this bed is empty of garlic, I plan to remove it, spread the compost in it out, and add a couple new rows of beds in here, no dig style. This end of the front garden is the only part that gets enough sun in winter for crops - where the kale and brocc is in the next space gets partial sun, and the rest of it is nearly fully shaded. So I'm planning to plant some winter crops in what will be the new beds here.
Picture
None of the beans I sowed along the trellis came up, but the corn seedlings I popped in behind are going strong, as are the marigolds I put along the front. A few volunteer radishes need picking too. Behind it is a weedy area that I'm leaving for now, as the flowers and things there are attracting various beneficial critters. 
Picture
This end bed is doing fine, with a mix of celery, leaf lettuce, spring onions, broccoli and perpetual spinach.
Picture
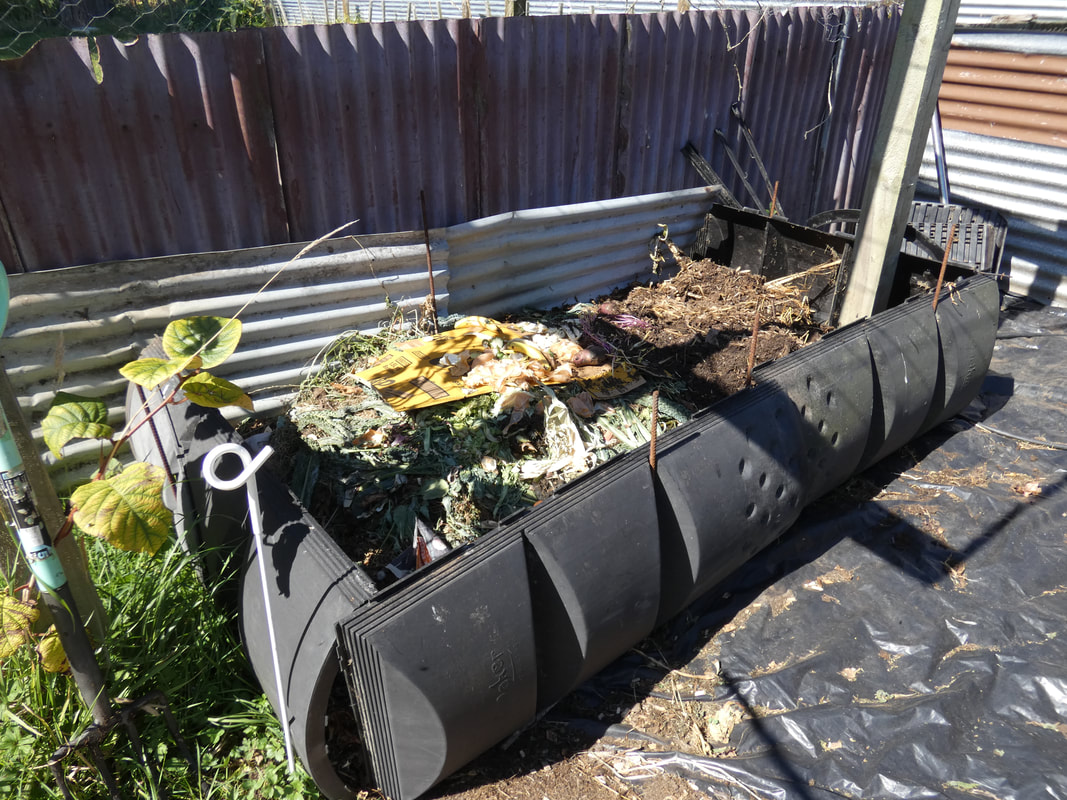
I want to get back into composting on as large a scale as I can manage. I had one of those tall, square plastic compost bins given to us, with three layers inside. Frustrating thing. So I pulled it apart and laid it's sides on their edges, with a little help form some rebar stakes, to create this temporary bin to get started with. Ultimately I want twice that depth, and about four times the surface area in various bins, likely made out of pallets once I acquire some new ones, or similar.
Picture
There has also been quite a lot of preserving to do this past month; I bottled apple with a light honey solution, made this batch of Harvest Sauce, did a big batch of pasta sauce, and when I took some kale to my neighbour's chickens, she sent me home with an armload of cucumbers, so I could do some of my favourite pickles.
Picture
It's been a month of extremes - from wind storms to cool 4.9C nights, to 31 degrees-in-the-shade days. I'm just hoping the "summer" lasts long enough for me to have mature pumpkins and Silvery Fir tomatoes! 
0 Comments

Sowing and Planting in January

19/1/2021

0 Comments

 
Picture
Here we are in mid summer, though as I write this we're in the midst of a week of stormy weather. New Zealand weather is nothing if not changeable, and the seasons certainly seem to have shifted over the last few years. Even so, this is the time of year to be thinking about two main things - prolonging summer cropping into autumn, and starting seeds of plants for winter crops. What follows is info on what I will be sowing or planting this month, plus a few extra I could be adding if I wished. 

I like to go through my seed collection every couple of months and pull out those things it is timely to plant, and put them in a basket. Then I get sowing. 

I'm in a western coastal region of the lower North Island, about 7 km inland. The following is based on what works for me here. There are any number of suggested planting guides for NZ out there - they are useful for ideas, but one needs to learn from observation and experience what actually works when in your own garden. Every garden has it's own unique microclimate, as well as each region having it's own unique general climate. Most suggested lists for NZ are divided into three broad zones, but they are still very general. For example, most lists say sweetcorn can be sown now. Total waste of time in my garden! So, read the following for ideas, and refer to other lists too. But then keep a record of what you choose to sow or plant when, and what worked and what didn't. That's the best way to come up with your own, personalised list for success.

Extending the summer harvest

There are certain plants which only do well in summer - mostly because they are frost tender, and heat loving. This includes tomatoes, cucumber, zucchini and beans. However, quite often plants put in in spring or early summer are hitting their peak now, and may start to decline. The weather should still be warm enough for these types of plants for another 2-3 months, so to ensure a continued harvest it's worth popping in some fresh plants if you have space. As we're now into the latter part of January, the best bet is to plant seedlings of zucchini, cucumber and tomatoes, and to sow some dwarf beans direct. In early January, last plantings of seedling corn can be made. I normally sow direct, as it does better that way, but having not got to it this season, I did pop in a punnet of seedlings a little while ago. (I never sow later than Christmas Day in order to have success).

I have lots of tomatoes that were later planted, and are yet to begin cropping, as well as second plantings of zucchini that are just hitting their stride, so I won't be adding any more. But if I can find a healthy cucumber plant, I might pop another into my greenhouse, to be producing when the current one starts to slow. Or, since I have a greenhouse, I might just start one from seed, just to see how it goes. I have sown bean seeds, and they're just starting to pop up. 

Radish can also be sown - it's a super fast crop, with harvests only about 4 weeks after sowing. But most people can only use a few at a time, so sow a few seeds every couple of weeks for a continuous harvest. They don't need much space, so just pop them in where you have gaps. Radish is best sown directly where it is to grow.

I'm going to sow some extra summer herbs - especially basil because I haven't gotten around to any yet. I grow green, purple, and cinnamon. I can plant these among my tomatoes which are growing under mesh, or in the greenhouse. I'm also going to scatter some dill seed, and have another try at starting some NZ spinach, which so far has failed to get going for me this season. It's frost tender, but I've had it keep going through winter when grown under the shelter of trees, so aiming to get it going so it can ramble in a sheltered spot. Meanwhile I will hopefully get some harvest off it this summer, and then there will be new shoots for next summer. 

Sowing for autumn and winter crops

It may seem odd to be thinking about winter in mid summer, but if one wants to have a nice, productive garden with plenty to harvest in the colder months, then now is the time to get many things started. The following is far from exhaustive, but here are many options for sowing now:
Brassicas
Most brassicas should start to be sown now (though ideally Brussel sprouts are best started in December). Think about these plants in two groups - the ones that generally produce one harvest (cauliflower, cabbage, kohl rabi, turnip, swede etc) before the plant is pulled out and the ones that are harvested continuously over several months, such as broccoli of the type that either produces side shoots or is known as sprouting, and kale. For the latter types, you may only need to plant out one group of plants in due course, as you will be able to keep picking from them. For the first group, think about how many cabbages, cauliflower etc you can eat at once, and then only sow a few at a time, but repeat every 2-3 weeks so you have a continuous but spaced out harvest. I will be sowing:
  • Broccoli - Marathon is very reliable for me, so that's the main variety I grow. Big main heads and lots and lots of side shoots over a prolonged period. I'm also going to be planting a purple sprouting variety too, which I haven't tried before. Though I usually sow/plant broccoli in groups 2-3 times a year, this time I plan to sow smaller numbers every 3 weeks, both to spread out the harvest of the main heads, and also to record just when each group is ready to eat, as a gauge of optimal timing. I'm growing for myself and my husband, and also raising some seedlings for two other couples, so I'll so a punnet (6 cells) full each time of Marathon (2 plants each per sowing). Purple sprouting takes quite a long time to mature, and only has smaller shoots, so I'll start them in bigger, fewer groups - some now, and some in March.
  • Cabbage - while I enjoy making sauerkraut from cabbage, this season I'm going to try a new variety which has smaller heads, more suited to a couple than the big ones. I'll pop in a few bigger ones too, for the next batch of sauerkraut. Like the broccoli, I'll be sowing a punnet full every 3 weeks or so.
  • Cauliflower - on the same basis as cabbage. 
  • Kale - I have several Cavolo Nero plants in the garden, which can be continuously picked, already. I will be starting a few Red Russian from seeds to broaden the variety. 
  • Kohl rabi - taking up little space, and lending themselves well to a variety of dishes, I like to grow both green and purple varieties. Again, just a few at a time, spread out over several months, so will be sowing as for cabbage.
Salad crops
Lettuces really don't like the heat of summer; I'm going to hold off sowing more of these for autumn for another month or so. Meanwhile, I can sow mizuna, rocket, mesclun mix, miner's lettuce, and corn salad for leafy salad greens.

Alliums
This is the time to sow leeks for winter harvest. Spring onions can also be sown. January is also the month to hunt out a source of seed garlic for planting in March or April, if you haven't got your own from last year's crop. Some folk sow onions now too, but I haven't had much success with them sown at this time of year. 

Root crops
Beetroot can be grown year-round. I'll be starting some more this month, and in successive months. Detroit Dark Red is my favourite variety, and a consistent performer. I'll do some multi-sown (multiples in each punnet cell and then planting hole so they grow in a small bunch), as well as some singly. 

Carrots and parsnips can be direct sown this month. I have the most success with carrots when I sow them in a very shallow drill, barely cover, wet well, the cover with a board to keep in moisture and protect them until they begin to sprout (keep checking under the board from about day 4-5 onwards). Parsnip needs very fresh seed to have successful germination. 

There's time to pop in some extra potatoes if you have access to an early crop. Earlies are ones that mature in 60-90 days. 

I grow Rat-tailed Radishes, which are grown not for their root, but for their long seed pods which when picked young have a milder radish flavour and are a great addition to salads and stir fries. I'll be sowing some this month, along with some Easter Egg (multicoloured) regular radishes. Little and often is the way to go. 

Other herbs and veges
I'm going to start some Lovage from seed for a friend. I have a plant a friend gave me years ago - it's a persistent perennial, and one plant is more than enough. It has a strong celery flavour; small amounts can be used in soups and stews. 

Parsley can be sown now. Plants will grow through the winter happily, but will bolt to seed in spring, so only grow enough for your needs over winter, and plan to start fresh ones in early spring.

Celery should be sown now for autumn/winter cropping. I'm going to start some globe artichokes too - they will die down over winter, but then come away again in spring and grow more rapidly for having been established already. 

I'll also be sowing some Rhubarb, as I no longer have any in the garden. Victoria is a popular variety.

If I didn't already have plenty to carry me through, I'd be sowing silverbeet of all types, include perpetual spinach. 

Flowers
I'm going to be sowing the following: calendula, phacelia, cornflowers, dwarf lupin - all of which will grow through winter and produce flowers that are good for the bees. Calendula and cornflowers are edible, and calendula makes a wonderful healing tea or salve.

I'm also going to sow some borage to get it reestablished in my garden, and a red Geum. 

Other flowers to sow now are alyssum, hollyhock, stock and chamomile, pansies, violas, forget-me-nots. 
Swan Plants
And finally, I will be starting off swan plants from seed, so I can overwinter the seedlings in the greenhouse for a head start on spring/summer growth. That way I'll have plenty of fodder for next season's Monarch caterpillars. 
Most of the things I am sowing this month, other than those sown direct, will be planted out in about 4 weeks, though some will take a bit longer to get to that stage. Things like swan plants will be potted up and kept in the greenhouse over winter. 
0 Comments

Pollination in the Absence of (Honey)Bees

13/1/2021

0 Comments

 
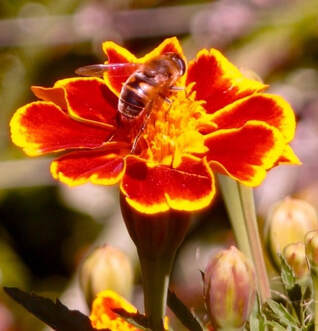
PictureDrone fly on a marigold
In November 2016 I started a blog post by saying "My garden is humming with bees of all kinds.." This year it's January, and I can't find any honeybees in my garden whatsoever. I think the number I may have seen over the last couple of months could be counted on one hand. I was thinking that it's been a slow-to-warm-up season, but the temps are now high, and still no bees. And yes, it can very from season to season and place to place. However, given what is flowering in my garden right now, I would expect to be seeing at least some honeybees. This includes: marshmellow (normally swarming with them), sage (likewise), nasturtium, buttercup, big patches of white clover, some red clover, feijoa, zucchini, zinnia, purple deadnettle (they usually love that), pansies, roses, agapanthus, dahlia, brassicas (also normally a huge draw), strawberries, chives, celery, dandelion, convolvulus, star jasmine, potato vine, raspberries, comfrey and more. 

Bees do have a very powerful sense of smell - about 100x stronger than ours - and there is major work being done a couple of kms from me, which includes river dredging, earth moving, and the laying of massive amounts of very fresh, very stinky compost. The smell is close to unbearable in many parts of town, including here. Maybe that's scared them off. This work has been going on for a while, but the smell has only been bad since they started with the compost a week or so ago. So it doesn't explain the bee free summer. I have a commercial bee keeper based in the street behind us (on a small block); I should ask him whether he has any hives at home currently, and how his bees are doing!

Anyway, whatever the reason for the current dirth, the main point of this post is to discuss all the pollination that is STILL happening, even without the honeybees, and how. As gardeners, we WANT lots of pollination - without it we would severely lack in a lot of crops, and also wouldn't get viable seed to save. Bees are in trouble all over the world; they are very important, but I think folk are often not aware of how many other pollinators there are out there. When we think about encouraging beneficial critters to our gardens, we should not plant only for bees, but also consider the more humble critters and their needs. Even some pests have their upsides in terms of the pollinating services they provide. 

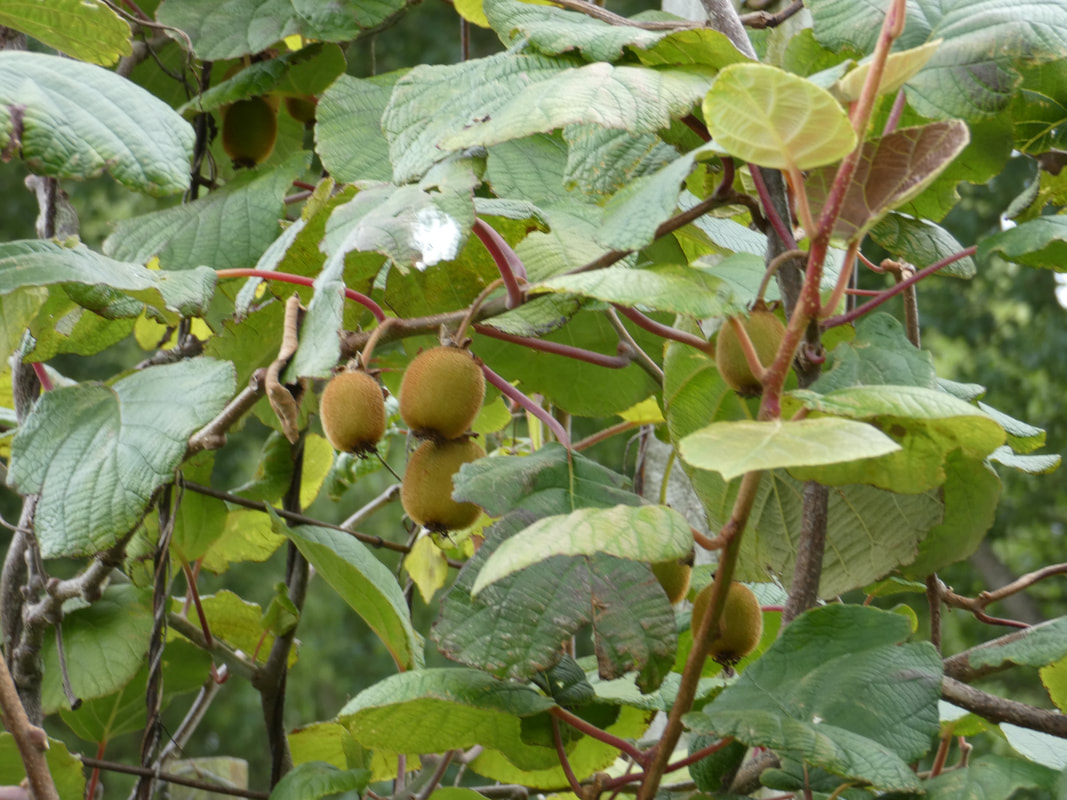
How do I know that pollinating has been carried out in my garden? The evidence is all around me.... kiwifruit growing steadily, along with Chilean guava, raspberries, zucchini, cucumber, apples, pears and plums. Without insect pollination, I might have a handful of raspberries, but the rest of this lot would be fruitless. (Other fruit like feijoas and grapes are not insect pollinated - birds and wind respectively take care of those). The maturing brassica seeds which are now sprouting new plants are also evidence of pollination over the last few months, along with other seed on other insect pollinated plants.
Picture

Some pollinating species

So what is doing the pollinating? Honestly, ALL the insect numbers seem to be down so far this season (possibly due to the cold - we had the fire going on three days between Christmas and New Year!), but over the last few days I've been paying close attention to what is out there, and I've observed:
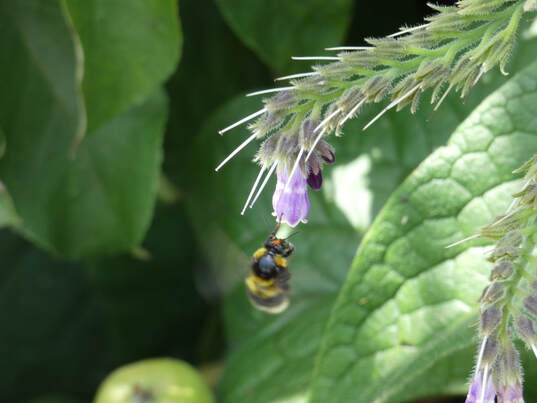
  • Bumblebees - there is a nest of them in the space between the walls of my greenhouse and a shed, and they are actively working in the garden. Bumblebees are fascinating critters - read more about them HERE.
  • ​Drone flies - these are often mistaken for fat bees, but are in fact a type of hoverfly (named drone fly because of their resemblance to a bee drone), and are excellent pollinators. They breed by laying eggs in water with high organic content - I must put out a bucket of manure and water to encourage them. The larvae are called rat-tailed maggots and often freak people out, but they are harmless. When ready to pupate they crawl out of the water and drop to the ground. 
  • Native bees and wasps - there are a number of species of native bees and wasps, some of them very tiny and easily overlooked. The bees in particular are important pollinators. I've noticed a few in flowers around the garden. 
  • Flies, gnats and mozzies - the bugs everyone loves to hate. But in the garden many of them do an amazing job of pollinating - flies are considered second only to bees for pollinating, and in some places there would be major crop failures without them, especially when bees are scarce.
  • Butterflies - there aren't many monarchs around this year either yet, and white butterflies are only just starting to pick up in number. Both are excellent pollinators, along with most other butterflies. 
  • Moths - most moths feed on flowers and thus are also excellent pollinators, including those moths whose larvae are pests, such as brown moths (green looper caterpillars), Diamondback moths (larvae eat brassicas), etc
  • Syrphid (hoverflies) - these wee critters hover in the air and then zip quickly from place to place. They are also great pollinators, especially of plants with small flowers. I've spotted them in my flowering celery. 
  • Other pollinators -  number of other critters pollinate various plants too, ranging from weevils to birds. I may not have seen them all in action, but I know they're there. 
Picture

Encouraging pollinators

Like all critters, all those pollinators need food, habitat and (often) water. Some ways to encourage them include:
  • Plant lots of flowers - some favourites are phacelia, calendula, clovers, oregano, lavendar, rosemary, borage, yarrow, tansy, fennel, chives, nasturtiums, foxglove, echinacea, sage, lemon balm. Aim to have a number of things flowering at any given time, year round.
  • Leave some plants to flower you ordinarily wouldn't - all the brassicas are great, celery, carrots, parsnips, leeks, spring onions etc all attract lots of bees and other pollinators.
  • Avoid using sprays - nearly all sprays are harmful to more than just their targets. 
  • Think about how you manage pests - some of them are also doing you a service. Finding the right balance is key. 
  • Have "wild areas" in your garden - that might be a corner where there are tall grasses mixed with weeds and wildflowers which you allow to get messy; this may be key habitat for hiding both beneficial pollinators, and natural pest predators. 
  • Consider making a "bug hotel"- a structure with a variety of materials and spaces in it that various bugs can make their homes in. 
  • Have shallow, clean water available - a bird bath or bowl which bees and bugs can get water from without drowning is what you want. This can be achieved by putting bricks or rocks as landing platforms into a bowl of water too. Birds also appreciate water to bathe in and drink.
  • Have some flat rocks or old bricks here and there. Blackbirds and thrushes loves to use them to smash snails against. Lizards may soak up the sun on them. Worms may enjoy the cool moisture underneath them. One always has to think beyond the immediate and consider the bigger scope of what a diverse ecosystem in your garden needs to sustain and balance itself.
  • Be observant - wherever your go, whether in your own garden or elsewhere, notice what is growing, and what critters you might see. Consider whether this gives you ideas of what to add to or increase in your garden. 

Final thoughts...

Back when I first started seriously gardening in 2013, I concentrated on growing crops to eat. Within the first year, though, I quickly began to realise how important a range of beneficial insects and other creatures in the garden is - for pollination, pest control, and the overall health of the garden. So I started planting more flowers, flowering herbs, etc in my second year. It was incredible how quickly a diverse population of critters moved into my garden! Over time, the predatory ones began to control many of my pests - taking care of the looper caterpillars, most of the brassica pests, even psyllid and other problems. Others continued to pollinate or support the garden in other ways. And yes, to have good populations of anything beneficial, you also need populations of the things they rely on. Ladybugs, for example, are good pollinators too. But they also need aphids to feed on, especially for their young. Same goes for lacewings. If I made it my mission to kill every aphid, well I wouldn't have many ladybugs or lacewings working in my garden. 

With the more limited gardening I've been able to do over the last couple of years, there are a lot less flowers in my garden, though still a fair range. One of my intentions is to add more and see an increase in overall beneficial insect populations, including pollinators.

Sometimes it's important to think outside of our usual "box." Also, by doing the things mentioned above, we can play our part to help the honeybees as well as our native bees and bumblebees (many of these are endangered), as well as the wider pollinator population.
0 Comments

10 Days Growth in my Pumpkin/Zucchini/Watermelons

13/1/2021

0 Comments

 
My last post showed pics of my garden on 3rd January, including my new patch of pumpkin, zucchini and watermelons. This post shows pics taken of them 10 days later, compared to the previous ones. It's amazing how fast they grow at this time of year; being heat lovers they need things to warm up before they really get going. Yesterday it was 28 degrees in the shade here! Today is only slightly cooler. Perfect squash and watermelon growing weather!
Picture
The patch - 3rd Jan. Crown pumpkins in the left row, middle row 3x zucchini and Sugar Baby watermelon. Right row a Pink Banana Jumbo hybrid I'm experimenting with.
Picture
13th January - just 10 days later!
The only thing extra I've given the plants, other than some watering from time to time, is a spoonful of dolomite under each plant a day or two after the first pics were taken. This is to ensure adequate calcium to prevent blossom end rot when the fruit begin developing. Dolomite lime is high in both calcium and magnesium; it is a soil conditioner, helps break down organic matter, and encourages strong plant growth. I would have sprinkled it on the compost before laying the weedmat, only I didn't think of it at the time. So I added it later, one dessertspoon into each planting hole and well watered in.

Now for some close ups :-) 

Crown Pumpkins

Picture
Picture

Zucchini

Picture
3 zucchini (I have two more in the greenhouse, and 2 in the front garden)
Picture
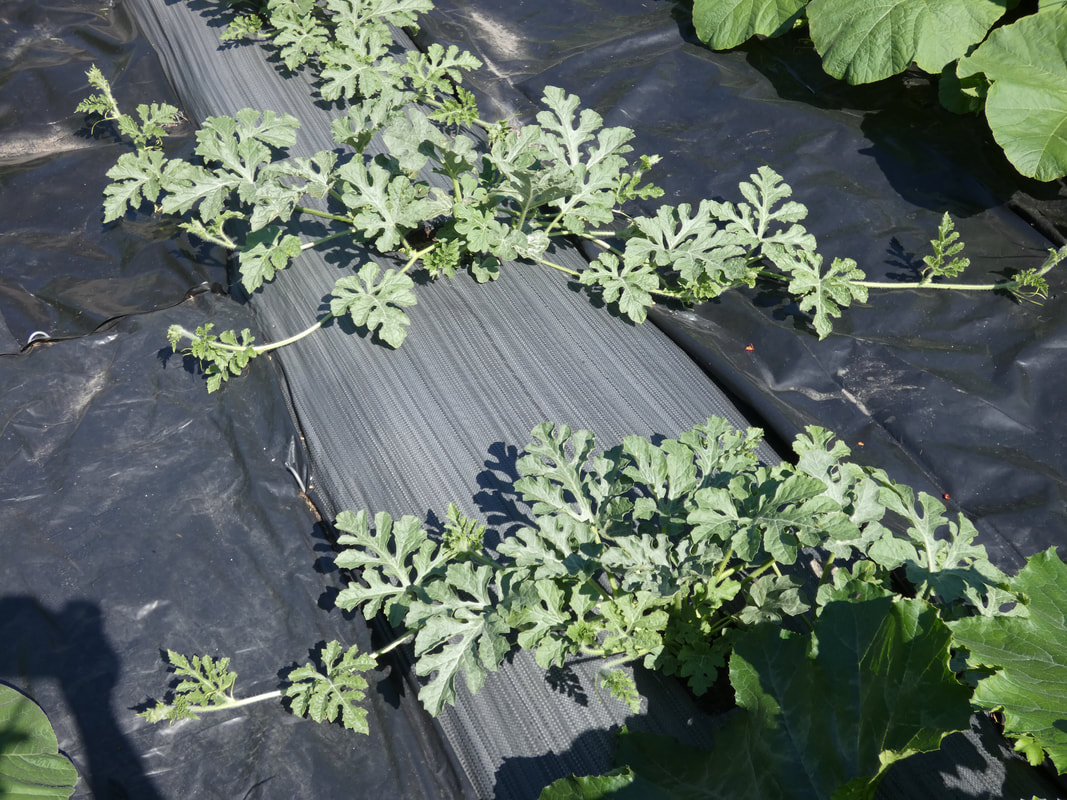
Hardly look like the same plants! Unfortunately strong winds 2 days ago broke off the growing tip of the middle plant - hopefully it will grow more in another direction.
Picture
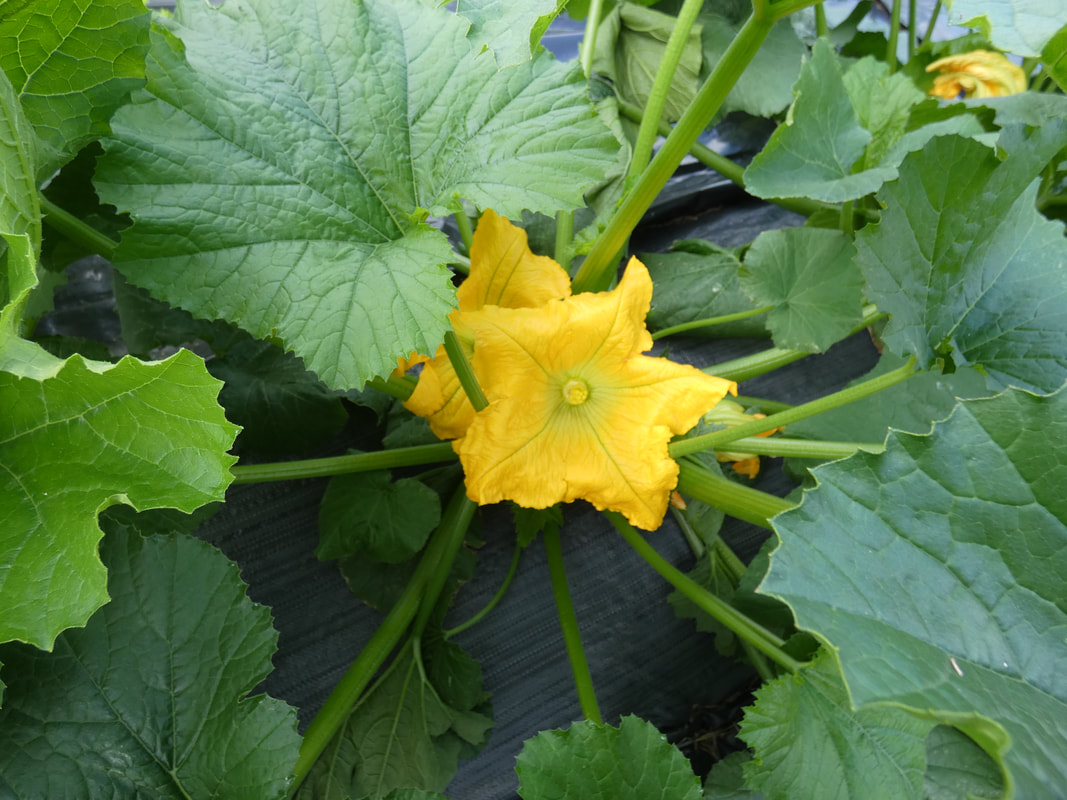
First flowers 11/1 - there are only female flowers on the plants so far, so they won't be pollinated unless they are visited by a bumblebee or similar who's also visited other suitable male pepo flowers nearby. Only one sex of flowers early in the plant's growth is normal with all cucurbit plants.

Watermelon (Sugar Baby)

Picture
Picture

Pink Banana Jumbo Hybrid Experiment

I'm hoping these crosses will produce the sweet orange flesh of the PBJ, with a smaller size - we just don't need 10-16kg pumpkins any more! 
Picture
Picture
Can't wait to see what they look like in another few weeks!
Picture
0 Comments

2nd January Garden Photo Tour

2/1/2021

0 Comments

 
The last couple of years, I've done very little gardening compared to previously (and even less posting on this site). And quite lot of un-gardening - by which I mean stripping away the previous garden infrastructure - the beds and trellises and other things I just couldn't keep on top of any more. Between a back, knee and hip injury that just won't go away, becoming super busy with my developing home business, lots of long term houseguests and all my kids having left home and moved away, I just have not been able to spend time in the garden like I used to, and of course I didn't need to grow as many veges for the most part - though what I have grown has still been handy with all the people who have stayed with us for extended periods over the past couple of years!
However, I still love gardening, and if the past year has done nothing else, it has reminded me how much I NEED it - for sanity, physical activity, as well as delicious, nutritious food with minimal cost. It has also taught me that unless I make some deliberate plans and take action, the gardening is easily neglected after a long day in the office and with everything else going on. I first started this blog (under Kiwi Urban Homestead) in late 2012 as a way of sharing with interested friends how I was progressing towards my goal to grow 1000kg of produce in 12 months, and to hold myself accountable, knowing that if I made my goal public I would make much greater progress and be less like to abandon it than if I kept it to myself. 

In the same spirit, I'm posting here an honest look at what my garden currently looks like, and some of the things I hope to work on. I haven't not set much in the way of specific goals for this year yet - still mulling those over - but will post when I've decided. Meanwhile, let the garden tour begin - with all the good, half-pie and bad. The reader may also wish to check out photos of my garden in previous years to compare - for example HERE, HERE, and HERE.
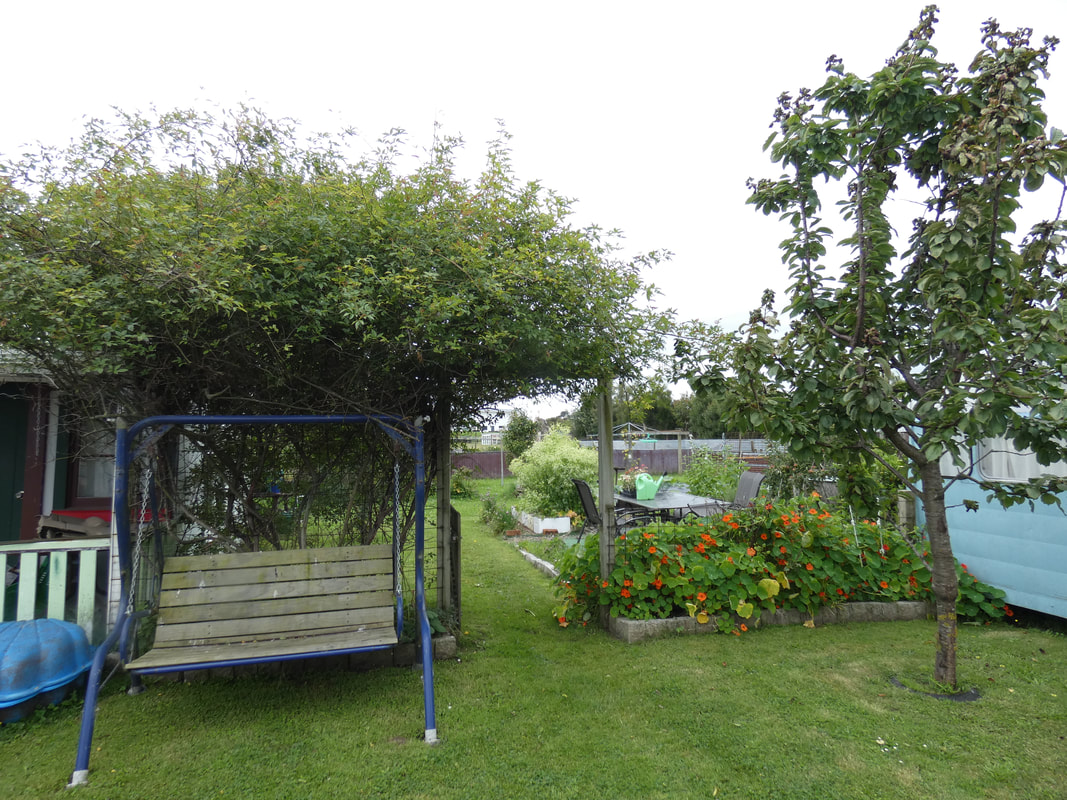
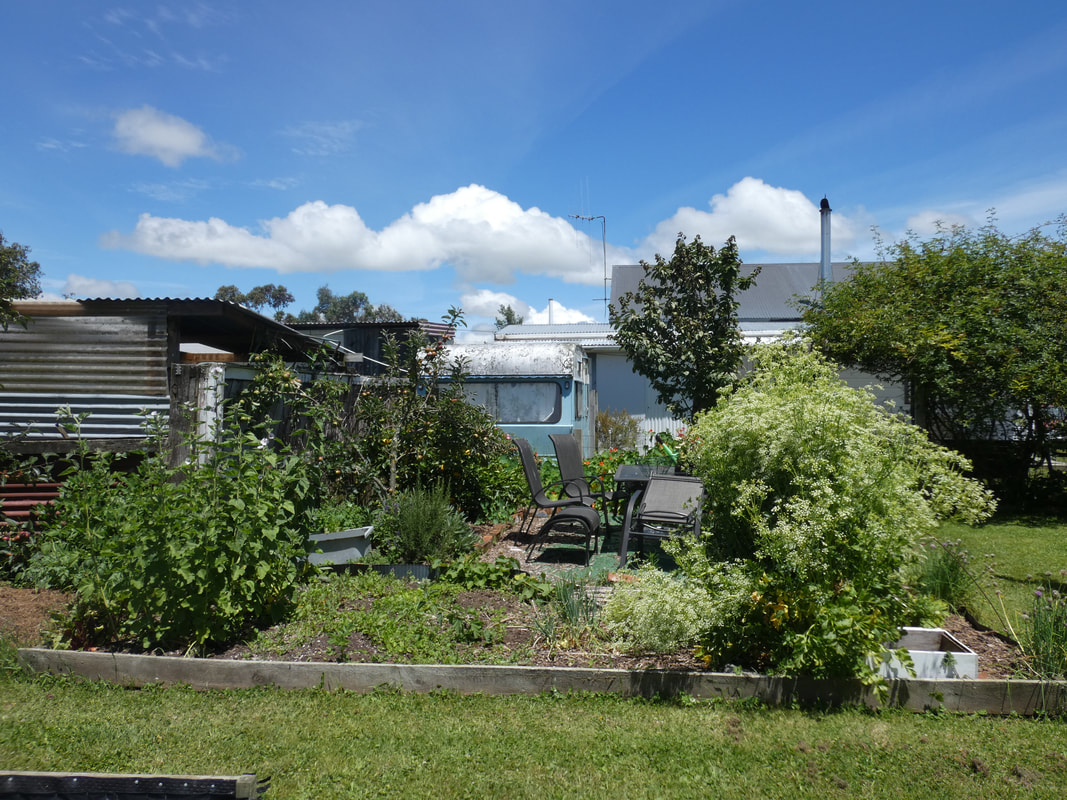
Let's start at the entrance (below) to what used to be my main garden area in which I grew most of that 1000kgs of produce. This is across a small lawn from the entry to our house. The banksia rose provides shade for the swing seat we originally got for free, though the rose has become big and strong and overwhelmed the trellis holding it. I keep meaning to cut it waaay back and then retrain it, but always keep leaving it for the shade. A job for next winter. The cherry on the right has never done very well. It does provide some summer shade for the caravan (our "spare room"), but I'm thinking to replace it. The nasturtium you can see along the fence is self-sown. Unfortunately convolvulus has crept into that bed; I really need to dig the whole thing out and reform it.  
Picture
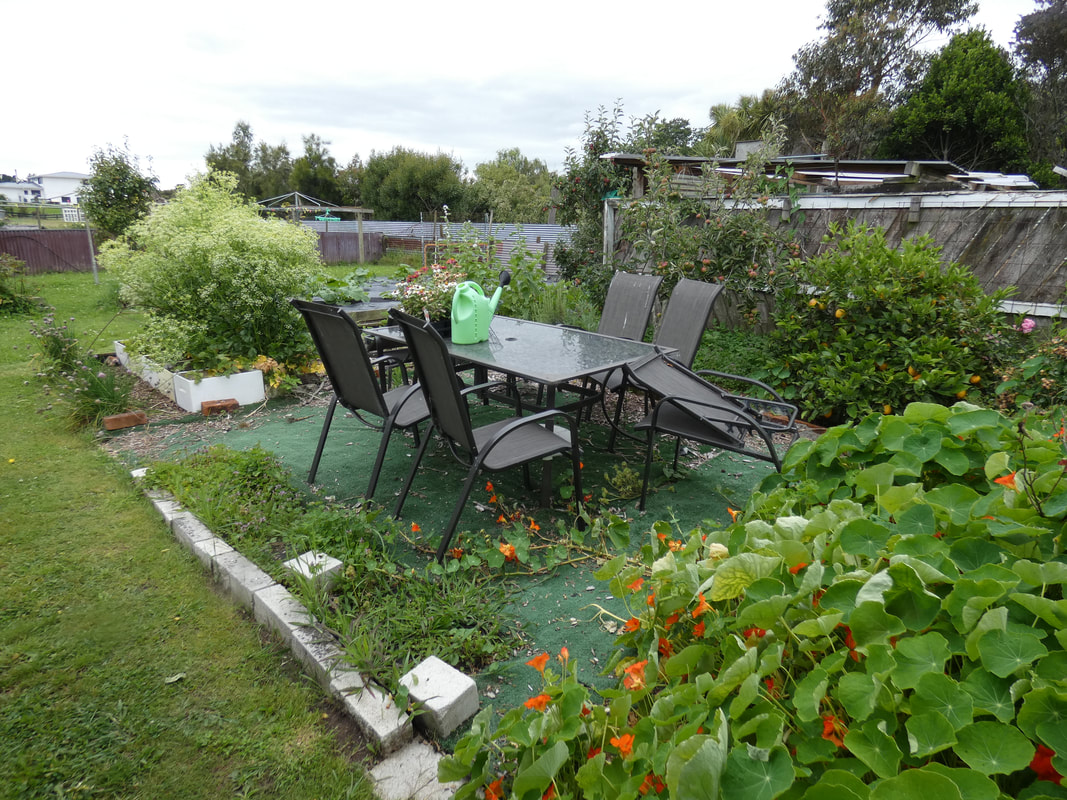
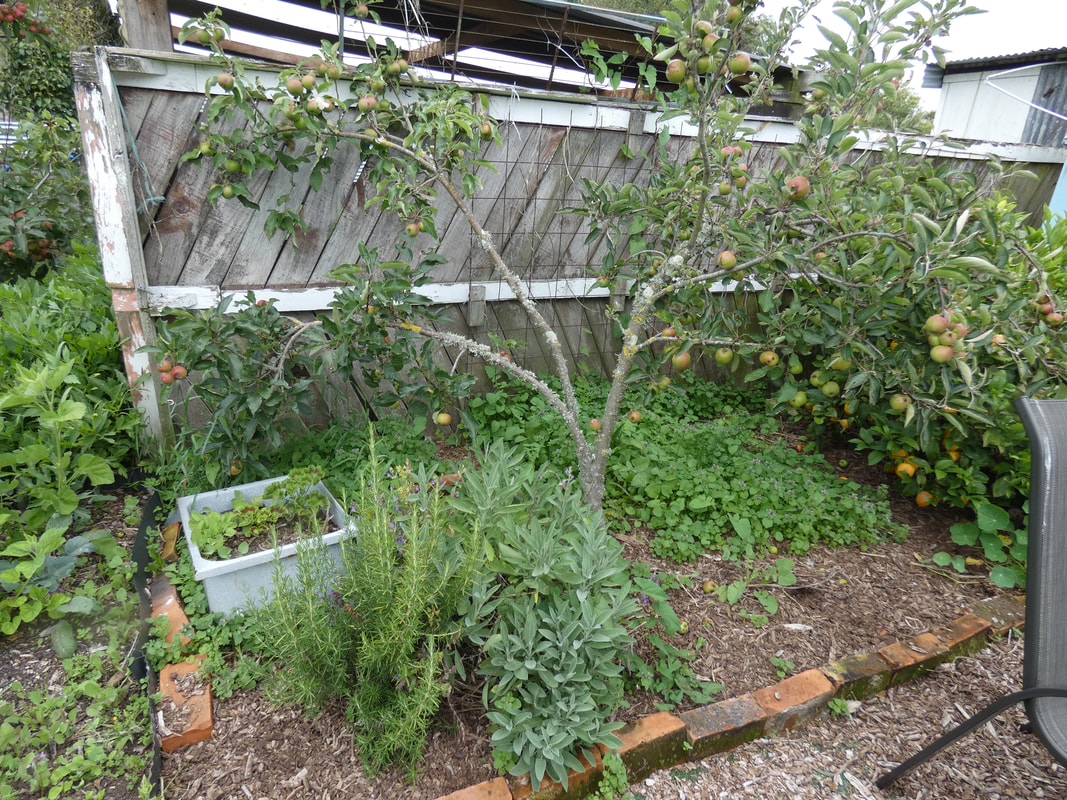
Just through the gate to the right is an area where my daughter helped me lay weedmat and astroturf last summer, mostly to kill off the convolvulus (bindweed) and couch grass that had taken over what used to be a growing area, as well as provide somewhere to put the outdoor set that had been sitting boxed in our shed after we acquired it from my father's estate.  The strip along the front is where I intended to put a flower bed, but that hasn't happened yet. The zinnia in pots on the table are intended to go there. Behind this area to the right is a triple grafted apple tree and meyer lemon, both doing well. I hung pheremone traps for the codling moth this season, and intended to spray, but never got that step done, so once again will have damaged apples. Ah well. To the right of the pic next to the lemon is a strip containing thyme, a carpet rose, oregano and a few other things. It's pretty overgrown and hard to access due to the rose, which I need to cut right back. 
Picture
Under the trees I put down cardboard under weedmat topped with bark last summer in an attempt to kill off all the bindweed and couch so I can put a flower bed in there again. It's an improvement, but now lots of weeds growing on top. Still haven't removed the weedmat or carried on there. Last year I grew a hugely successful choko in a pot against the fence there; have another in a pot for this year if I get to putting it out. The rosemary and sage plants I popped in one corner last season are doing well though - they had a tub of geraniums right behind them last season (now off to the side a bit), and I think that's the reason that my sage did not die off in winter for the first time ever - the bit of shelter and thermal mass created by the tub.
Picture
Behind this all is a fairly big garden bed (originally my spud plot back in 2013), which has two chives at one end, did have a row of parsley which I've now pulled out and will replace, probably with some flowers. In the boxes are 5 different varieties of potatoes I grew there last season just to perpetuate them. I need to dig out the ones now sprouting and put in big tubs so I can clear this space. Behind them is a row of celery now in full flower. I intend to cut off some parts and freeze it to use in making stocks. I'm inclined to leave the flowering plants for the beneficial insects it is attracting, but we'll see how long I do that for. Then there is the space in the middle which was full of rainbow chard before it went to seed, and still has some bunching shallots growing, as well as weeds coming through, and a self-sown choko growing. It's too late to move it - I may whack in a trellis and just let it run, maybe. I'm contemplating putting down cardboard and compost through the middle of this bed and then just planting in it...I also may need this space to start winter veges in a month or two. To the left are marshmellow plants - I harvested the four plants that were about in the middle of this bed a while back, and replanted bits of root to carry them on. Under and behind those are a row of beetroot and purple kohlrabi. The slideshow below gives closer pics of the various things in this bed.
Picture
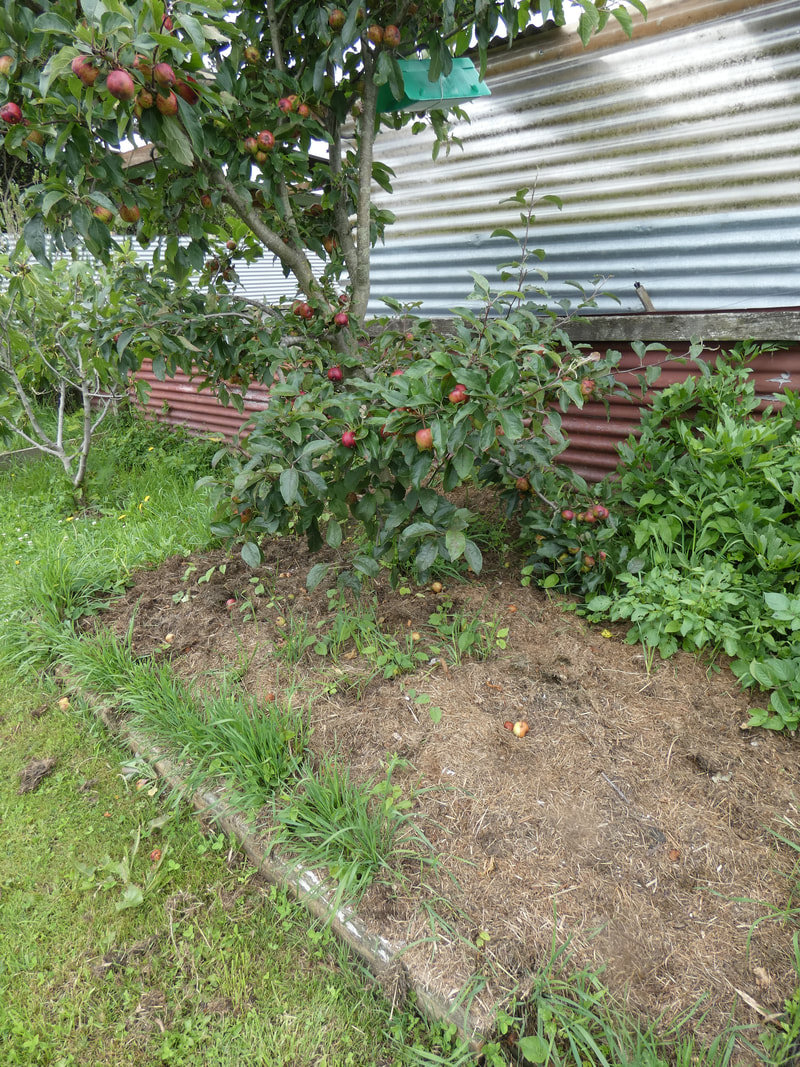
One of my problem spots - under the gala apple is a raised area in which couch and bindweed is rampant - the last few weeks I've been layering grass clippings on there just to get it down a bit, but the bindweed is happily growing right through it (no surprises there). I may have to resort to using black plastic over it to kill everything before reestablishing some kind of mulched bed here. In the corner is lovage, which comes back year after year, and a stray potato plant.
Picture
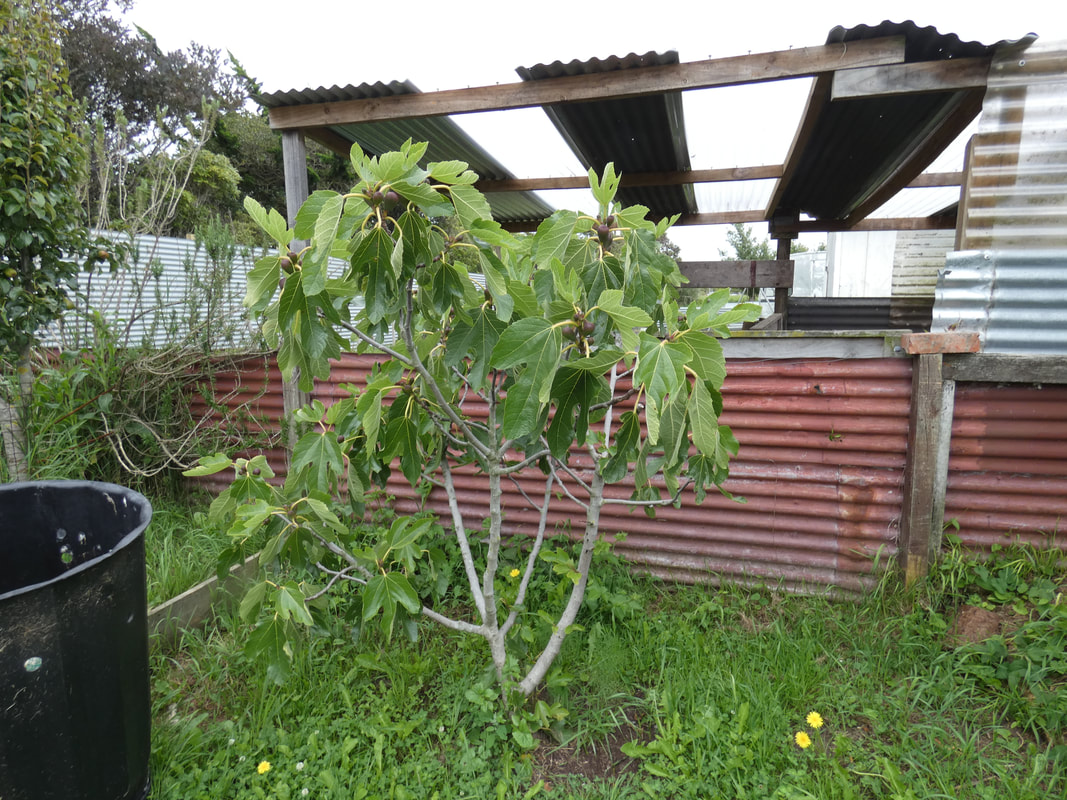
Below: a couple of months ago I finally got around to taking this fig out of the half-barrel it has been languishing in for years and planting it in the ground. It's looking much happier! I'll need to prune it each year to stop it becoming a very big tree.
Picture
Picture
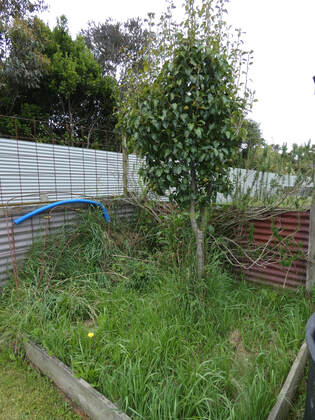
Dwarf pear, in another very overgrown raised bed. Rosemary and lemon balm behind it. Whole thing needs work.

In this next slideshow is an area where my original main garden beds were. If you're viewing this on a laptop or PC, those are the beds you see in the banner at the top of the page on most sections of this website. A couple of years ago, after I'd removed the last of those original beds, I started revamping the area, and grew some very successful crops. But then it all got overgrown with couch etc again, and I couldn't keep up. Eventually I got it all weedeatered and mowed down, while I pondered what to do with it. There were ridges and hollows due to the previous beds. I decided that since I needed a space to grow some rambling crops, to use this area by putting out long rows of compost in the hollows (creating new ridges), then covering them with weedmat, and covering the areas between with re-used black plastic (partly inspired by my previous similar and very successful squash growing). The aim being to create a good growing area for squash and watermelon for the season while killing off the grass and weeds, while I decide what's next here. See the slideshow and captions for more specifics.
This is the first time I've included these slideshows on this site - they're quite easy and fun to include, so here comes another, showing what else is in this part of my yard:
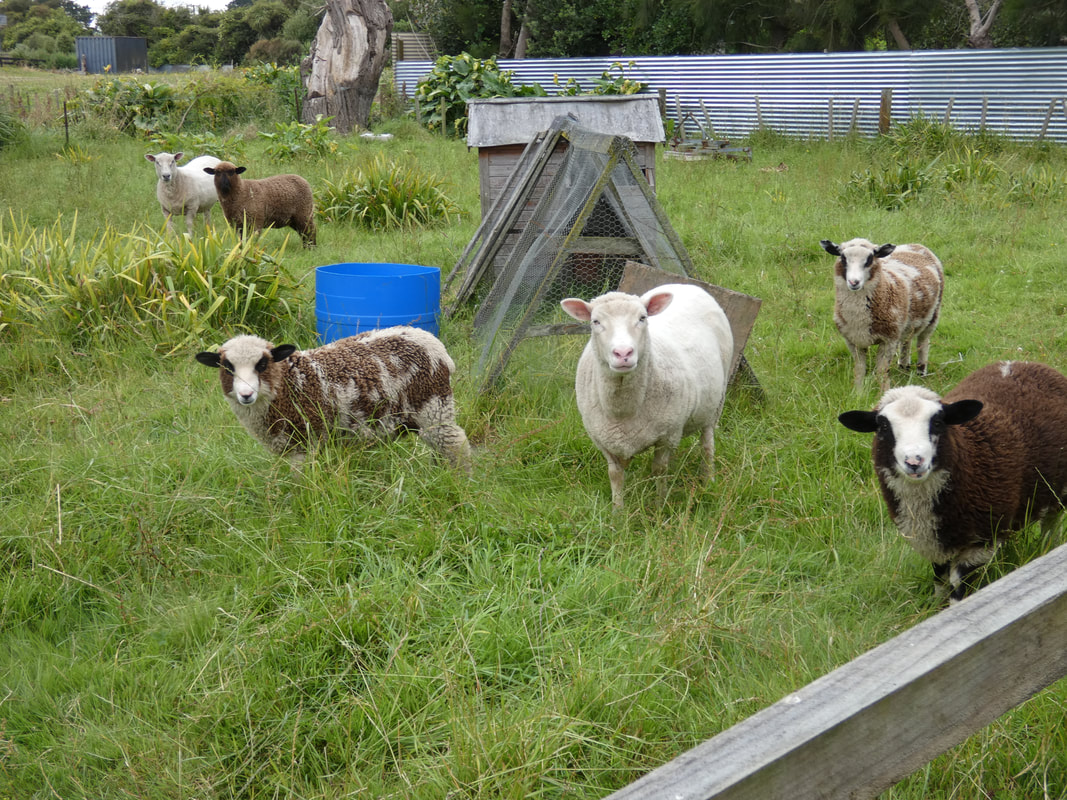
Just a few of my sheep - mum (white) surrounded by her triplet lambs in the foreground. They came for a nosy when they saw me in the garden taking pics. I've got rid of all my ducks and chickens over the last few months, needing to simplify life as much as possible. May get more poultry in the future, but for now am content without them. The neighbours have chickens, and wild ducks live in the pond behind us (and pop into the garden sometimes), so when I need something to feed garden pests or waste to, that's not a problem! (And I don't have to pay for feed or organise their care if we go away).
Picture
Through here (below) is the 50 sqm where I grew 378kg of squash three seasons ago, and then slowly started turning back into general garden beds, and process I still haven't completed. Despite many predictions from other gardeners that using black plastic over this area to kill off the weeds would render the soil infertile, that was never an issue - everything has grown well since. More on what's growing below. In this pic you can see part of the overhanging camellia (left), a kowhai from a seedling my son rescued, with a carpet rose climbing it. 
Picture
Let's use another slideshow to wander around the front garden:
Next up, my greenhouse...mostly weedy but some productivity....
And finally, some random additional shots of things I need to attend to. This blog is handy as a garden diary too - so I can see my own progress over time :-) 
Well, I hope you have enjoyed this wander through my garden. Future posts will (hopefully) be more regular, and much shorter - this one took many hours to upload and put together. With limited time, I plan to do a brief weekly update or so, going forward. Until next time....happy New Year, and happy gardening!
0 Comments

    About...

    A new year and a fresh start...after being able to do limited gardening the last couple of years, and even less blogging, I plan to find a new garden grove in 2021.

    For previous year's garden blogs, mouse over the Gardening tab at the top, and select the years you wish to view.

    Archives

    April 2021
    March 2021
    February 2021
    January 2021

    Categories

    All
    Bees
    Brassicas
    Flowers
    Garden Photo Tour
    Monthly Sowing & Planting
    Pollinators
    Pumpkins
    Squash Patch
    Watermelon
    Zucchini

    RSS Feed

Powered by Create your own unique website with customizable templates.