Thrifty Kiwi
Like our Facebook page
  • Home
  • Blog
  • Homesteading
  • Gardening
    • 2025 Garden
    • 2021 Garden Blog
    • 2019-2020 Garden Blog
    • 2017-2018 Garden Blog
    • 2016-2017 Garden Blog
    • Kiwi Urban Homestead 2013-2015 Garden Blog
    • Pest & Diseases
  • Recipes
    • Autoimmune Protocol
    • Meals and Snacks
    • Preserving
    • Household Cleaners
    • Health & Beauty
  • Skills
    • Menu Planning & Grocery Shopping
    • Money & Budgeting
    • Preserving How-Tos
    • Housekeeping
    • DIY
    • How to Find Stuff Free or Cheap
  • Animals
    • Critter Blog
  • About
  • Contact

War on Weeds - Creating First New Garden Beds - Garden Redevelopment Pt 2

10/12/2017

1 Comment

 
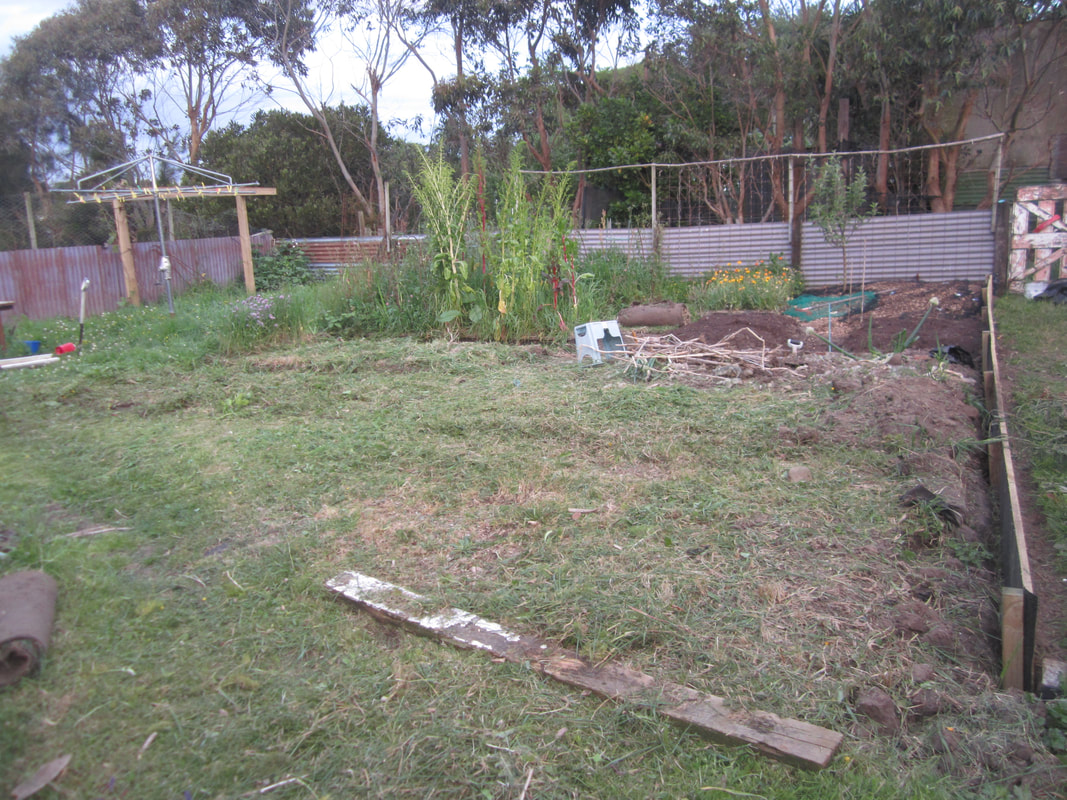
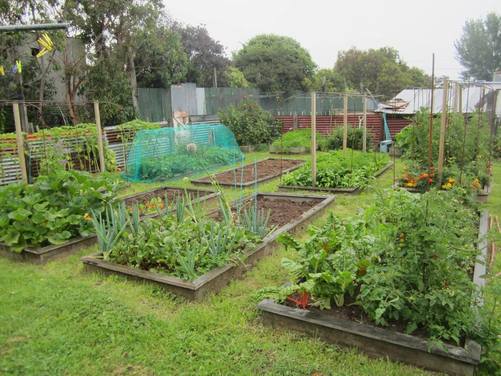
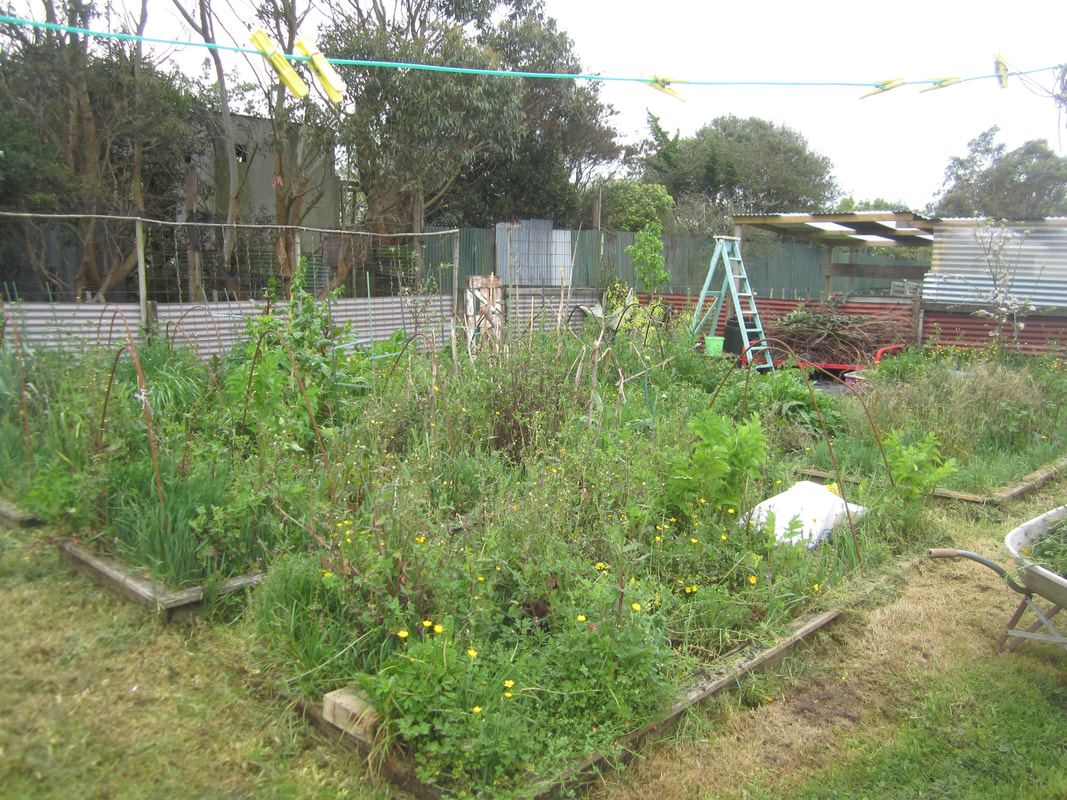
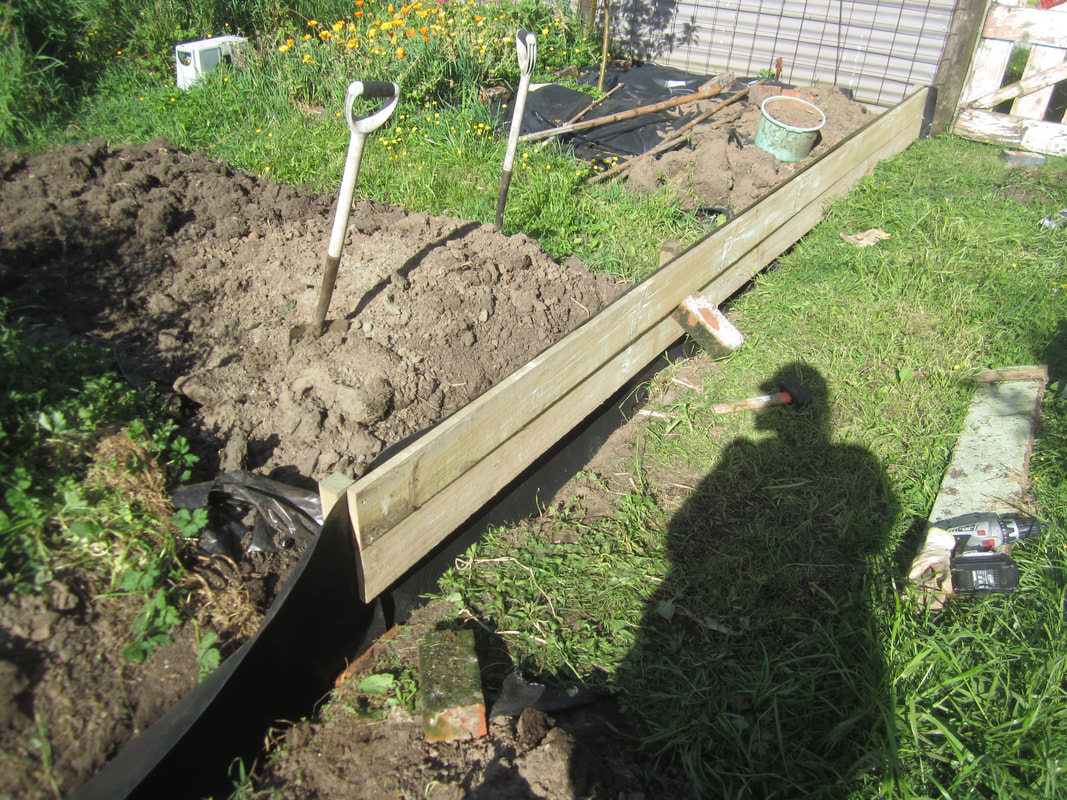
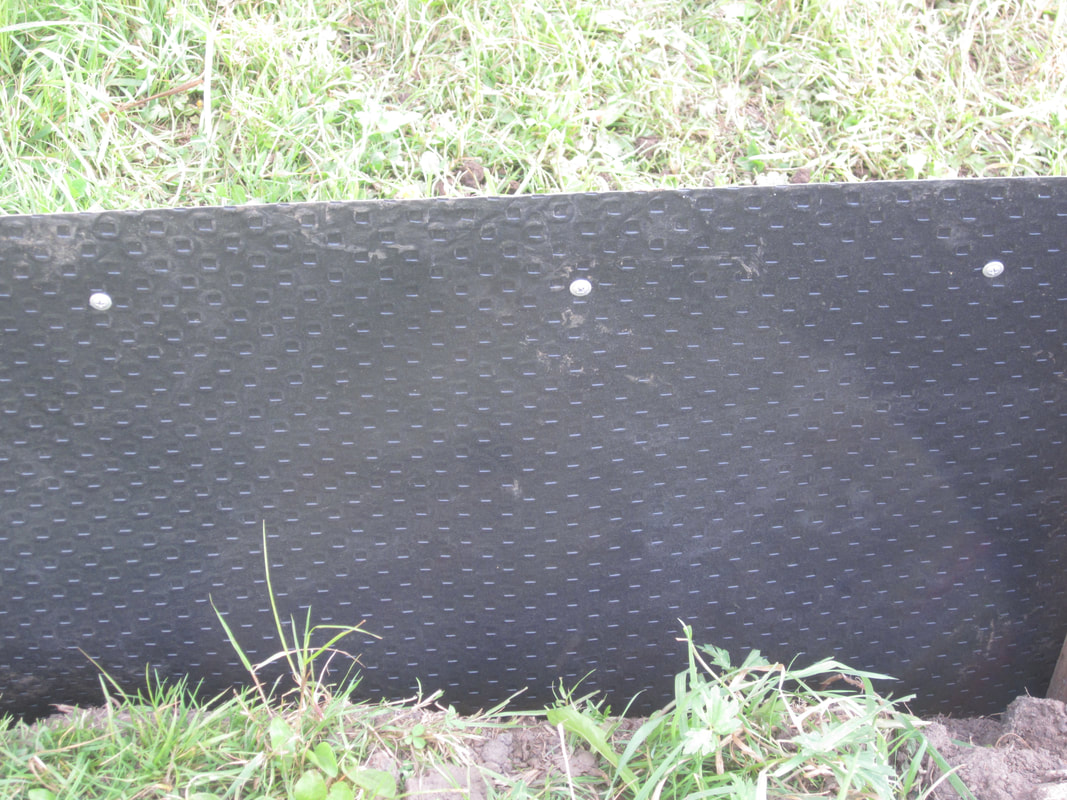
After placing the first side of my new barrier garden edge system, I needed to get cracking on preparing some plantable area for all the seedlings coming on in the greenhouse. The aim: clear and dig over the area where my main garden beds were, removing weed roots etc as I go, and re-form the beds into longer east-west oriented beds and paths as I go. 

This round, I'm working over the space that was occupied by one row of four former beds, and the central path that ran between the two sets of four beds. 

I have worked in stages, as time and energy allowed. At the time of posting, I'm not quite finished this section, as a rib injury two weeks ago has prevented me doing any digging or lifting, or even much bending. (Note to the wise: do NOT climb over a fence without anchoring your foot very firmly, so you don't slip and come down ribs-first on the top of a square fence post!) 
Picture
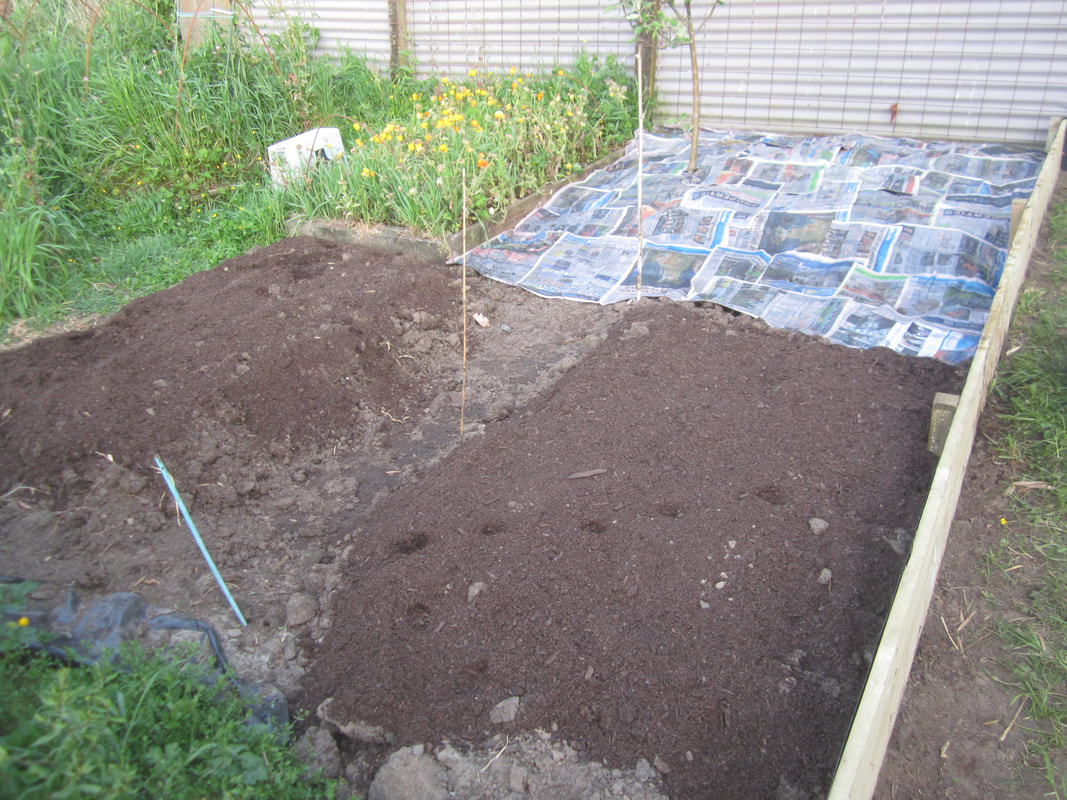
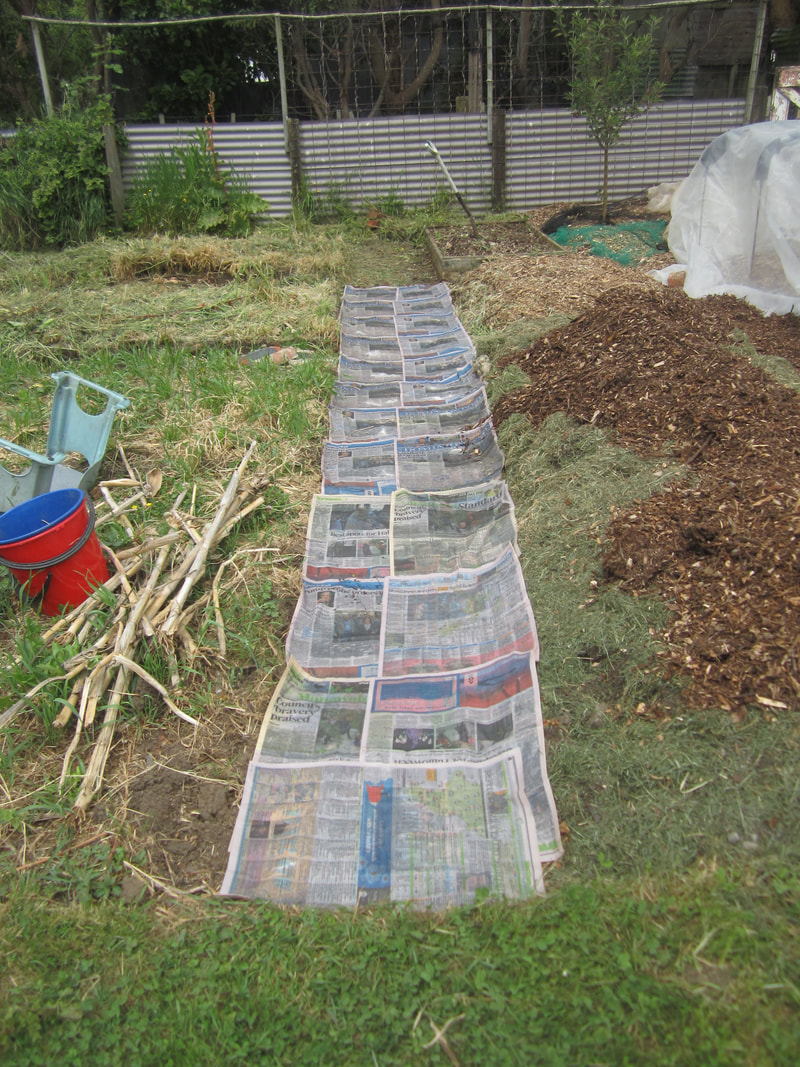
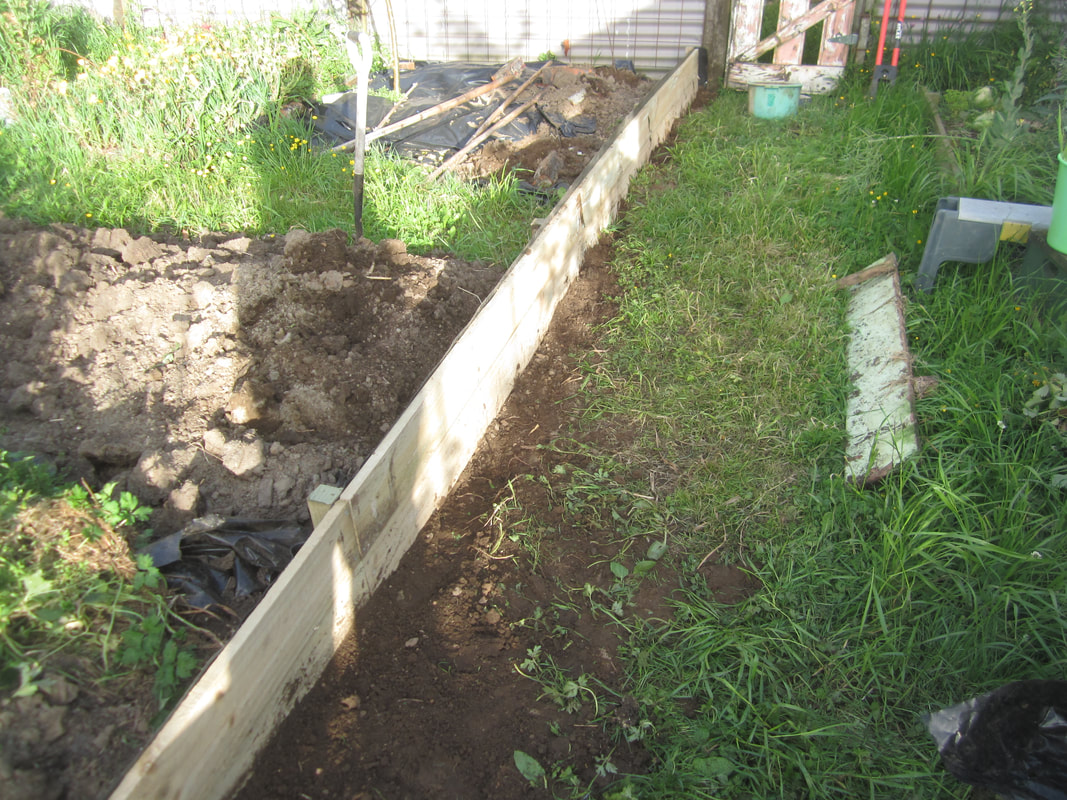
The section you see covered in newspapers was the ONLY part of the garden where I actually did what I meant to do to the whole garden area last autumn - I had piled up lots of decompostable materials under the young apple tree, then covered the areas with black plastic and left everything to rot down. Now, I removed the plastic, lightly worked the surface to remove the couch roots that were still present (most of them directly under the plastic), and then decided to cover it in 5-6 sheets of newpaper, presoaked and overlapped, as I cannot dig this part over fully due to the roots of the apple tree. This is to prevent weeds coming back through. 

Next to that, I dug over the space that formerly had one wooden-sided bed in it, and the adjacent path area etc. This took a lot less time than I expected. I removed every bit of couch, buttercup etc I could as I went. I think scooped out the centre of this area to create a pathway, piling the extra dirt on the adjacent parts, which are the first sections of the new soon-to-be long beds. After a bit of raking and shaping, I spread a couple of inches of compost over both. 
I then spread woodchip over the newspaper, and laid down bird netting on top, to discourage birds from digging in the new mulch and ripping the paper (as they are wont to do).
Picture
Picture
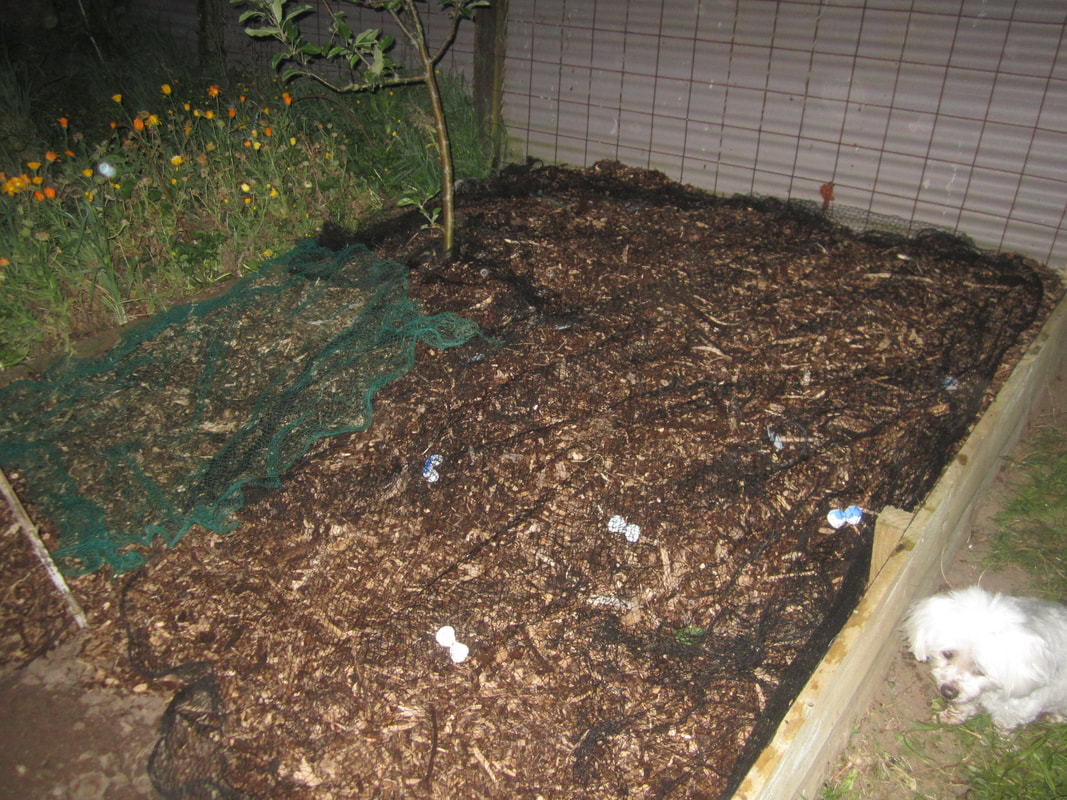
I also wanted to clear the former central pathway of grass before finishing and planting these beds, as otherwise the couch etc there would quickly creep back in. Poking around I rediscovered the fact that I had laid old carpet down this path a couple of years back - it was completely overgrown with couch. However, with the application of a bit of muscle, pulling up the carpet also pulled up nearly all the couch and buttercup, roots and all. I pulled and pulled and rolled and rolled until I had it all up. 
​
The next former-bed over had had the wooden sides removed last season, as they'd fallen to bits. I had used old bricks to make sides in the meantime, and lined both adjacent paths with black plastic. Now I removed bricks and plastic, and rough-cleared the chickweed, dock, spring onions etc from the bed. 
Picture
Picture
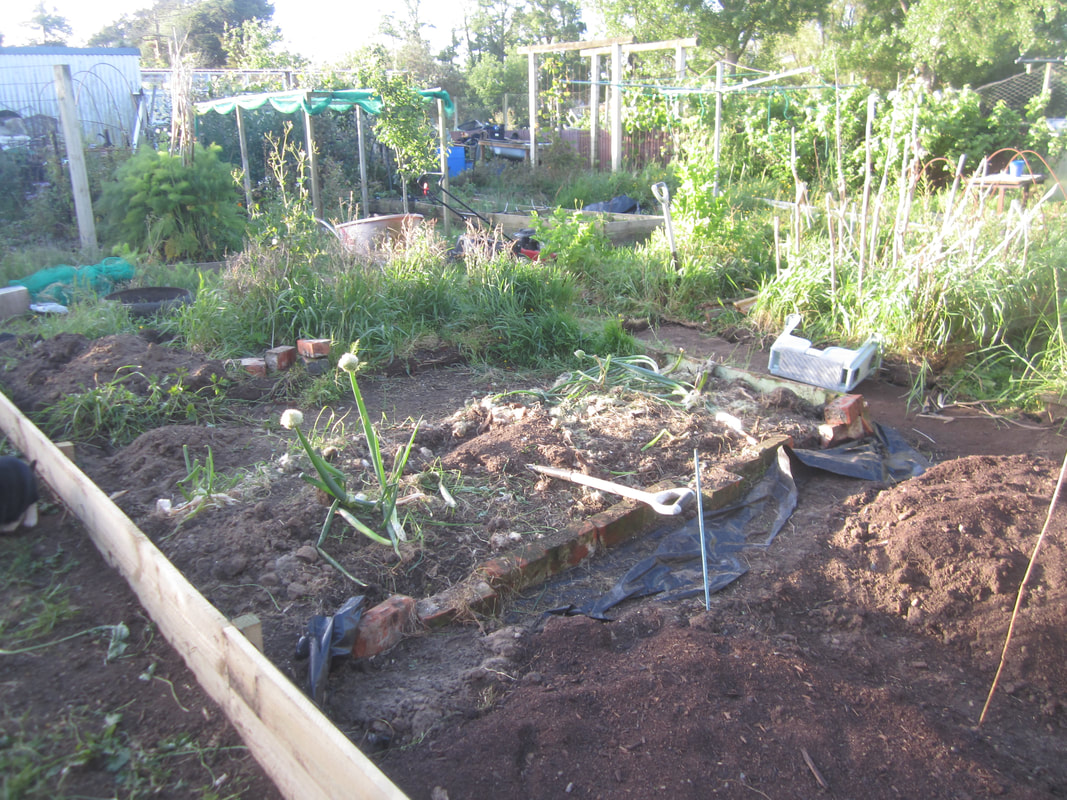
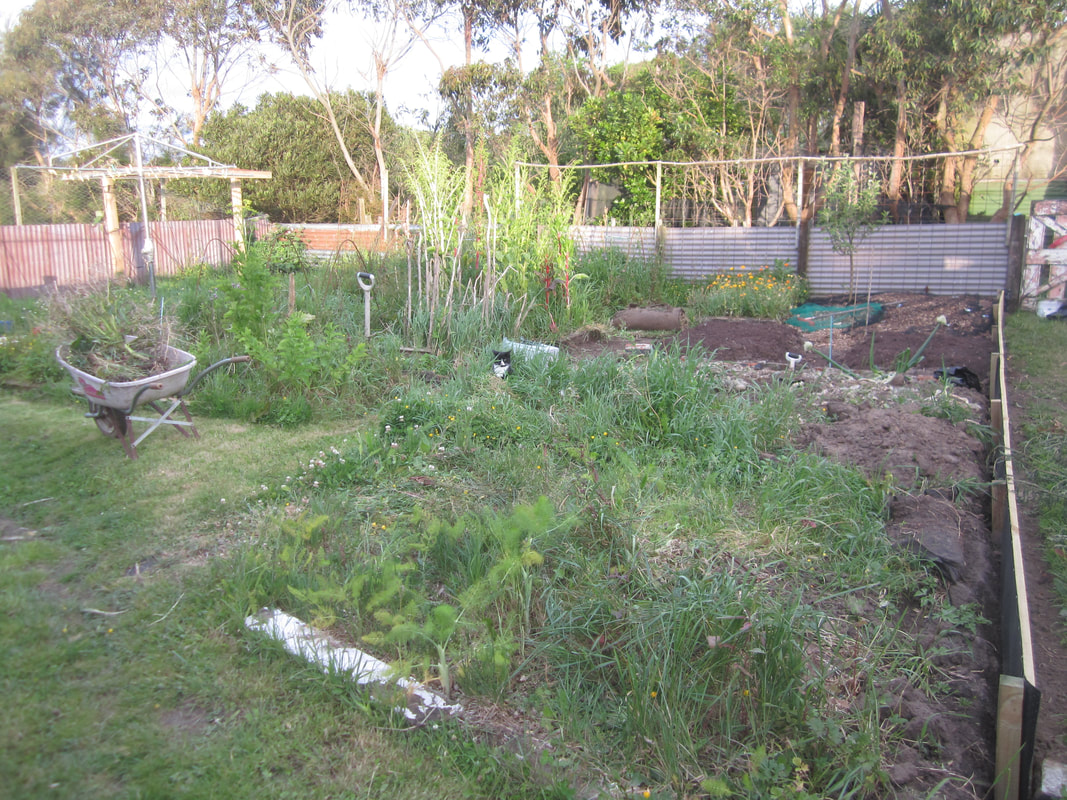
The untidyness of the rest of that half of the garden area was annoying me, so I decided to get the weedeater out and just level it. While I was at it, I removed the wooden sides from that last bed on that side, and the first two beds on the other side, and weedeatered that too. 
Picture
Picture
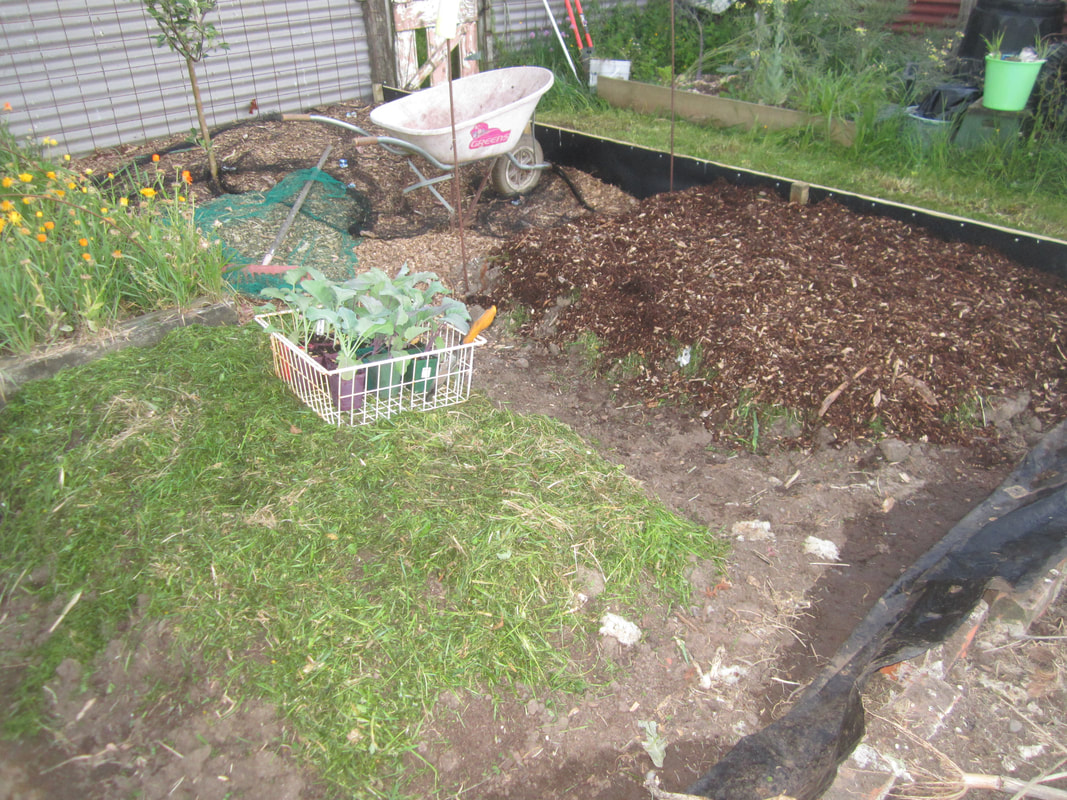
Next I went back to the first two small sections I had dug. I spread grass clippings over both, then mulched the first side and pathway in the middle with woodchip. (Read why HERE).

I then planted out some broccoli and purple kohl rabi in urgent need of planting into the now woodchipped patch. 
As it's time for white butterflies and diamondback moths to start being a big problem for brassicas, I added square hoops (reused) made of steel rebar, covered in pool noodles wrapped in weedmat (since I had both in the shed) to protect the mesh, and then covered them in Wondermesh, anchored with bricks for now. I also barked the second small patch.  
Picture
Picture
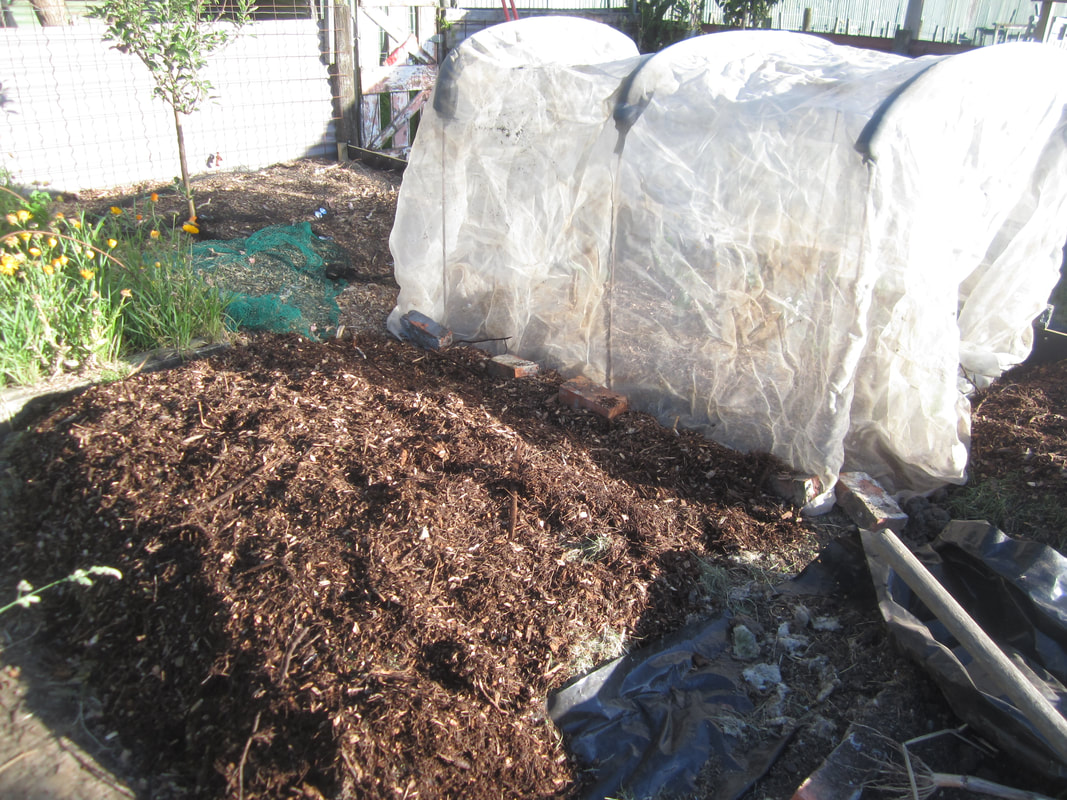
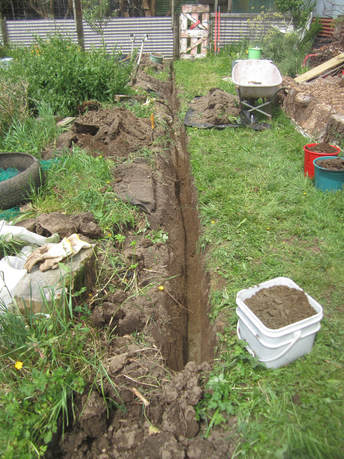
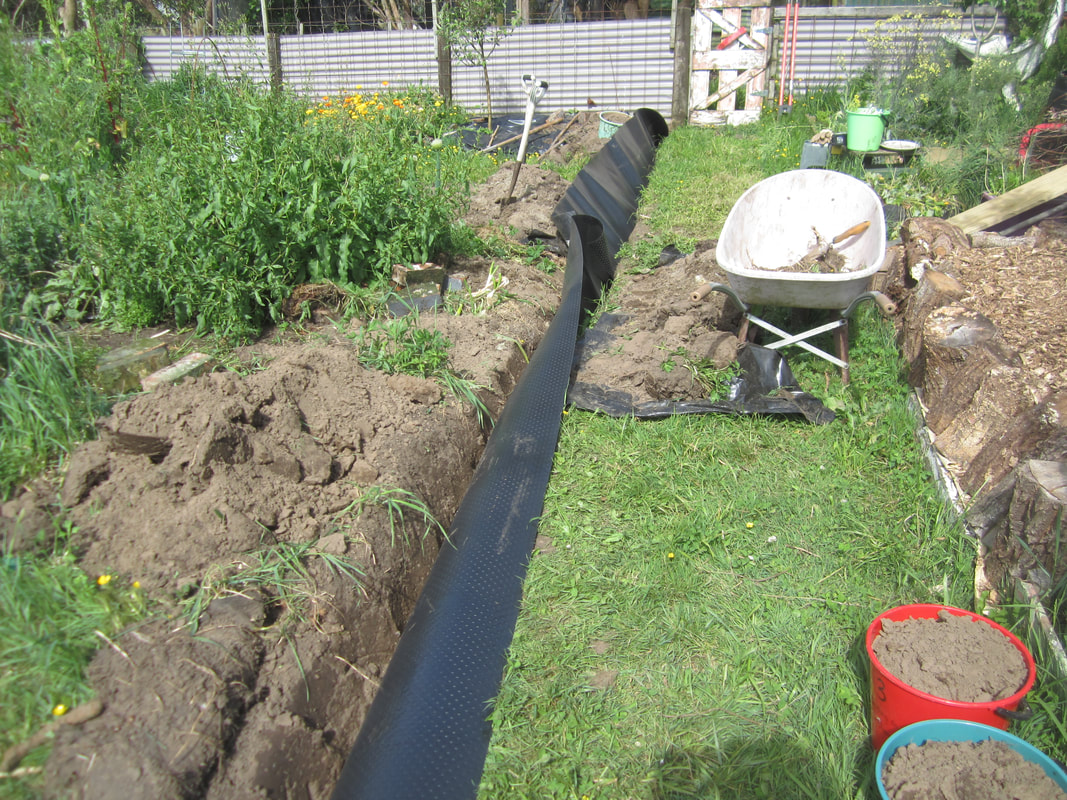
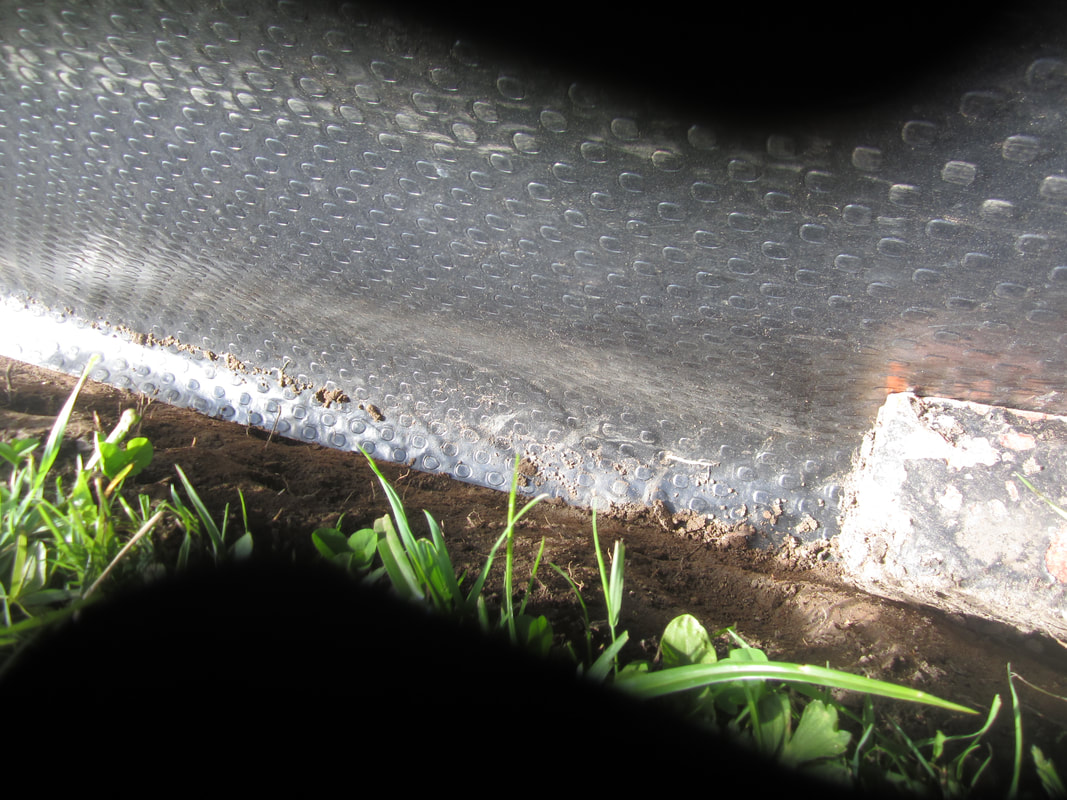
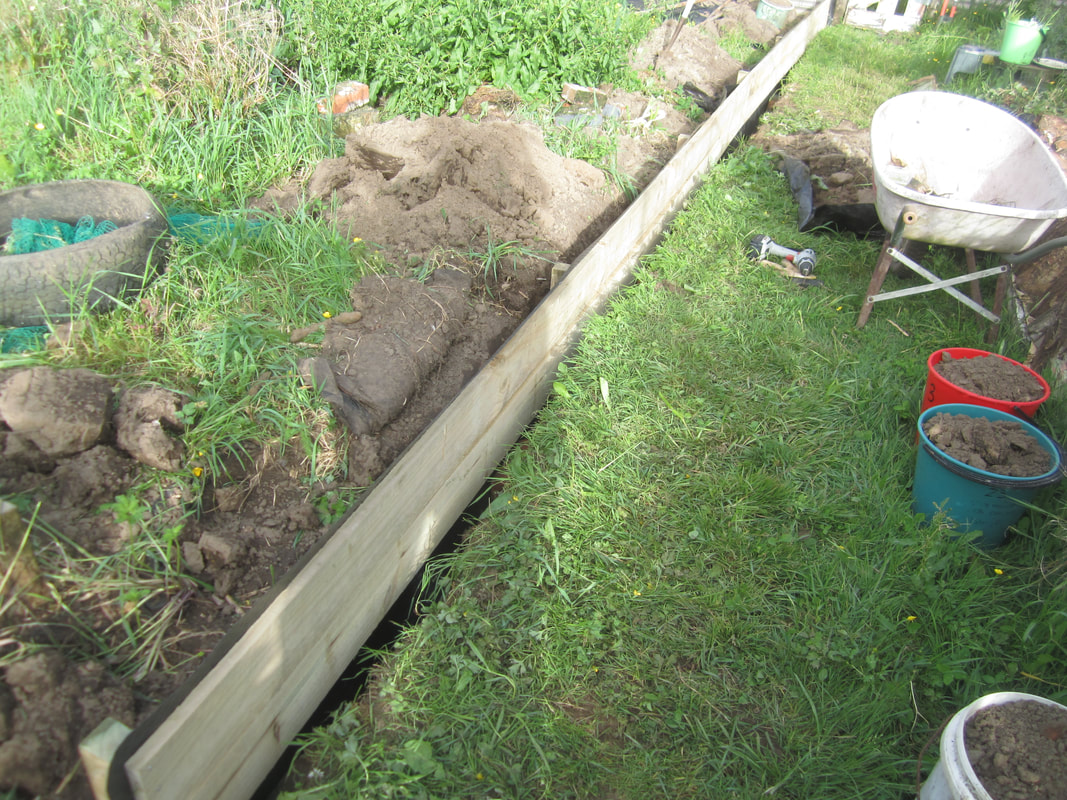
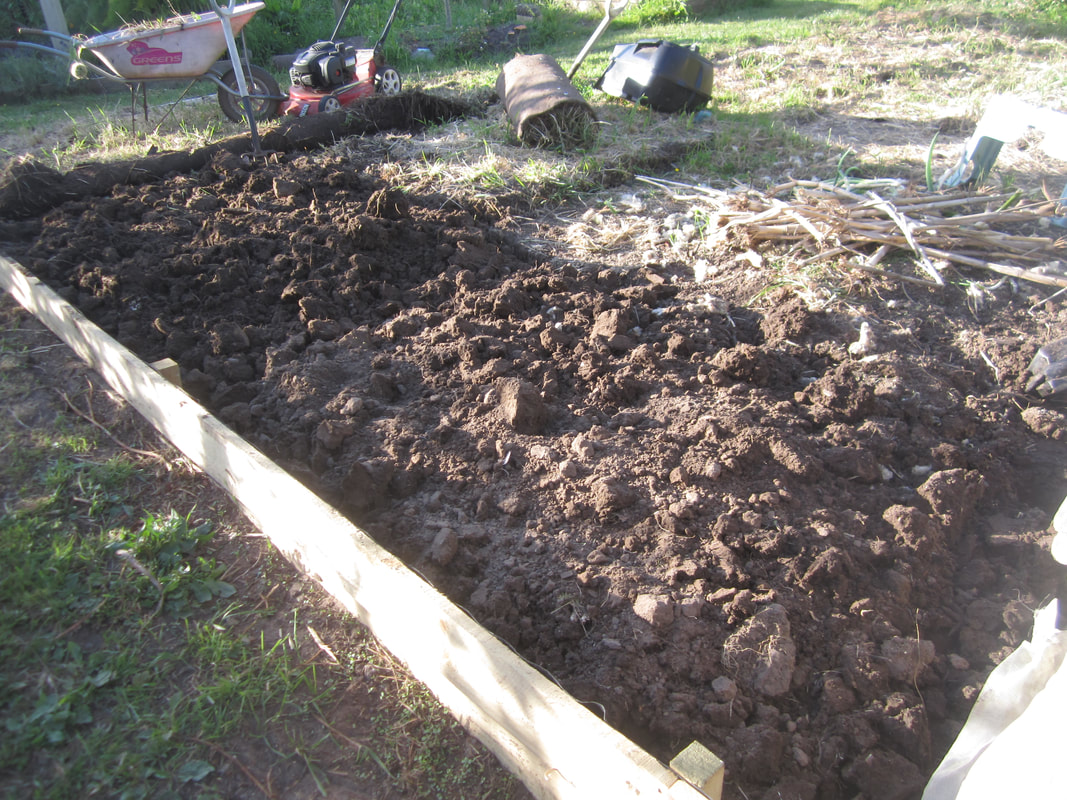
Now I continued digging over the ground along the side of my new garden barrier edge, forming what will be a long bed, just over a metre wide. At the far end you can see the rolled back edge of the weedmat which had been put down on an area off the end of the beds, where I grew lots of container plants one year. Again, now full of couch and buttercup. 
I raked it over, then covered with compost, a sprinkling of dolomite lime, then grass clippings and woodchips. After a good watering, I planted out cabbage and cauliflower seedlings, and added more hoops. The spot at the front is left for some determinate tomato seedlings, which also need to be under the mesh to protect from tomato-potato psyllid.  
Picture
Picture
Picture
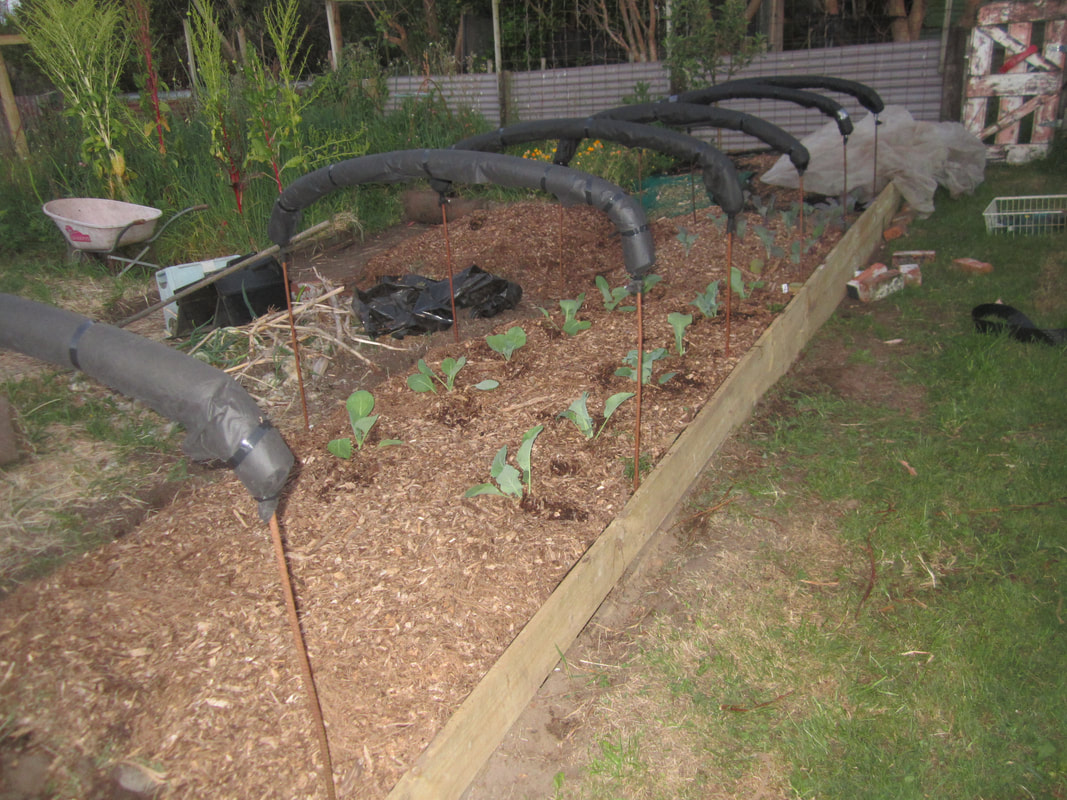
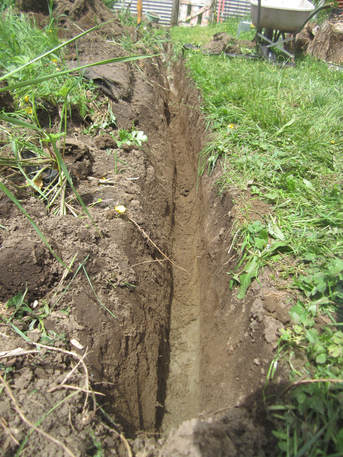
Next section dug over, raked, added compost, dolomite and grass clippings. 

Before woodchipping this, I wanted to lay down paper in the pathway. 
Picture
Picture
I've since planted 3x Russian Silvery Fir tomatoes under the mesh, with tomato cages around them, a clump of Miner's Lettuce, and interplanted the brassicas with a tray of beetroot seedlings. And later added four more kohl rabi seedlings which were started later (for staggered harvesting). The covered bed is now full. 

At this point I still needed to remove the wooden frame from and dig over one small garden patch at the far end (where the fork is stuck in the ground), but my ribs have prevented me doing so. Today I'm finally feeling mostly pain-free, so it will be on the agenda soon! 
1 Comment

War on Weeds - Edges - My Garden Redevelopment Pt1

8/12/2017

2 Comments

 
Many weeds are actually useful in their own ways, but my three nemesises in the garden are: couch grass, creeping buttercup and convulvulos (bindweed). One of the things that has been frustrating about the layout of my main garden beds (in particular) has been the way that the couch and buttercup continuously creeps into each bed from the paths and edges. 

One of the key concepts of permaculture design is to minimise edges. An edge is where a cultivated garden area meets a green path or an uncultivated area. It's from these edges that creeping weeds will, well, creep! These are the battefronts of the weed war. The more edges there are in a garden, the more fronts the gardener has to try and be viligent about. In a large garden like mine, that's a losing war! Besides, who really wants to spend all that energy keeping the creeps out of the garden when one has better things to do? In a garden set up like this, each 3.25m x 1.25m bed represents 12.25m of "edge" - multiply that by 8 beds, and there's 98m of edge battleground in my main garden beds alone - which ignores all the many, many other beds I now have in my garden. 
Picture
This pic was taken in Feb 2014. I really liked the way the beds looked with the nice mown paths between them. BUT, that "nice" grass is mostly couch (and buttercup) and they are persistent devils that never cease to spread their talons everywhere they can. 

Since then, I have tried different things - eg laying old carpet between the beds, laying down cardboard and woodchip mulch and so on. These hold back the weeds temporarily, but don't help in the long term. These three nasty weeds will grow in, through and over carpet, cardboard, weedmat, or just about anything but concrete! I've even had couch send its roots literally THROUGH the wooden sides of the beds, and I don't mean at joins!
I spent quite a lot of time pondering last season as to how I was going to change this. I had also observed that the more or less north-south lay out of these beds made tall things growing in them particularly vulnerable to the gale force westerlies we have here on and off most of the year, and thought it would be better to relay the beds east-west when or if I change them. Added to which, these wooden beds, built in late 2012, were made from untreated timber, and while they have lasted way longer than I expected, are definitely on their last legs (and the cost of replacing them with the same is prohibitive - I paid $1/m for the timber then, and the cheapest I can get now is over $5/m). 

Naturally, I had all sorts of wonderful plans to overhaul this part of the garden over winter, so it would be all ready for spring planting. Suffice it to say, it never happened! In fact, with one thing and another, I basically had no time in the garden over winter. Even my intention to simply mow everything flat and cover it with black plastic to kill off the weeds until I could work on it didn't come to pass, except in one small corner. 

​So, when spring rolled around, these garden beds looked like this (pic taken 9th Oct 2017):
Picture
There are some silverbeet, leeks and chives in there, but otherwise, mostly just weeds. After the usual self-kicking for not having gotten it at least mulched or covered over winter, I did a bit more pondering and finally came up with a plan that just might work!
Key points:
  • All the current wooden frames need to come out as they're falling apart. 
  • Remove all the hoops, stakes and other miscellany still in there from last season. 
  • Re-orientate the direction of beds. 
  • Minimise "edge"
  • Create a barrier around the new edge that will keep out my three nemesis weeds. 
  • Make a "once off" major effort to clear these weeds from within the newly edged area, and thereafter minimise digging. 
After much looking, pondering, walking around, and imagining, I finally came up with, what if I:
  • Dig a 30-40cm trench around the outside edge of the garden area. This is deeper than I find roots of these plants. Yes, I know they can theoretically go deeper if so inclined, but I'm hoping to keep them disinclined. 
  • Line the trench with root barrier, a flexible, UV stablised plastic product that comes in a 60cm tall roll, 5m long. It's designed specifically to keep out roots. 
  • Curve the bottom of the root barrier up, away from the garden - the theory being that if a, say, couch root hits the barrier and then heads down looking for a way through, it will hit the curve and be turned back away from the garden. 
  • Use treated timber to create 30cm high edges above ground, with the upper part of the root barrier being behind the timber, between it and the soil. This allows me to use timber that will last longer, but to effectively line it so that any contaminates aren't leeching directly into the soil of the garden beds. 
  • Use stakes to secure barrier and edging, and screws to hold them all together. 
  • Work on the edging bit by bit - tackle one long side, then turn over the soil adjacent to it to create the first bed or two (so I can get them planted) before working around the next side and so on. Because the season is already under way and I have things needing planting! Make sure to overlap the root barrier at any joins between sections. 
So, this is what I have started to do. Pics below of the first long side being installed. It was a bit of a learning curve figuring how to make the theory actually work. But not overly difficult once one got going. 
Picture
Picture
Laying out the rootbarrier - 2x5m rolls, overlapped at the join. 
First 10m long side. I found it easiest to first dig a long shallow trench using a spade - going one spade's depth. And then to get down on my hands and knees with a hand trowel, and scoop out more soil along the length until I had it as deep and level as I wanted. 

Because the ground slopes upwards at one end, I decided to make the bottom of the trench level, which means the wooden sides will be partly buried at one end, with the thought that eventually I'll shift dirt around to make the garden itself more level. This higher end was created by a load of topsoil dumped there years ago, and never spread, except by the kids digging and playing in it, creating tunnels and mines, so that it slowly creeped out but remained a high spot. It no doubt helps that my soil is quite sandy, so not as difficult to dig as it could be. Also, the sand line just happens to be 30cm down, so making it easy to get the trench floor level - I just scraped and scooped until I was going a little down into the sand all along. 
Picture
Picture
It's hard to get a pic of the curve at the bottom of the root barrier (above). I used old broken bricks to hold the plastic down in the curved shape. 
At the far end of the trench, I carefully cleared all pieces of weeds/roots from the post beside the gate, and firmly screwed the root barrier flush to the post above and below ground.
Picture
Picture
Next I hammered in 75cm stakes at each end of the first 5m section, and propped up 2, 5m lengths of 150mm timber, adjusting the position of the stake until I would be able to screw both these and the next lengths of timber to it. I added 60cm stakes at intervals between the 75cm ones. The root barrier is between timber and stakes, and screws through them all hold it in place. 

Then repeated with the next section, leaving enough root barrier hanging out at the leading edge to overlap with the next section when added later. 
Picture
Then I back-filled the trench on the outside of the edging. 

​Finally, added small screws along the edge to hold the root barrier firming to the timber all along. 
Picture
Picture
I'll be repeating this around the other two open sides of this section of the garden, and just placing root barrier along the outside edge of the fence that makes up the fourth side. 

Next post: the digging and prep of the first half of the garden area, to eliminate weeds and create the first beds for planting. 
2 Comments

    Archives

    April 2018
    January 2018
    December 2017
    September 2017

    Categories

    All
    Berries
    Brassicas
    Flowers
    Garden Redevelopment
    Monthly Updates
    Pests
    Planning
    Plant Lists
    Pumpkins & Squash
    Seed Saving
    Spring
    Sunflowers
    War On Weeds
    Winter Growing
    Yacon
    Yield From 50sqm

    RSS Feed

Powered by Create your own unique website with customizable templates.