Thrifty Kiwi
Like our Facebook page
  • Home
  • Blog
  • Homesteading
  • Gardening
    • 2025 Garden
    • 2021 Garden Blog
    • 2019-2020 Garden Blog
    • 2017-2018 Garden Blog
    • 2016-2017 Garden Blog
    • Kiwi Urban Homestead 2013-2015 Garden Blog
    • Pest & Diseases
  • Recipes
    • Autoimmune Protocol
    • Meals and Snacks
    • Preserving
    • Household Cleaners
    • Health & Beauty
  • Skills
    • Menu Planning & Grocery Shopping
    • Money & Budgeting
    • Preserving How-Tos
    • Housekeeping
    • DIY
    • How to Find Stuff Free or Cheap
  • Animals
    • Critter Blog
  • About
  • Contact

Winter Salad (Lightly Fermented Mixed Vegetables)

17/3/2024

0 Comments

 
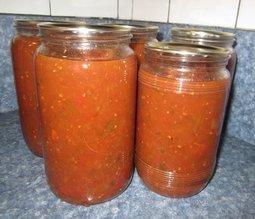
Last year I saw an inspiring video of an Azerbaijani couple who grow masses of vegetables putting up big jars of various vegetables to eat in winter. Unfortunately there's no recipe with the videos, so I went hunting for something close, and found a traditional Azerbaijani recipe, which I modified a bit to suit me. I made a couple of batches. The first, done when the weather was still quite warm, fermented quite quickly, and needed to be shifted to the fridge after a few days. The second, done when the weather was cooler, fermented much more slowly, and remained unrefridgerated (in an outdoor insulated storage area that remains fairly cool) throughout the winter and spring, and only needed to be moved to the fridge once things warmed up this summer.

This is really easy to make, delicious, and good for you, as well as being a great way to use up and store a range of vegetables. The ingredients can be modified to suit whatever you have available. I use home-made organic apple cider vinegar, but you can use whatever vinegar you prefer. The original recipe called for white wine vinegar.

Winter Salad Recipe

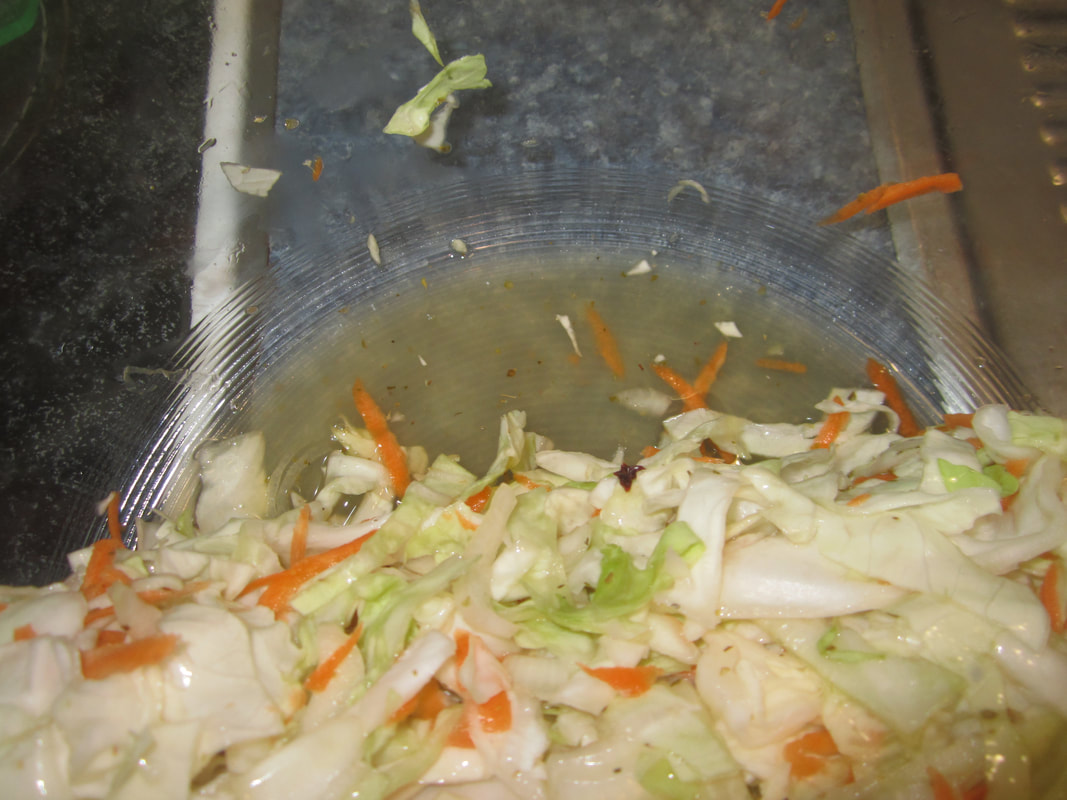
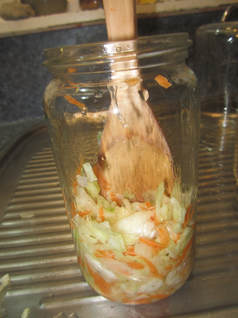
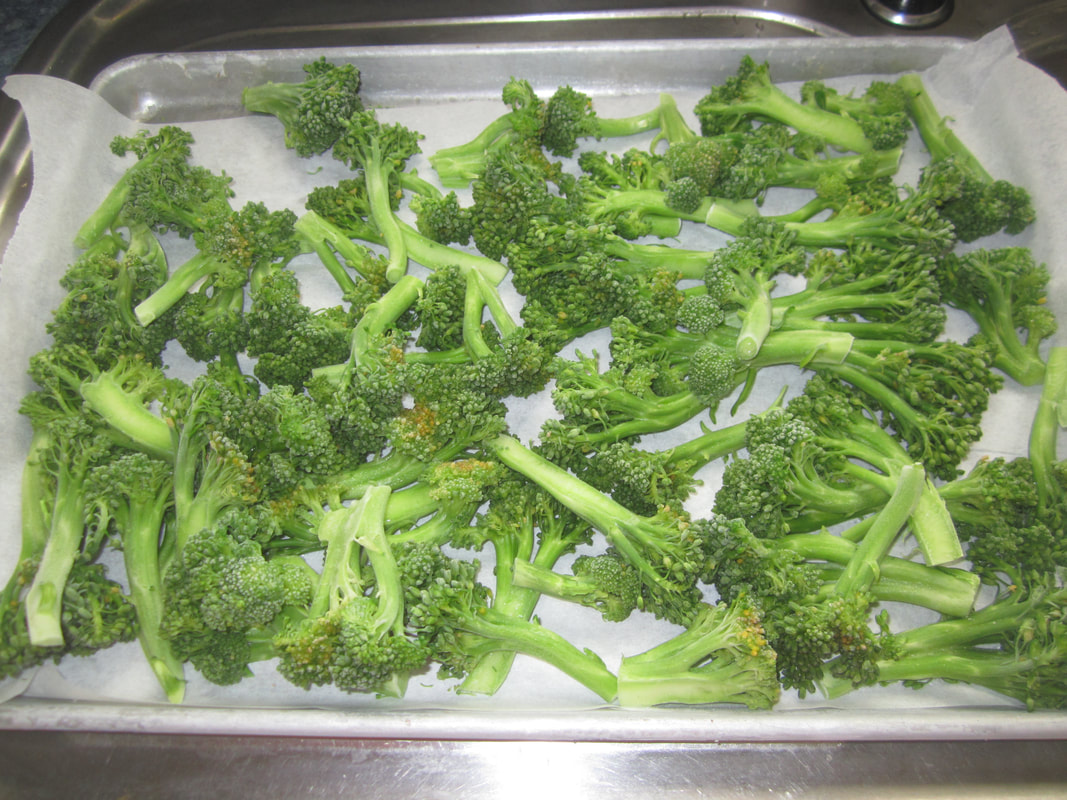
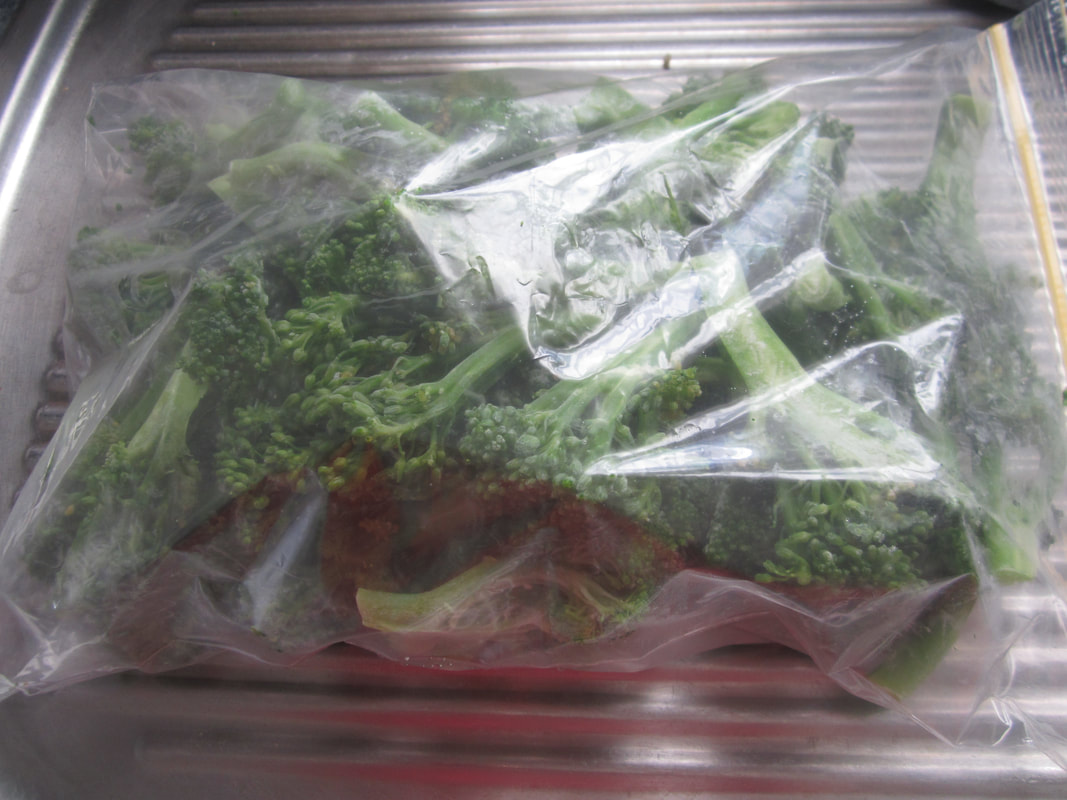
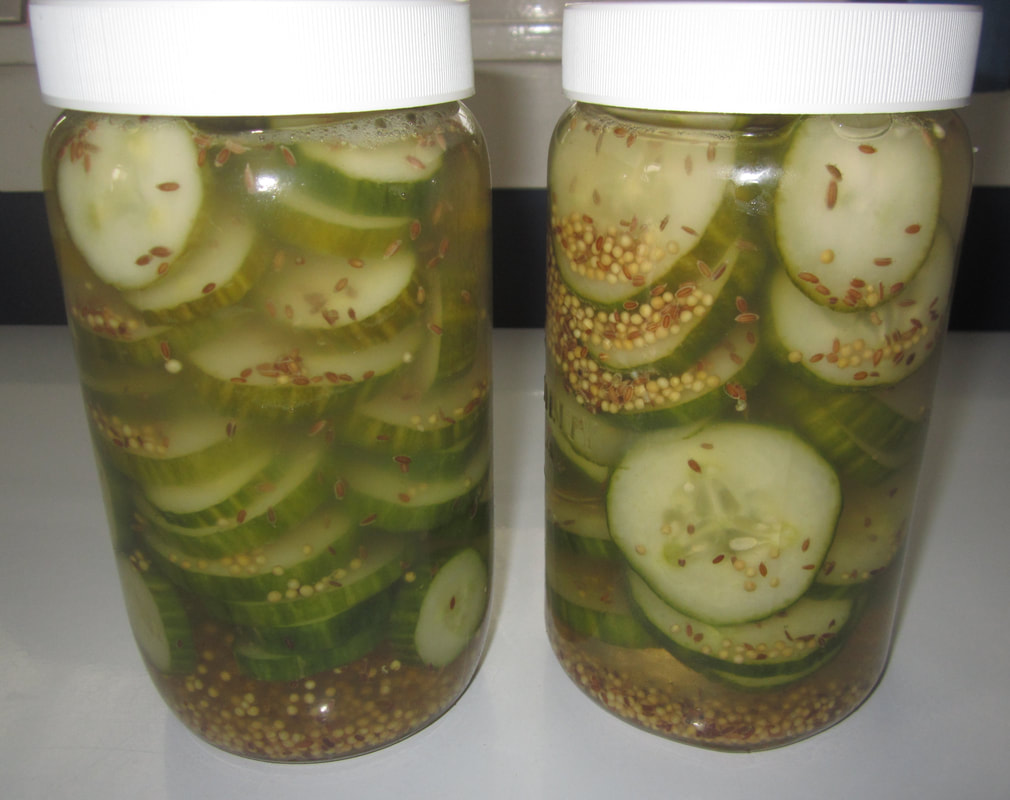
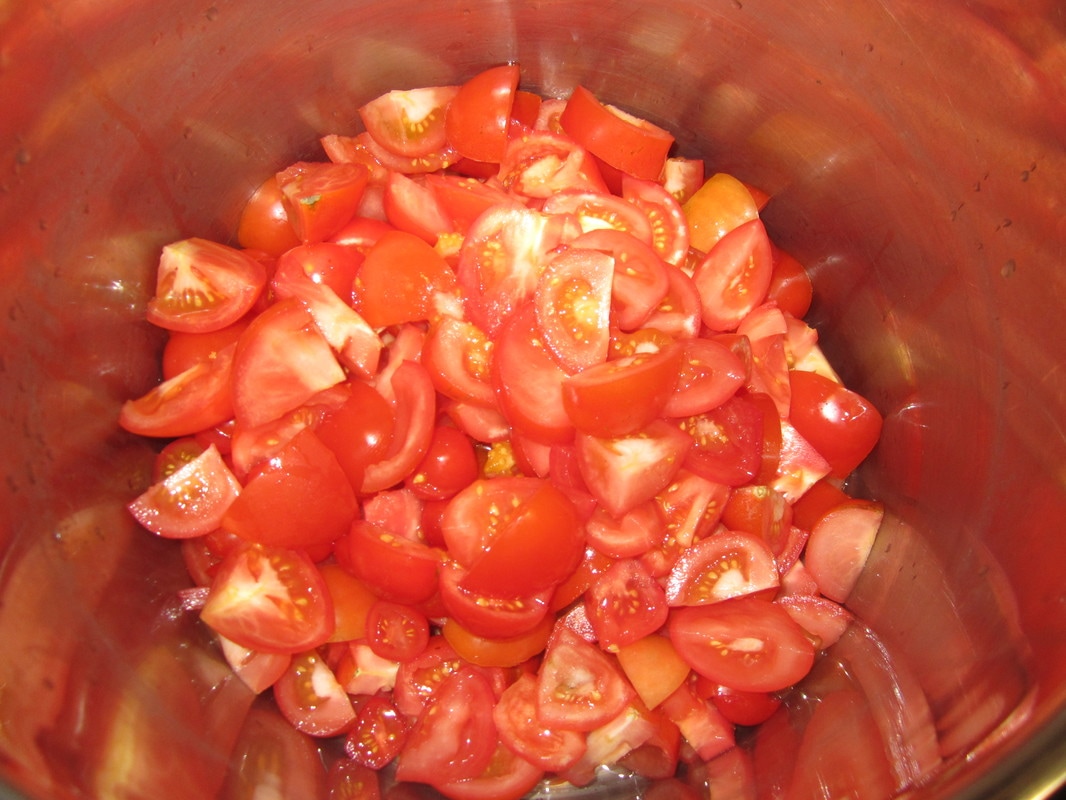
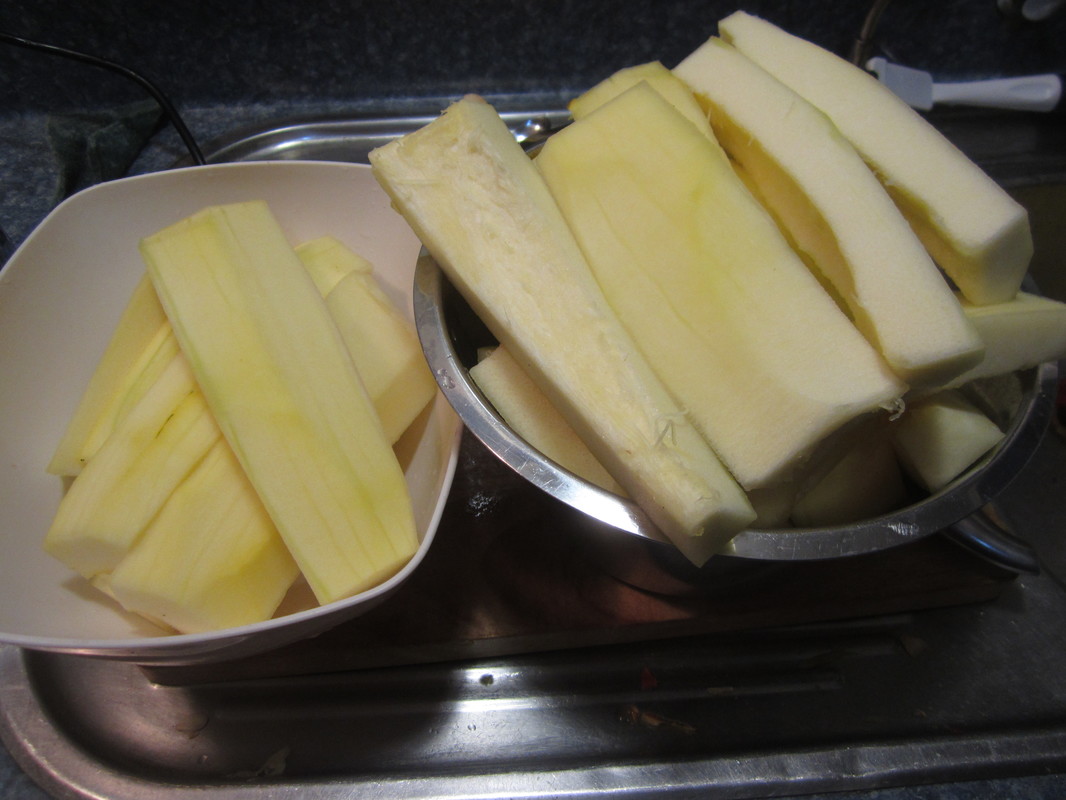
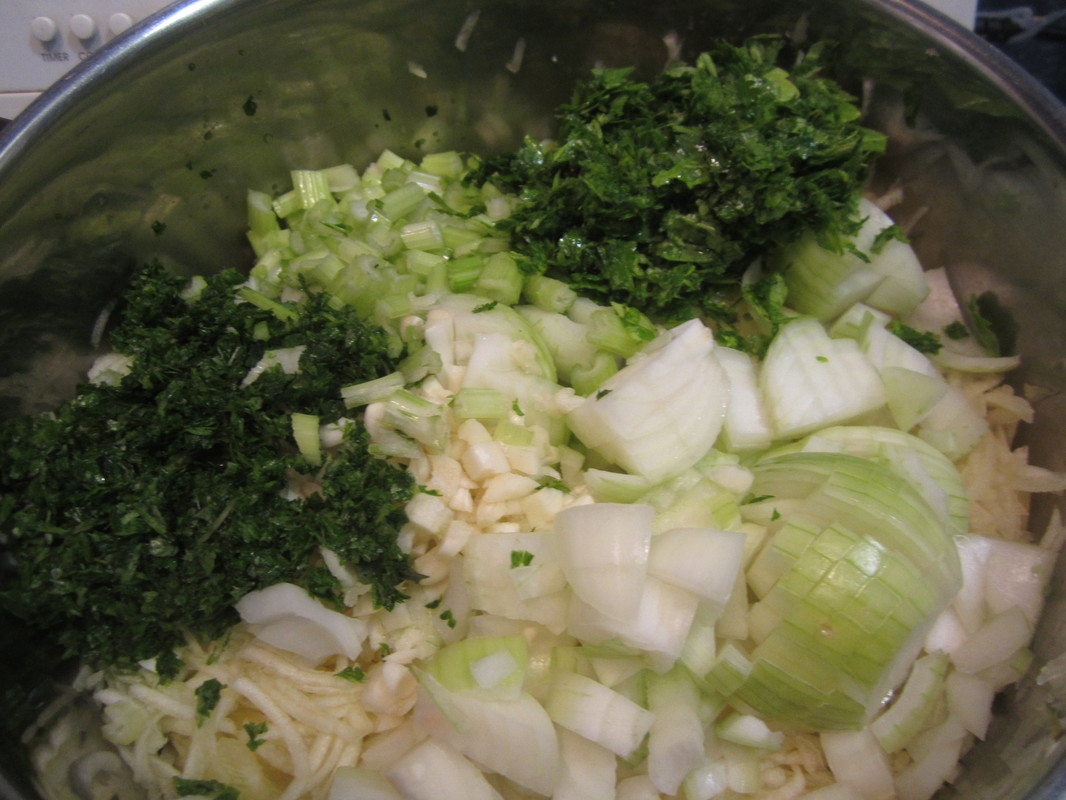
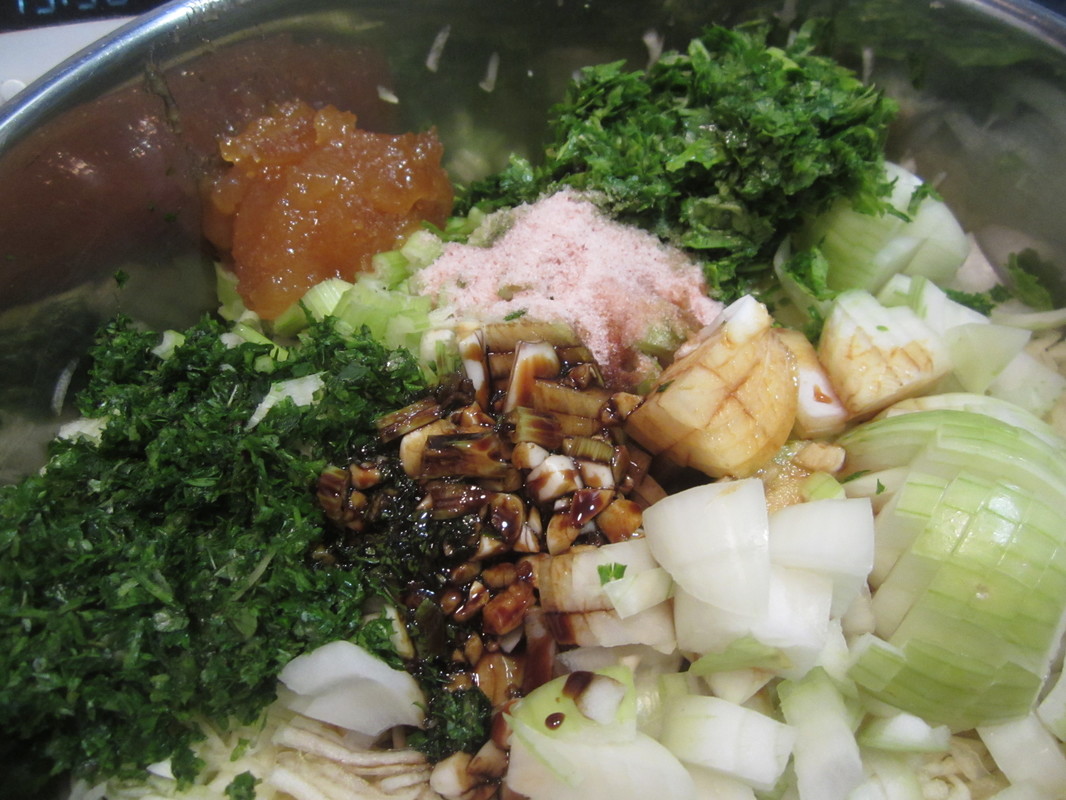
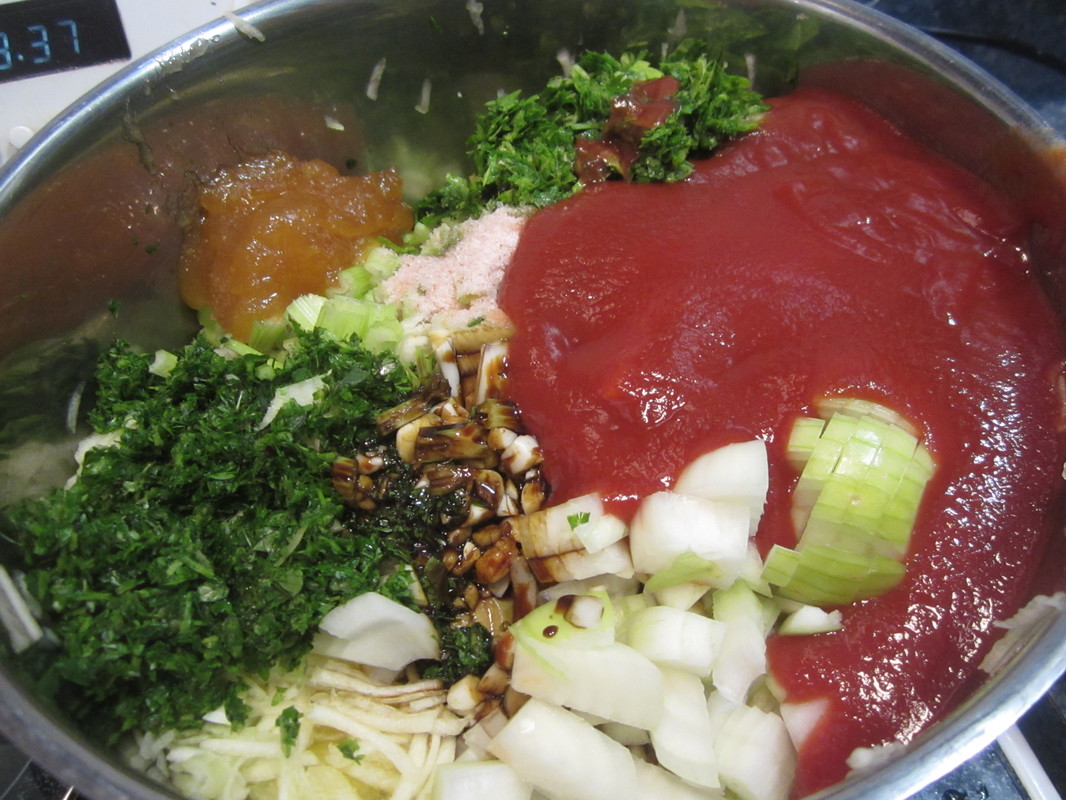
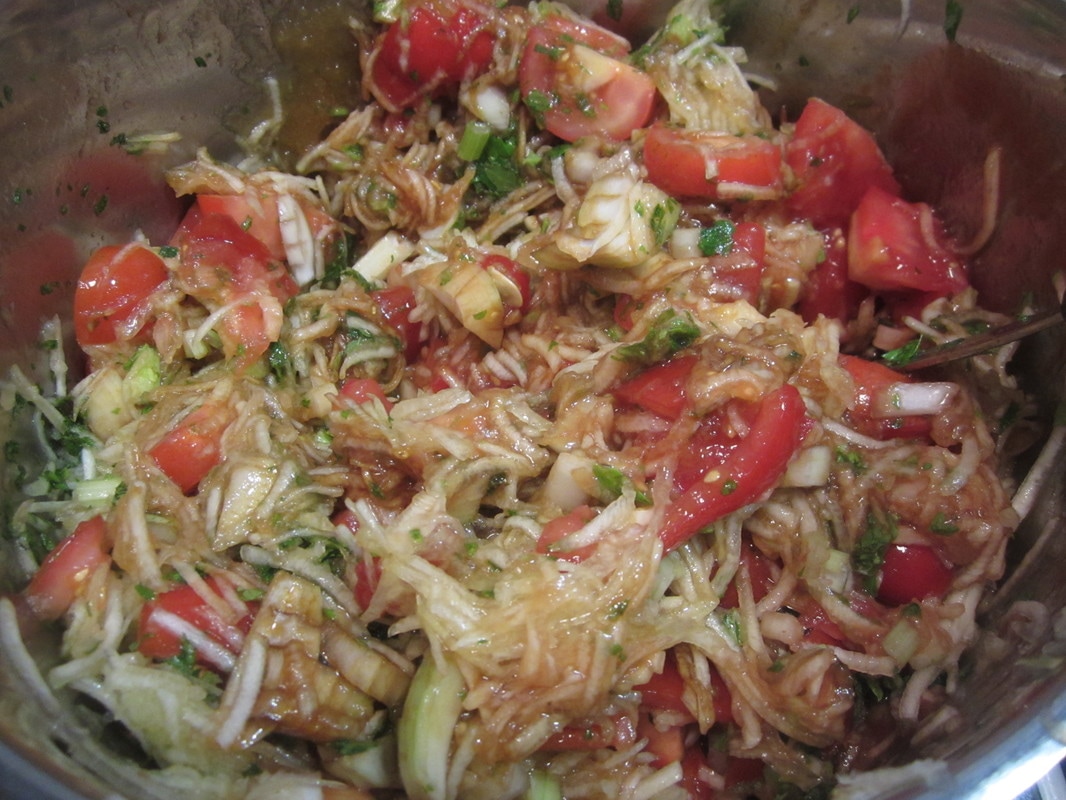
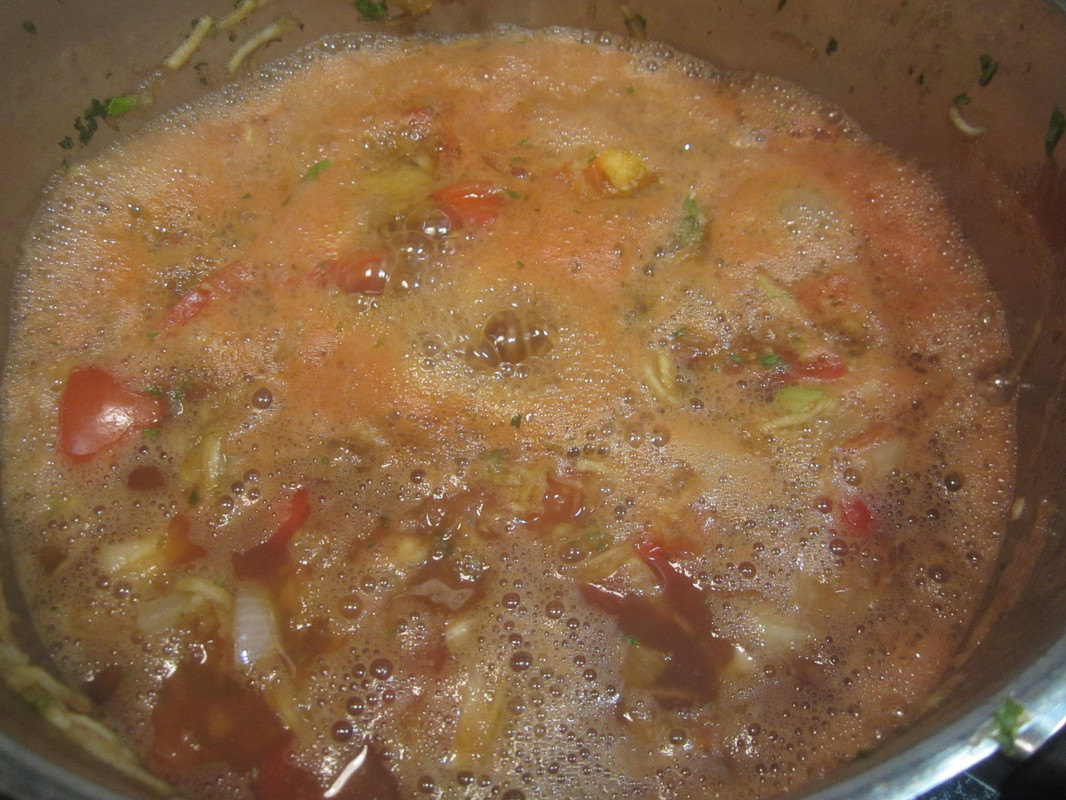
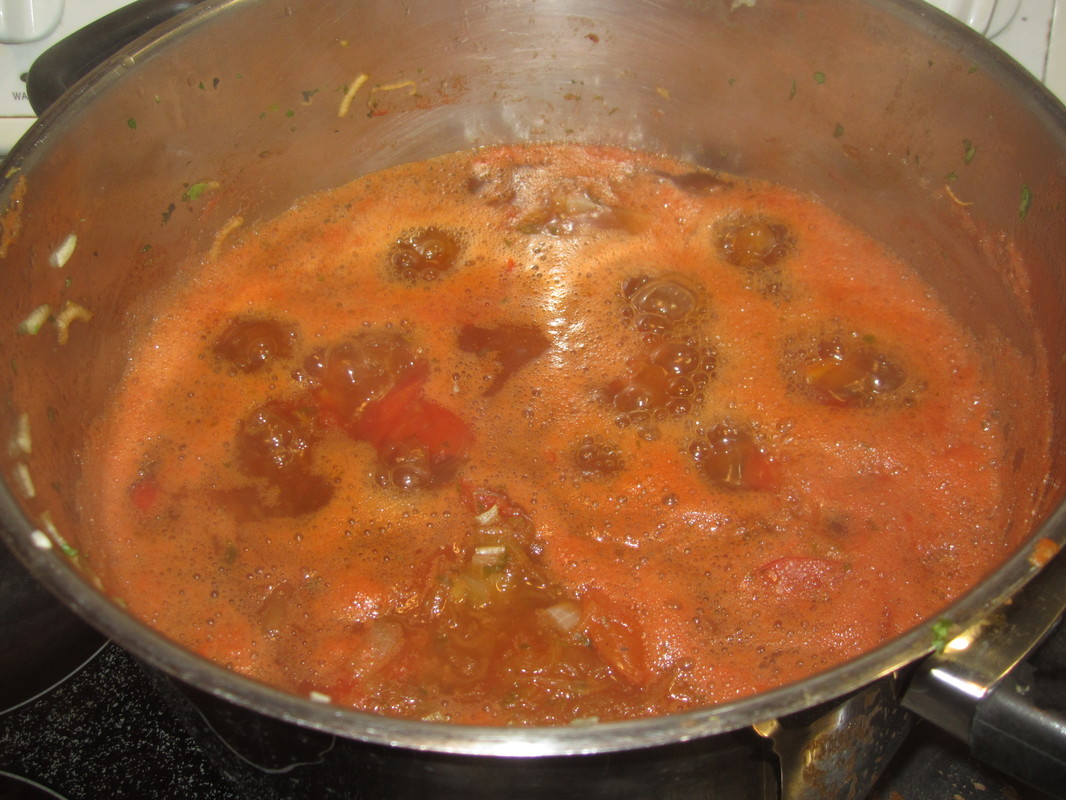
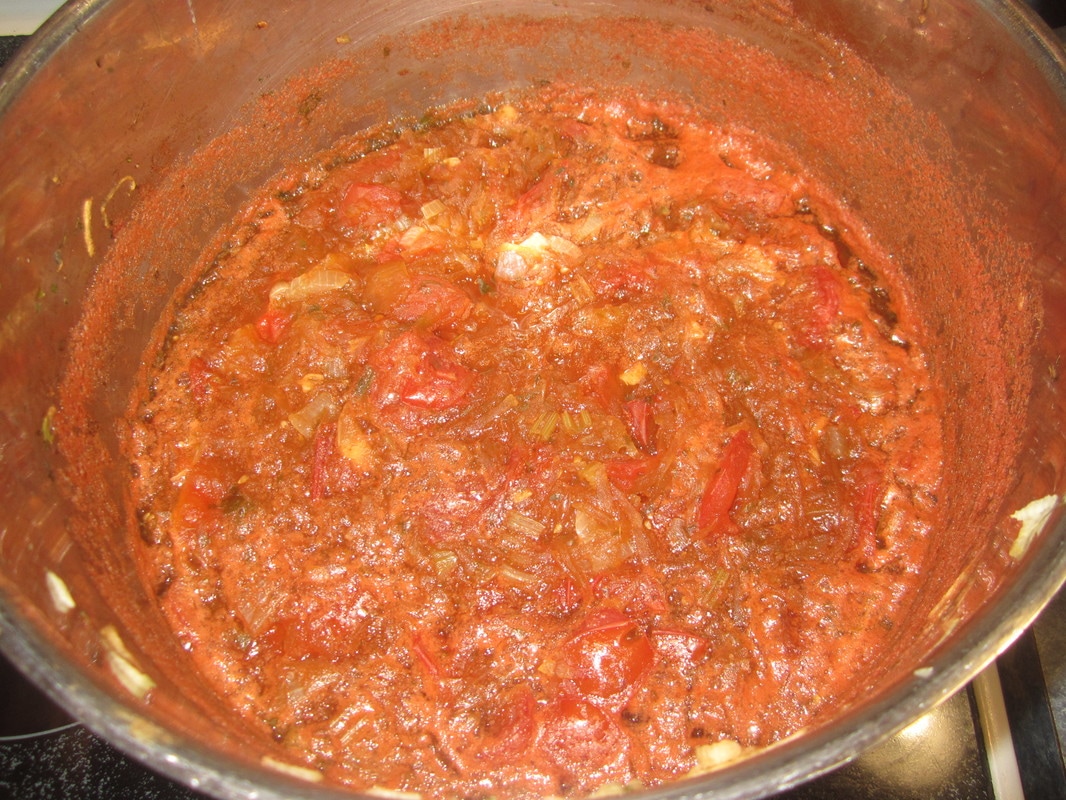
Ingredients:
1 medium cabbage, cored, quartered and chopped
2-3 capsicum, various colours, deseeded and chopped
1 hot pepper (optional) deseeded and chopped
4 medium green tomatoes, cut into wedges
2 celery stalks, with or without leaves, chopped
1 bulb of garlic, peeled and chopped
1 cup chopped fresh mint
1 cup chopped fresh parsley
3 TBSP non-iodised salt
vinegar of choice to cover (I use home-made apple cider vinegar)

Method:
Place all prepared vegetables in very large bowl. Sprinkle salt over veges, and use clean hands to mix well. Cover with a tea towel and set aside for at least 30 mins to extract juices and allow to shrink (often I'm busy and leave it for an hour or two). Take handfuls of veges, squeeze out liquid (back into bowl to save the liquid - see below), and pack veges into clean jars. use a wooden spoon to help pack them down. Continue adding veges until jar nearly full, leaving about a 4-5 inch head space. Pour vinegar over vegetables until completely submerged. To keep veges submerged, top with either reserved folded outer cabbage leaves, a small ziplock bag of extra vinegar, or a silicon muffin cup (that's what I use), before placing lids on jars.

Stand the filled jars in a suitable contain to catch any spillage as the jars ferment, and place in a dark, cool-ish place. Check them daily for 3-7 days, topping up vinegar if needed. When they have fermented as long as you wish, move the jars to the fridge to store and stop the fermentation. Use much as you would sauerkraut.
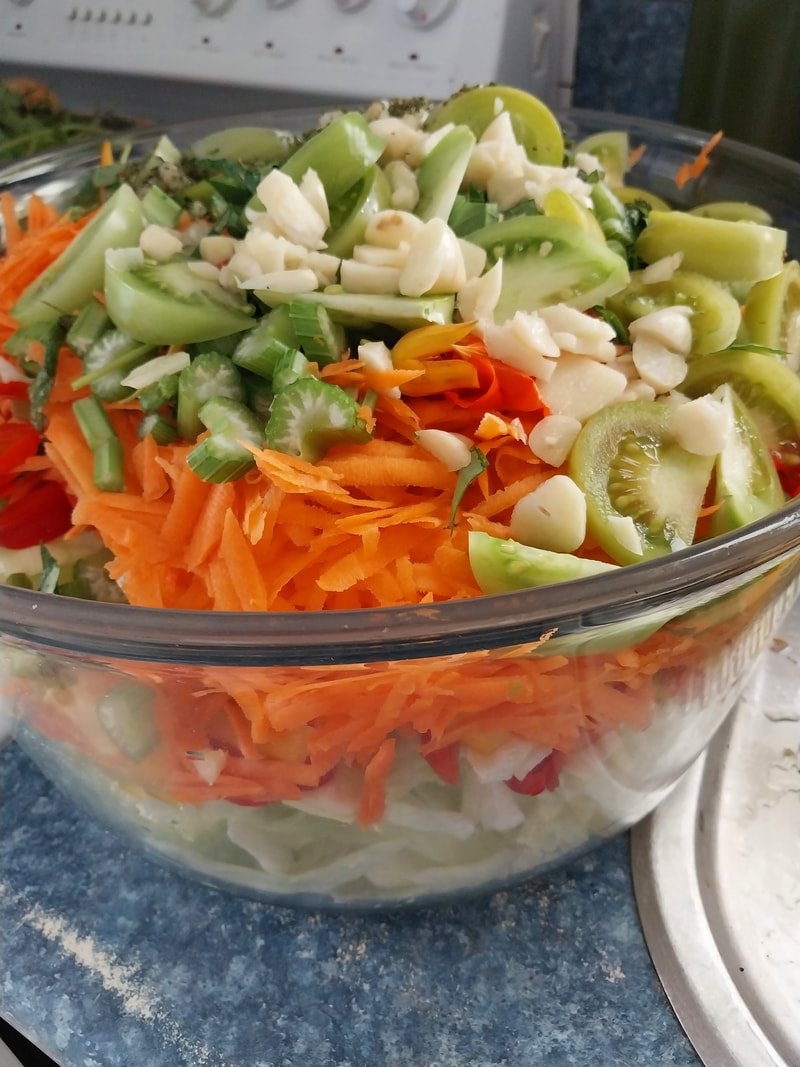
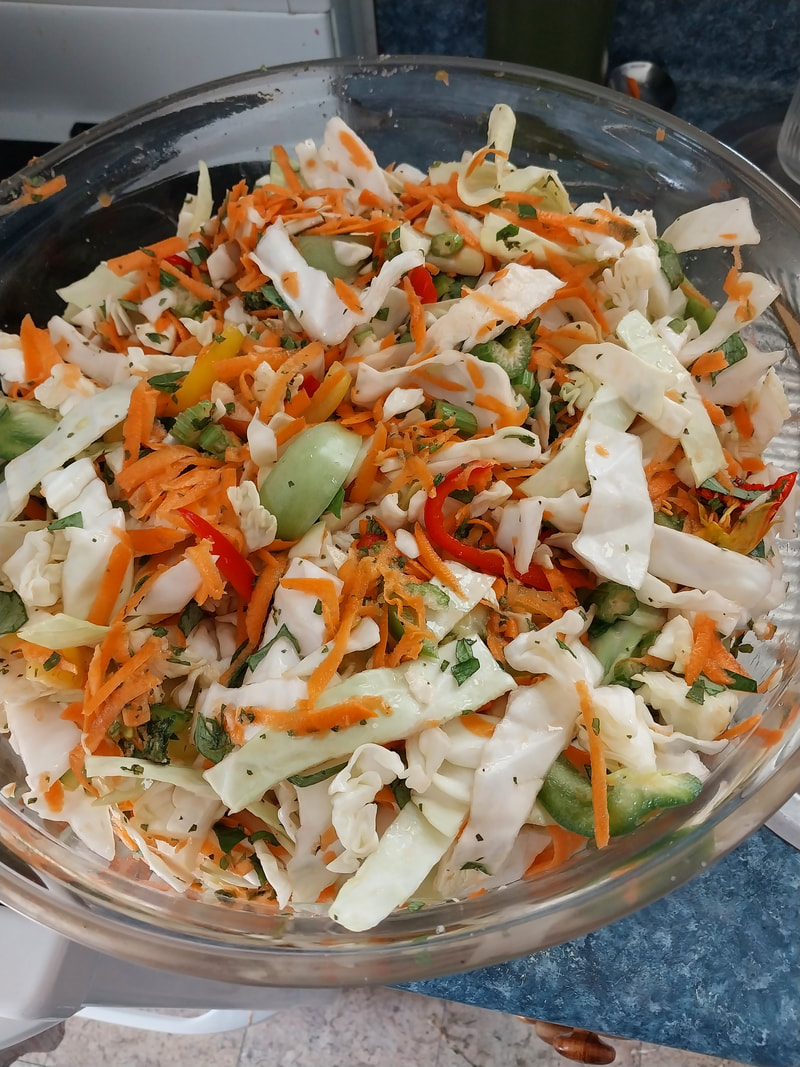
Picture
Picture
Freshly salted and mixed
Picture
After standing
Picture
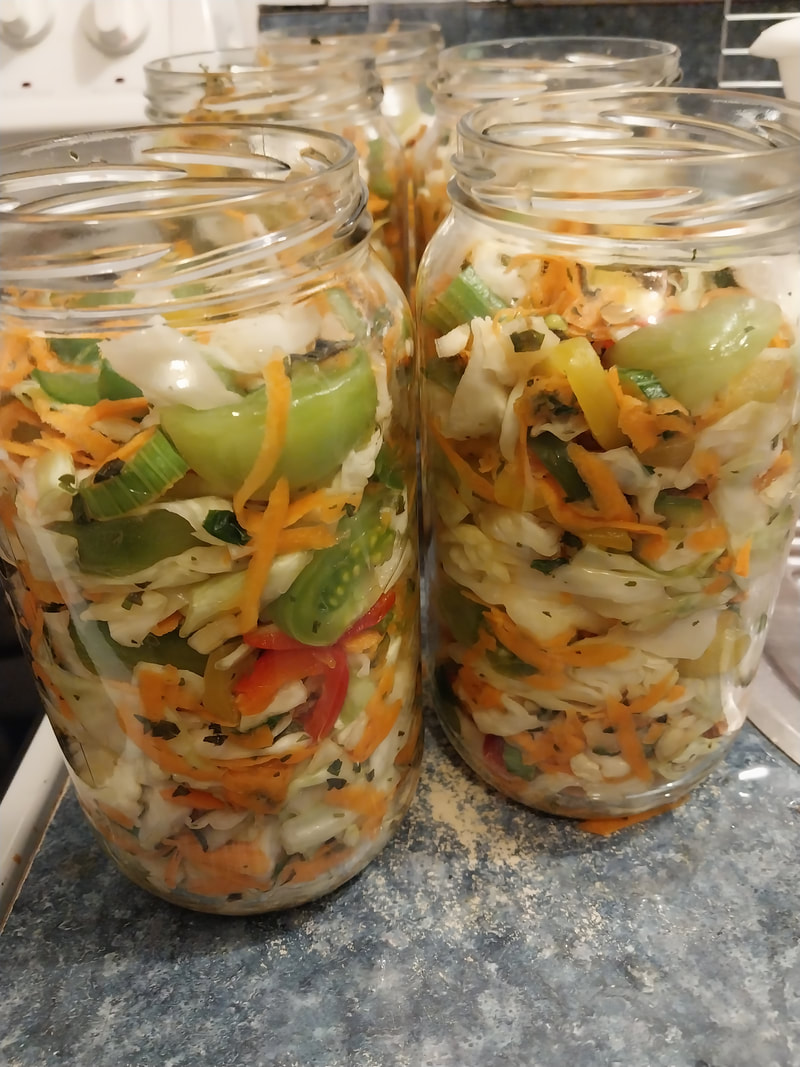
Packed into jars, before adding vinegar
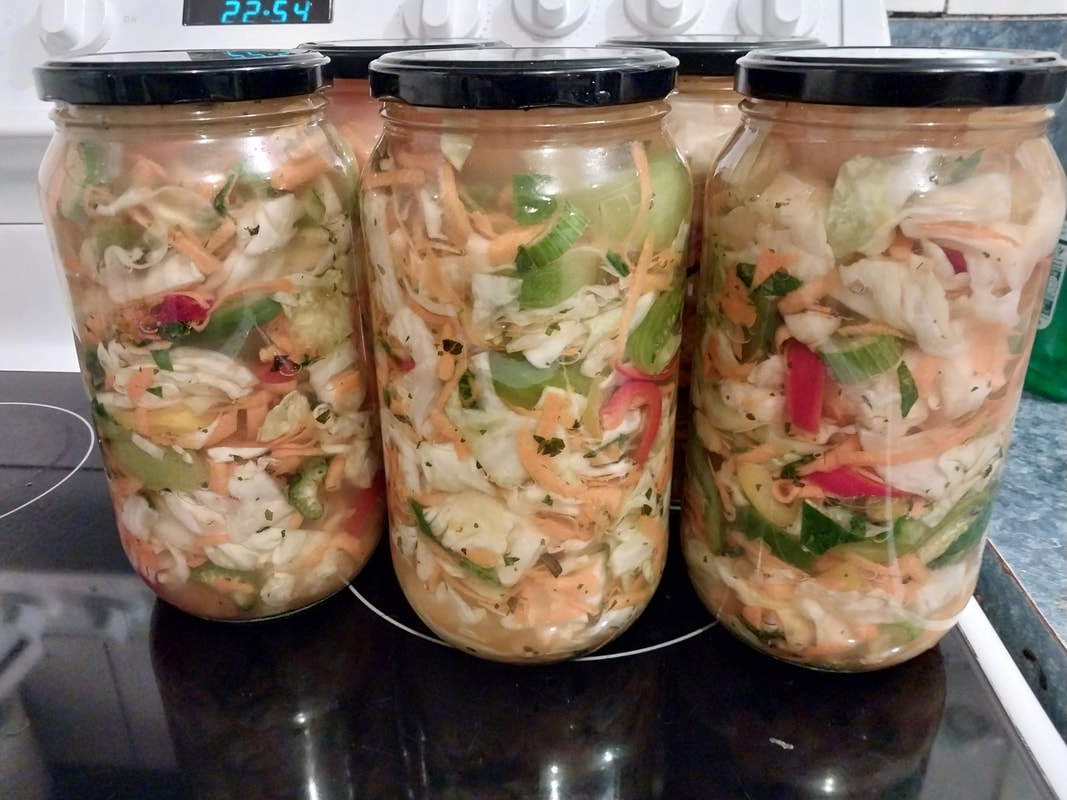
Picture
Ready to ferment
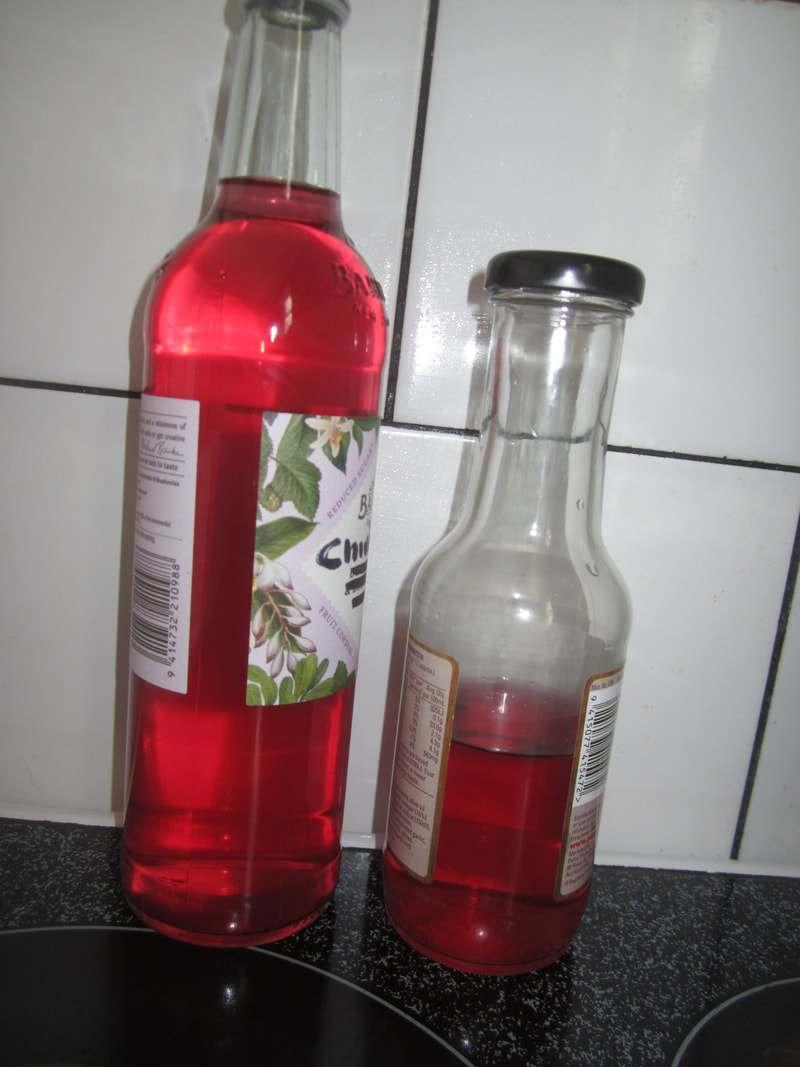
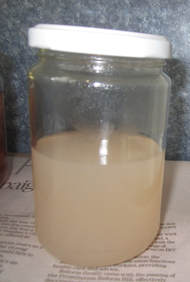
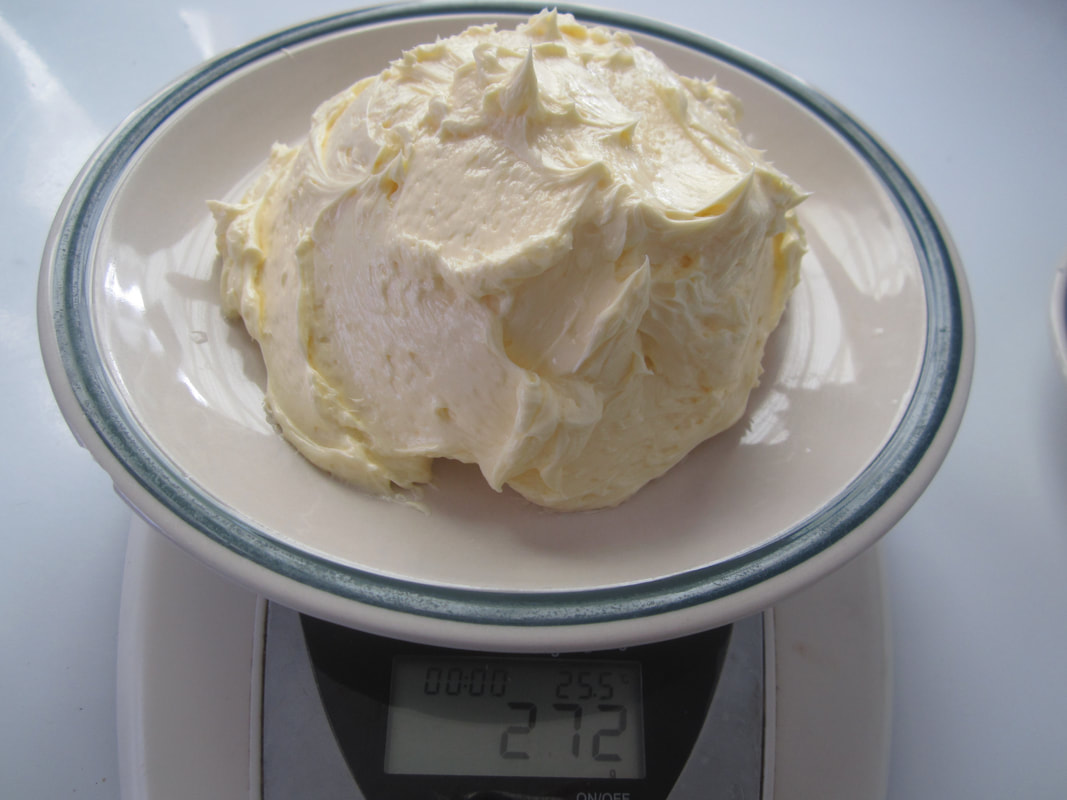
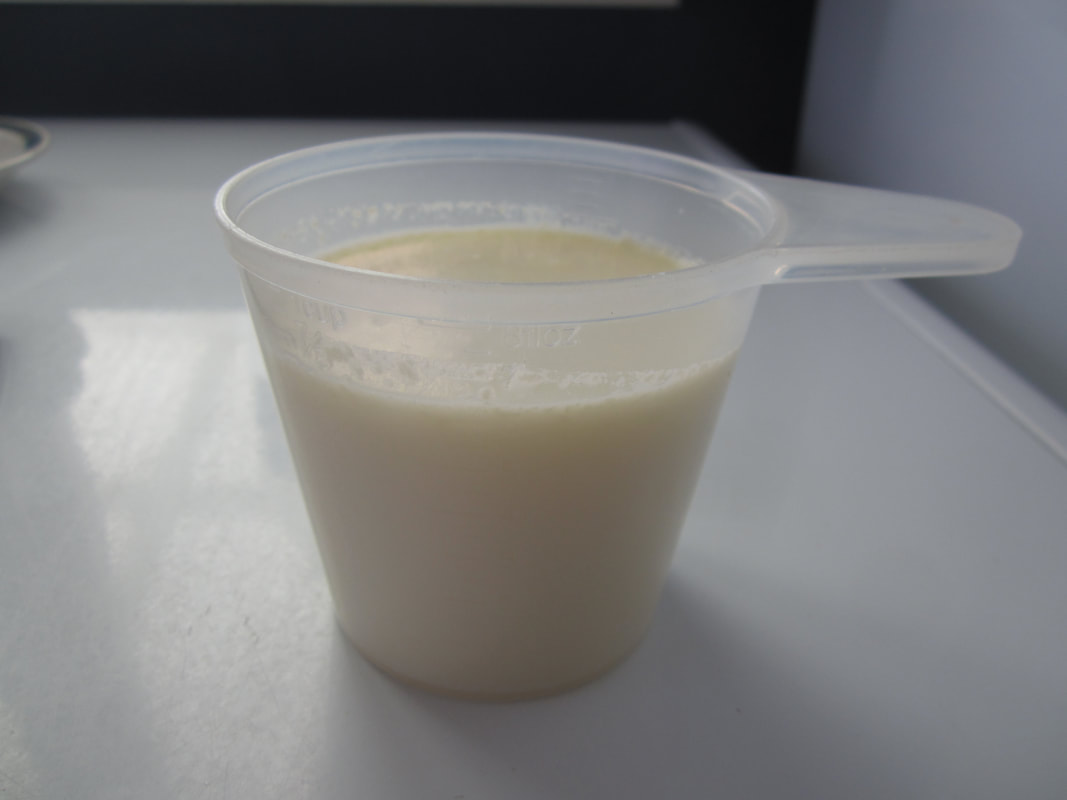
The left-over liquid squeezed out of the veges is full of nutrition, so don't throw it out! I like to freeze this in icecube trays then bag and keep in the freezer, then add to various things where I want some salt and flavour - drinks, smoothies, soups, whatever.
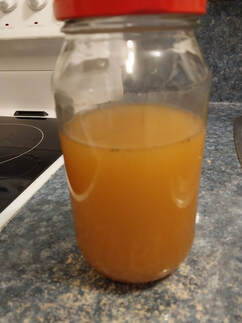
Picture
Variations:
If using eggplant, do this first -  peel one eggplant and cut into small cubes. Place cubes in a colander, sprinkle with 1 TBSP salt. Place colander in sink with a plate on top to lightly press the eggplant. Leave for 20 mins, rinse under cold running water, squeeze, then add to large bowl and proceed with the above steps.

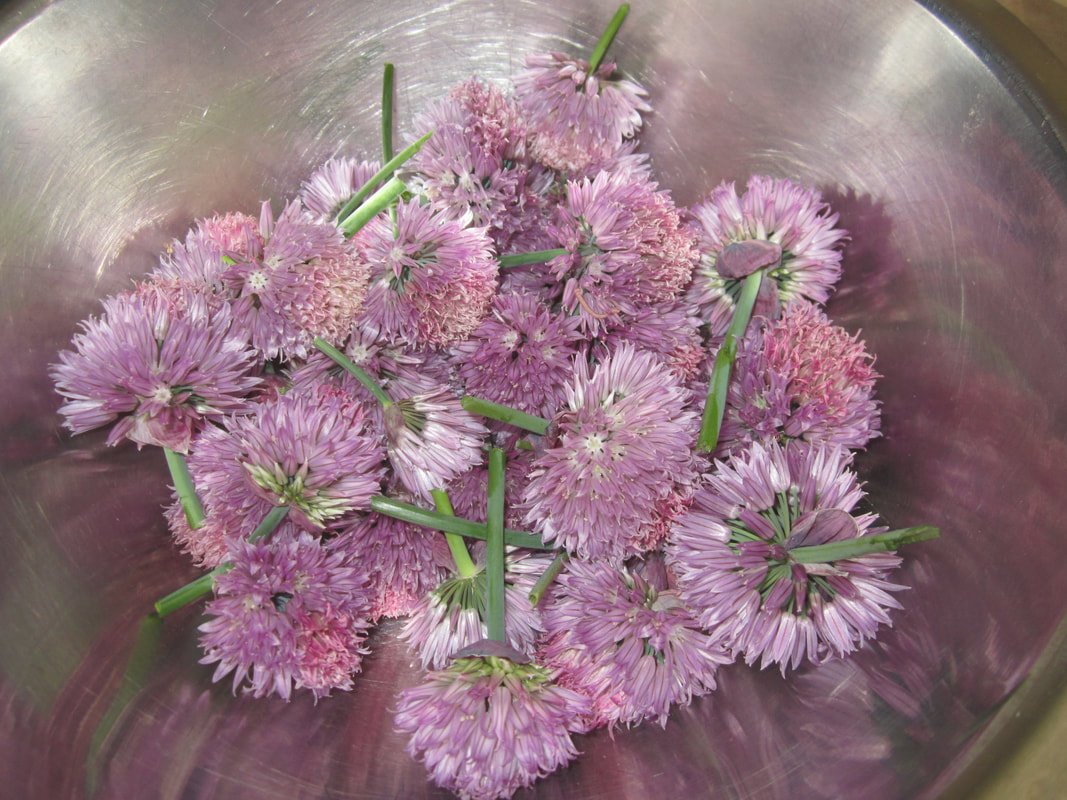
If you don't have fresh parsley or mint, use other herbs. This time I used mint, nasturtium (leaves and flowers), and some dried parsley. Oregano and thyme would be good too.
0 Comments

Curdito (Latin American Sauerkraut)

4/2/2018

0 Comments

 
Sauerkraut, or fermented cabbage, is a traditional way to preserve cabbage. I make plain sauerkraut often, but really like this variation which comes from Nourishing Traditions by Sally Fallon. If you want an excellent cookbook full of recipes and wisdom for whole, nourishing foods, I highly recommend it! 

Making any sauerkraut with homegrown cabbage is a total dream compared to store bought cabbage, as the latter is much drier and requires a lot more work to pound out sufficient fluids to cover the vegetables. Homegrown ones are so loaded with fluids that it's super easy.
Picture
The finished sauerkraut
Ingredients:
1 large cabbage, cored and shredded (set aside a couple of whole outer leaves first)
1 cup carrots, grated
2 medium onions, quartered lengthwise and very finely sliced
1 TBSP dried oregano
1/4-1/2 tsp red pepper flakes
2 TBSP non-iodised salt (or 1 TBSP salt and 4 TBSP whey)

Note: the book also has an alternative version using a homemade pineapple vinegar instead of salt/whey. Can't wait to try that one day as it sounds yum!
Method:
Place all ingredients except salt/whey into a large glass or ceramic bowl. Lightly mix by hand. Sprinkle over salt/whey, and toss through to mix. Cover the bowl and let sit for 10-15 mins. Now, squeeze the cabbage mix with your hands, crushing it, causing liquids to drip out. If it's homegrown cabbage, you only need to do this for a couple of minutes. With store-bought you will need to pound the cabbage with a wooden pounder or meat hammer for 10-15 mins.

Take 2 clean quart jars. Add small quantities of the vegetable mix to a jar at a time (being careful not to lose any of the fluids from the bowl/dripping veges), using a kraut pounder or the end of a wooden spoon to firmly pound down the veges. Keep adding more, and pounding down until jar is full. Repeat with second jar. Pour over the remaining fluids from the bowl. All vegetables should be covered with liquid, and the top if the mixtures should be at least an inch below the rim of the jars. 

Fold up the set aside whole leaves and place in the top of each jar, to hold the veges submerged (you will throw away these leaves after the fermenting is done). I also added a silicon muffin cup for extra packing. Cover jars tightly and set on bench in a suitable drip tray (as they will probably overflow). Leave to ferment at room temperature for 3 days before moving to the fridge. Enjoy!
Picture
Picture
Picture
Picture
0 Comments

Chive Flower Vinegar

4/2/2018

0 Comments

 
When the chives are flowering, use some to make this very pretty and delicious flavoured vinegar - simple as!
Picture
Method:
Pick healthy, pink chive flowers. Remove any insects by swishing through a bowl of water a few times. Then either drain and pat dry, or spin in a salad spinner to remove excess water. Remove stalks, and measure chives. Place in clean glass jar. For every cup of flowers, add 1 1/2 cups apple cider vinegar (ideally raw/organic). Stir, then place lid on jar and set on bench out of direct sun. Shake every now and then for 2 weeks. Decant vinegar into clean glass bottles and discard flowers. Refrigerate. 

Note: make sure the vinegar is well labelled, as unsuspecting family members may mistake it for cordial! 
​
Use the chive vinegar to make salad dressings etc, such as this French Dressing.
Picture
0 Comments

Blanching & Free-Flow Freezing Broccoli or Cauliflower

28/1/2018

1 Comment

 
Blanching vegetables before freezing stops enzyme action which prevents them deteriorating. When I have more broccoli or cauli than I can use at once, I blanch and freeze the rest for later use. 
Method:
  • Bring a large pot of water to the boil. 
  • Pour lots of ice into a large bowl of water to chill it well
  • Wash vegetables and cut into even sized florets. Slice in half any thicker stalks. 
  • Either: lower a colander or metal basket (if you have one) full of vegetables into the boiling water, or if you have only the amount for one batch, simply drop them into the pot. Replace the lid and time for 3 minutes. 
  • Immediately lift out or drain the vegetables and dump into the iced water to rapidly cool and prevent further cooking. 
  • Drain again, and place well drained veges on clean tea towels, and gently pat to remove excess water. 
  • Spread in a single layer on a baking paper lined oven tray
  • Place tray flat in freezer. Freeze
  • The next day, remove from the freezer, gently separate any florets that have stuck together, and place loosely into a large ziplock bag or container. Return to freezer. 
To use: remove the amount you wish to use. Thaw if you wish to use it in a salad, or cook from frozen either by boiling or steaming, or adding to stir fries.

​Frozen cauliflower, steamed, makes excellent cauliflower mash (just whiz in the food processor after steaming, with a little butter, sour cream or coconut oil). Excellent substitute for mashed potatoes. 
Picture
Picture
Note to self: Make ice cubes every day, and dump out into container or similar, so I can make more. Keep this up for a large supply at the time of year when blanching and freezing vegetables - saves buying bags of ice from the supermarket!
1 Comment

Natural Cucumber Pickles

21/1/2018

0 Comments

 
This is my new-and-improved version, and is really good! Not too salty, crisp and tasty, with the probiotic benefits of naturally fermented vegetables. Based on recipe from Nourishing Traditions by Sally Fallon.
Ingredients: (to fill a quart Agee jar)
Sufficient sliced cucumber (can also be made with whole pickling cucumbers or gherkins)
​1 TBSP mustard seeds
2 TBSP fresh dill OR 1/2 TBSP dill seed OR 1/2 TBSP dried dill tips
2 TBSP non-iodised sea salt (OR 1 TBSP salt and 4 TBSP whey if available)
1 cup filtered water plus more to top up
Method:
Wash cucumber and slice into 1/4 inch slices. Pack into jar. Combine remaining ingredients and pour over cucumbers, adding more water if necessary to cover cucumbers. The top of the liquid should be at least an inch below the rim. Add something to weight down the slices - I put a silicone muffin cup in the top of each jar. Cover tightly, set into something to catch any overflow and keep at room temperature for 2 days. Refrigerate and enjoy.

Note: if using whole pickling cucumbers/gherkins, keep at room temp for 3 days.
Picture
0 Comments

Blackberry Jam (Seedless)

10/1/2018

2 Comments

 
While I was in jelly making mode today, I decided to use up some blackberries from the freezer to make seedless blackberry jam. Blackberry seeds are quite big, and I find them a bit gritty if left in. Blackberries are quite high in pectin, and easy to make into jam or jelly. 

This same method and process can be used to make jam from other berries too, though ones lower in pectin may need some pectin added. How to make homemade pectin is HERE, or simply combine high and lower pectin fruit in a jam, by adding some apple or quince to berries when cooking. Removing berry seeds is optional.

Note: expect this to be a somewhat messy process - wear an apron, anticipate some juice being spilled or splattered, and keep your favourite white dress far, far away! :-) 
Picture
Method:
Place blackberries into a large pot. Gently heat until boiling, and mash with a potato masher to release juice and help separate seeds and pulp. Simmer on low for 10-15 mins, mashing and/or stirring from time to time. 

Place a large sieve over a bowl, and pour the berries into it. Use a wooden spoon or spatula to force the berry pulp and juice through the seive, leaving behind the seeds. Work on it until you've got as much pulp as possible through. 

Measure the resulting blackberry pulp/juice mix and place in a good sized pot. For every 600ml of berries, add:
450g sugar
1 TBSP lemon juice. 

Heat and stir until sugar is dissolved, then simmer and stir regularly until set point is reached. This is when a little jam dropped onto a cold plate keeps it's shape when cool and feels quite jam-like when you run a finger through it. It will stiffen further once bottled and cooled though, so don't expect it to be totally set in the test. Sometimes I think the jam left on the spoon I dipped into the pot to test with is the better test - when the remaining jam is sticking to the spoon and not running off or moving, it's good to go. :-) 

Ladle jam into hot, sterile jars, and seal. For more on how to prepare jars etc, refer HERE. 

​​(I started with 850g of blackberries, ended up with 600ml of juice mix, and resulted in two 400g jam jars full)
2 Comments

Unripe Apples = Applesauce, Apple Jelly, Pectin

10/1/2018

7 Comments

 
The recent storms blew some very immature apples off our trees. I collected them up, and made three products from them. These apples have quite a bit of codling moth in them, so by the time I cut out all the yucky bits, I had one kilo of apple, which yielded 3 jars of apple sauce, 1 jar of apple jelly, and just under a cup of homemade pectin to use in other jams. After Stage One below, complete only such of the following stages as you wish to.

​One might also have unripe apples from thinning fruit on a young tree - use as below.
Picture
Picture

Stage One: Prepping and cooking apples

Wash the apples, cut up into chunks, removing cores, any damaged parts, but keeping skin etc. Weigh the useable apple. I had one kilo, so the following is for that - adjust to suit. 

Place apple into a large pot. Add water to just cover - about 4 cups. Bring to boil, then simmer  - use a potato masher to mash them as soon as they are soft enough. Continue to cook on low for 15 mins, stirring occassionally. 

Line a colander with a double layer of cheesecloth or old, clean tea towel, or use a jelly bag. Set colander over suitable pot or bowl to catch liquid. Pour apple mixture into cloth and allow to drip overnight. Do not squeeze cloth/bag if you want a clear jelly to result later, otherwise squeeze if you wish. In the morning, you will find a cloudy liquid in the bowl, and the apple pulp that is very thick and almost firm - it keeps it shape when turned out onto a plate. 

Stage Two: Preparing jars and equipment

Wash and rinse suitable jars for bottling the following items, depending which you choose to make. Stand jars right way up on a cold oven tray, and place in cold oven. Turn oven to 100C, and ensure jars remain in there for at least 30 mins from the time oven reaches temperature, to sterilize. Continue to keep at temp so remain hot until ready to bottle. 

Boil a pot of water on the stove. Place lids in pot and boil for 5 mins before using. 

​You will also find it useful to have a preserving funnel to fill jars without spillage. I have one, but it's too wide to fit inside small jam jars, which is mostly what I've used for this. I also have a large ordinary plastic funnel, which I long ago cut the narrow part off of, creating a wide mouthed funnel that fits into jam jars and enables me to pour or ladle in liquids without mess. 

​Place some folded newspaper on a wooden chopping boards to place hot jars on for filling and until they cool.
Picture

Stage Three: Homemade Pectin

Picture
The liquid that drained from the cooked apples IS homemade pectin. Unripe apples are very high in pectin, and the process of cooking and mashing the apples extracts the pectin into the liquid. Pectin is a polysaccharide found in varying levels in different fruits, which when boiled with sugar causes the thickening desired for jams and jellies. In other words, pectin is what makes jam set. You can use this home made pectin instead of adding purchased powdered pectin when making jams or jellies that need pectin added. The rate is roughly 1/2 cup homemade pectin for each TBSP of powdered pectin called for, though you may need to experiment a bit, as exact pectin content will vary. When making such a jam or jelly, start with that amount, and if it's still not setting, then add more. 

To store pectin until needed, freeze in suitable portions. If freezing in a jar, leave the lid loose until frozen, then tighten.

Stage Four: Applesauce from pulp

Unripe apples are bitter and hard when raw, but once cooked they are palatable and edible, but not very sweet. I used the pulp from the above process to make some applesauce, which I bottled to use in other recipes, such as my Curried Sausage Pie, in the future. (My regular applesauce is what I used on it's own or to top breakfast etc). 

To make applesauce: process apple pulp through foodmill to puree and remove skins. Measure resulting puree. Place in suitable sized pot. For every 3 cups puree, add:
1 cup water
1/2 cup honey
2 TBSP lemon juice
1/8-1/4 tsp cinnamon (optional)
1/2 tsp finely grated lemon rind (optional)
Picture
​Stir well. Bring to boil, and simmer on low for 5 mins, stirring frequently. Lift a jar from oven onto papered board, placed close to stove. Ladle applesauce into jar, leaving a 1/2-1 inch head space. Ensure rim is clean (using a funnel avoids making it messy), then secure lid and tighten. Set aside. Repeat until all sauce bottled. Leave to cool. Jar lids should pop downwards as the jars cool, if seal is secure. Otherwise rebottle or refrigerate and use.

Stage Five: Apple jelly from liquid

Picture
As explained above, the liquid from cooking the apples is very high in pectin, and can be added to other jams or jellies to help with setting. It can also be made into it's own apple jelly. 

For every cup of apple liquid pectin, add 3/4 cup of sugar. Heat together into a pot until sugar dissolves, then bring to boil and simmer, stirring regulary, until setting point is reached (mine took about 20 mins, but this will vary depending on size of pot relative to contents, how close to sea level you are, and how much pectin was in your actual apples). Setting point is judged by dropping a little of the jelly onto a cold plate and letting it cool. If it holds it's shape or is jelly-ish then set point has been reached. With high-pectin fruit jellies, I find there's no need for it to be VERY "set" as by the time you've got it in a jar, it will be totally setting with ease. 

Note: while the jelly is boiling, skim off any foam with a spoon as needed. I did this somewhat, but was also following a recipe that said to do this at the end, before bottling, which in this case didn't work very well because by that stage, the jelly was very gel like, and the foam mixed in and was harder to remove. 

Also note: the pectin liquid is cloudy in appearance. About 8 mins into boiling with the sugar, the liquid becomes transparent, and gives that lovely clear look and rich colour, though it can be marred by unskimmed foam, as happened to me in this case. Still tastes just the same though - sweet and delicately flavoured. Yum!

7 Comments

Rich Red Tomato Sauce

4/1/2018

0 Comments

 
An easy to make and totally yummy tomato sauce. Save (or ask your neighbours for) glass bottles from cordial, dressings etc, and their lids, for bottling this.

Usually made from ripe red tomatoes, one year I had lots of green tomatoes I needed to pick as well - I made one batch with red and one batch with green, and then combined them. The result was yummy!
Ingredients:
6kg ripe red tomatoes
4 apples (skin on but cores removed)
2 onions
2 TBSP allspice
2 cloves garlic (crushed)
750g white sugar (or substitute about 2 1/2 cups honey)
1/4 cup salt
1 litre malt vinegar
Picture
Method:
Wash and chop tomatoes and apples. Chop onions. Place in a large stock pot. Tie allspice and garlic in a muslin bag. Boil all ingredients together slowly for two hours, stirring frequently. Cool, discard muslin bag, and process in batches through a foodmill or food processor. Return to pot, bring back to boil, and if desired simmer a bit longer to thicken further. Bottle into hot, sterilised bottles*

* To sterilise bottles, wash, rinse, then place in cold oven, turn heat to 100C and maintain for at least 30 mins - keep them hot after that until ready to fill. Boil clean metal lids in a pot of water for 5 mins. Can also use Agee jars etc.
Picture
Picture
0 Comments

Cultured Butter & Buttermilk

2/1/2018

0 Comments

 
I had an unopened bottle of cream I bought for Christmas but didn't use. It's 4 days past it's best-before date, but perfectly fine. Since my husband and I are mostly dairy free, what to do with it? I decided to make cultured butter and buttermilk - very easy!
Method:


Place unopened cream on the counter and leave at room temperature for about 8 hours to sour a bit. 


Pour cream into food processor, using a knife to scrape out thick cream that sticks to the inside of the bottle. 

Process until cream separates into curds (butter globules) and whey (buttermilk). About 1 minute. 


Tip into a strainer set over a suitable metal or glass bowl. Let sit for a minute or two to drain. Do not press butter as you don't want to push it through the seive. 


Tip butter into a separate metal or wooden bowl. Stir and press it with a wooden spoon, causing small amounts of buttermilk to run out - tip the buttermilk into the container with the rest of it. Do this over and over until you've got as much buttermilk out as you can. Pour buttermilk into clean glass jar, cap and refridgerate. 


​Now, slowly run cold water over the butter, holding your container on an angle over the sink and working and pressing the butter over and over so that the water washes out all remaining buttermilk residue. (This milky water is not kept, unless you want to use it in the garden). It is important to get all traces of buttermilk out - any left behind will cause the butter to go rancid much more quickly than it should. 

Form clean butter into whatever shape you desire and place in container. Refigerate, or freeze for longer storage. 

​The buttermilk can be used in baking, or as a starter for lacto-fermentation of vegetables. Using whey/buttermilk in fermation means that less salt can be used, as the whey speeds up the process of formation of sufficient lacto-acid to prevent the vegetables from spoiling. 
Picture
Picture
Picture
Picture
Picture
Picture
500ml of cream yielded 272g butter and 3/4 cup buttermilk 
Picture
Picture
0 Comments

Garden Goodies Pasta Sauce

11/4/2017

0 Comments

 
Picture
I started making a version of this last year, and have been playing around with the recipe since. I've nailed it! This is so, so good! Lots of goodies from the garden made into a wonderful sauce that is good on it's own or as a meal base, such as a delicious bologanise that will have you drooling!

​It's also the perfect way to use up those huge marrows and any blemished tomatoes, which we often inevitably have at summer's end. You can vary the ingredients to use what you have on hand. My original version didn't have honey, tomato sauce, vinegar, nasturtiums or oregano, and used less marrow. But trust me, these things take it from a very pleasant sauce to something sublime! What a perfect way to preserve some of the goodness of summer vegetables and herbs for a tasty, nutrious winter staple. 

Ingredients: (to make a very big pot full - if you don't have a 10L stock pot, then halve this recipe)
Just prepare everything and chuck it in the pot one by one as you go.
  • 2.5 kg tomatoes, washed and cut into even-ish chunks
  • 1 large marrow, peeled, seeds removed, and grated (I cut it up then use a food processor to grate it - speeds this up a lot! I use the biggest marrow I have - this one was mammoth!)
  • 5-6 stalks celery, diced
  • 6 onions, diced
  • 1 whole garlic bulb, peeled, crushed and roughly chopped
  • 2 dessert spoons blackstrap molasses
  • 2 TBSP uniodised salt
  • 2 TBSP soy sauce
  • 1-2 handsful fresh parsley, finely chopped
  • 1 handful fresh oregano, remove stalks and chop leaves
  • 1-2 handsful nasturtium leaves, washed, stems removed, and fairly finely chopped
  • 1/2 cup honey (I used up some older, crystalised honey; still works fine!). Can use sugar instead if you wish.
  • 2 cups tomato sauce (use my recipe or your store bought favourite)
  • 1/2 cup malt vinegar
Picture
Picture
Marrow ready to grate - a food processor will speed this up, but I used to do it by hand.
Picture
Picture
Picture
Method:
Prepare each item as described above, adding to pot as you go. Give everything a rough stir together. It will seem dry, but as soon as you start to heat it, the tomatoes and marrow will release a lot of moisture. Bring to the boil, stirring frequently. Reduce heat and simmer, uncovered, for 45-60 mins, stirring right to the bottom of the pot often to prevent sticking. Leave to cool. (I often make a pot of this in the evening, and just leave it covered on the stove overnight to cool down - it's no problem). You don't have to cool it completely before you carry on - I just find it convenient to take a break at this stage, and cooler mixes are safer to put through a food processor.

Ladle about half the mixture into a food processor in batches, and blitz until smooth. Recombine blitzed with unblitzed portions (leaving some unblitzed adds texture and interest to the sauce). Return to the boil, simmer 10 mins, then ladle into hot sterile jars and seal. 

Makes 5-6 agee jars full.
Picture
Before heating
Picture
Starting to simmer
Picture
Halfway there
Picture
Ready to process
Picture
Done!
To serve:
Reheat the desired portion, and serve over pasta. Or make this incredible bolagnaise:

Ingredible Garden Goodies Bolagnaise (for 4 servings)
Brown 450g mince in a little coconut oil in a pot. Add chopped mushrooms (optional), stir in. Add 1 litre jar of pasta sauce, stir. If you didn't use nasturtium leaves when you made the sauce, add some fresh ones finely chopped now (optional). Bring to boil then simmer 10-20 mins, uncovered. Thicken if needed with a little cornflour in water. 

Meanwhile, cook spaghetti pasta in a pot of boiling water for 10 mins or until el dente. Drain. 

Serve by arranging pasta on plates, topping with the bolagnaise, and sprinkle with grated cheese. SOOO good!
Picture
Picture
0 Comments
<<Previous

    Categories

    All
    Apples
    Beetroot
    Berries
    Brocc & Cauli
    Cabbage
    Cucumbers
    Dairy
    Ferments
    Flowers
    Freezing Vegetables
    Garlic
    Jams And Jellies
    Meal Bases
    Pectin
    Pickles
    Pickles - Fermented
    Sauces & Condiments
    Sauerkraut
    Tomatoes
    Vinegars
    Zucchini/Marrows

    Archives

    March 2024
    February 2018
    January 2018
    April 2017
    March 2016
    February 2016

    RSS Feed

Powered by Create your own unique website with customizable templates.