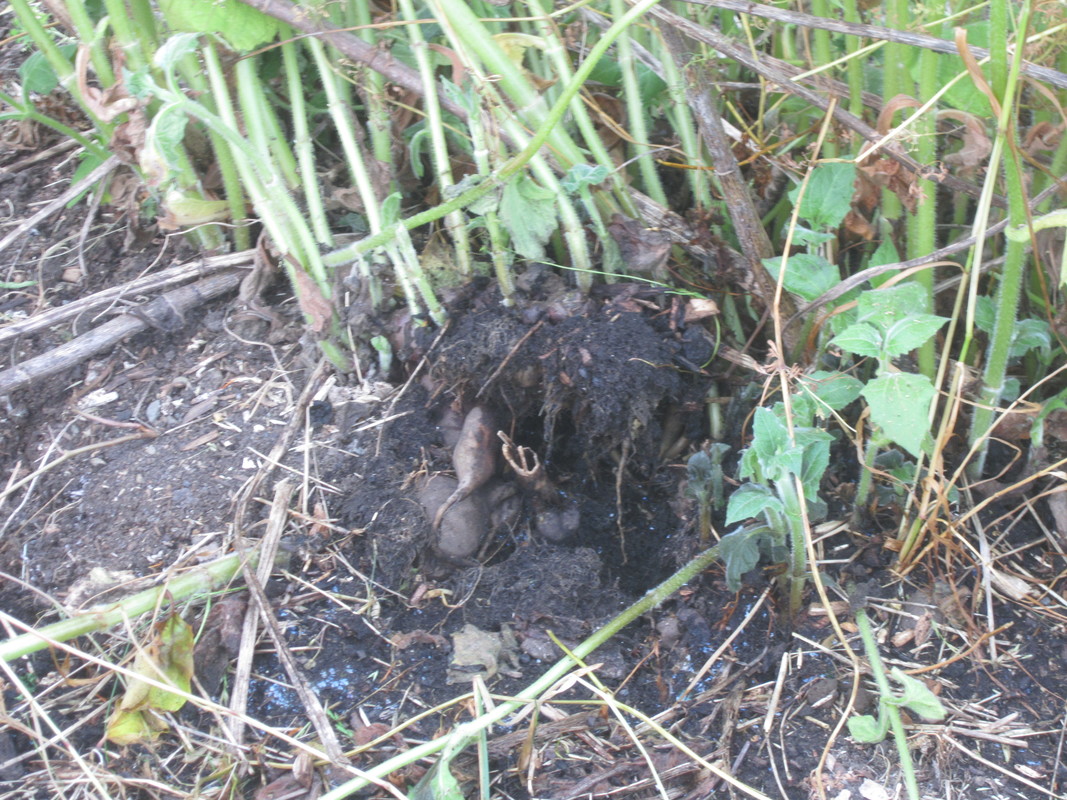
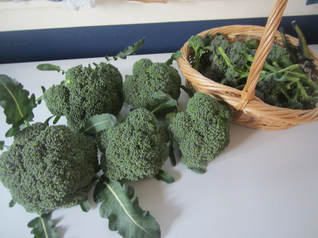
This past summer, I grew pumpkins/squash in different fashion than I ever have before, and the results were outstanding!
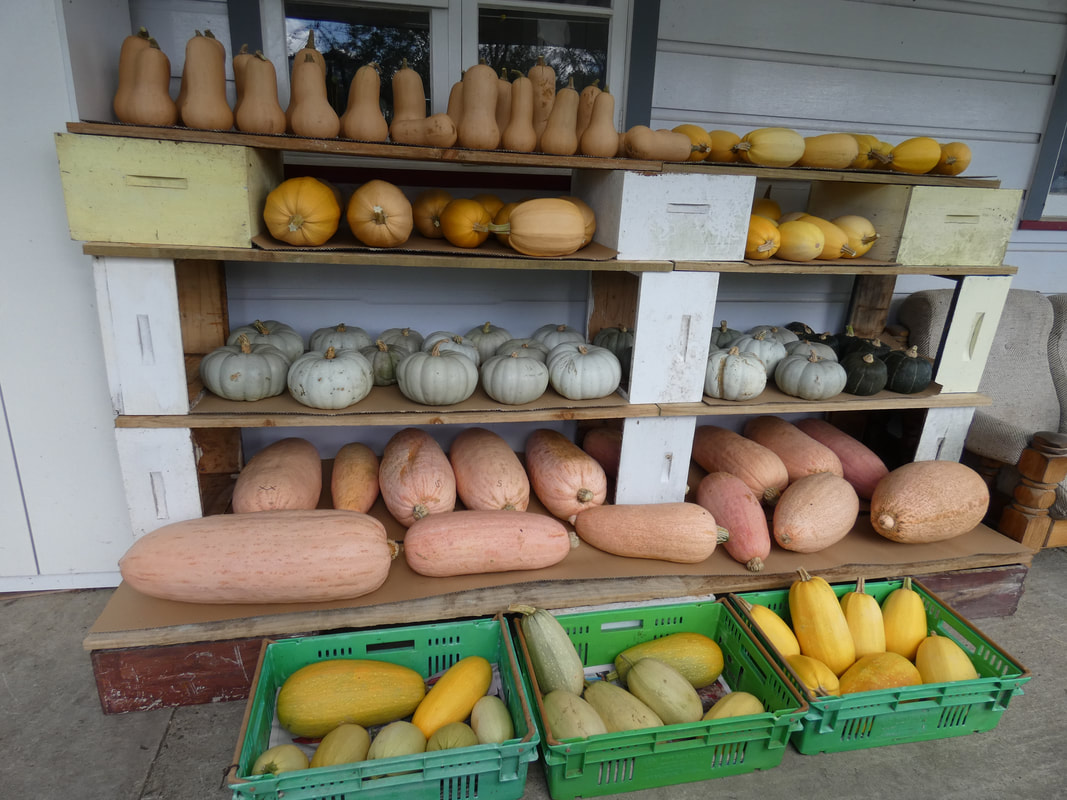
Pic taken after I'd already cooked up one crown and a couple of big pink banana jumbo squash
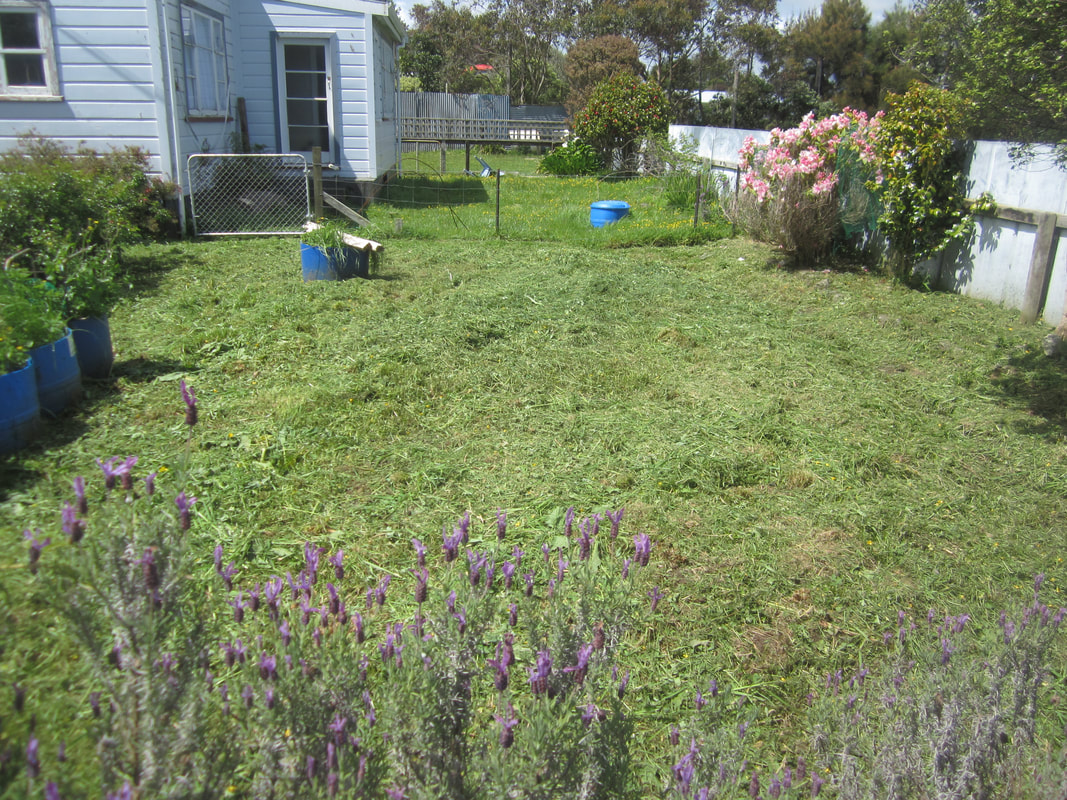
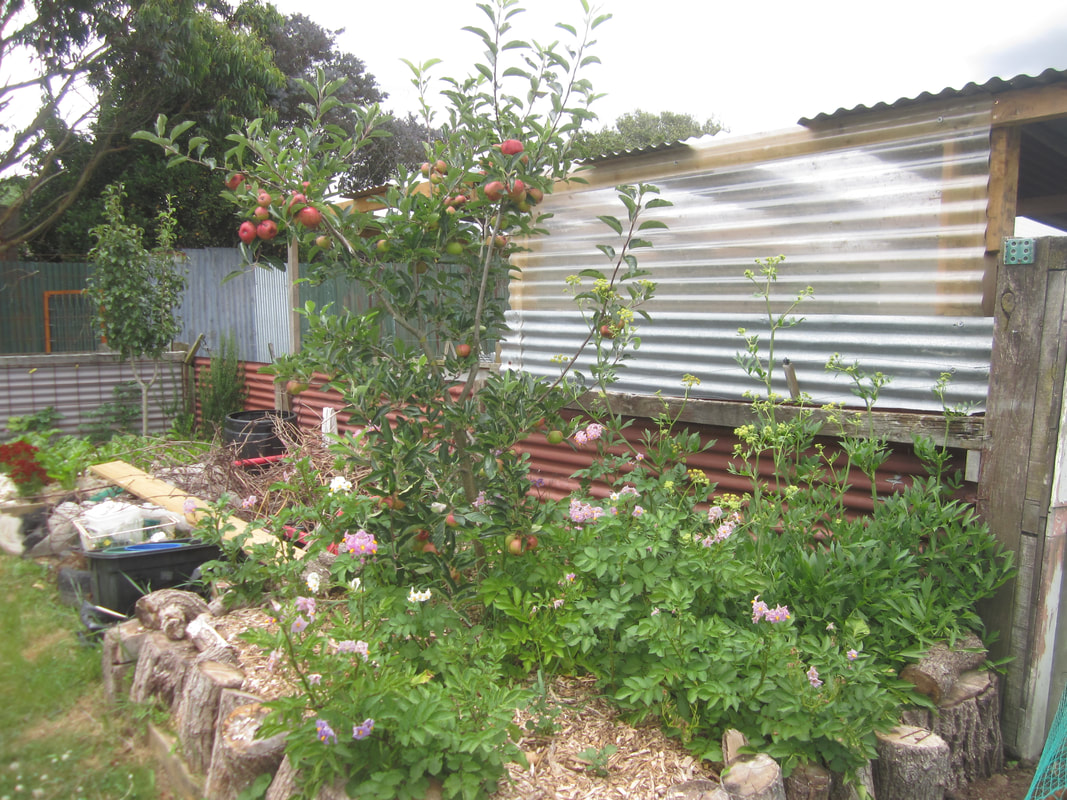
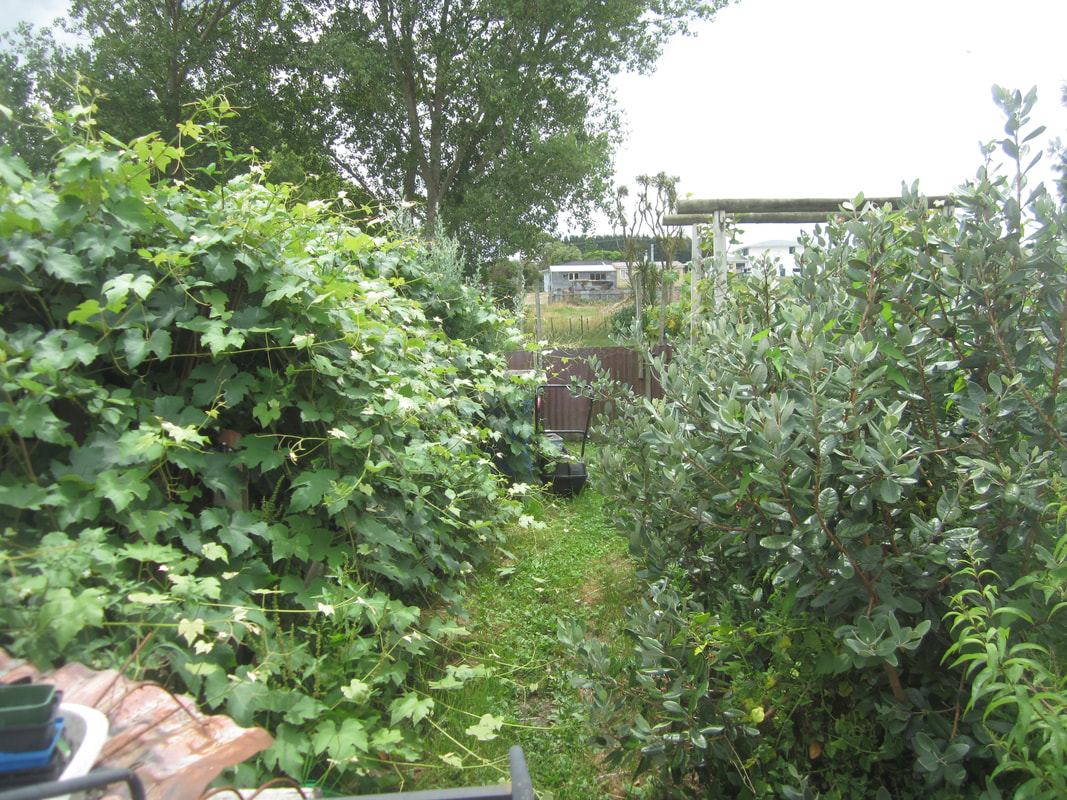
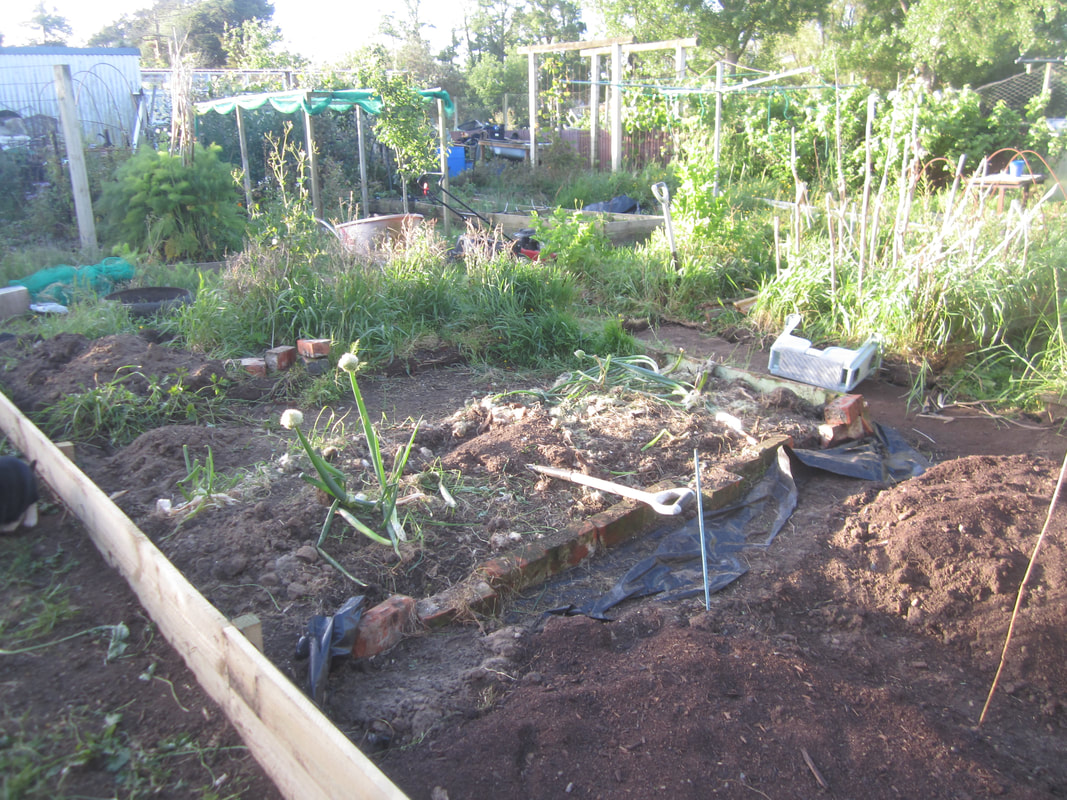
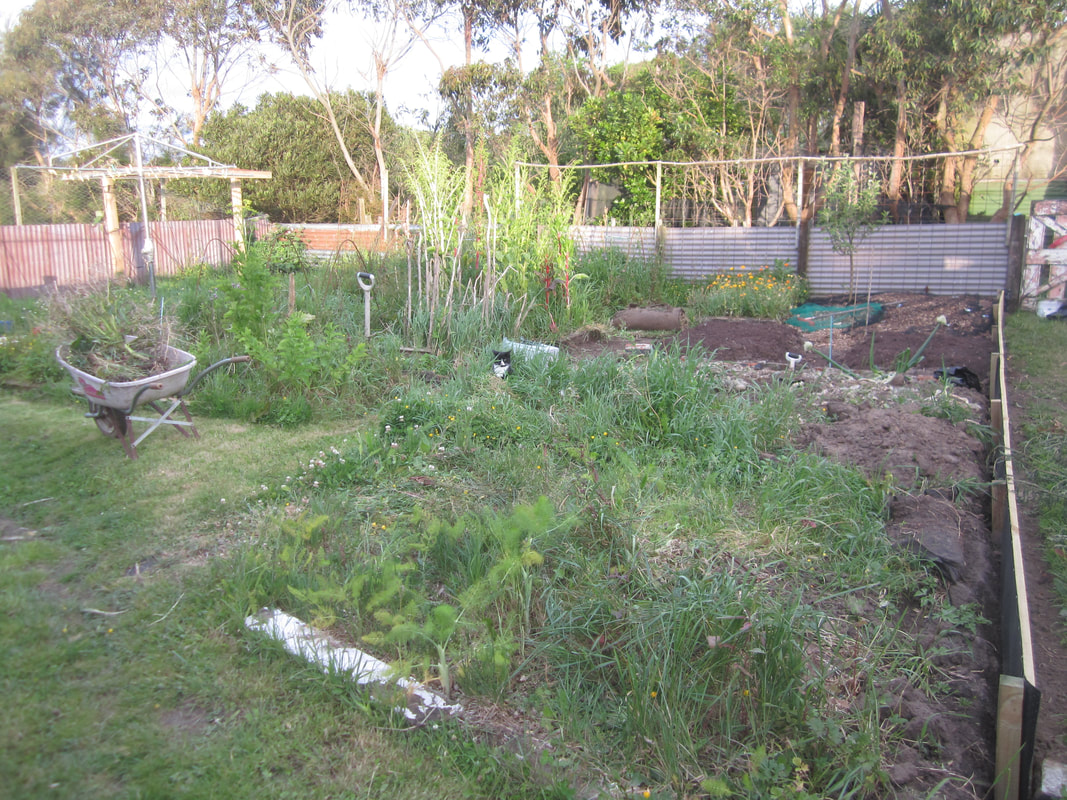
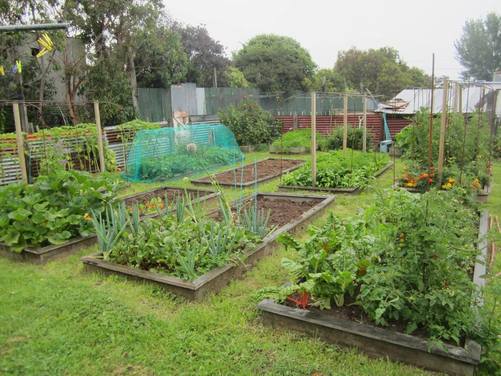
The garden areas around our house are somewhat divided up. Adjacent to the driveway as you enter the yard, there is an area that was once our front lawn. When I got serious about gardening beginning with my decision to grow 1000kg of vegetables in 2013, I dug up three strips in that lawn and planted sweetcorn. The area was, however, low lying and prone to flooding, so not much good for growing except in summer. The following season, my kids laid down cardboard all over the area, and spread 18 trailer loads of used sawdust and manure from local horse stables there. I grew some pumpkins in it, and a few other subsequent crops. But over time, the couch, buttercup and other weeds took over again, and I always struggled to keep it under control, especially as most of my attention and energy went into my "main garden area," a 300sqm area fenced off behind the house and developed into various beds etc.
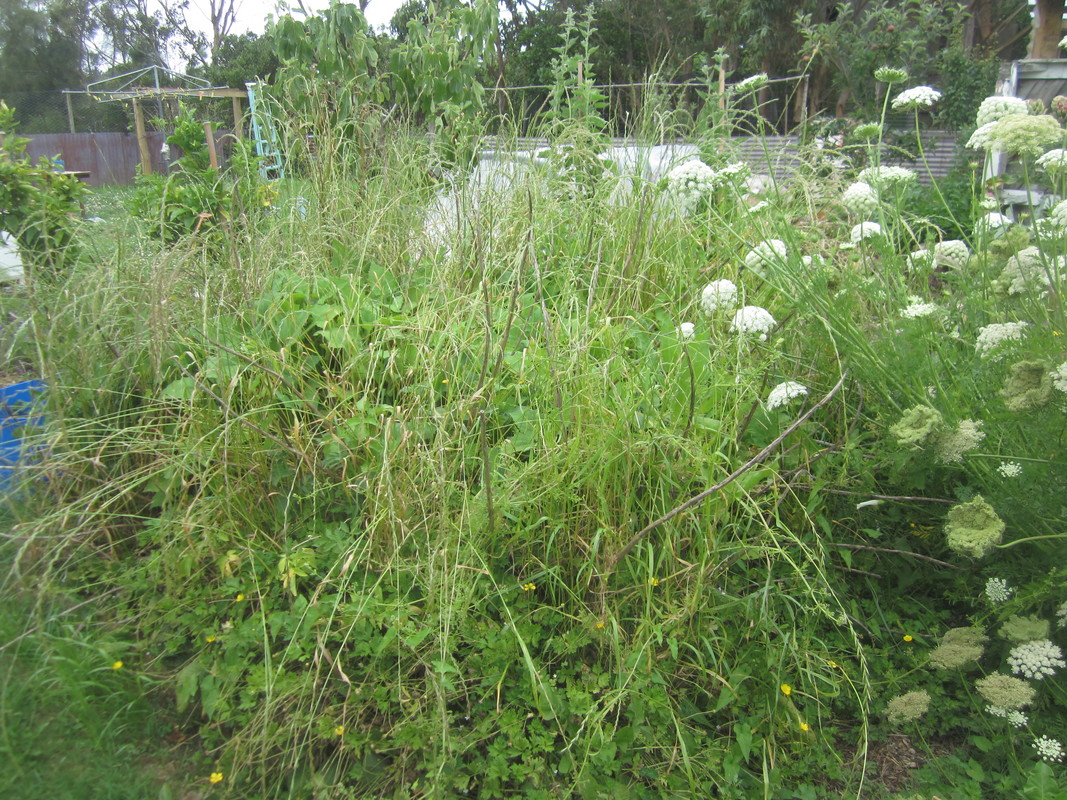
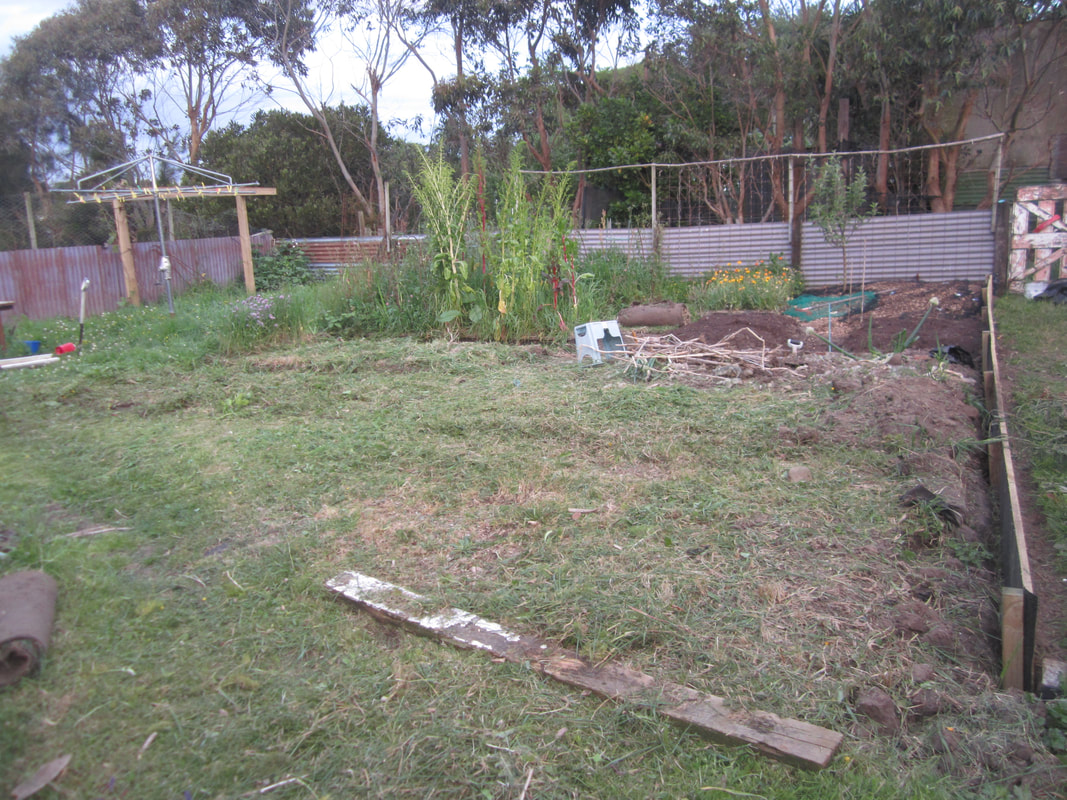
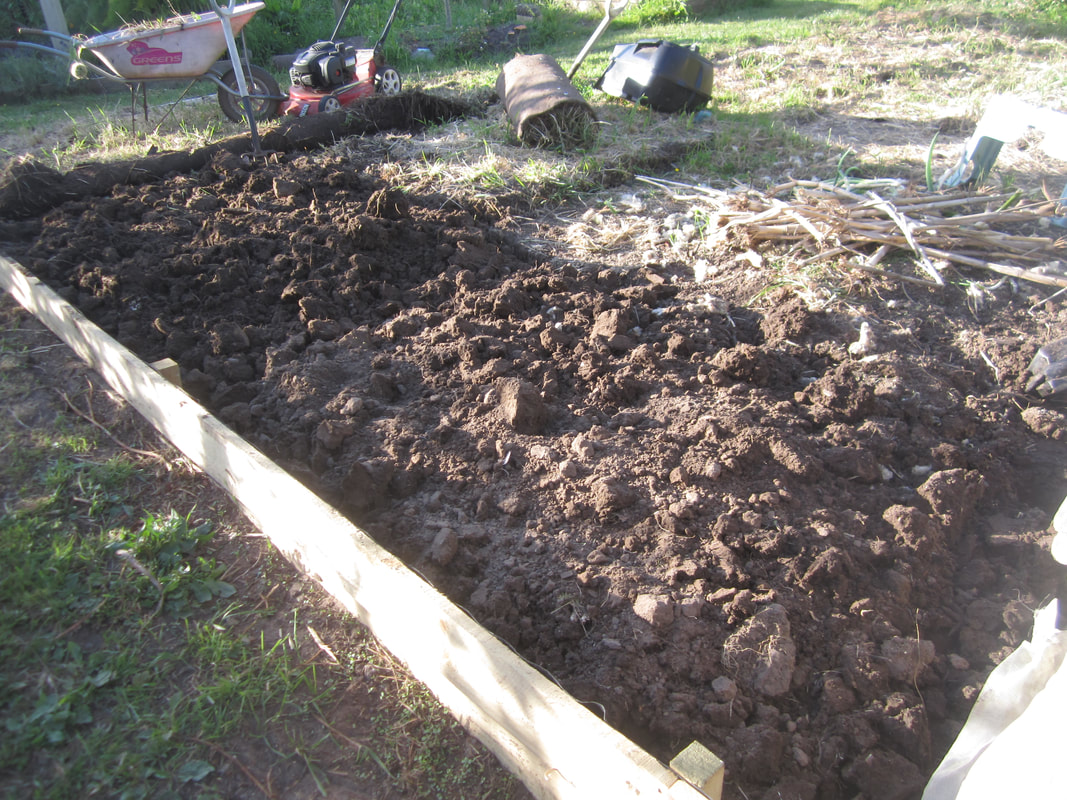
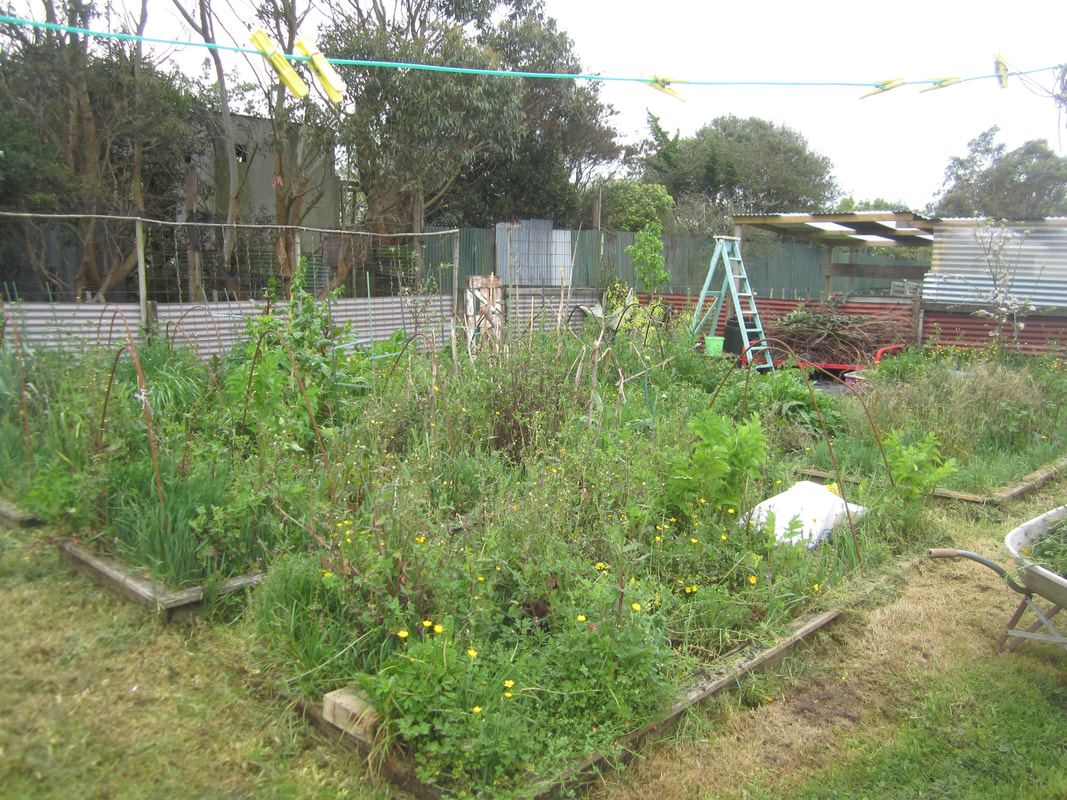
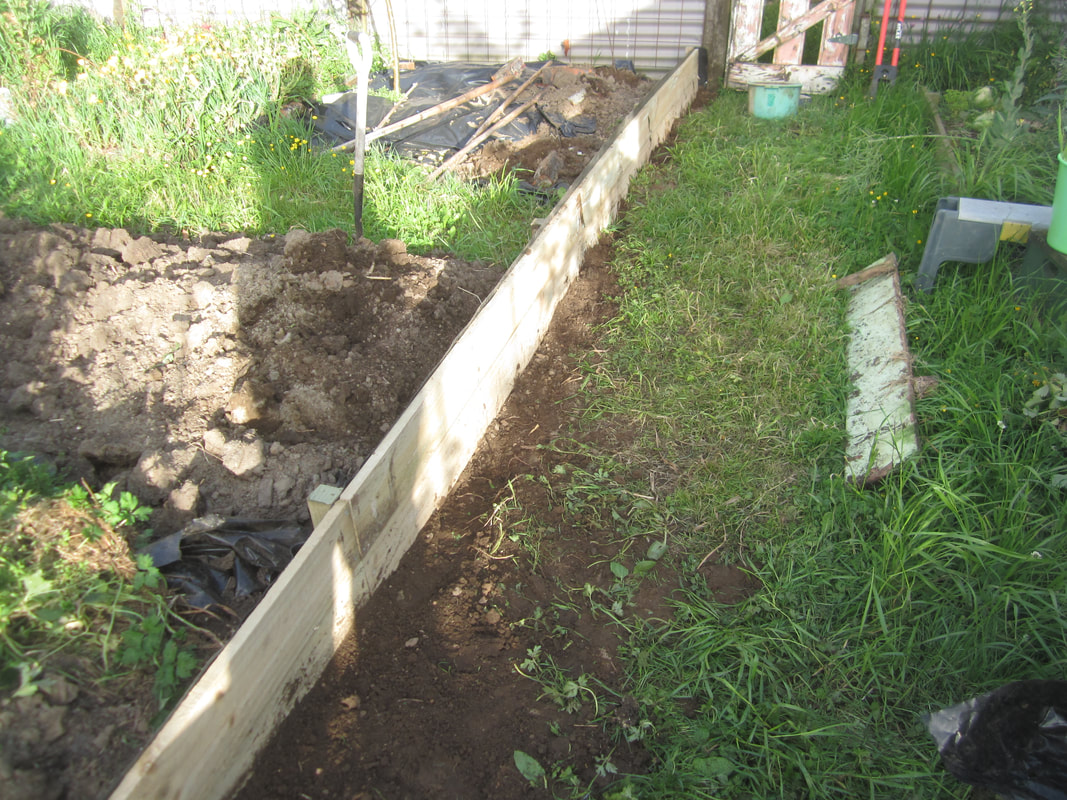
The last couple of years have included a number of life events that have made any gardening at all a challenge, and I was getting very sick of the front garden patch always being waist high in weeds and grass. I cut it down with a weed eater every now and then, and kept meaning to just start mowing it regularly and letting it become lawn again, but didn't actually do it. Feeling frustrated and overwhelmed with my current inability to keep on top of everything, I decided I would simply cover the whole area (about 50 square meters) in black plastic over winter, and let it kill off all the grass and weeds, and then lift the plastic and plant for summer. But I was behind in doing that too.
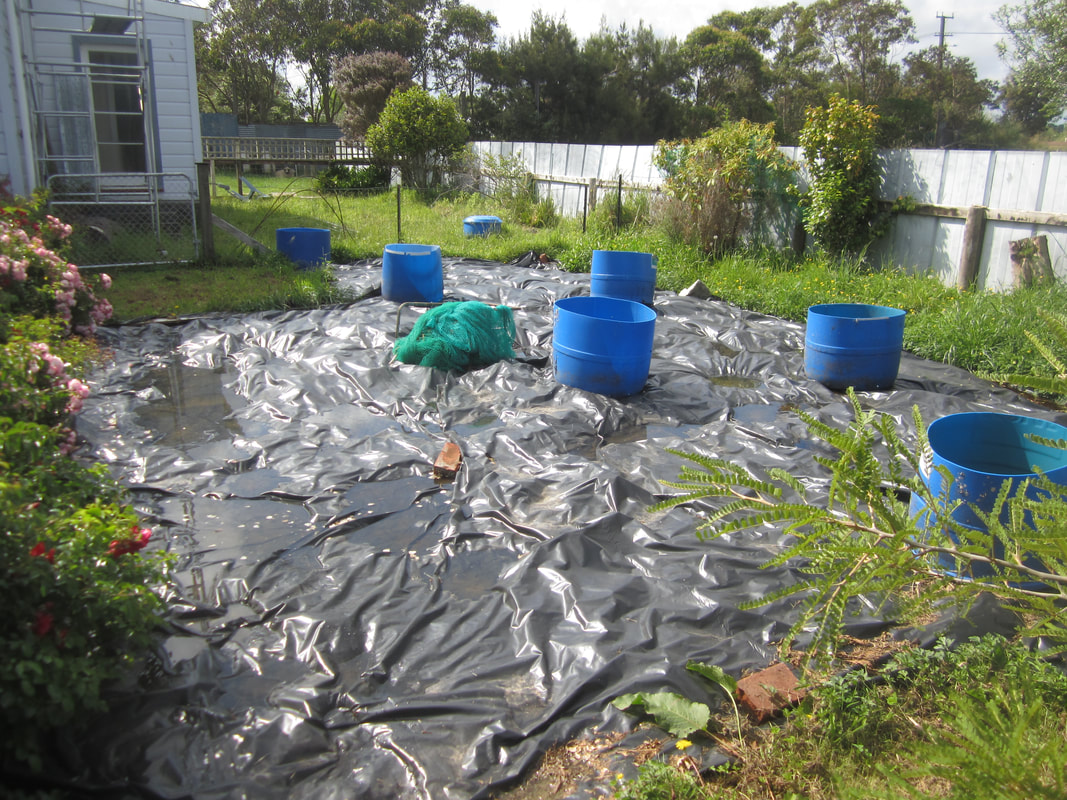
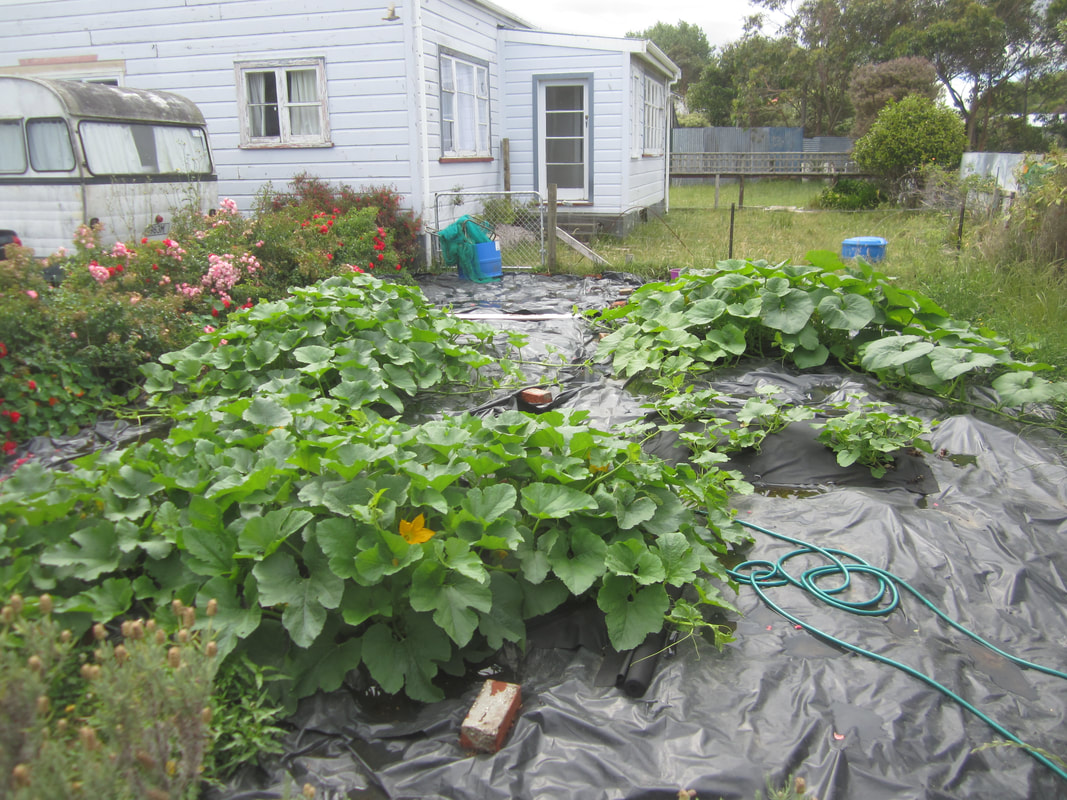
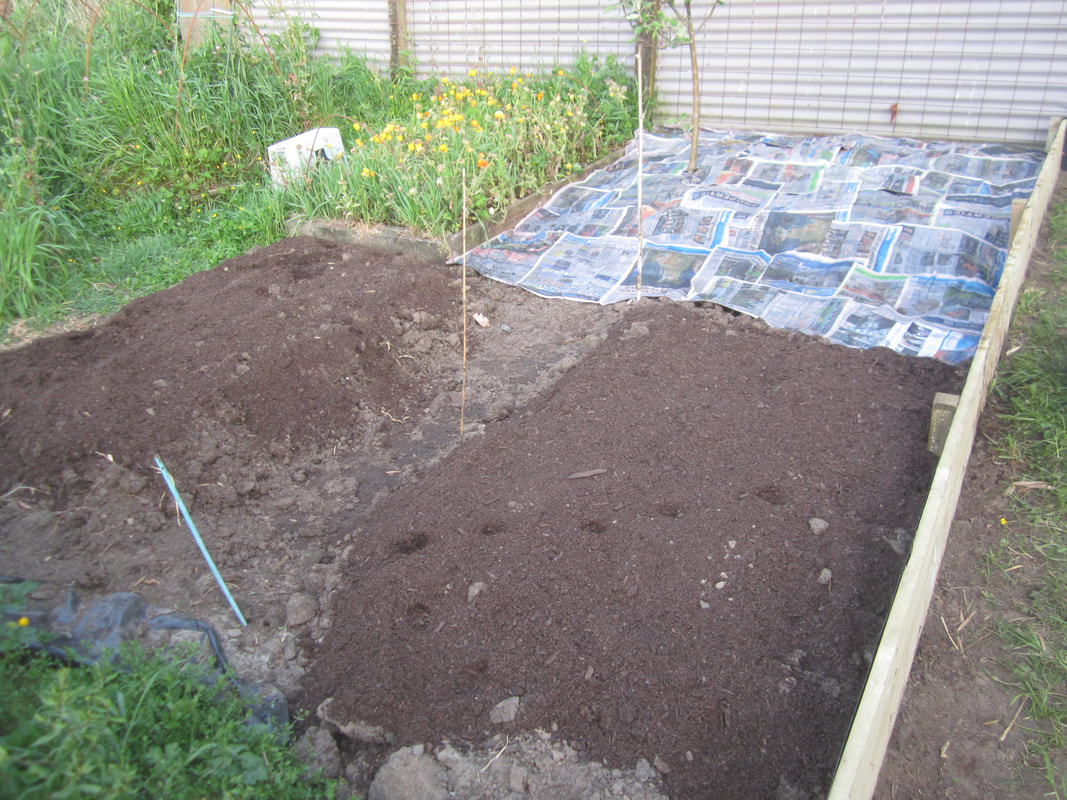
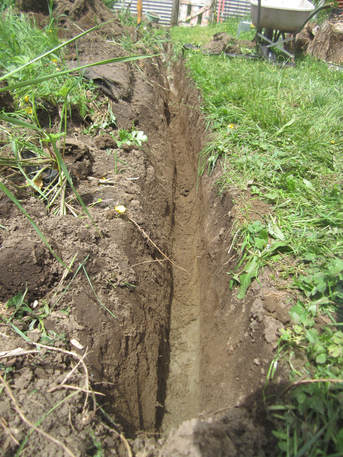
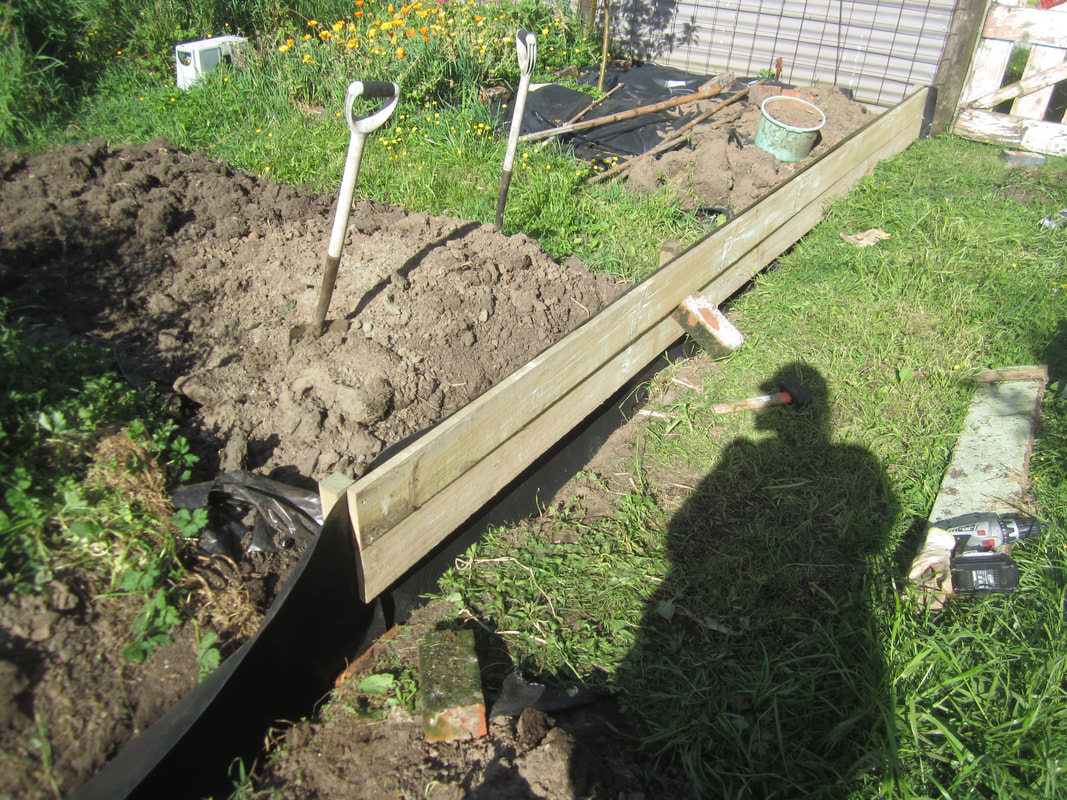
On 27th October 2017, after weedeatering down the weeds once again, I finally laid the plastic. Too late to actually kill everything off before summer planting. So instead, I decided to plant with the plastic in place, and this is what I did:
The last couple of years have included a number of life events that have made any gardening at all a challenge, and I was getting very sick of the front garden patch always being waist high in weeds and grass. I cut it down with a weed eater every now and then, and kept meaning to just start mowing it regularly and letting it become lawn again, but didn't actually do it. Feeling frustrated and overwhelmed with my current inability to keep on top of everything, I decided I would simply cover the whole area (about 50 square meters) in black plastic over winter, and let it kill off all the grass and weeds, and then lift the plastic and plant for summer. But I was behind in doing that too.
On 27th October 2017, after weedeatering down the weeds once again, I finally laid the plastic. Too late to actually kill everything off before summer planting. So instead, I decided to plant with the plastic in place, and this is what I did:
 |  |
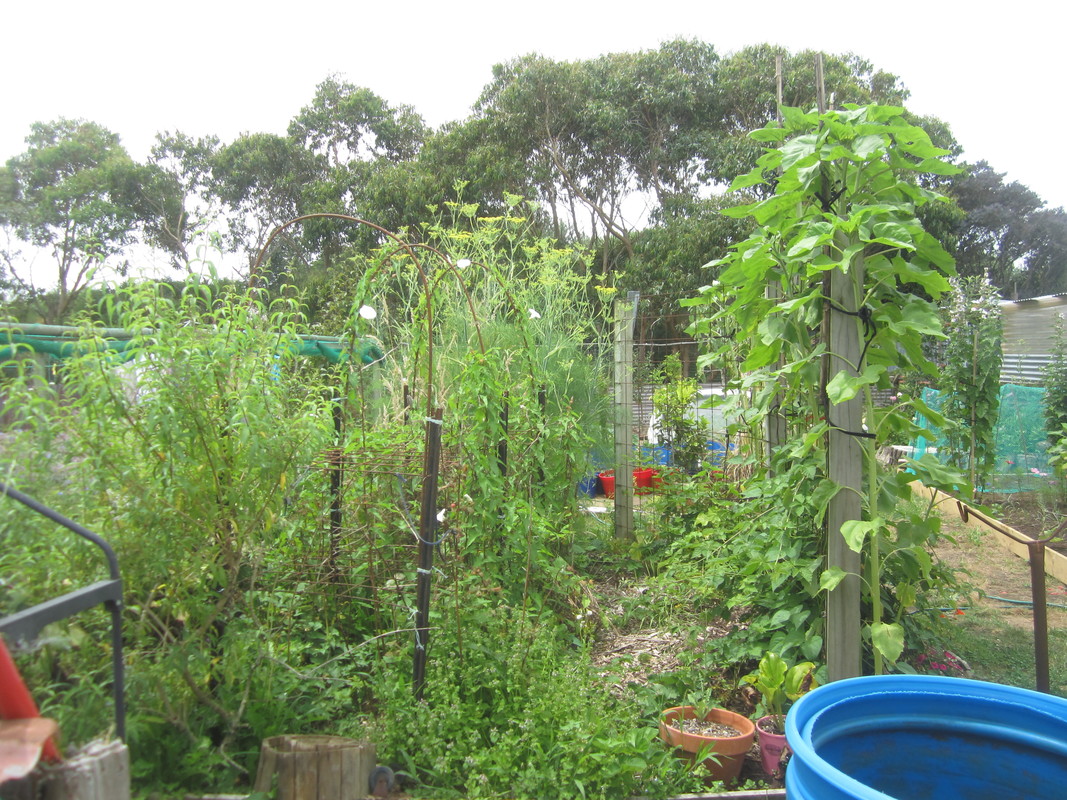
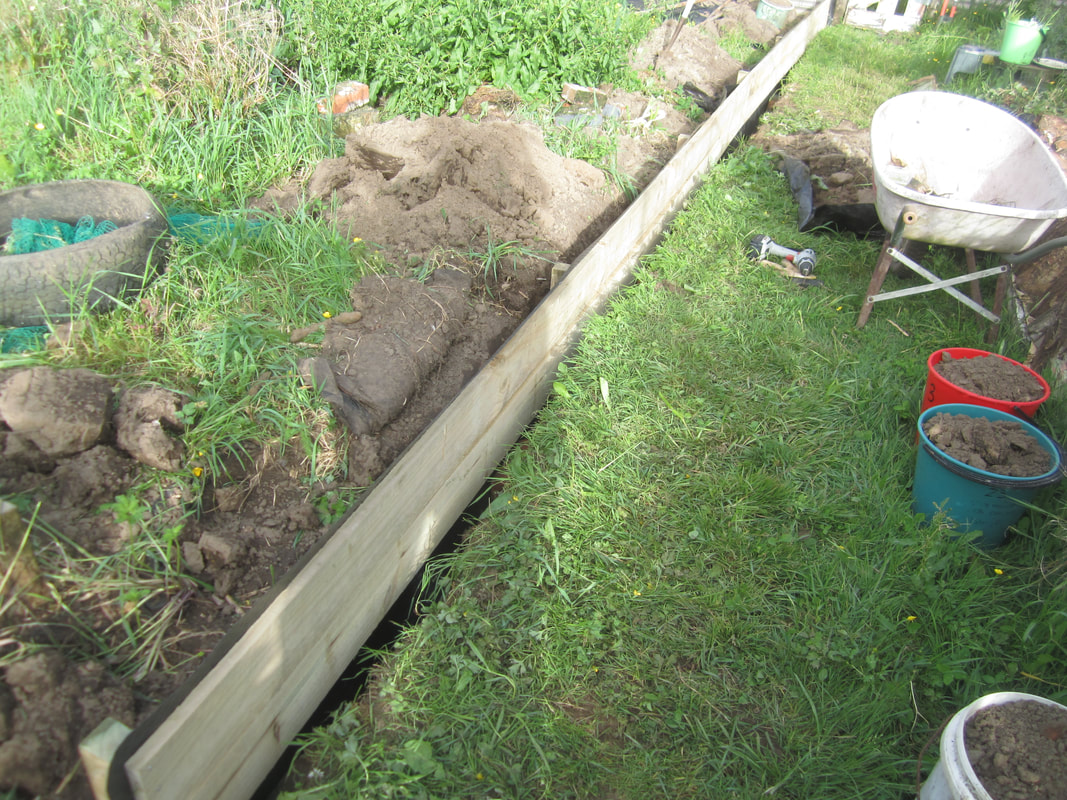
I decided I was going to grow 5 types of "winter squash" (ie pumpkins and squash that are picked fully mature and which store well through winter and beyond - I can usually store them for up to a year, until the next crop is ready). I would grow: pink banana jumbo squash, buttercup squash, crown pumpkins, butternut squash and spaghetti squash. I started them all from seed in my greenhouse (also on 27th Oct), but the buttercups were very slow to get going and so were kept in the greenhouse for longer.
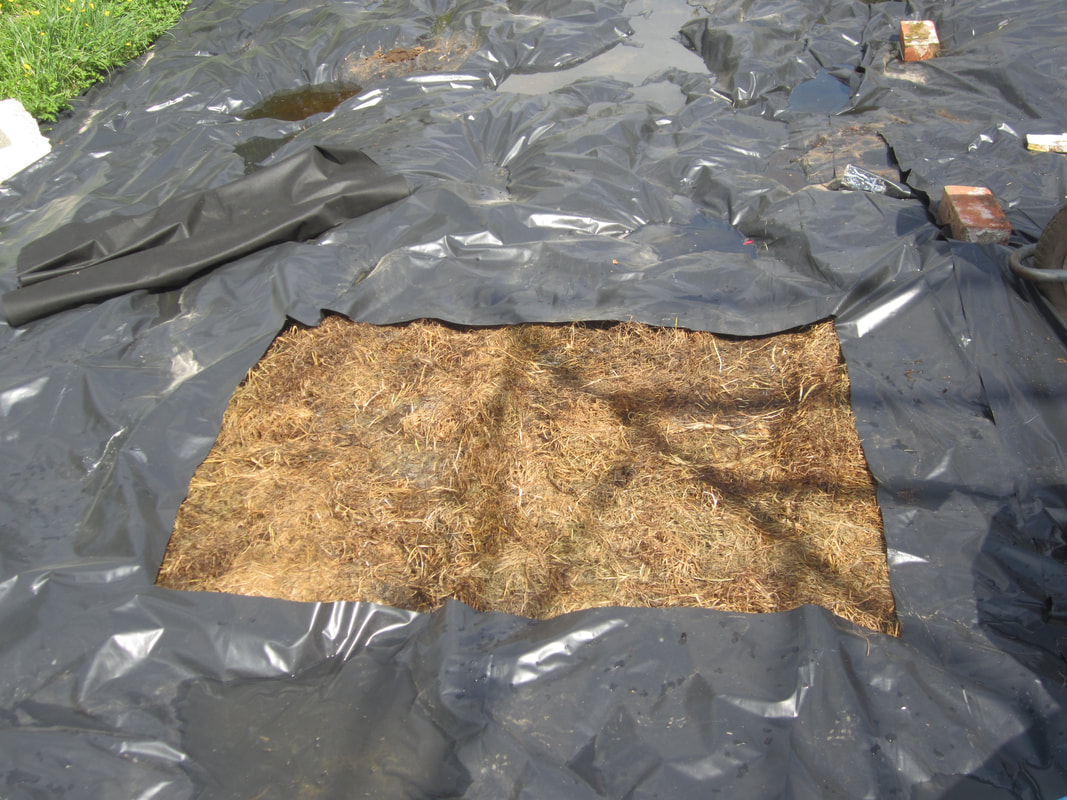
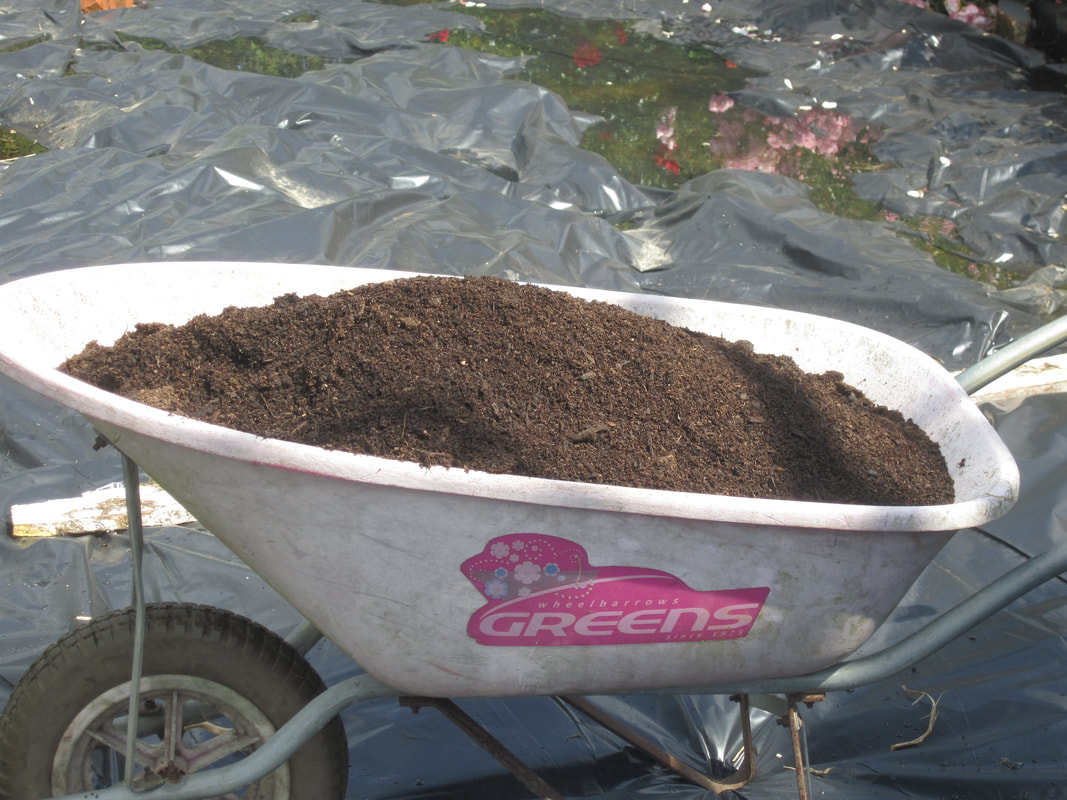
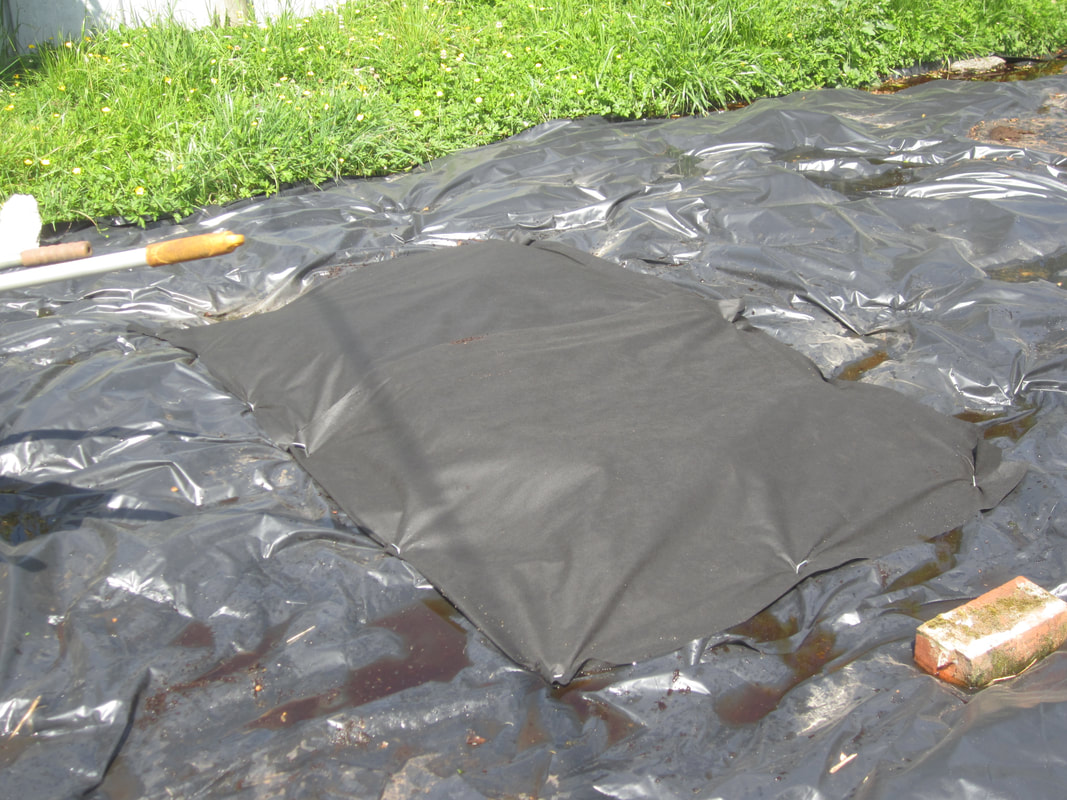
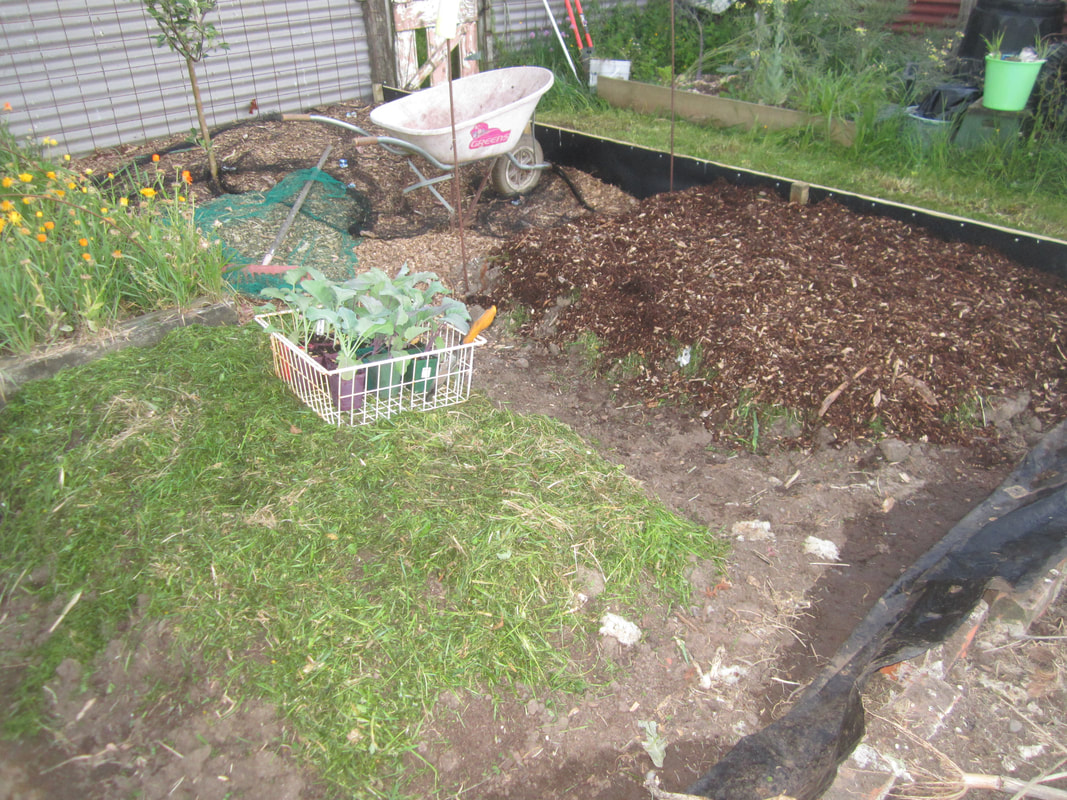
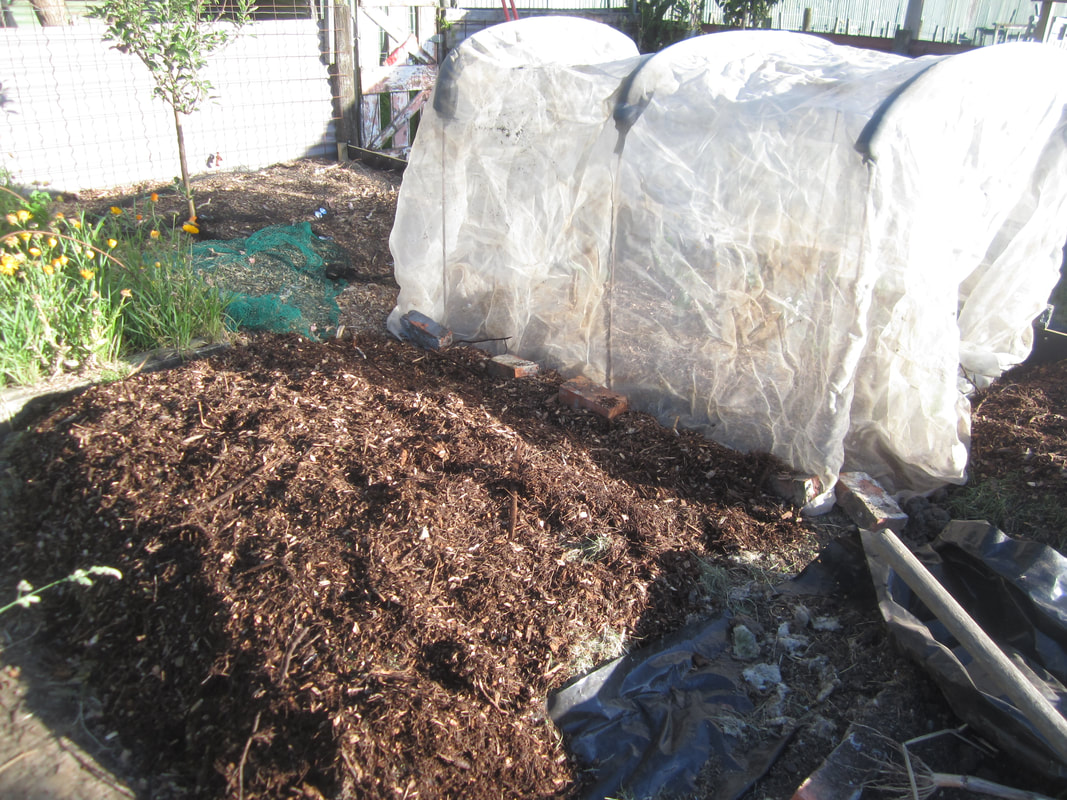
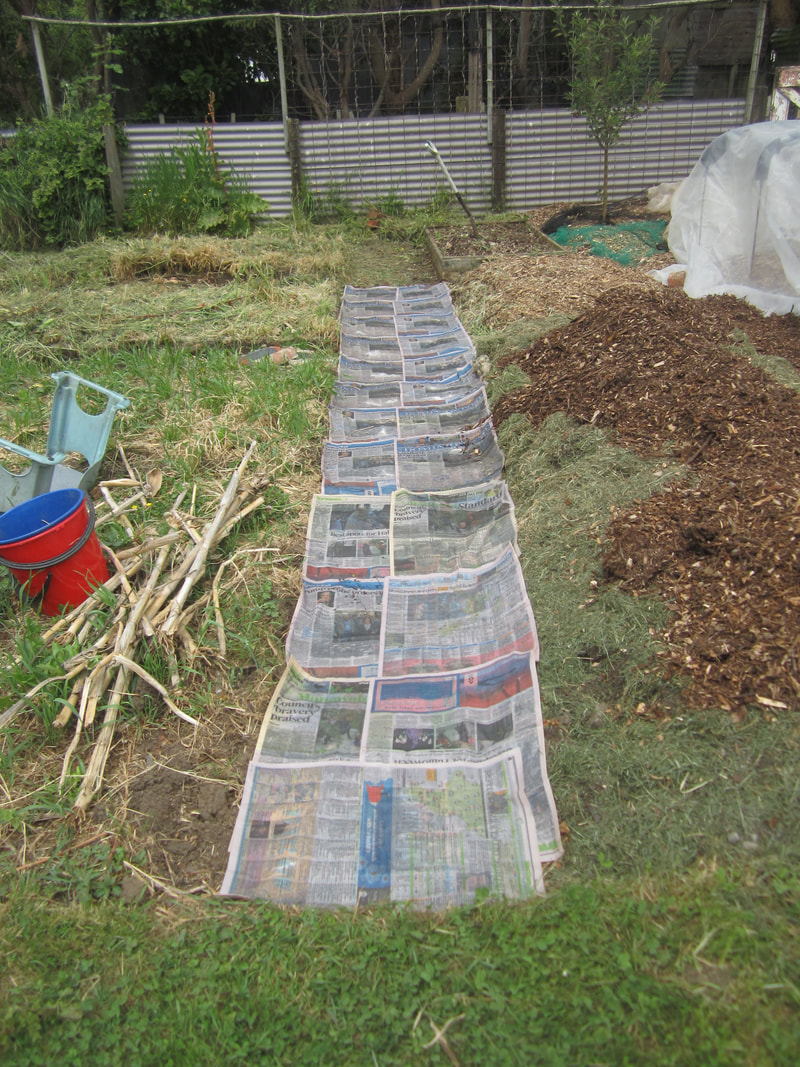
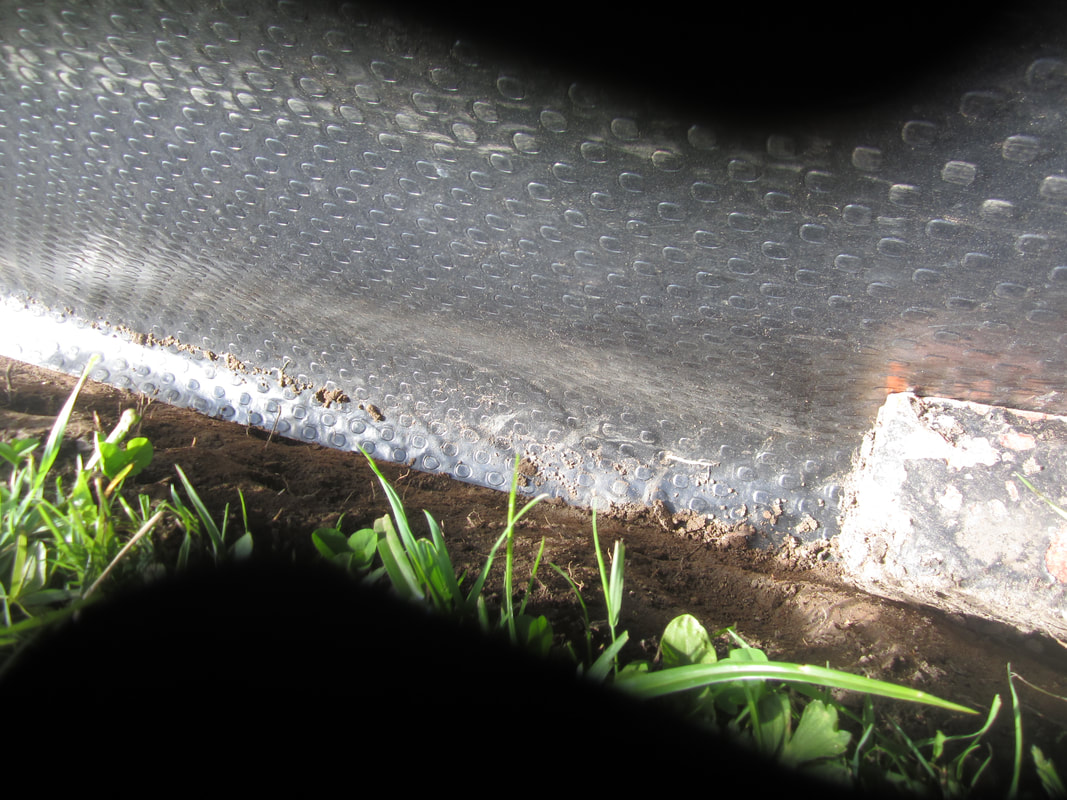
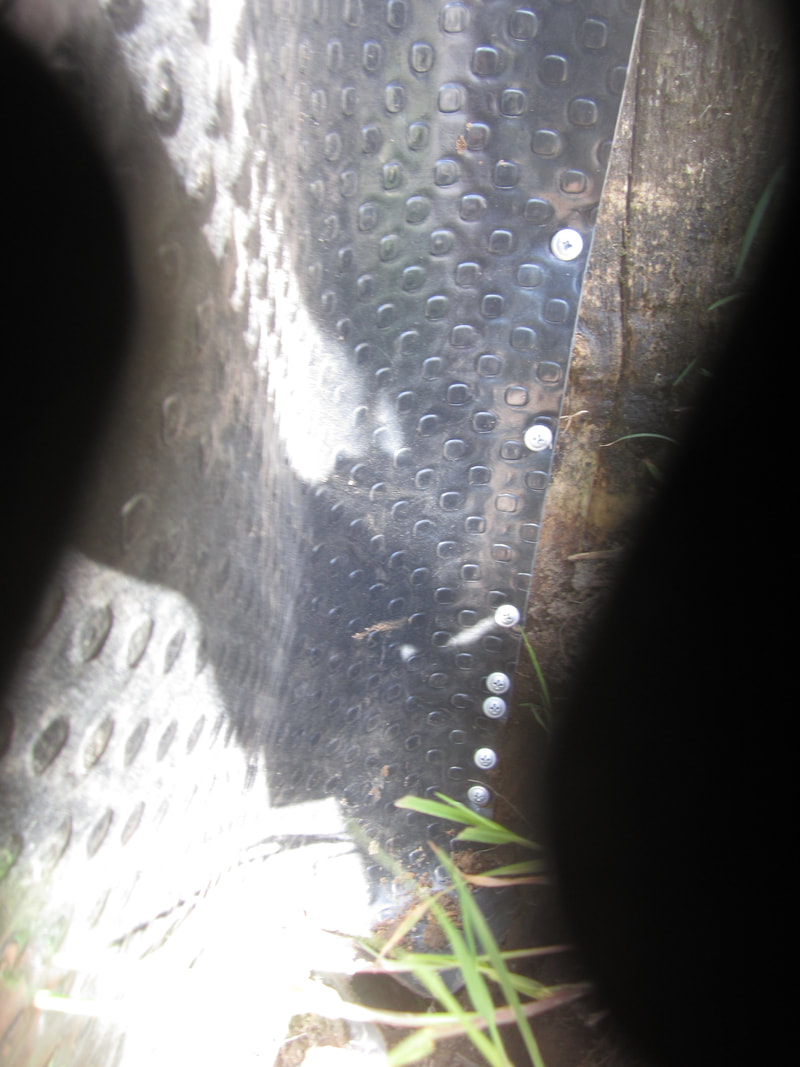
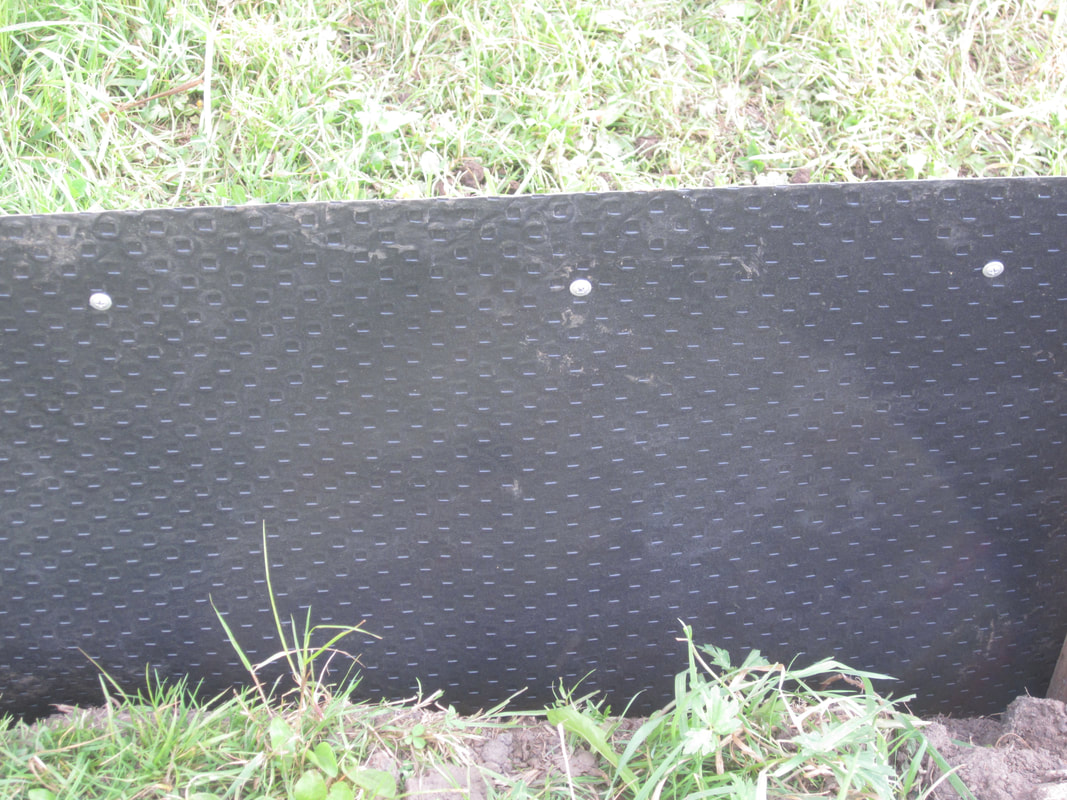
When most of the seedlings were ready to plant out, I cut big squares/rectangles out of the black plastic, one for each variety of squash, suitably spaced out. Into each square, I poured 1-2 wheelbarrows of compost, and spread it over the space in a mound. I then laid weedmat over the compost, and pinned it down, making sure that the plastic underlapped the weedmat in such a way that any rain on the surface would run into the compost, hopefully.
 |  |  |
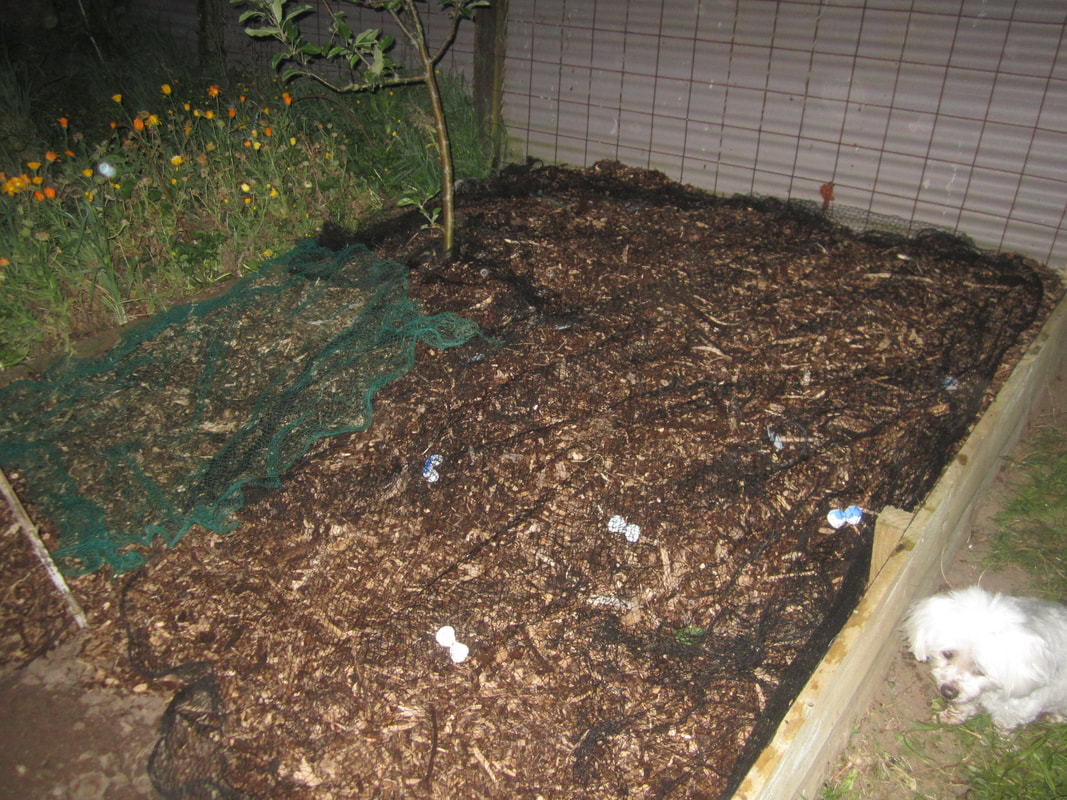
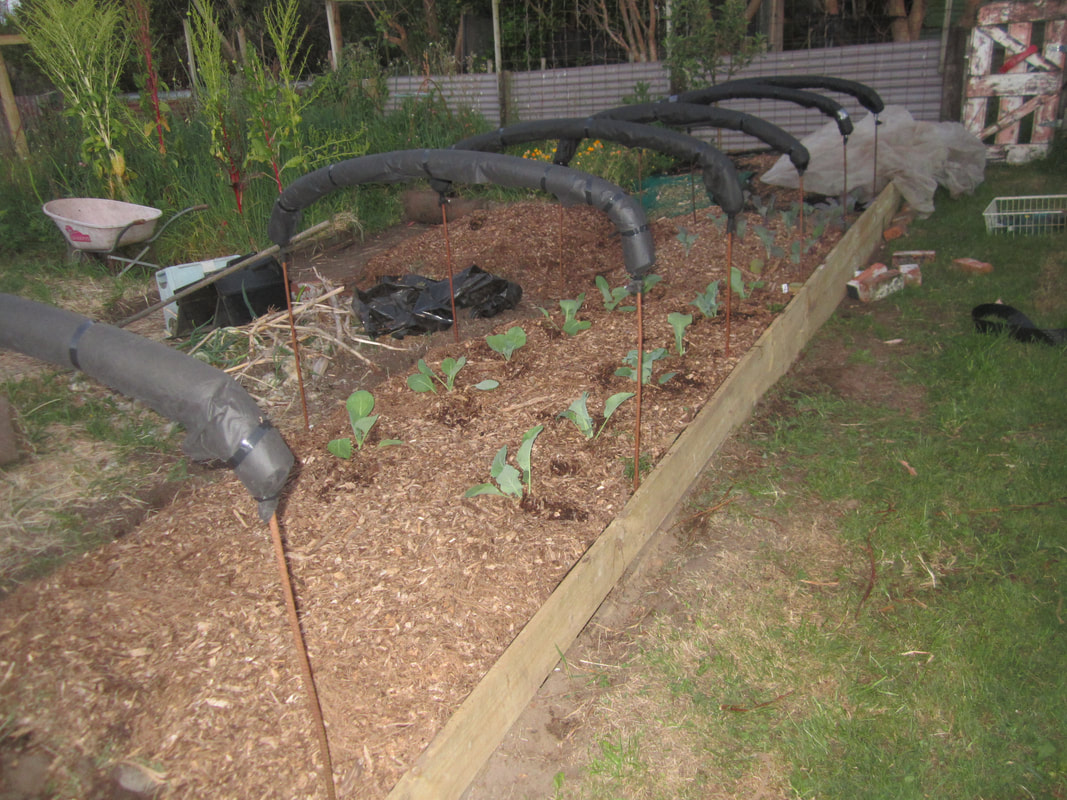
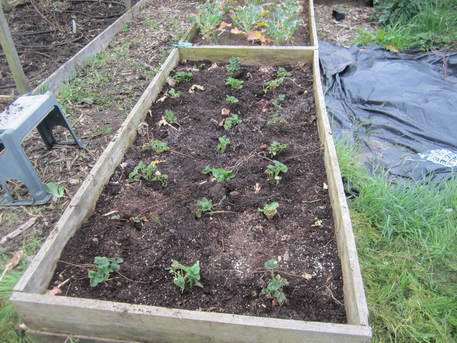
I then planted out 4 crown pumpkins in one patch, cutting holes in the weedmat, 3 pink banana jumbos in another, 4 butternut squash in another, and 6 spaghetti squash in a long row at the leading edge of the area. A patch was ready for the buttercups too, but they went in two weeks later. Most of the seedlings were planted on December 3rd; the 5 buttercups were planted on the 14th.
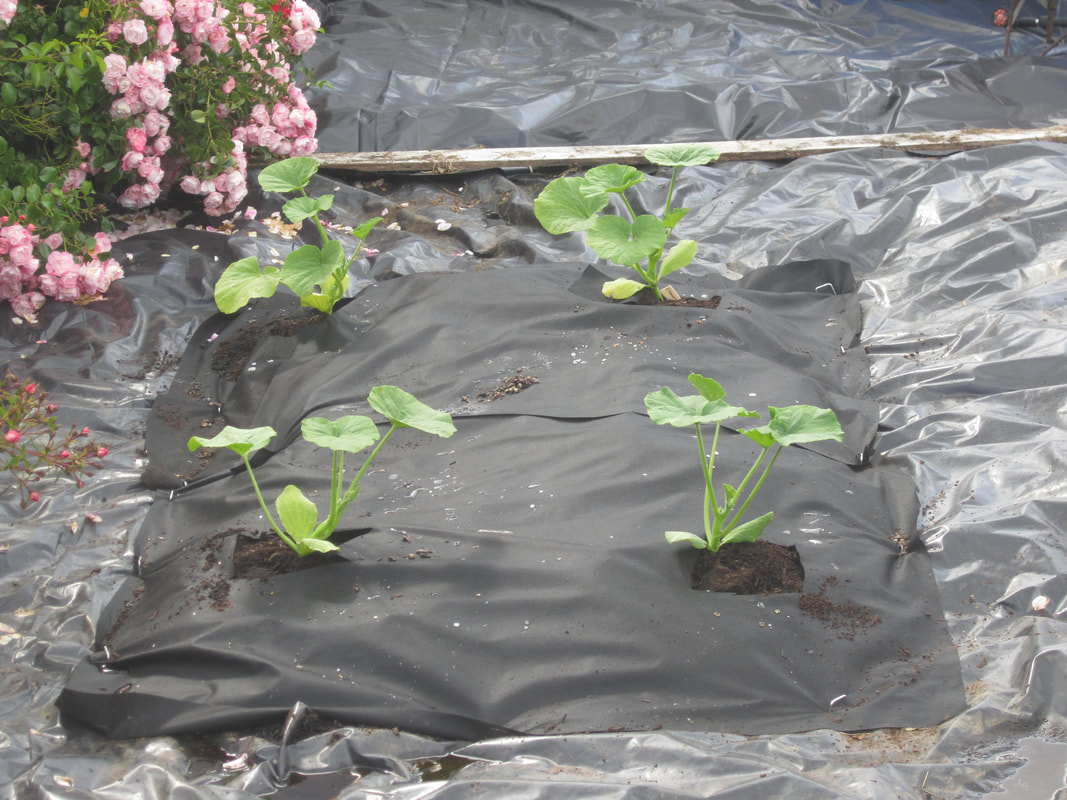
Crown pumpkins, just planted, 3rd December
December was BLAZING hot - the hottest summer weather we've had in years. The plastic heated up to the point that you could not walk on it. I watered the seedlings at the base of each every day for a couple of weeks - twice a day the first few days - and then every other day for another week or so. Then we had a some rain. I went over the patch after that, and any spots were water was pooling on the plastic, I stabbed holes with a pair of scissors, so water could drain through into the soil. I didn't want it to sit on the surface later and cause the squash to rot. After those first few weeks of watering, I did not water the plants again, or do anything else to them, except to take the occasional photo, and to try and dissuade the spaghetti squash from invading the driveway.
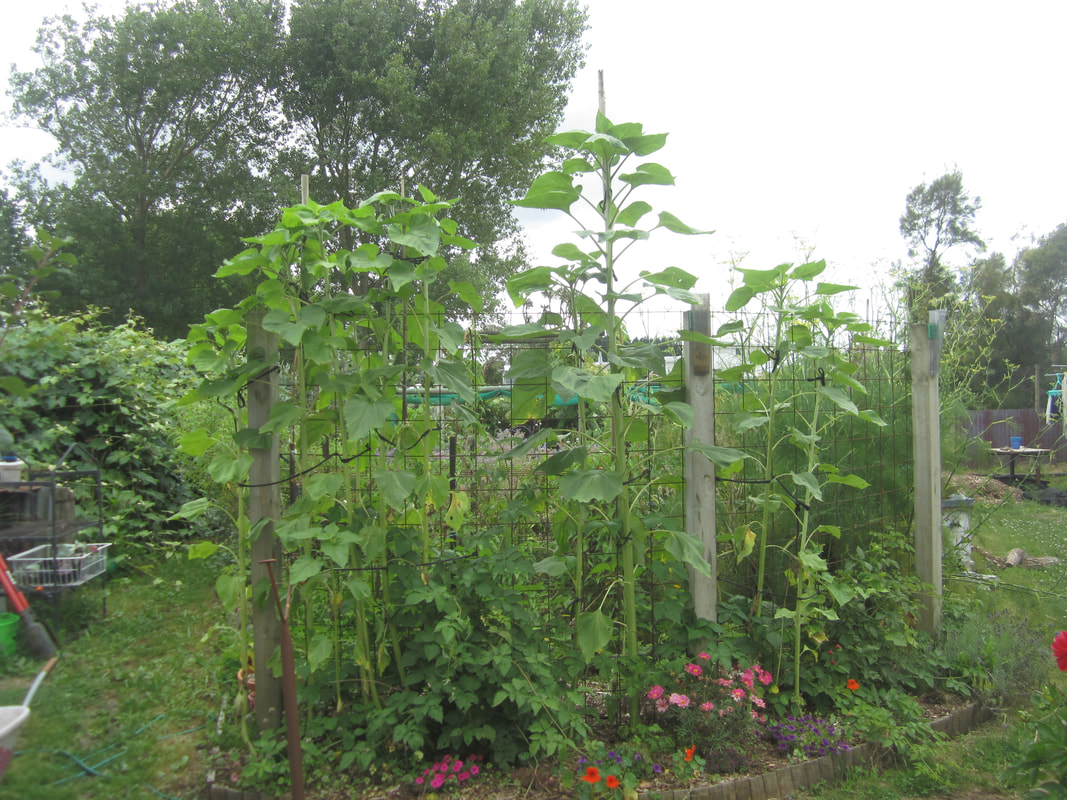
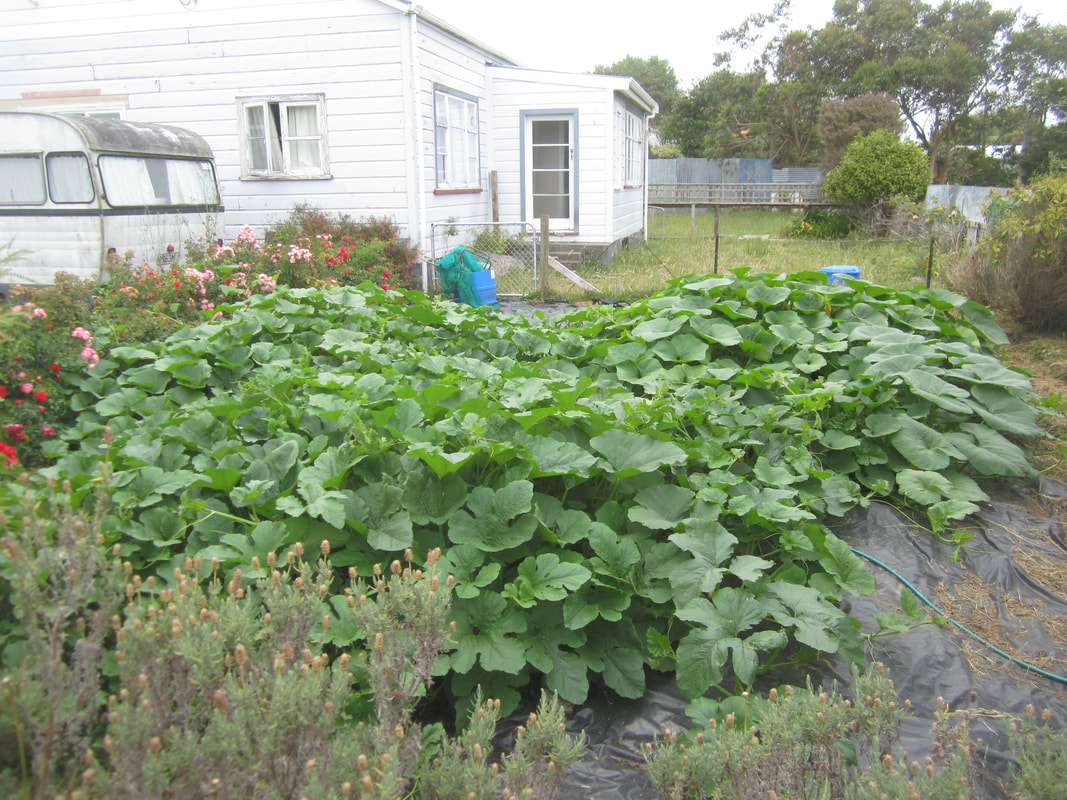
They all grew super fast! The heat was obviously a contributor. The grass rotting down under the plastic would have provided plenty of extra food also. Here are some progress pics, with dates captioned below. Further down, I will itemize the harvest totals.
They all grew super fast! The heat was obviously a contributor. The grass rotting down under the plastic would have provided plenty of extra food also. Here are some progress pics, with dates captioned below. Further down, I will itemize the harvest totals.
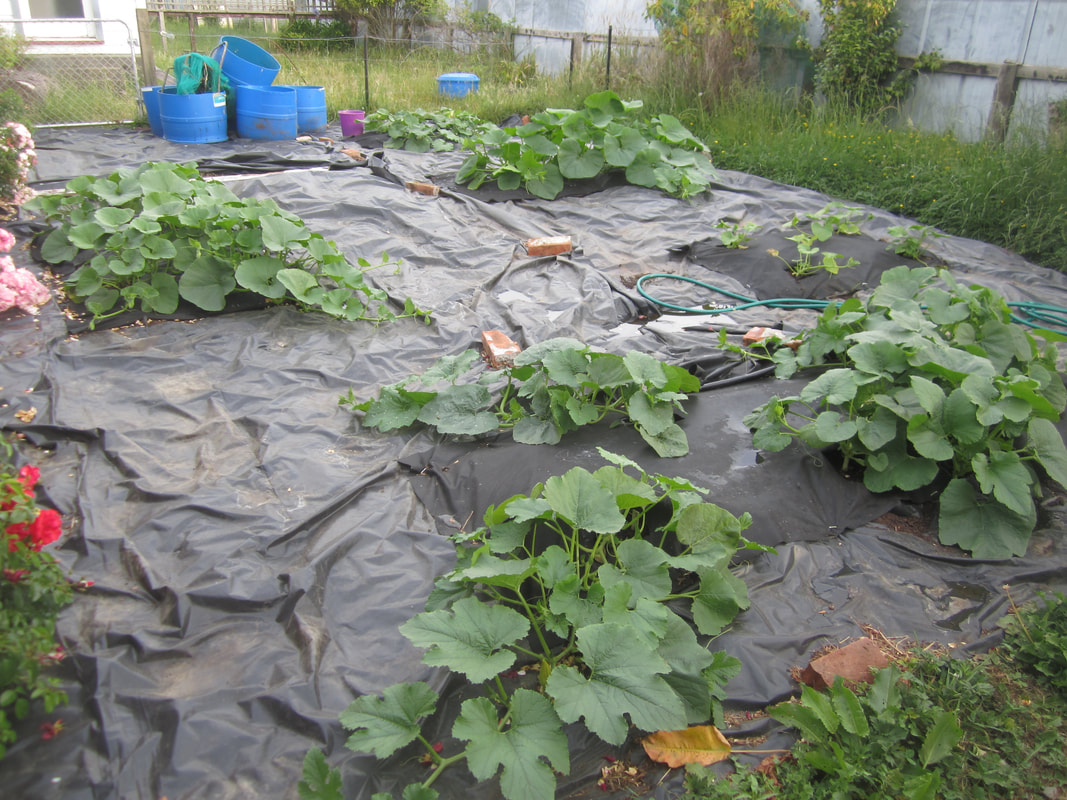
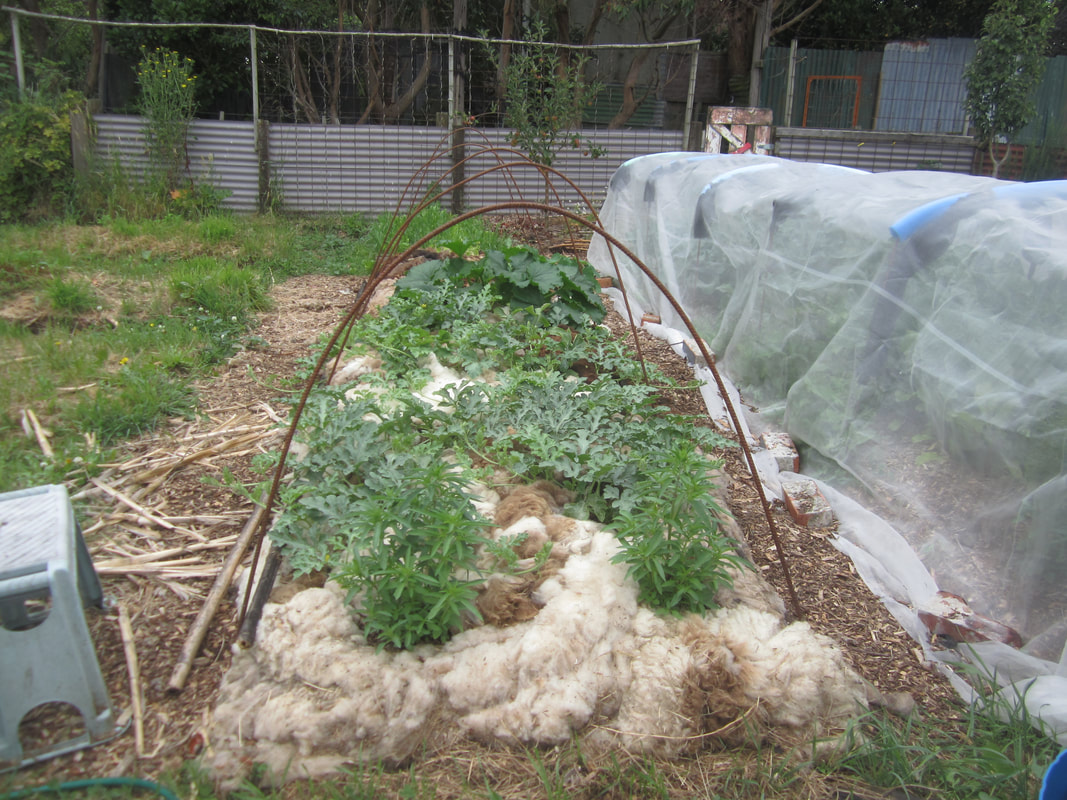
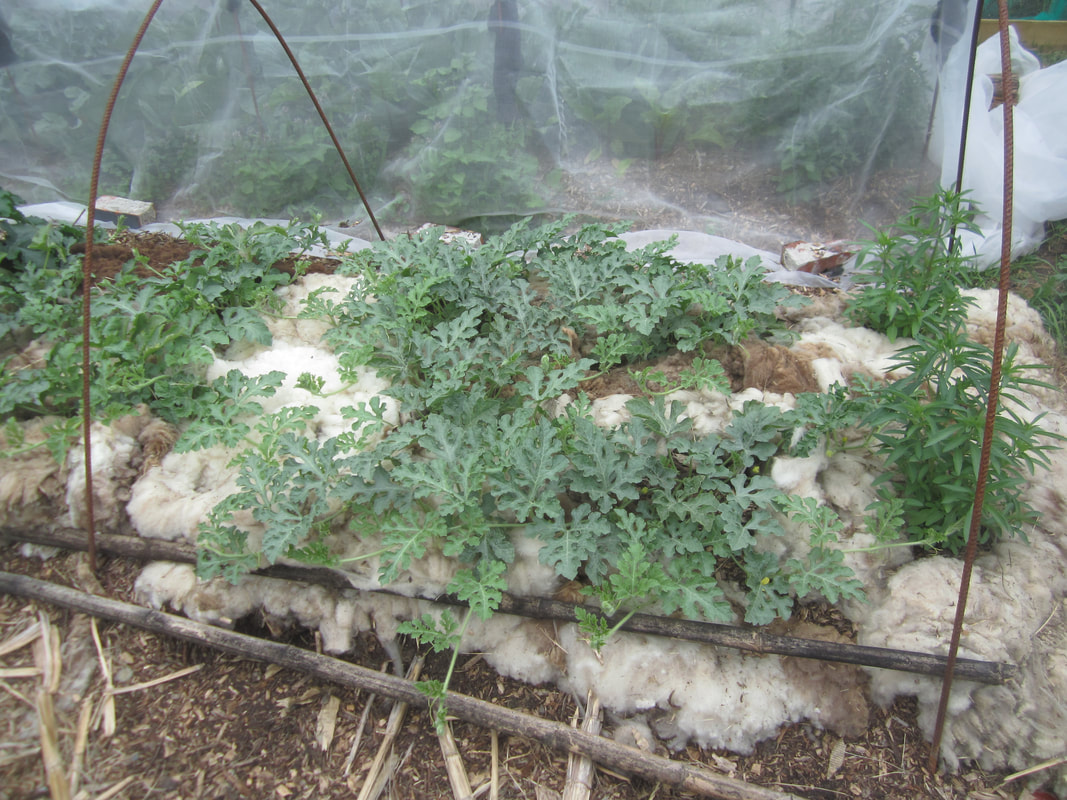
18th Dec. Spaghetti squash are in the foreground, crown pumpkin to the left. Buttercups are the little ones in the middle right. Pink banana jumbos next ones back on the right, and butternuts at the far rear
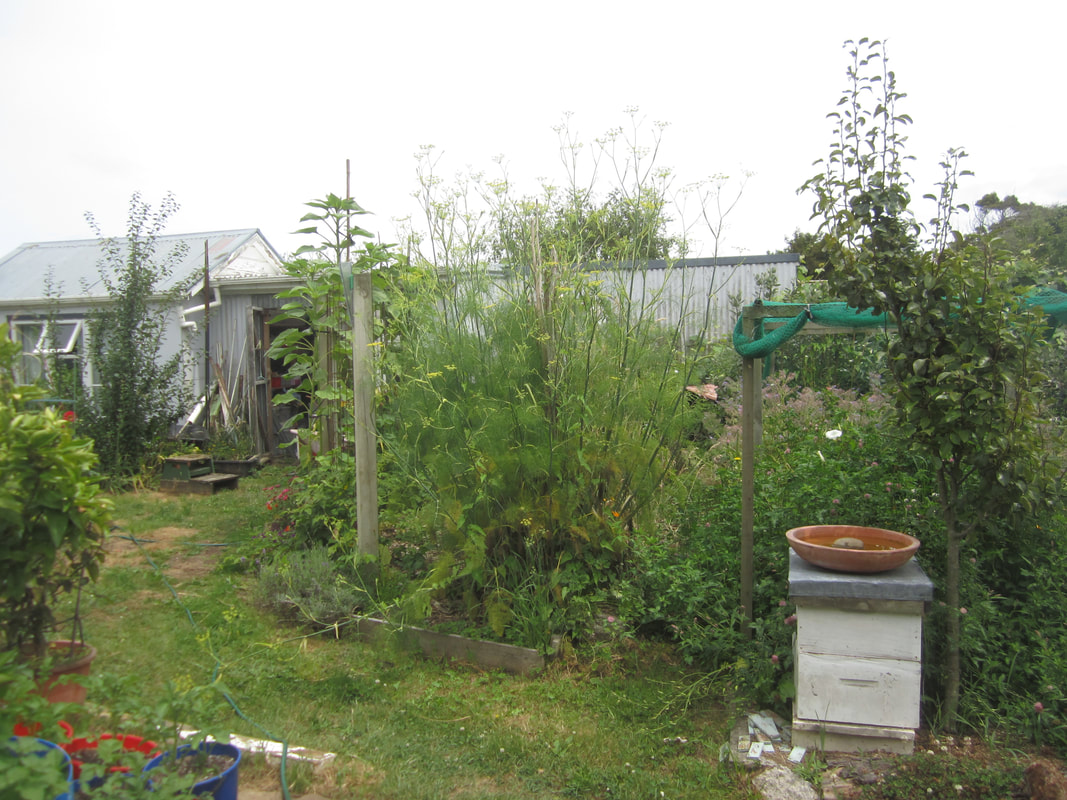
27th December
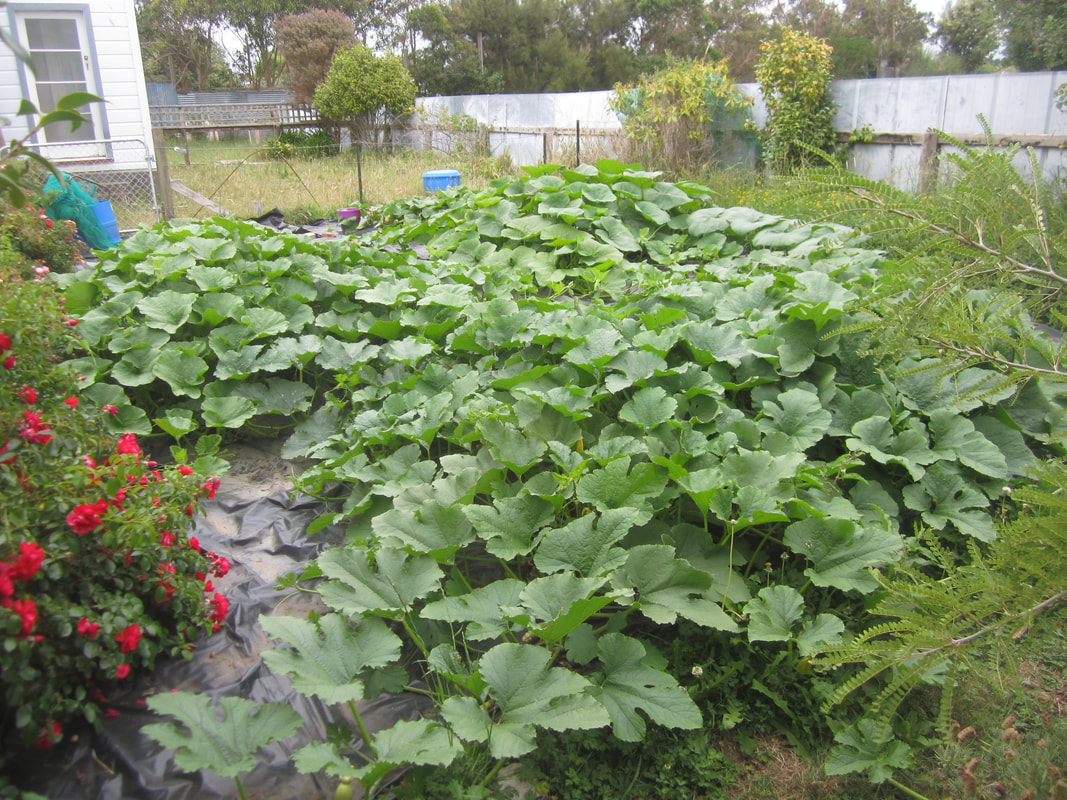
31st December
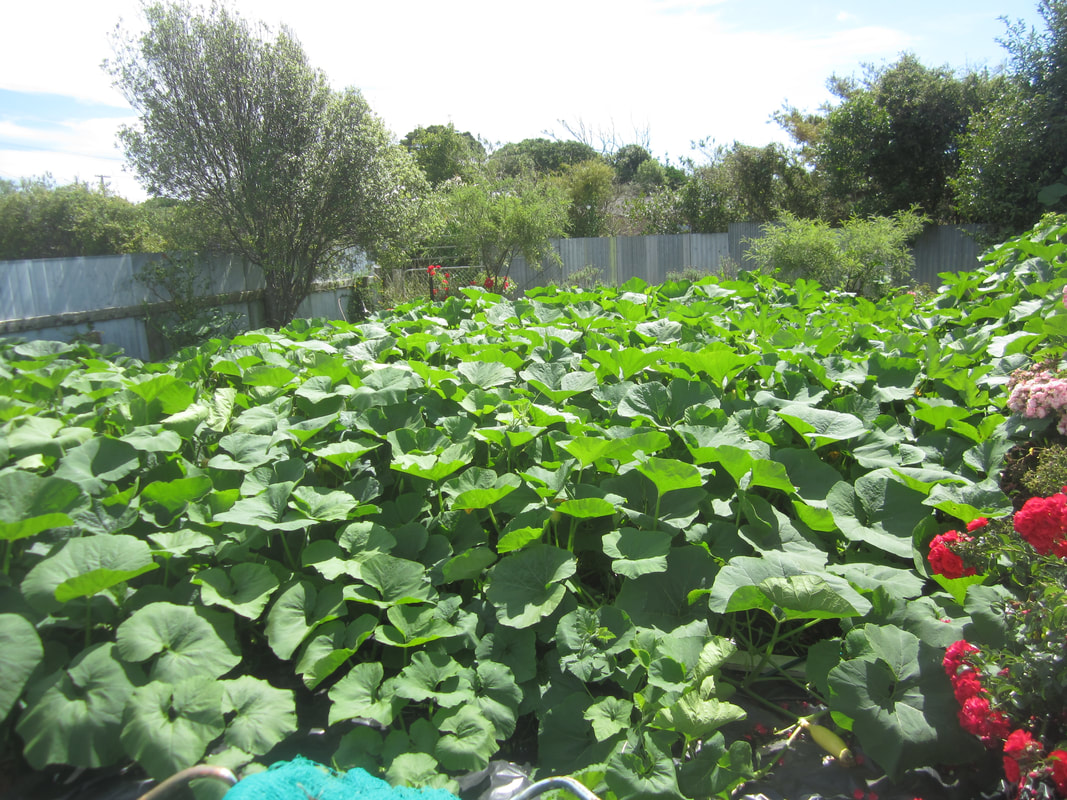
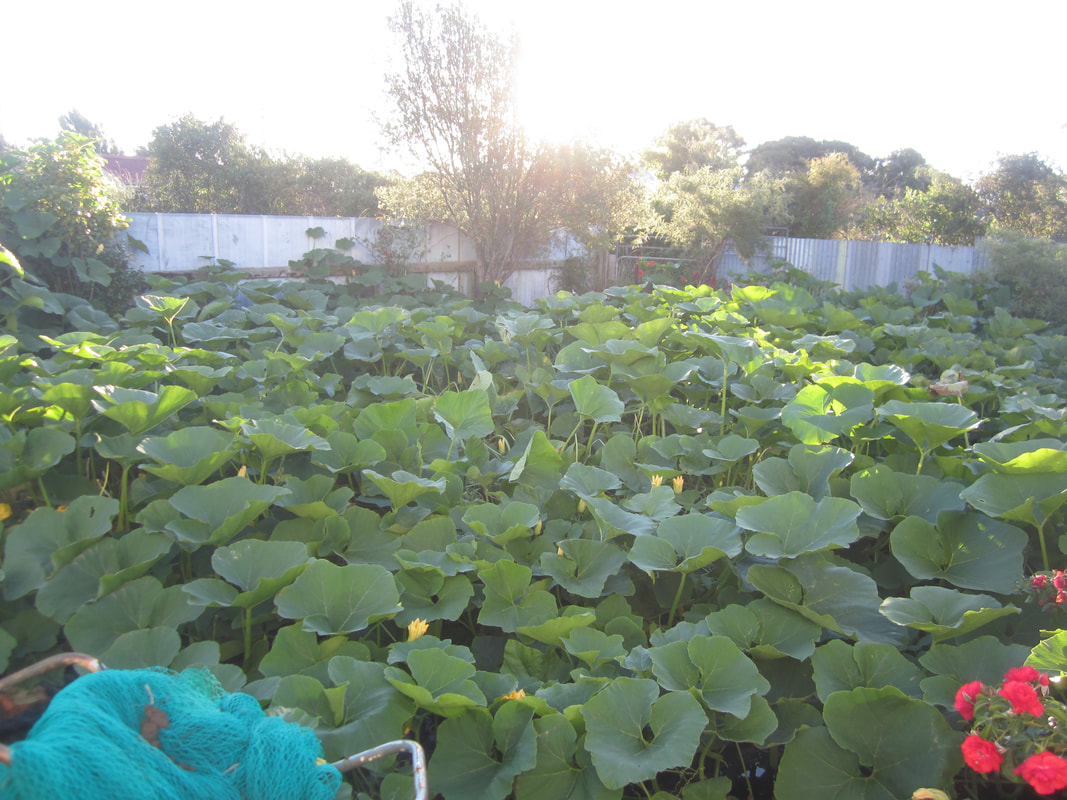
20th January. I wonder what's hiding under all those leaves? The foliage is too dense for me to get close enough to really see.
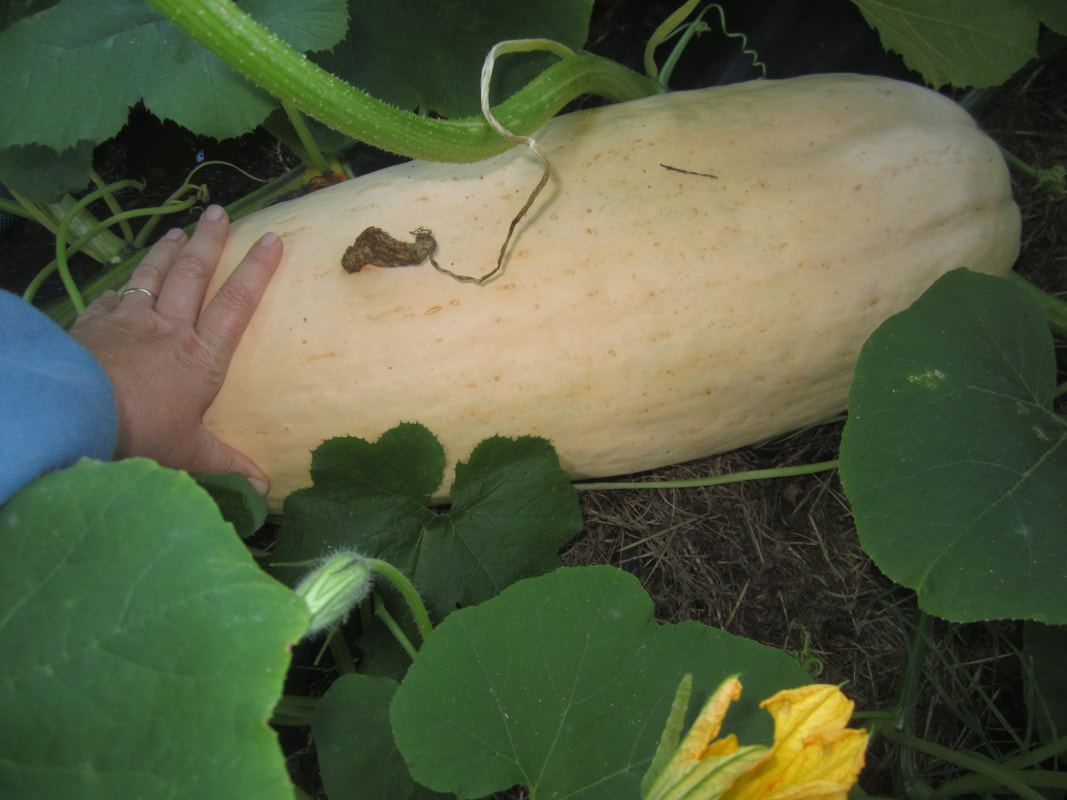
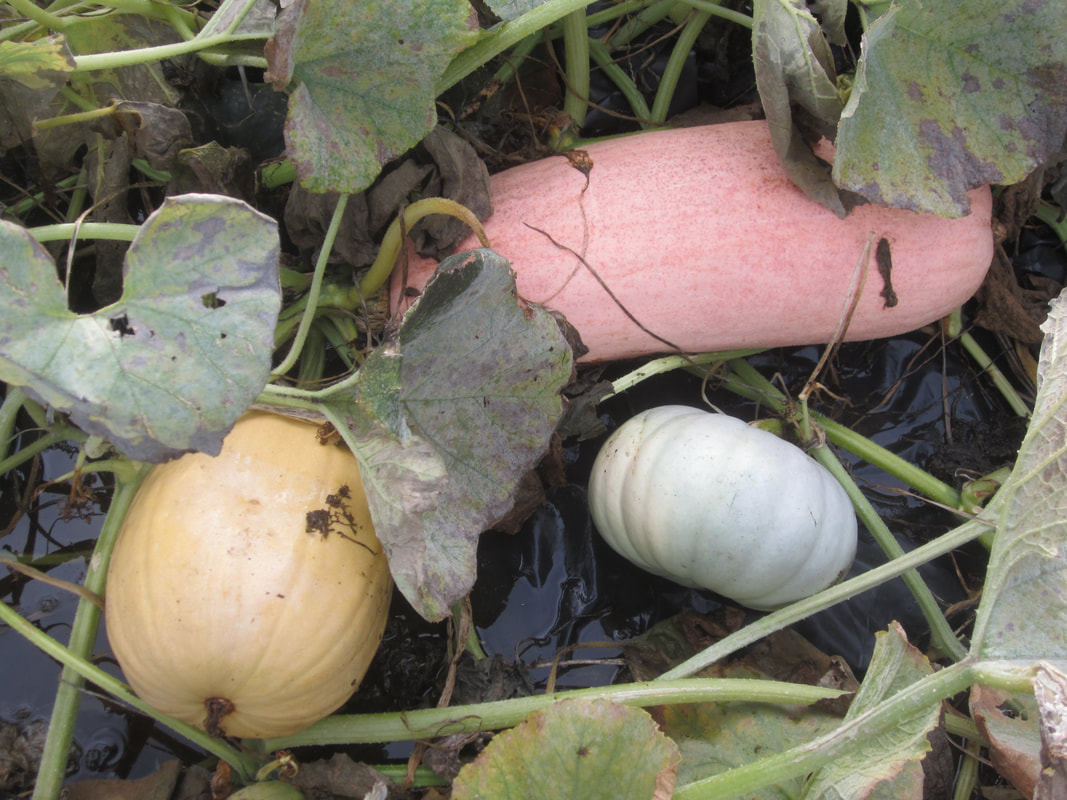
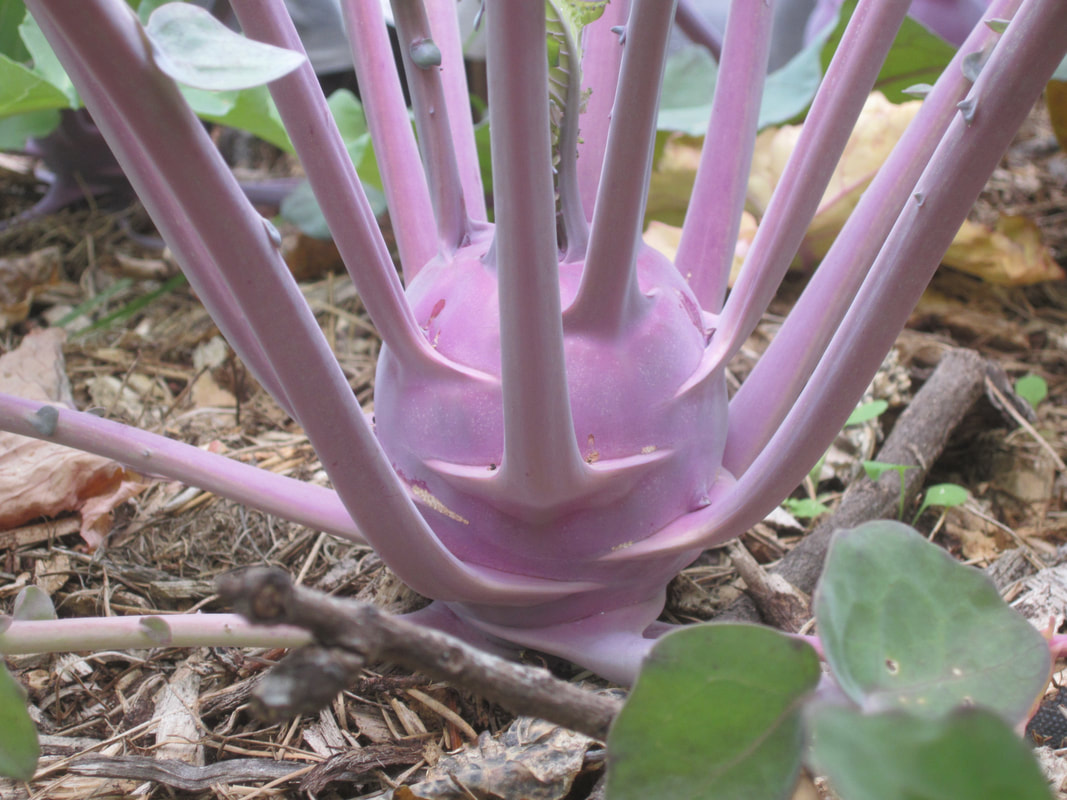
4th February - a pink banana jumbo squash. They start out very yellow, and turn more pink as they mature.
4th Feb. I took this pic, because we had had quite a bit of rain, and the high humidity with cooler nights suggested powdery mildew may follow. It did......
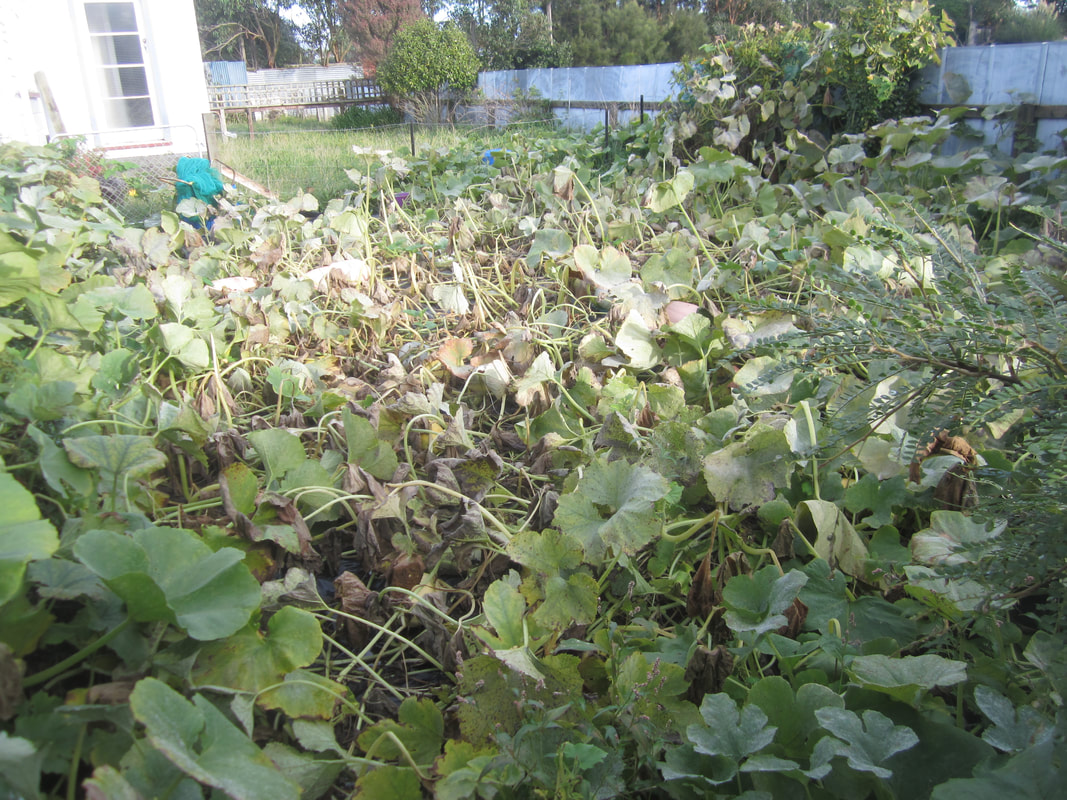
26th Feb. The plants are rapidly dying off. This is normal for the time of year, or when the plants are about done, and I don't bother to fight it.
With the collapsing of the foliage, I'm starting to see what's been hidden! With quite a lot of surface water, I do my best to lift as many squash as possible onto pieces of timber, or slightly higher spots.
15th March. Plants basically dead, though new growth keeps springing up on some of them. I'm keeping an eye on the stalks of the squash, looking for signs they have dried out (browned) enough to harvest.
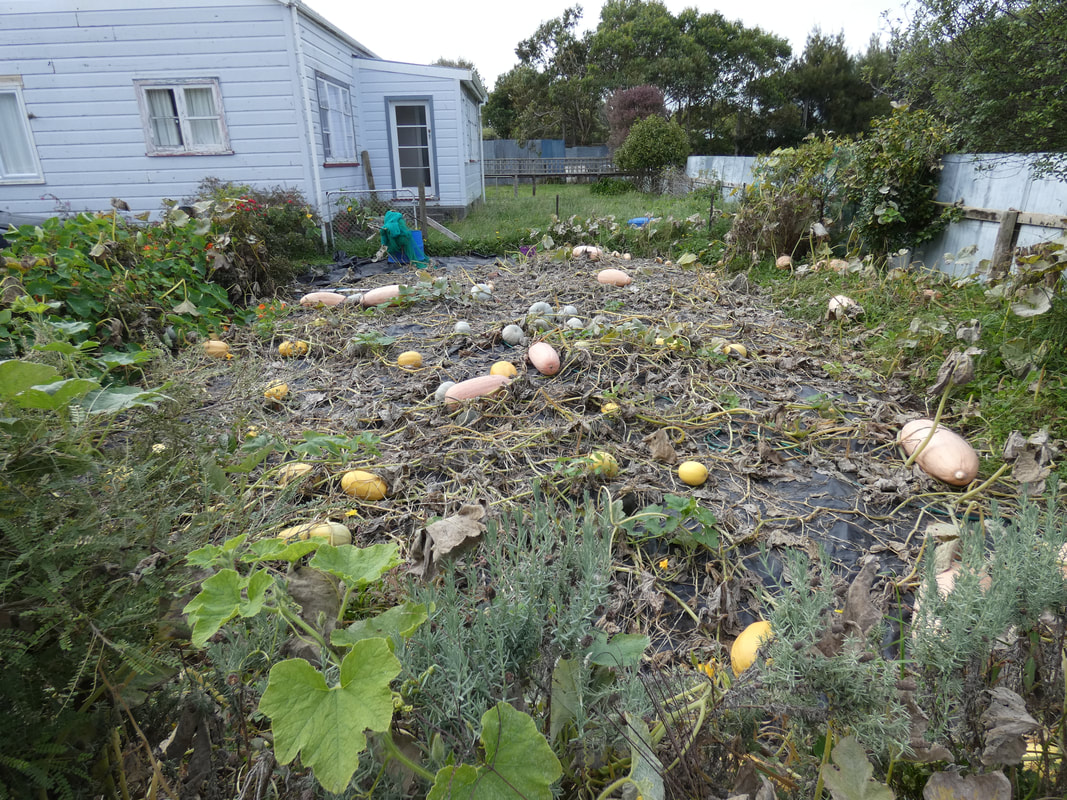
| Finally, on 24th March I decide it's time to harvest them all. Some of the spaghetti squash are not fully yellowed yet, but I want to clear this space and ready it to plant winter crops (more on that below). Some of the pink banana jumbos are so big, I can only bring in two at a time! | 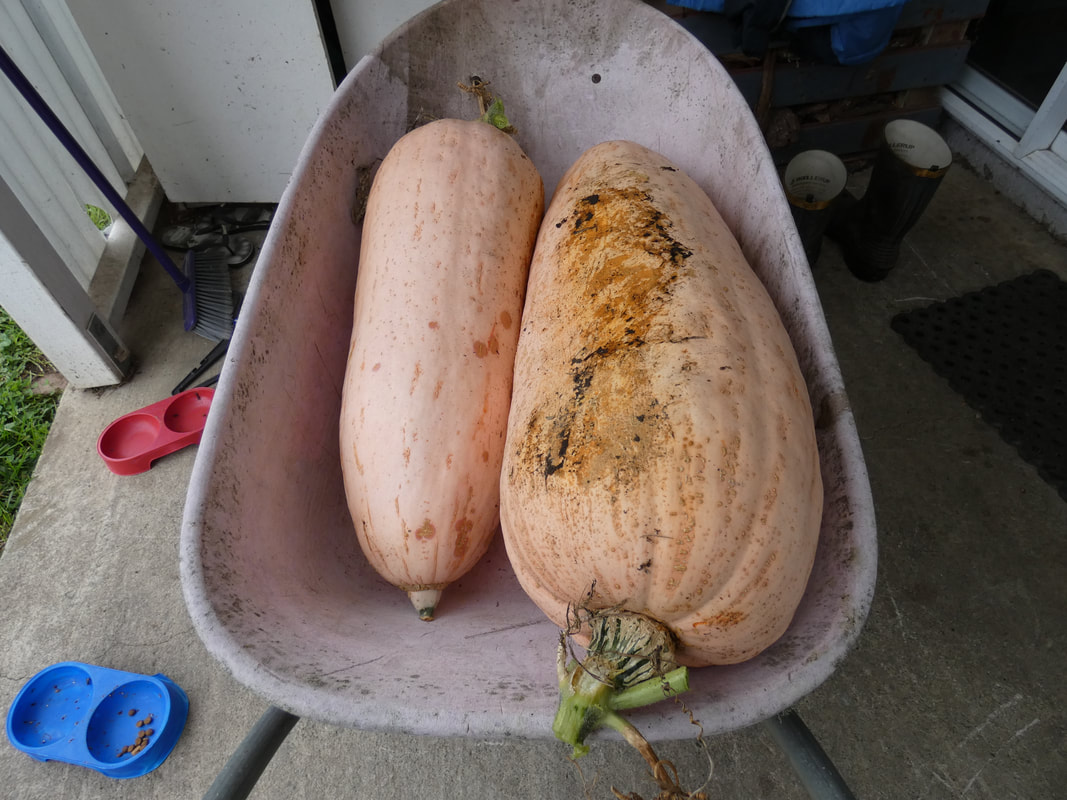 |
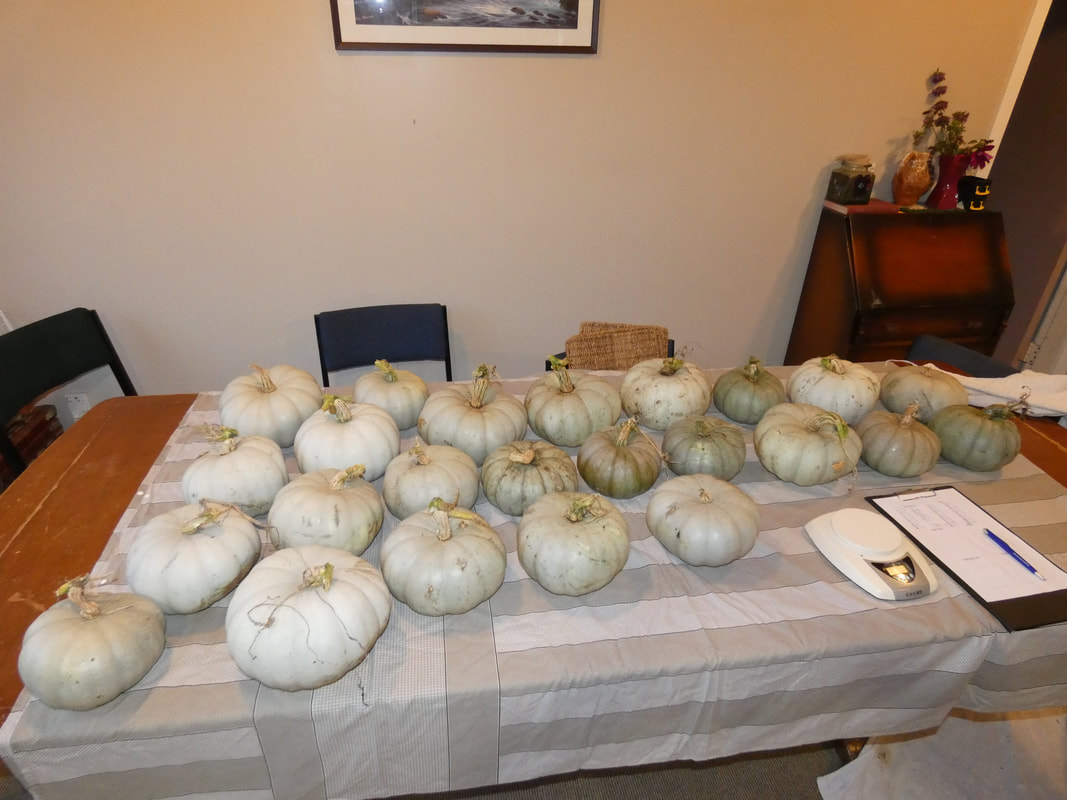
I brought all the squash inside, and laid them out in my dining room, letting them sit for a couple of days for any surface moisture to evaporate. Then I weighed and recorded each one, and wiped them down with a weak vinegar solution to kill any surface fungi that might promote rot. This also caused me to examine each one more carefully. Any that need using up soon I marked with an X, and any with some stem rot I want to keep an eye on, I marked with an S. That way, I know which ones to check most often and use up first. Below are the results for each variety.
Pink Banana Jumbo Squash
* This was a small last minute squash I found up in a tree when pulling the vines. Not sure if it's mature enough to eat, so have not counted it's weight in the total or averages
|
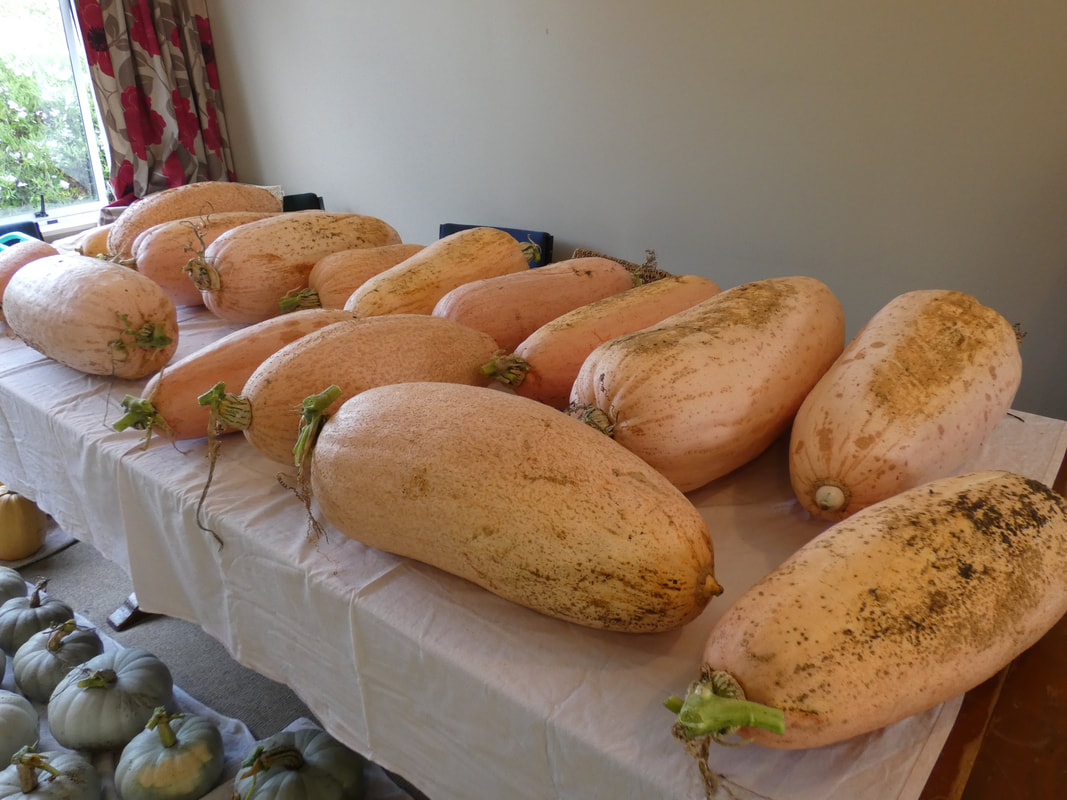
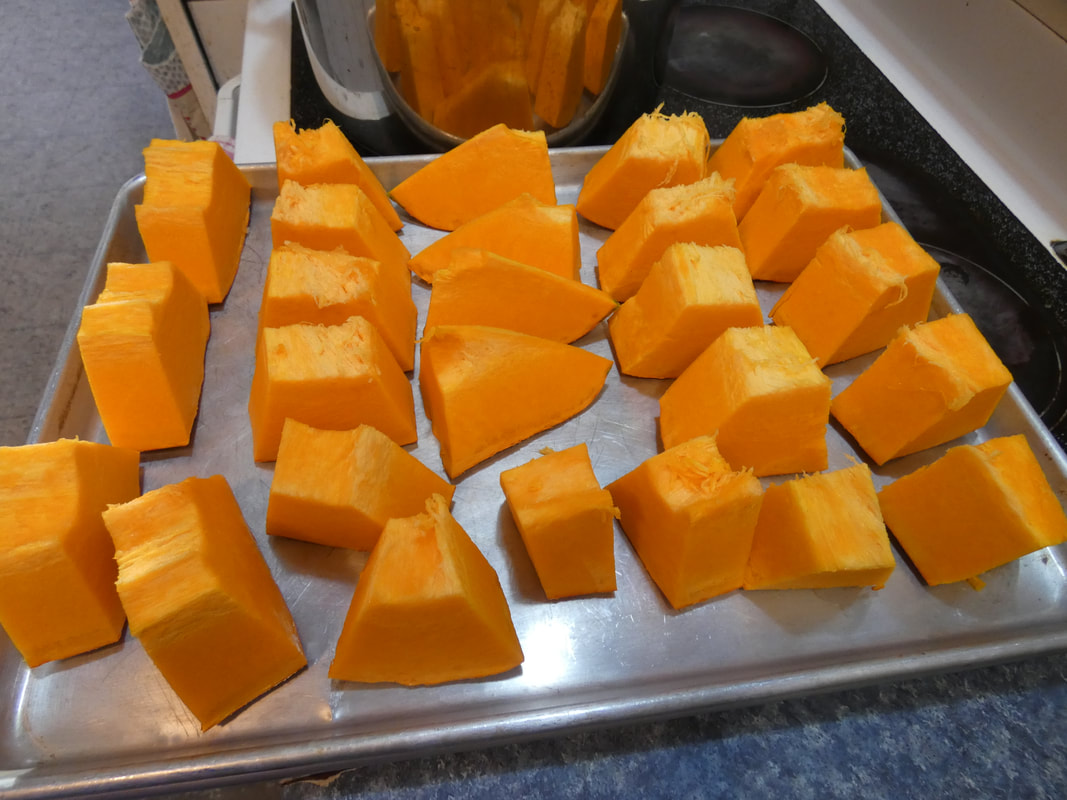
Pink banana jumbo squash start out very yellow, and turn pink as they mature. The flesh is bright orange. It is well flavoured and excellent roasted or for soups. The puree of this squash was commonly used in baking instead of butter during WWII.
Planted: 3 plants
Average number of squash per plant: 6 Total weight: 167.20kg Average per fruit: 9.84kg Average yield per plant: 56 kg of squash |
Crown Pumpkin
|
Number of plants: 4
Average fruit per plant: 6 Total yield (kg): 74 Average per fruit: 2.85kg Average yield per plant: 17.1 kg 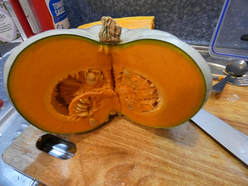
|
Butternut Squash
|
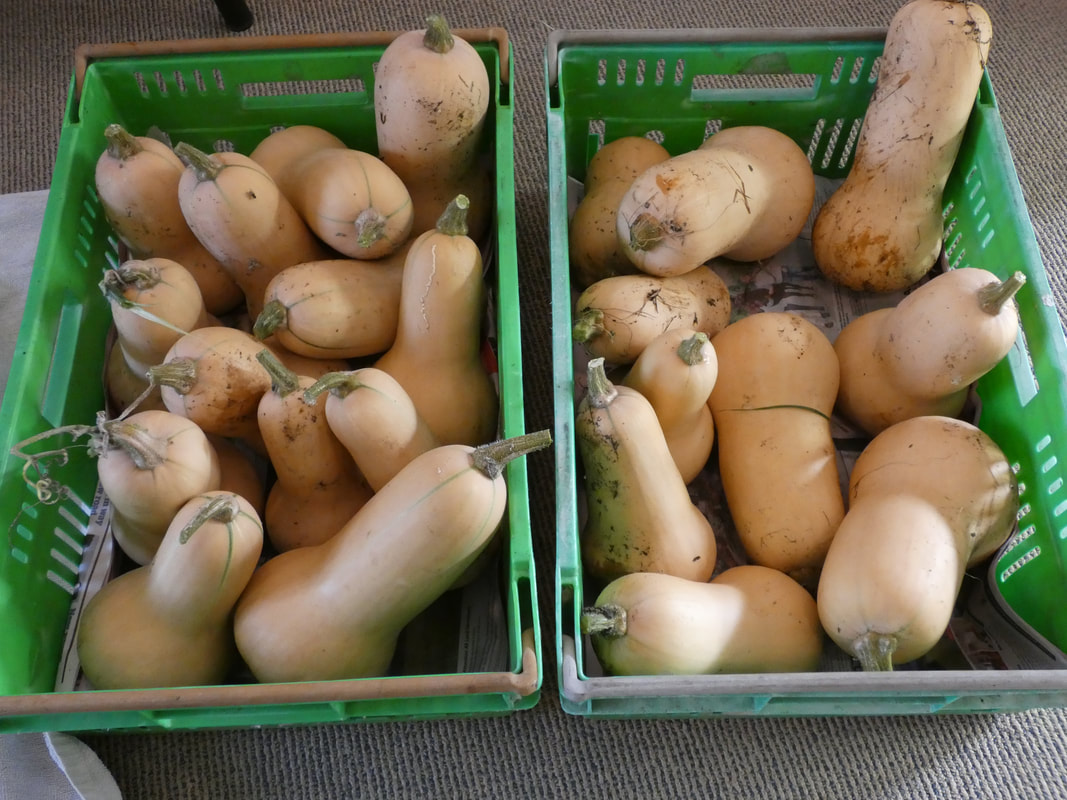
Total plants: 4
Average fruit per plant: 5.75 Total weight: 30.49 kg Average per fruit: 1.33 kg Average yield per plant: 7.65 kg Butternut are a lovely sweet squash - the flavour is best after they have been stored for at least a month, as this allows time for the starches to convert to sugars. |
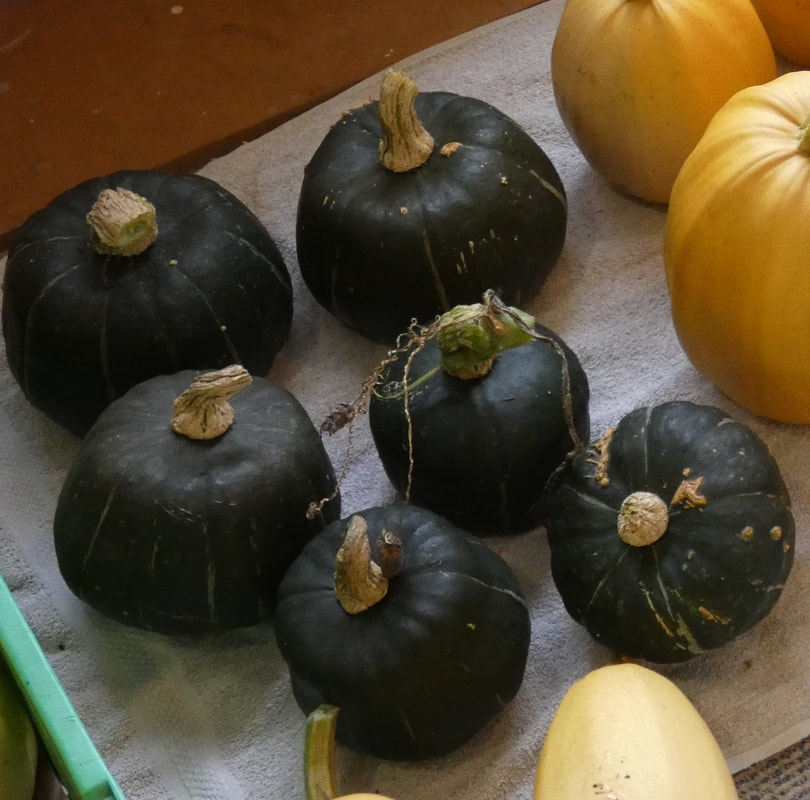
Buttercup Squash
|
|
The buttercup squash seedlings were slow to grow, and the plants were very quickly overrun by the other much more vigorous squash. So I wasn't suprised by the small yield. These are Burgess Buttercup, which have quite a blocky shape. It's the first time I've grown from this particular pack of seeds - it's not looking good for a re-run!
Total plants: 5
Average fruit per plant: less than one
Total weight: 8.53kg
Average weight per fruit: 1.42kg
Average yield per plant: 1.71kg
Total plants: 5
Average fruit per plant: less than one
Total weight: 8.53kg
Average weight per fruit: 1.42kg
Average yield per plant: 1.71kg
Spaghetti Squash
Number |
Weight (kg) |
Number |
Weight (kg) |
Number |
Weight (kg) |
Number |
Weight (kg) |
1 |
2.0 |
15 |
1.03 |
29 |
1.30 |
43 |
1.62 |
2 |
3.86 |
16 |
1.60 |
30 |
1.89 |
44 |
1.54 |
3 |
2.61 |
17 |
1.32 |
31 |
1.66 |
45 |
1.08 |
4 |
3.23 |
18 |
1.45 |
32 |
1.94 |
46 |
2.84 |
5 |
3.60 |
19 |
1.32 |
33 |
1.12 |
47 |
1.42 |
6 |
1.99 |
20 |
1.09 |
34 |
1.39 |
48 |
2.14 |
7 |
1.79 |
21 |
1.08 |
35 |
1.52 |
49 |
1.58 |
8 |
1.80 |
22 |
2.49 |
36 |
0.74 |
50 |
1.71 |
9 |
2.76 |
23 |
1.83 |
37 |
2.24 |
51 |
1.86 |
10 |
2.77 |
24 |
1.02 |
38 |
1.89 |
52 |
1.60 |
11 |
3.71 |
25 |
0.73 |
39 |
0.79 |
53 |
3.20 |
12 |
0.97 |
26 |
0.99 |
40 |
1.04 |
54 |
3.82 |
13 |
1.72 |
27 |
1.30 |
41 |
0.94 |
- |
- |
14 |
1.18 |
28 |
1.24 |
42 |
1.53 |
- |
- |
Number of plants: 6
Average fruit per plant: 9.17
Total weight: 96.88kg
Average per fruit: 1.79kg
Average yield per plant: 16.15kg
Average fruit per plant: 9.17
Total weight: 96.88kg
Average per fruit: 1.79kg
Average yield per plant: 16.15kg
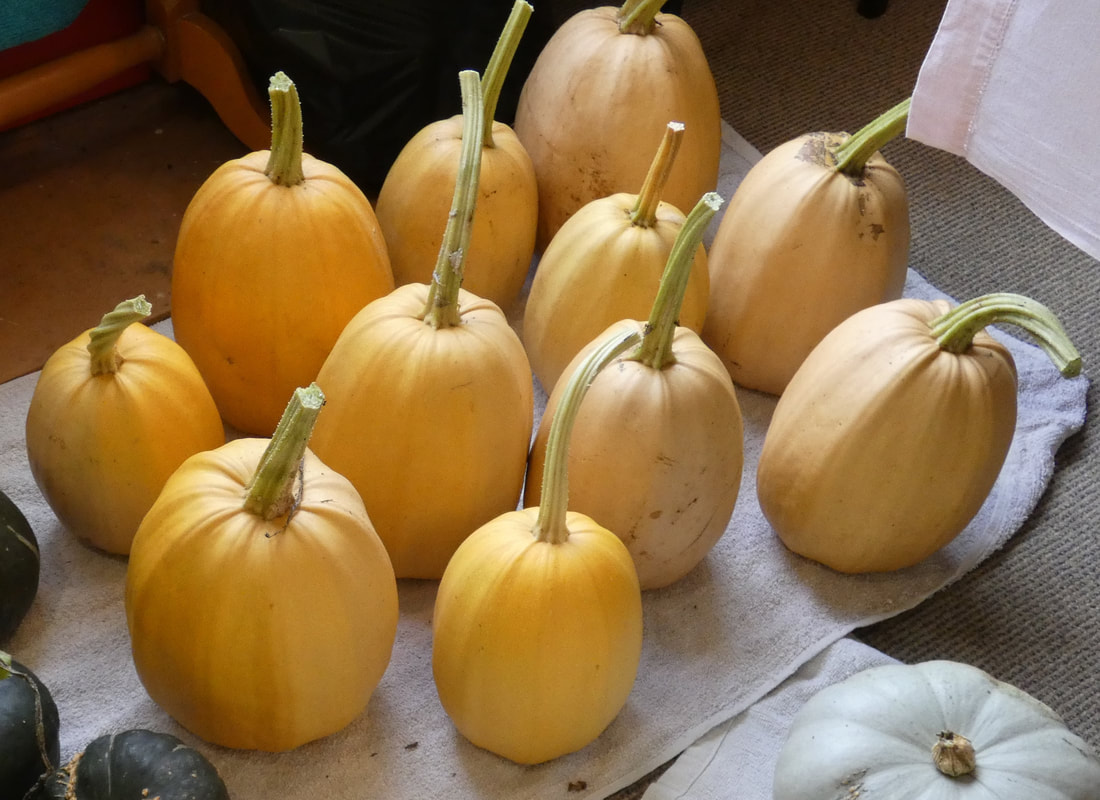 Spaghetti squash are used instead of pasta - cut the squash in half lengthwise, scoop out the seeds. Place squash cut sides down on a baking paper lined tray. Prick all over. Bake 180C for approx 40 mins or until tender. Then pick up one half at a time with a teatowel, and scrape out the flesh with a fork into a bowl. The flesh comes out in spaghetti-like strands. | 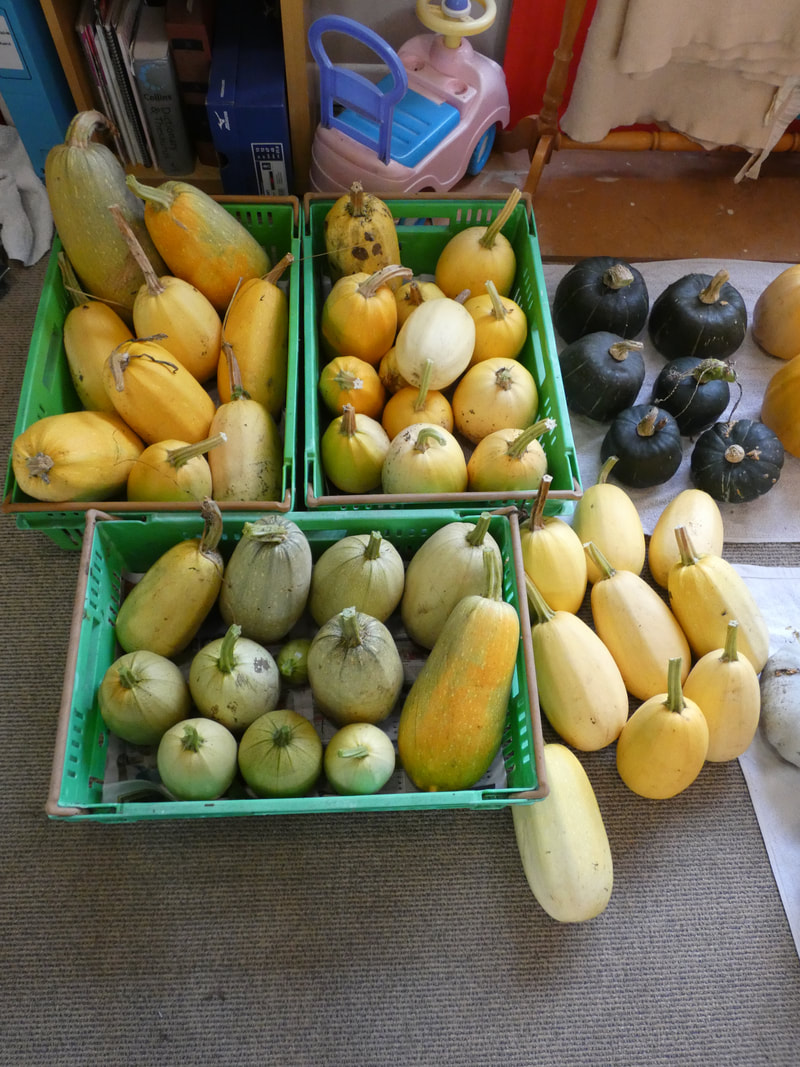 |
Grand Total: 124 squash = 378.10kg
The plastic mulch controversy: There are those who will say that laying down plastic over the soil is a bad idea, because it can sour (kill) the soil so no subsequent crops will grow. This will only happen in certain conditions, and only after more than about 6-7 months on the ground. As a short term solution to killing persistent grasses and weeds (solarising), especially for gardeners who are less able to dig for one reason or another, it has it's place. Furthermore, studies have shown that the use of plastic mulch can increase the bioavailability of a number of nutrients, as well as water retention etc. It's still not my preferred way to garden, but as I said, it has it's place.
Just how good a yield was it? Just out of interest, I decided to work out what the yield per acre would have been if I'd been growing the same way on a larger scale, with the same results. Answer: 30.6 tons per acre. I looked for commercial crop yield figures, and it would appear that this rate of yield is 2-3 times higher than most commercial crops!
Dollar value if I were buying the squash? Again, just for fun, I decided to put an approximate dollar value on the squash if I were purchasing them from the supermarket. I used prices seen locally (where some of them are on special), or in the case of the spaghetti squash, what others have told me they are paying:
Spaghetti squash $4.99 each x 54 = $269.46
Buttercup squash $2 each x 6 = $12
Crown pumpkin $4.99 each x 24 = $119.76
Butternut squash $4.99 each x 23 = $114.77
Pink banana jumbos it's harder to put a price on, but using the crown at $4.99 each with an average weight of, lets say 3kg, then the price per kg would be $1.66. Mutiplying that out to the total jumbo squash (167.2 kg) then total value = $278.12
Total squash price to buy: $794.11
Of course, there are huge variables - what is available locally, what they are charging etc.
But still, a fun exercise.
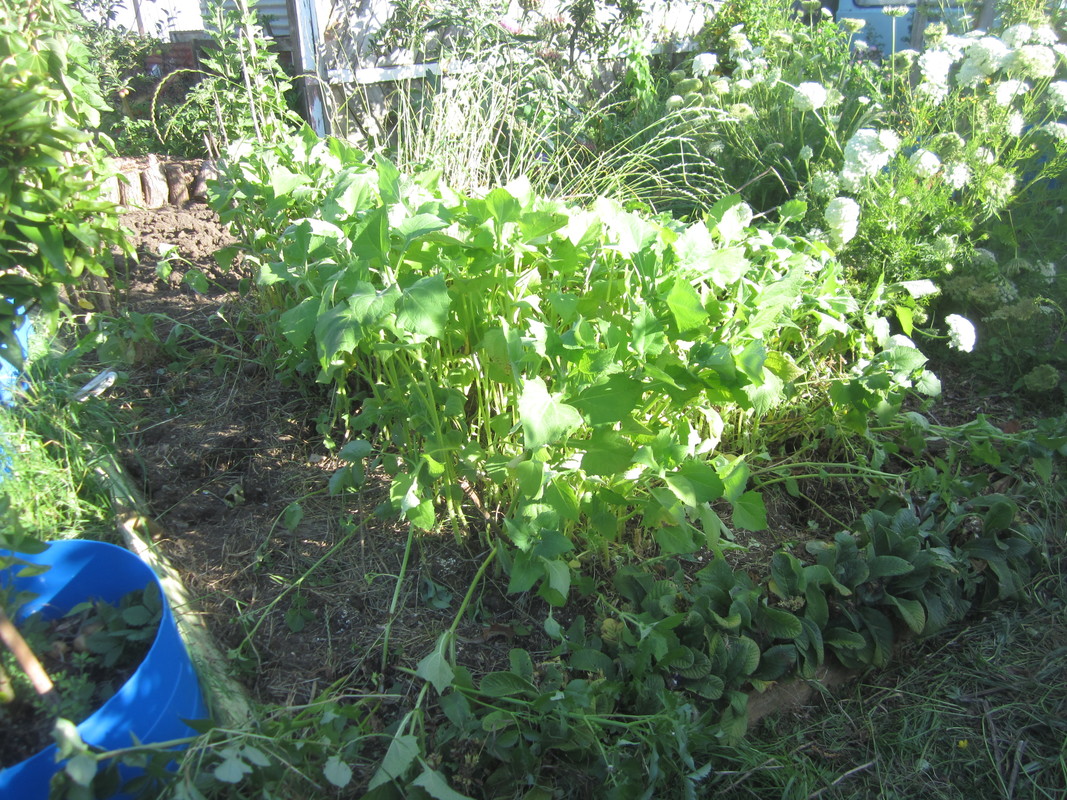
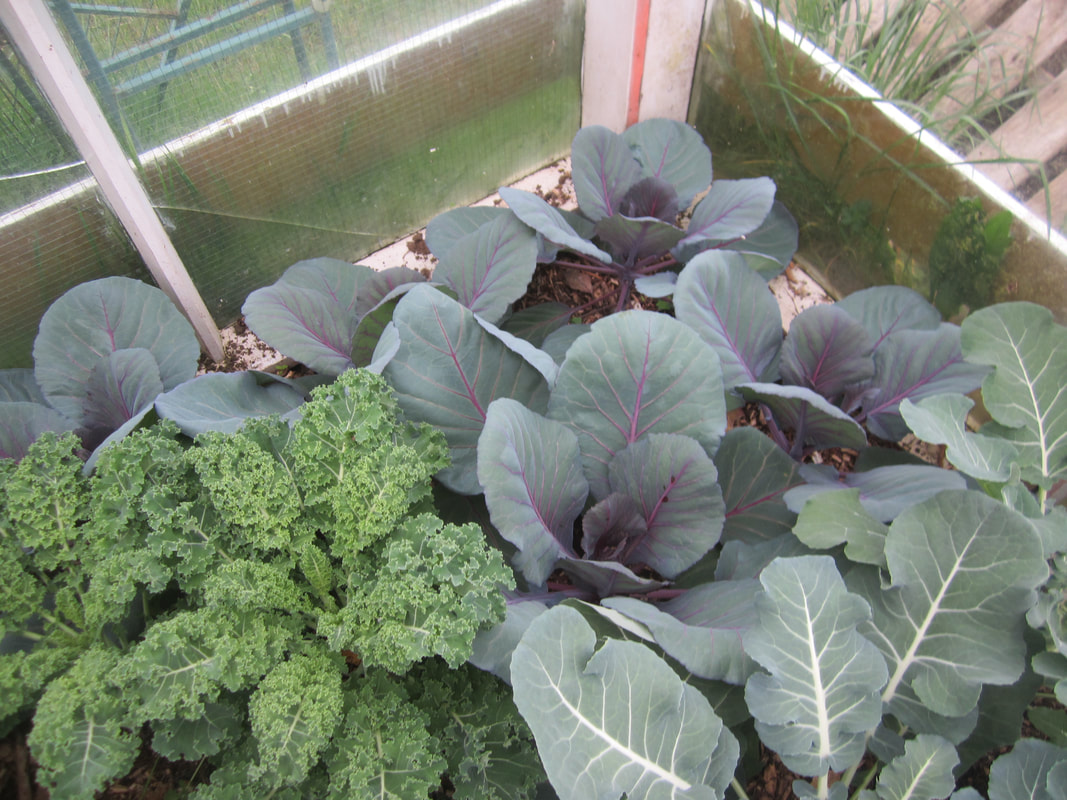
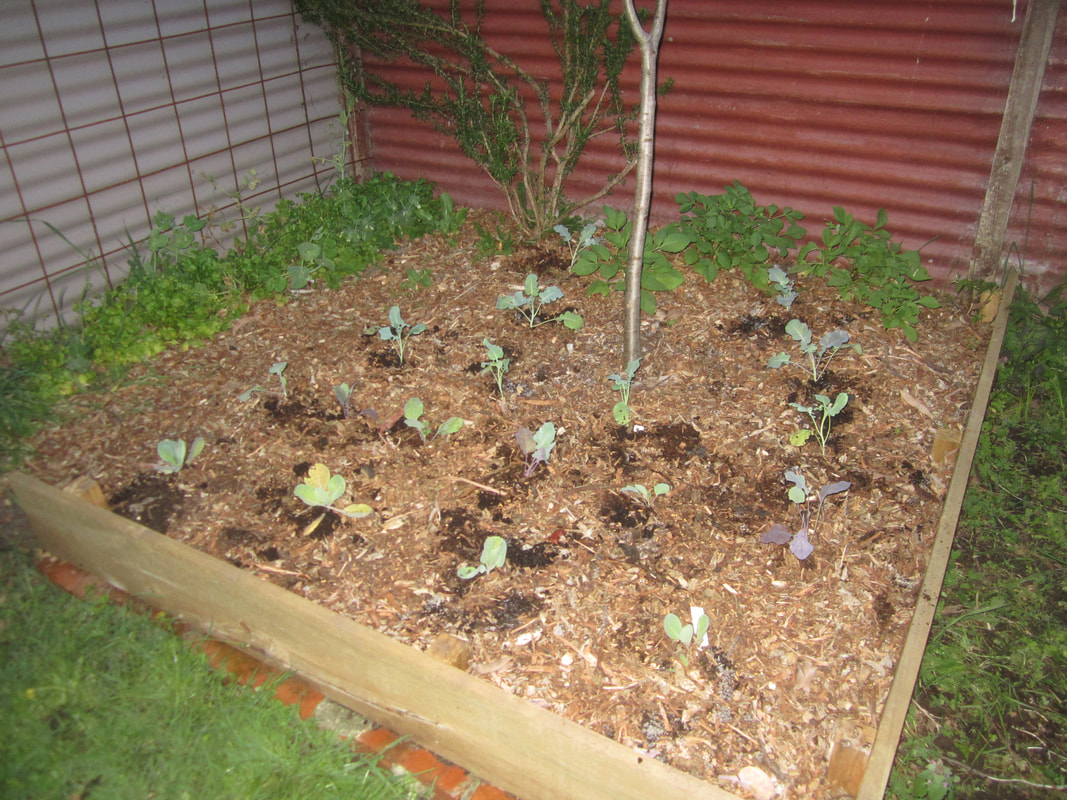
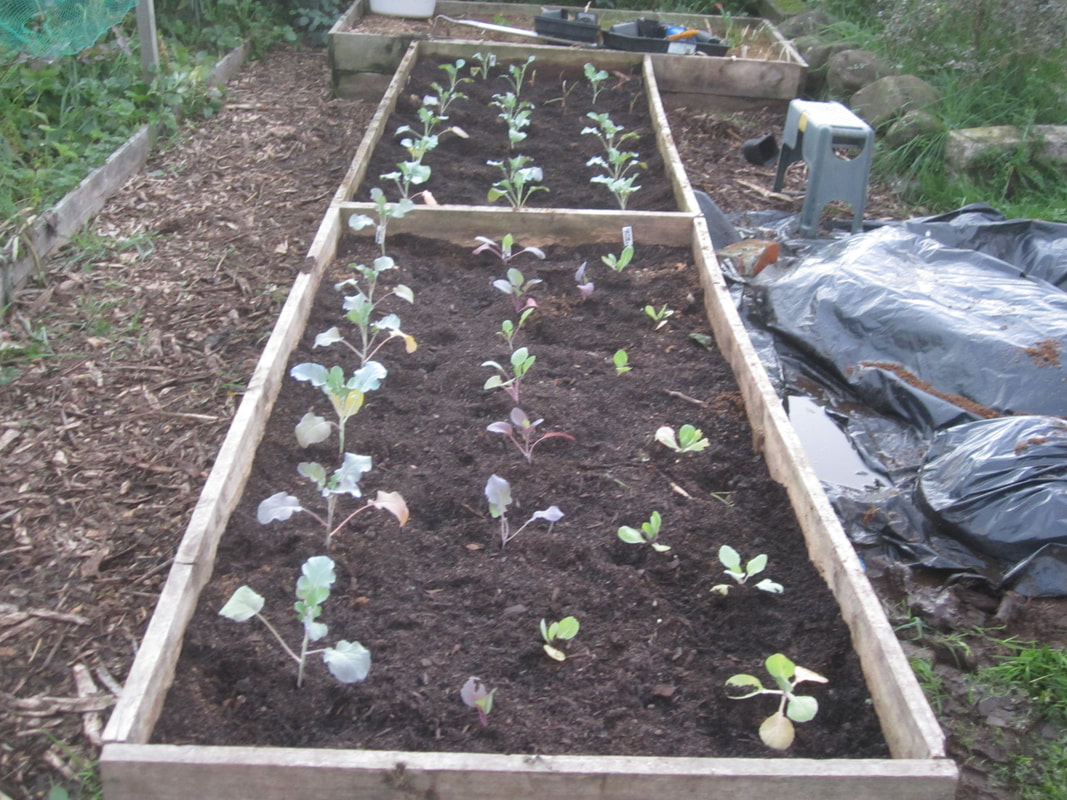
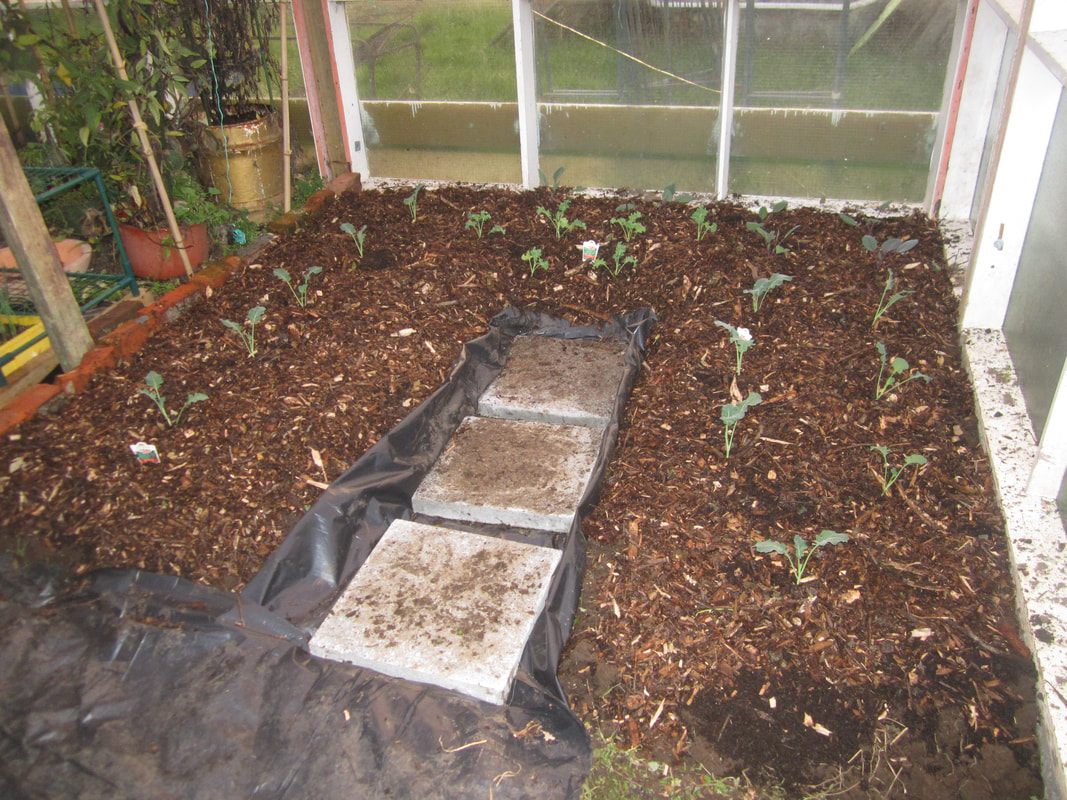
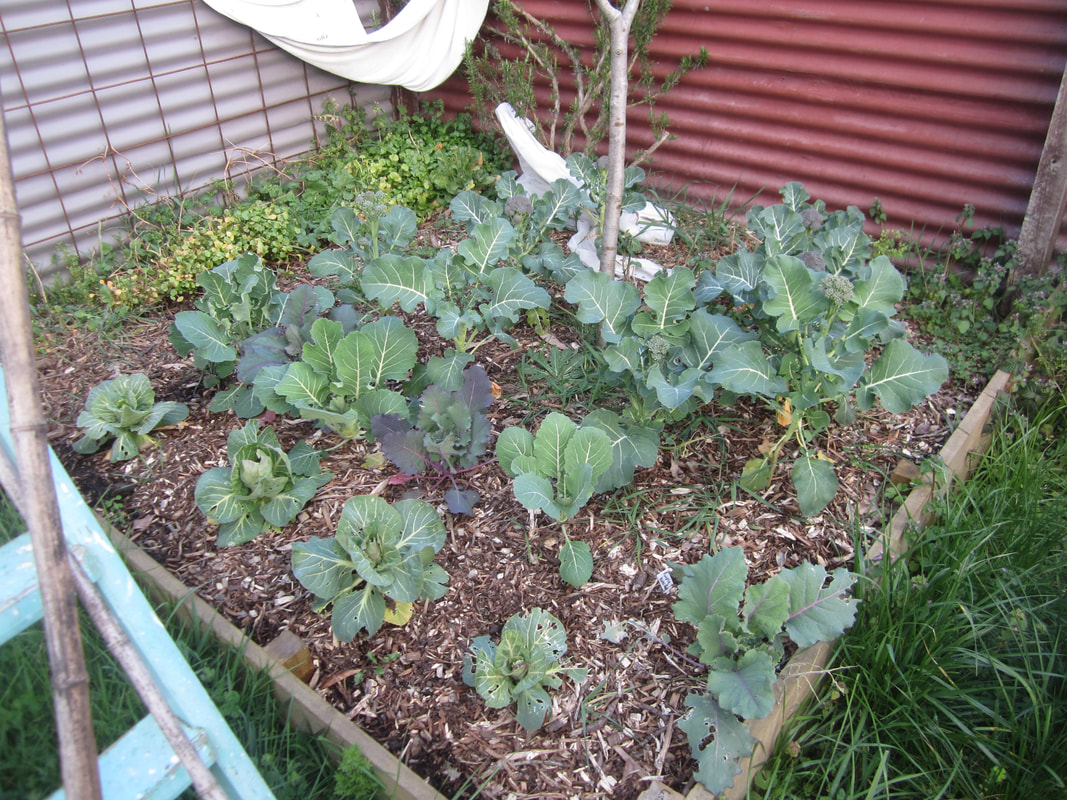
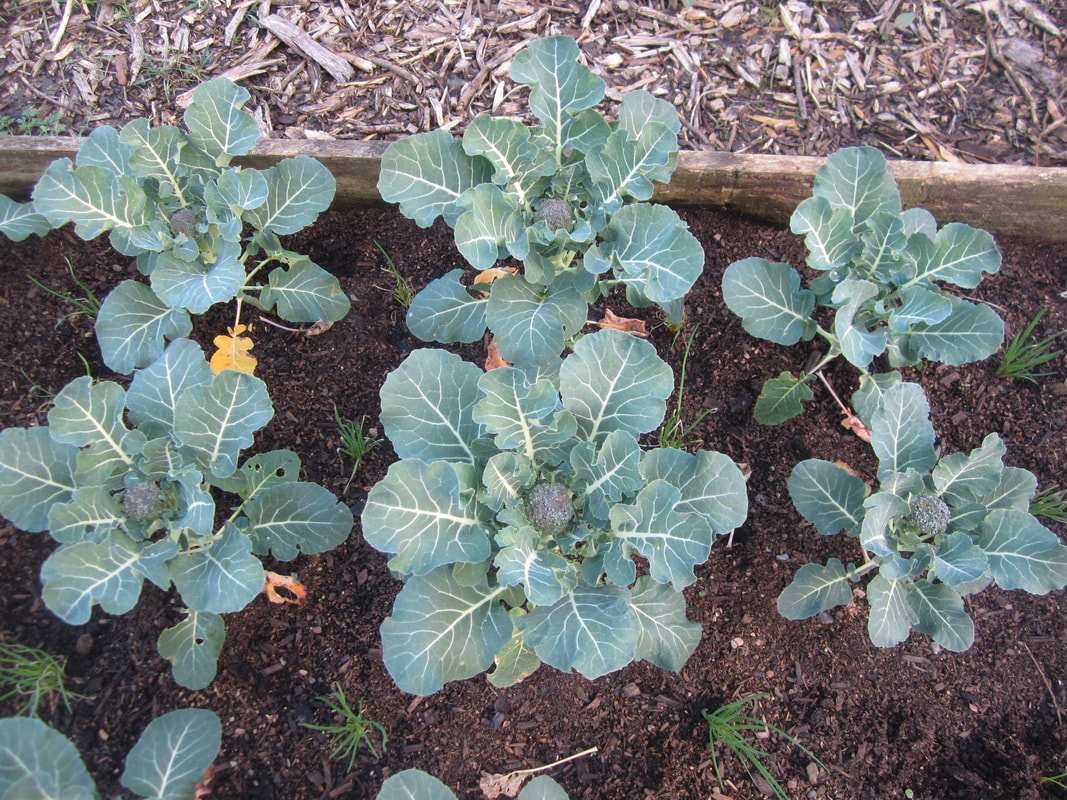
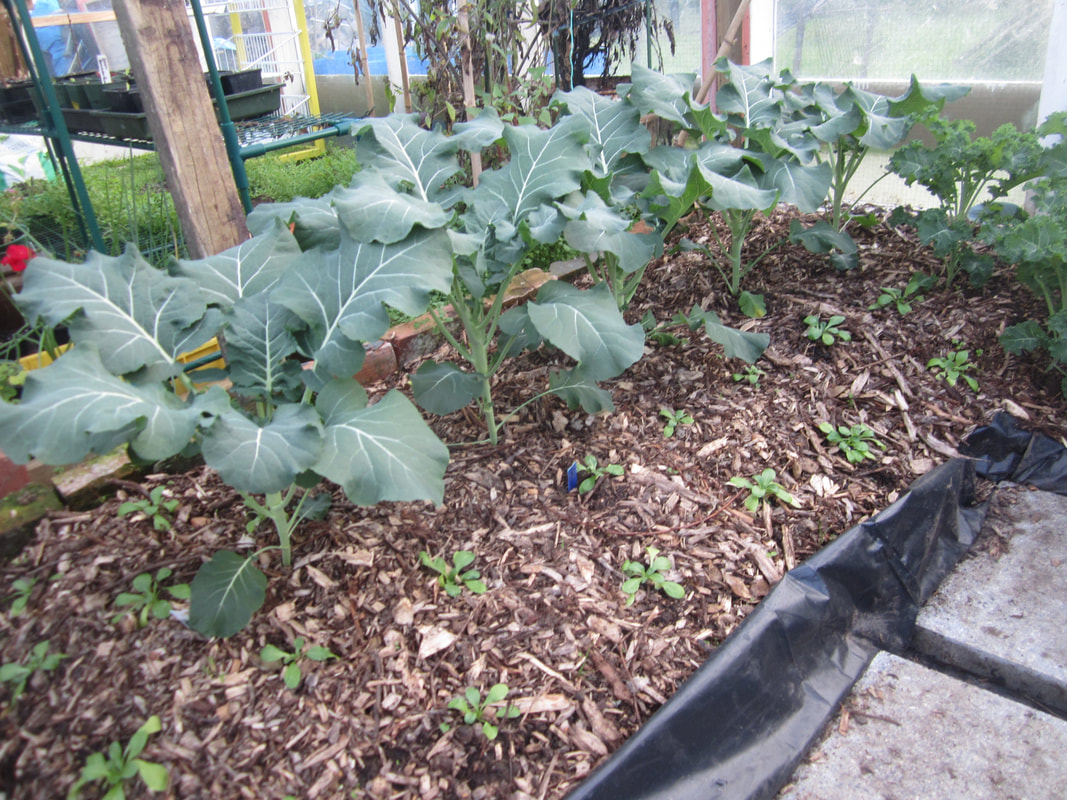
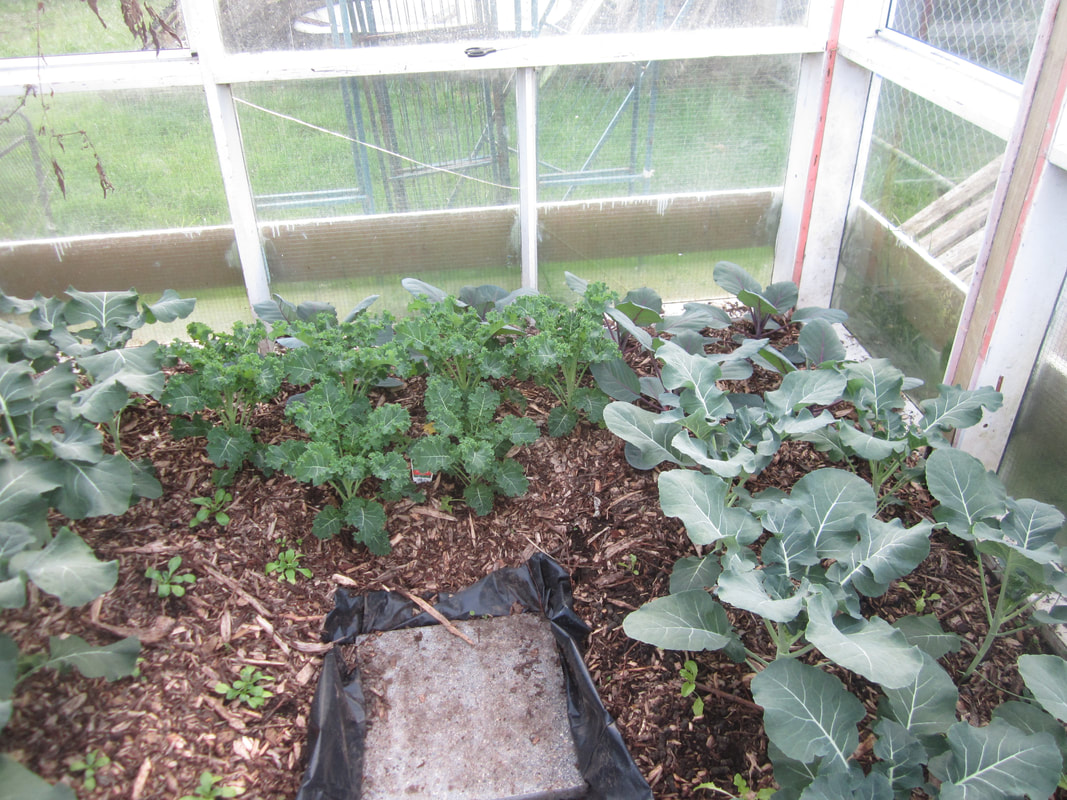
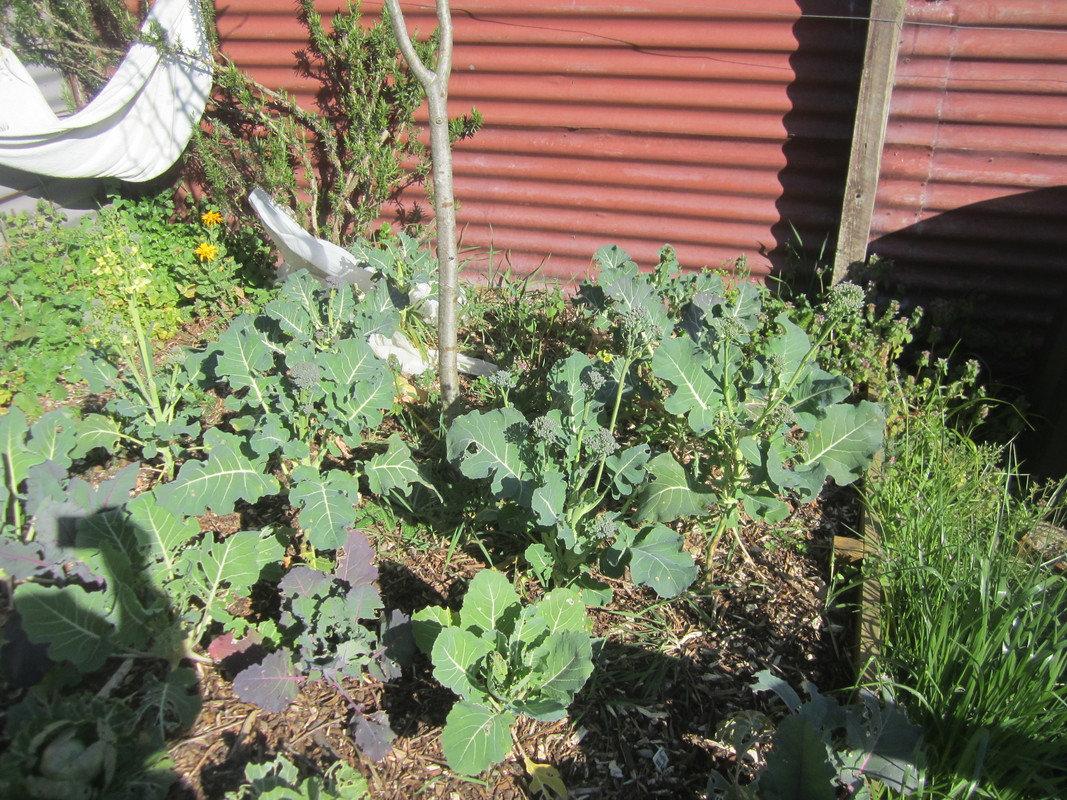
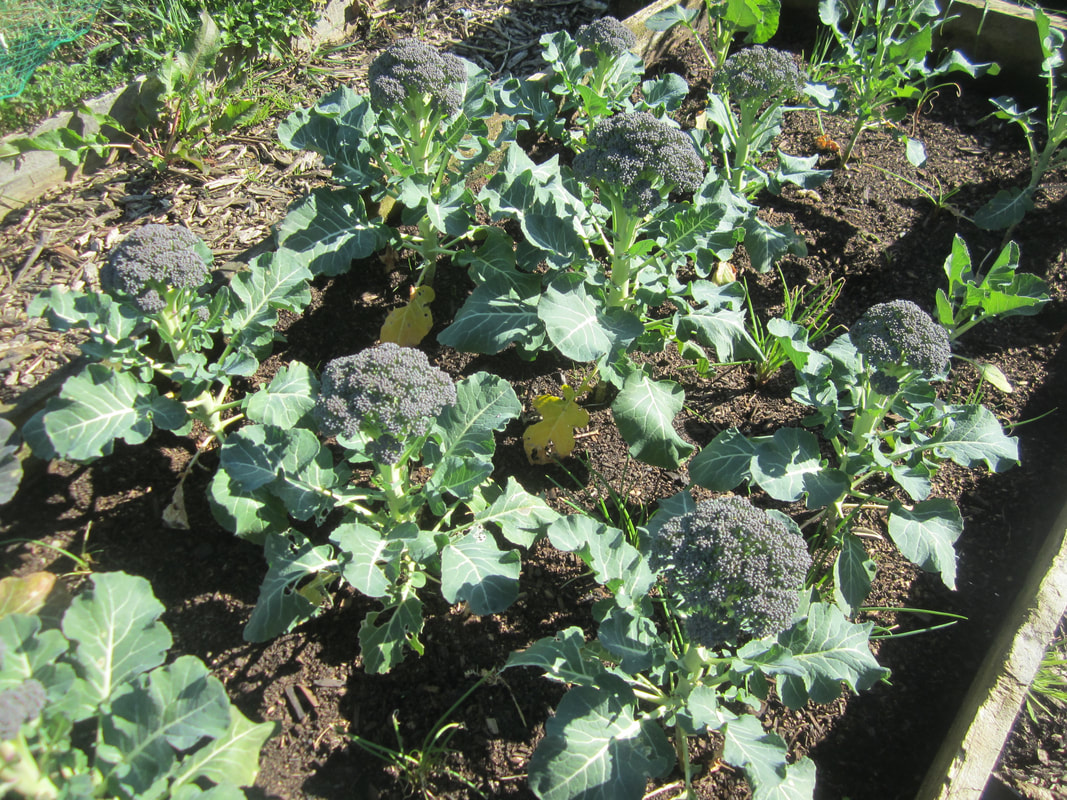
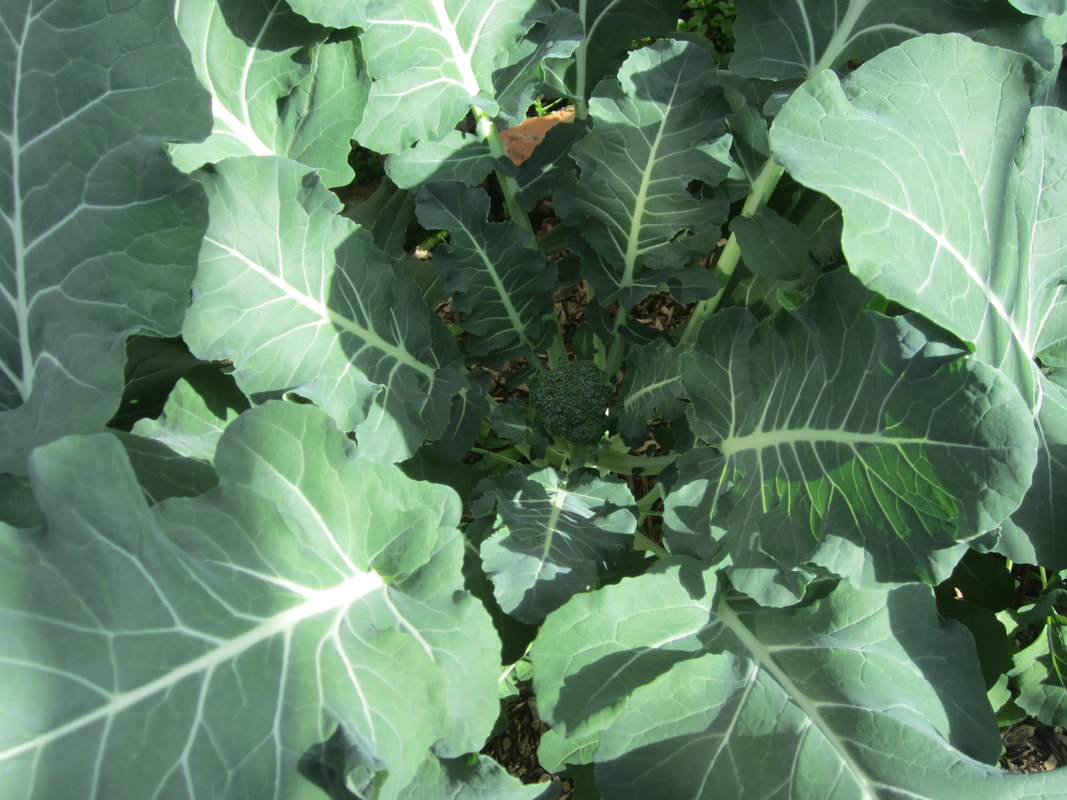
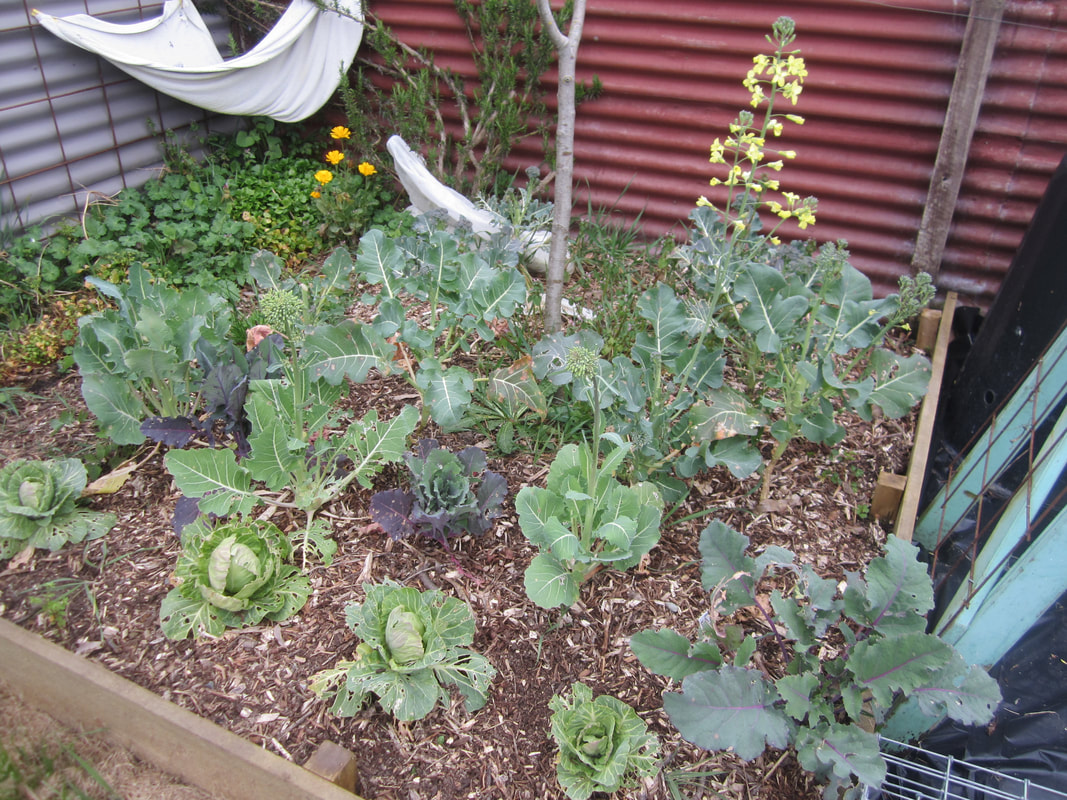
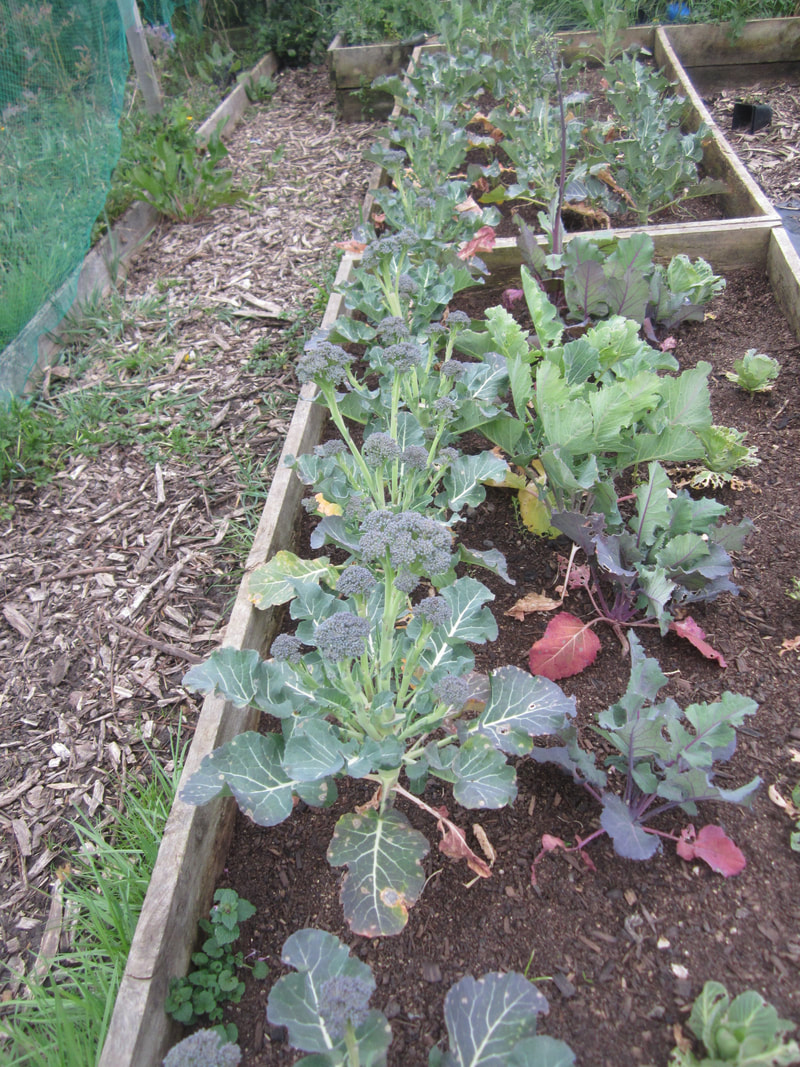
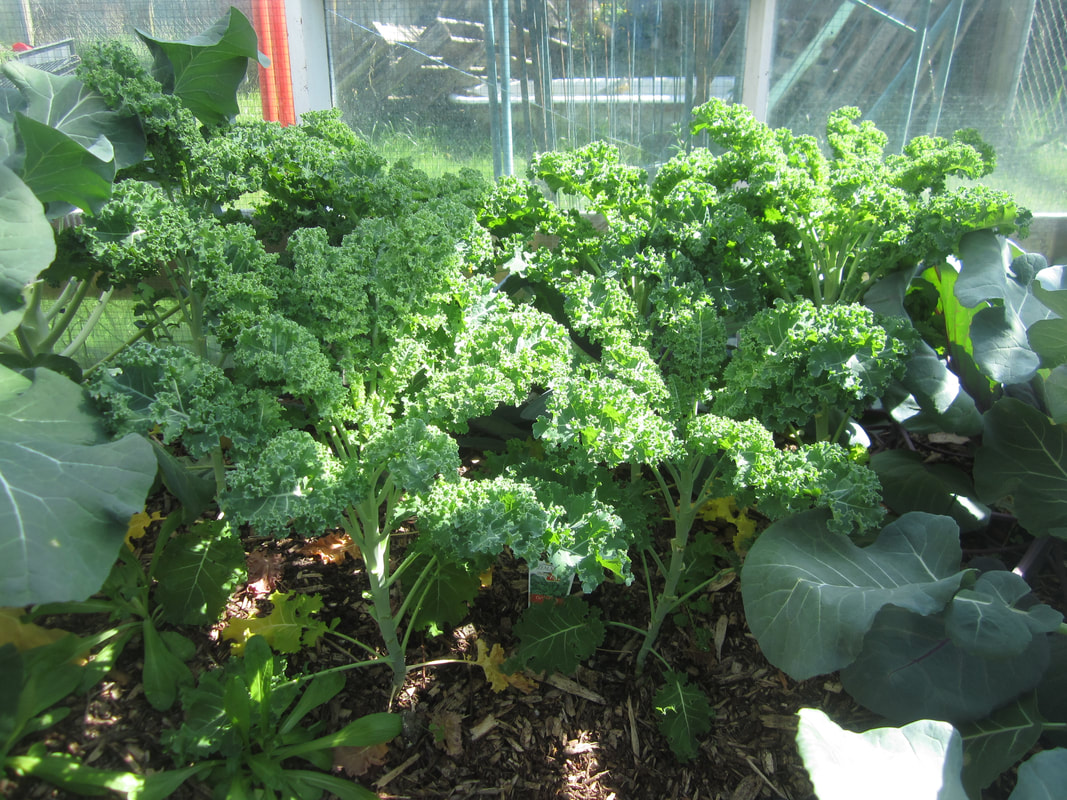
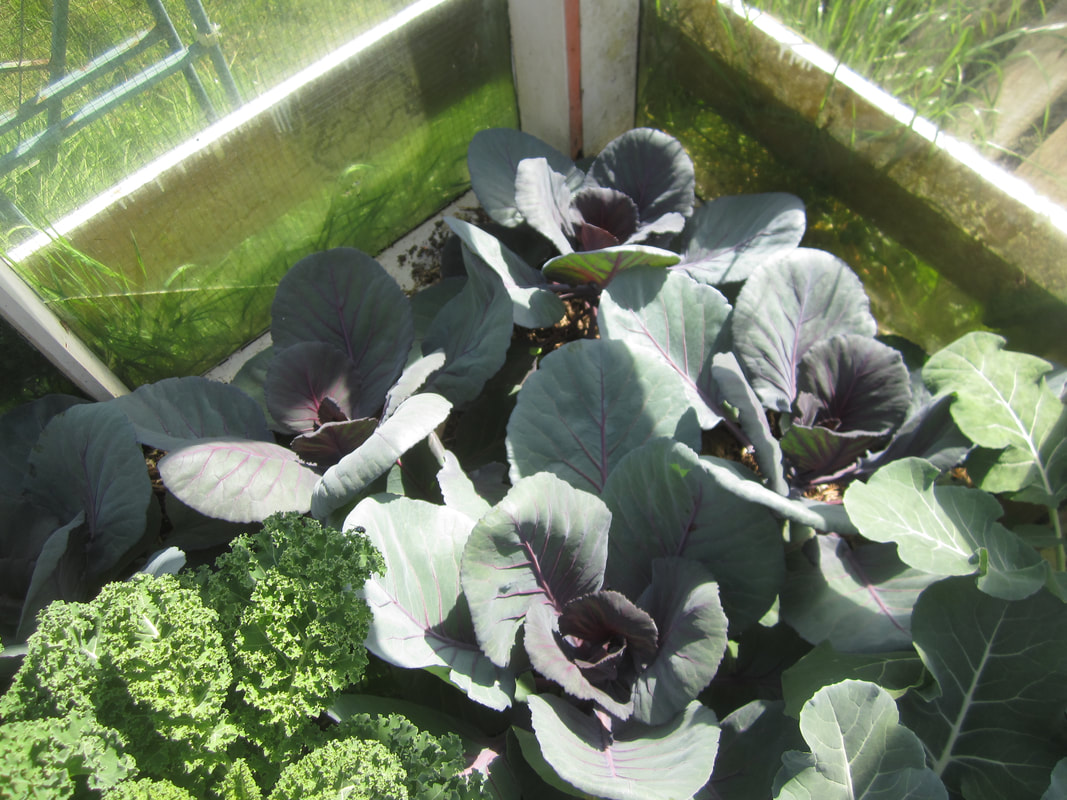
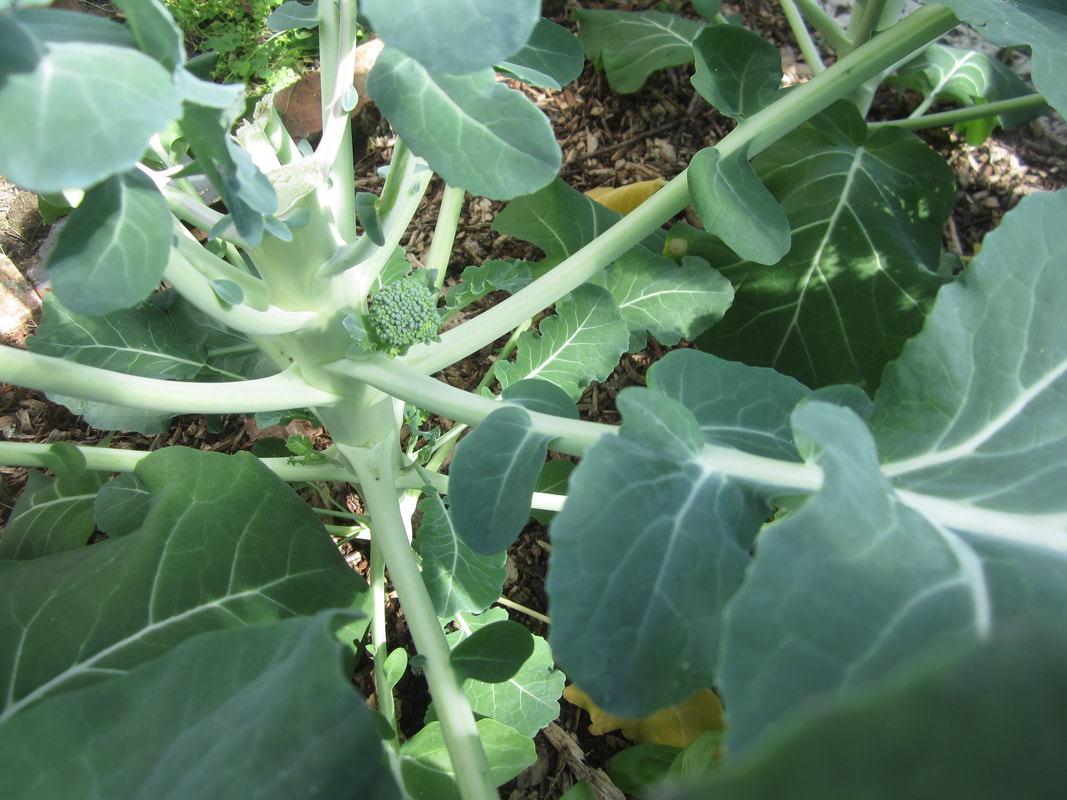
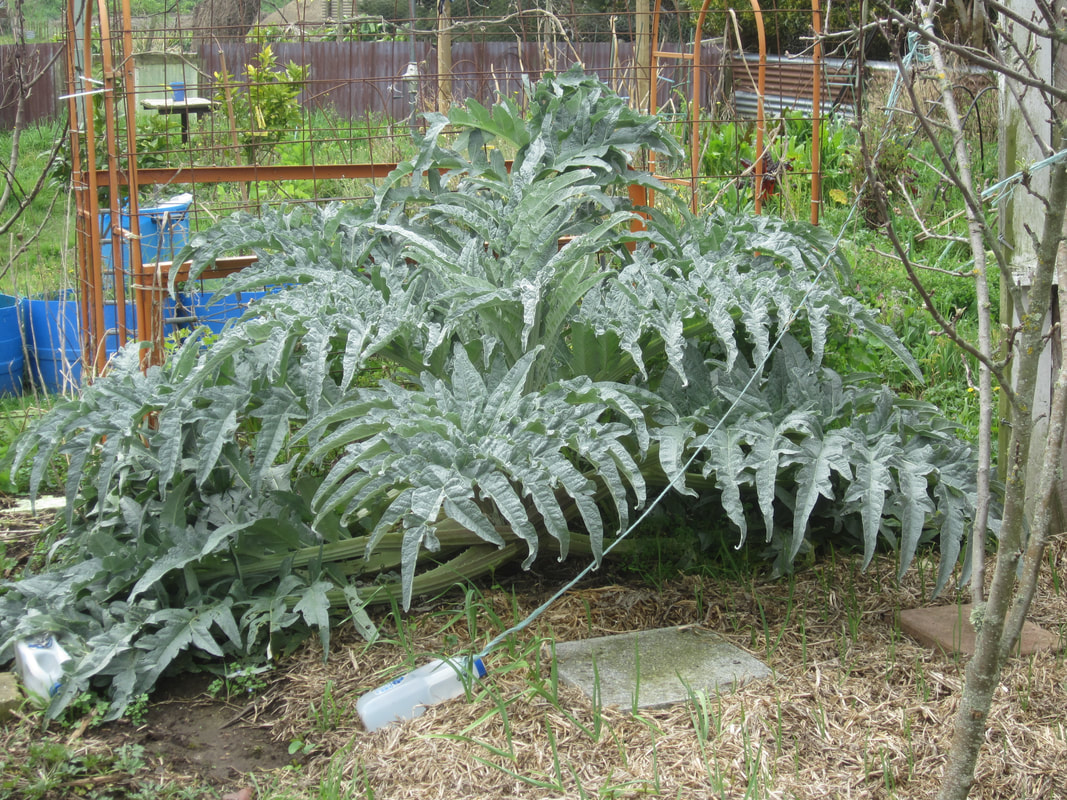
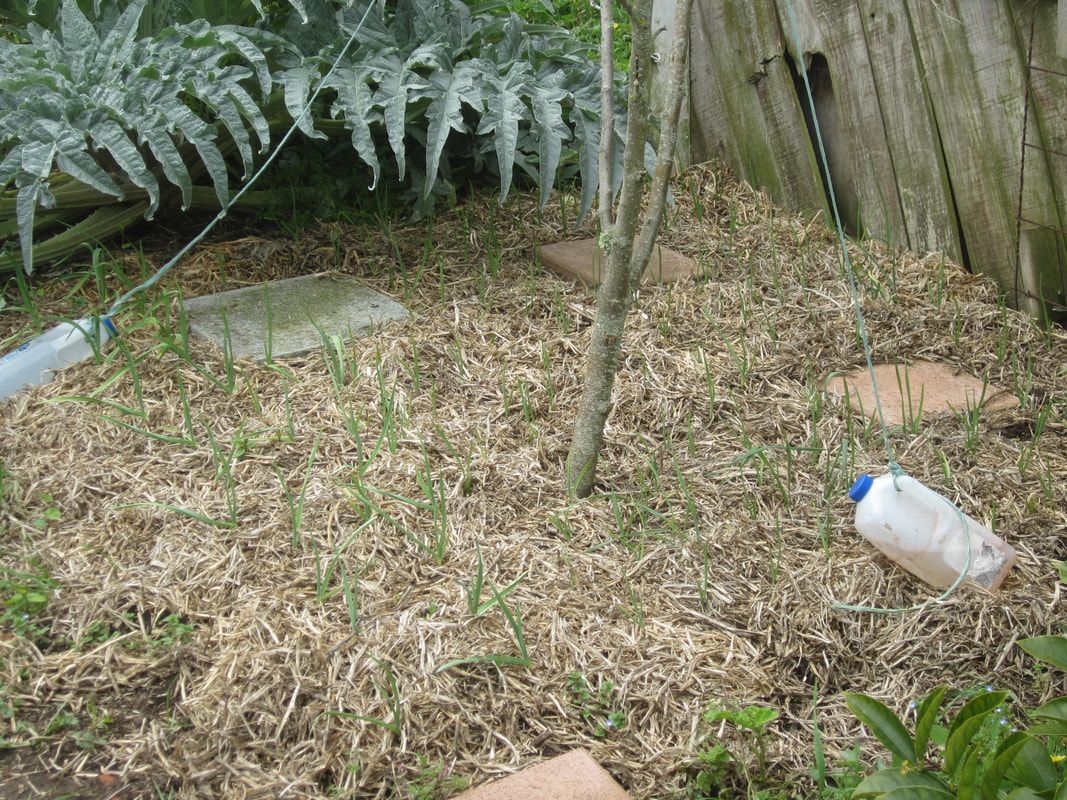
What's next for that patch of ground?
Well, I got to thinking....if I can grow 378kg of pumpkins in 50 square metres, how much total food can I grow there in a year? So, I'm turning over the ground bit by bit, adding compost etc, and planting winter crops, with the aim to see how much food this one patch can yield in 12 months, starting from when I planted the squash back on Dec 3rd. Updates to come!


 RSS Feed
