Making bread is very simple at it's essence, but can be daunting for the newbie; there are a few tricks to the process that you learn from experience or someone telling you, that can make all the difference. I used to make bread by hand every day - grinding the organic wheat in my grinder, making the bread, and then cooking it in a wood-fired coal range with no functional temperature gauge! But it took me time to get to that point - and many failures. A friend set me right. :-) For the last number of years I've mostly made bread in a breadmaker (with the home-ground flour or without), but with our number at home dwindled down, it's not worth bothering with a breadmaker - easier to make smaller batches to suit us by hand.
But that reminds me of a story....with an important lesson.....
But that reminds me of a story....with an important lesson.....
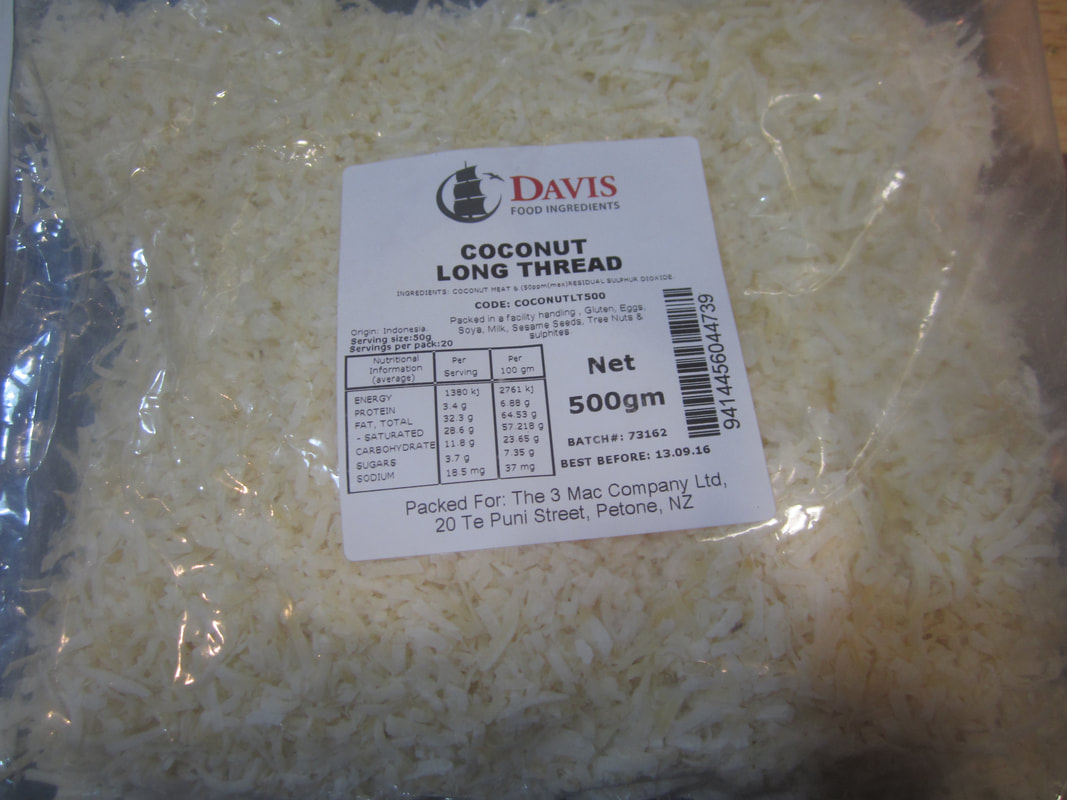
Back in my early breadmaking days, Y2K was a *thing*. For those of you too young to remember, the theory was that all the world's computer based systems were set up with an internal calendar that only went up to 1999. The hypothesis was that when the year rolled over to 2000, all those computer systems could have a meltdown, and suddenly we'd be without power, water, fuel, check out registers etc etc etc. I.e. global disaster! So a lot of folk started prepping for Y2K by stockpiling food and water etc. Now a lot of the homeschooling families we knew were large, and making their own bread was important. So some of them ordered in large amounts of wheat for breadmaking. Ordering a ton (a pallet load) per family was not uncommon. One family we knew did just that. Being the curious sort who likes caculating, I asked some questions....how long does it take you to grind enough wheat to make bread using your hand grinder? (30 mins) How many loaves does your family use per week? (8-10 I think). Who's going to do all that grinding? (the kids) How long will all this wheat last? (I did some figuring - about 2-3 years worth). They were kind enough to allow me to buy a bag of wheat from them to make my own bread with. I had a fancy electric grinder - 5 mins for me. Now, I started making bread. I tried it by hand, by machine - every time, the loaves were dense to the point of inedibility! I adjusted everything I could think of - same results. I had just about given up when we visited another friend's place for lunch. She served up beautiful home made bread, made with wheat she ground, in her breadmaker. OK - what are you doing that I'm not? I asked. Her first question was "Where did you get your wheat??" When I told her, she informed me that lots of folk she knew had got wheat from the same source, and it was all too low in gluten to make good bread. She suggested I feed it to the chickens and buy some good breadmaking wheat from another source. That's when I learned that gluten content of wheat varies season to season and by variety, and that good suppliers test the content of the wheat they get in, and mix lower-gluten batches with high-gluten ones to give an overall effective result, if it's being sold for breadmaking.
In breadmaking, gluten is very important - it's the protein in bread that gives the dough it's elasticity. As the yeast works, it releases carbon dioxide, and the elastic dough traps that gas in itself, causing the bread to rise. With low gluten, litte CO2 is trapped, and the resulting bread is dense. (That's the simplistic version, but you get the idea). So if you have trouble making good bread, and you've checked you're following all the steps right, then check the source of your wheat or flour and it's qualities.
In breadmaking, gluten is very important - it's the protein in bread that gives the dough it's elasticity. As the yeast works, it releases carbon dioxide, and the elastic dough traps that gas in itself, causing the bread to rise. With low gluten, litte CO2 is trapped, and the resulting bread is dense. (That's the simplistic version, but you get the idea). So if you have trouble making good bread, and you've checked you're following all the steps right, then check the source of your wheat or flour and it's qualities.
How to make bread....
One of the things I learned to do is to allow plenty of rising time. I do a triple-rising, with the first one being overnight. This makes for a better textured loaf. And also has health benefits - long, slow ferments (ie rising) alter the composition of the wheat dough, making it more digestible. Today's commercial bread is forced to rise in an incredibly short time, and is nowhere near as good for you, other ingredients aside.
This is one of those things I started doing for convenience - with no internet access living in a remote spot, I had no one to tell me this was a good idea. What I did have was 5 young children, and getting up early enough to make decent bread ready for lunch every day was not convenient. So I would set the dough to rise the night before, knowing it would often "over-rise" and collapse, and then just beat it down in the morning and do the second rising before shaping into loaves or buns, doing a final rising and baking. These latter risings took way less time if they'd had an overnight-er first, the texture was better, plus I saved the initial mixing time by doing it the night before.
This is one of those things I started doing for convenience - with no internet access living in a remote spot, I had no one to tell me this was a good idea. What I did have was 5 young children, and getting up early enough to make decent bread ready for lunch every day was not convenient. So I would set the dough to rise the night before, knowing it would often "over-rise" and collapse, and then just beat it down in the morning and do the second rising before shaping into loaves or buns, doing a final rising and baking. These latter risings took way less time if they'd had an overnight-er first, the texture was better, plus I saved the initial mixing time by doing it the night before.
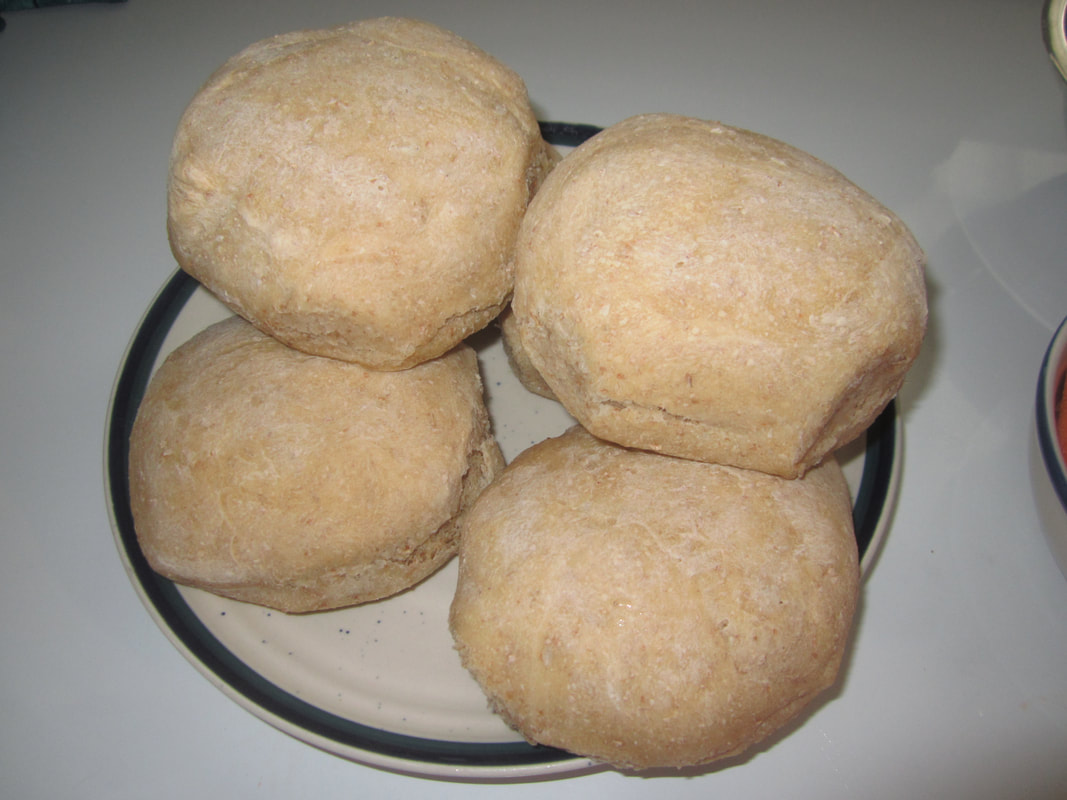 |  |
Ingredients: for two loaves of any shape or 24 normal sized buns (in my pic here I've made 6 larger hamburger buns with half the batch)
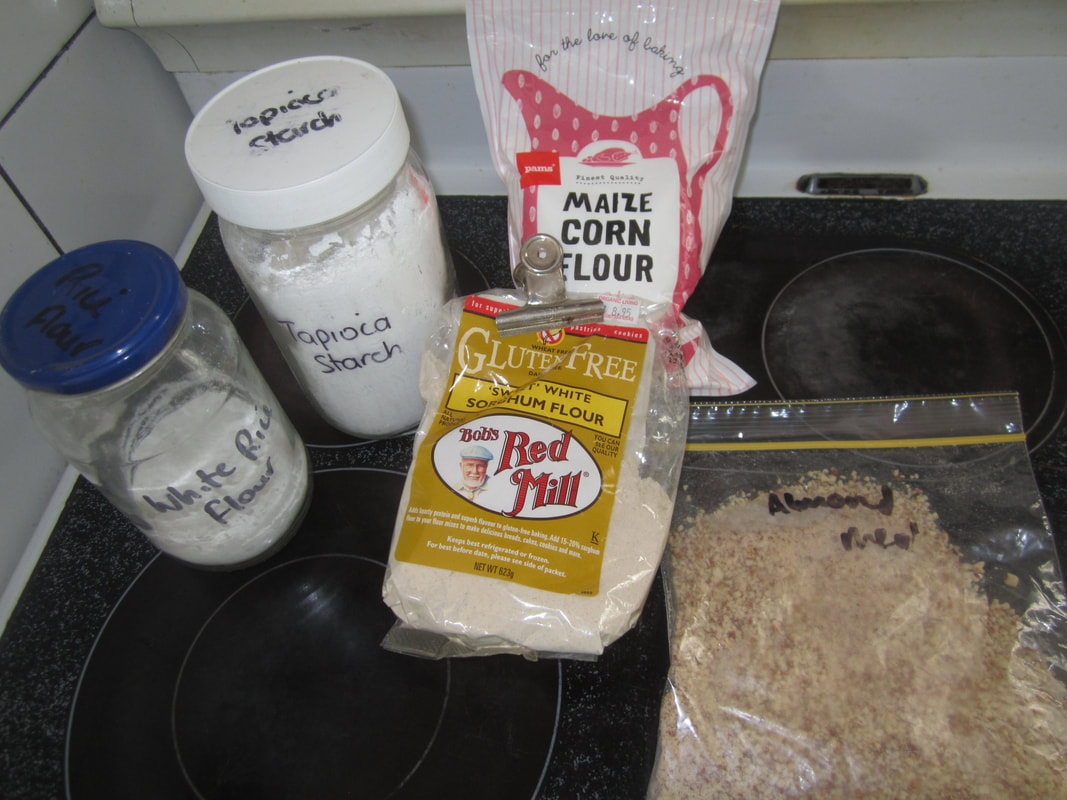
8 cups flour - plain or wholemeal or a mix. The pictured bread has two cups wholemeal.
4 tsp sugar
2 tsp salt
3-4 TBSP olive oil
4 cups warm water
2-3 tsp yeast granules or 4 tsp Surebake yeast (Surebake has other additives to make better textured bread, but they're not real good for you).
8 cups flour - plain or wholemeal or a mix. The pictured bread has two cups wholemeal.
4 tsp sugar
2 tsp salt
3-4 TBSP olive oil
4 cups warm water
2-3 tsp yeast granules or 4 tsp Surebake yeast (Surebake has other additives to make better textured bread, but they're not real good for you).
Method:
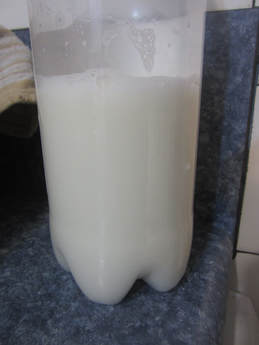
1) Mix boiling water and cold water in a bowl until you get a nice, warm water. It should feel warm when you put a finger in it, but not hot (hot will kill the yeast. Cold will not make it rise). If using yeast granules, stir into water and set aside to activate for 15 mins, at which point the mixture should be very frothy. If using Surebake, just put in with sugar in the next step:
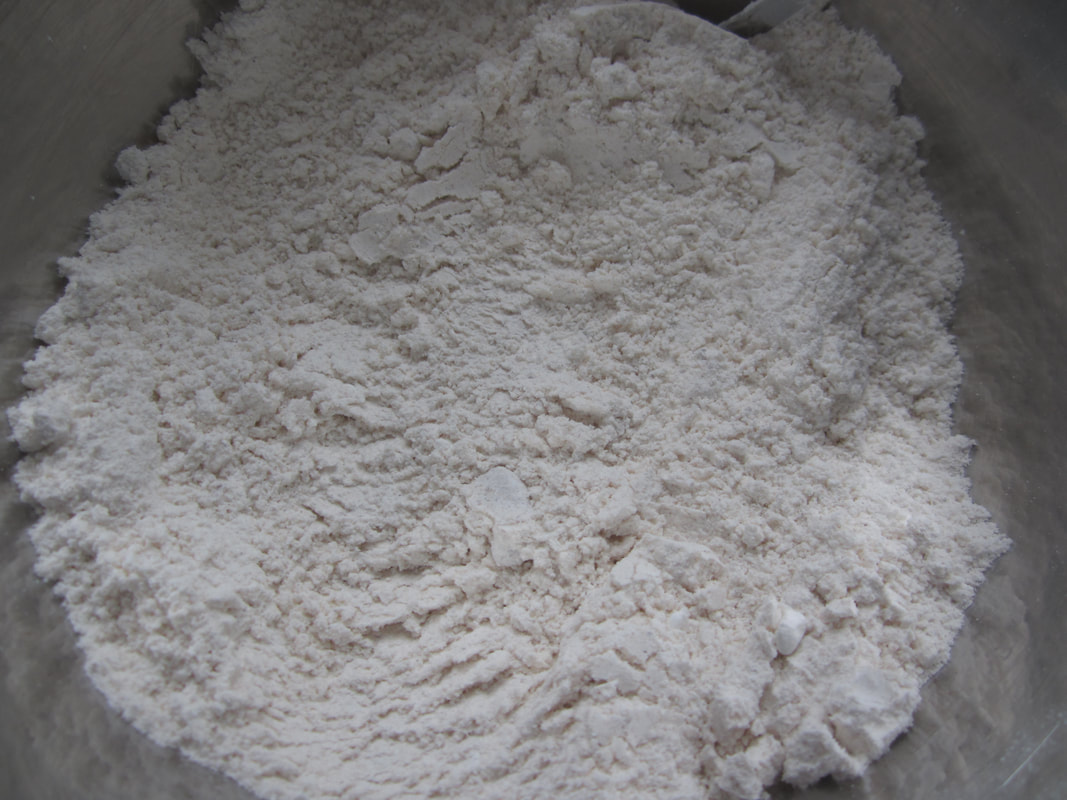
2) Place flour in a large bowl. Make a well in the centre, and a small valley on the outside along one edge. Place the salt in the valley, and the sugar in the well (along with Surebake if using). Pour the oil along the valley too.
3) Pour the water and/or yeast into the well. Using a flat knife, begin stirring from the middle outwards, mixing the liquids with the flour, aiming to incorporate the salt near the end of the process. The resulting dough should be quite wet and sticky - that's fine - but not total mush, though it actually doesn't matter if you make quite a wet dough at this stage (and sometimes gives better results). Ensure fully mixed and everything is sticking together more or less in a big lump.
4) Coat the inside of a very large bowl (ideally glass or steel) with oil. Dump your dough in the middle, and turn it over once so it gets a bit oiled. Cover the bowl with a damp teatowel or some glad wrap. Set aside in an ideally just slightly warm location, but room temp is fine unless extremely cold. Leave overnight. If your bowl is not very big, then divide the dough and place in 2 or more containers. You want room for a lot of expansion without overflow!
5) In the morning, the dough should have risen considerable. If it rose and collapsed, that doesn't matter. Using your fist, lightly pound down on the surface of the dough until it has shrunk. Now sprinkle a handful or two of extra flour around the edges. Begin kneading by drawing up one edge and folding over, pressing down. Turn slightly and repeat. Continue to lift, fold, press over and over, incorporating the flour, and adding more little by little if the dough is still sticky. Once it's of handle-able consistency, turn out onto a lightly floured and continue to knead. Aim to knead for about 10 mins, but know that if you've never done this before, your arms will start to get tired and protest (it gets easier with practice!). The more kneading you do, the better for the dough, as kneading incorporates the trapped CO2 more evenly through the dough, forcing it into smaller and smaller spaces. This is the part where experience will benefit you - you are aiming for a smooth feeling, elastic dough that is not sticky when kneaded. Once you've got the hang of how it should feel, your bread making will be consistently successful.
Once you've kneaded it, return to a clean, lightly oiled bowl and cover. Set aside in a warm place until doubled in size - about 1 hour.
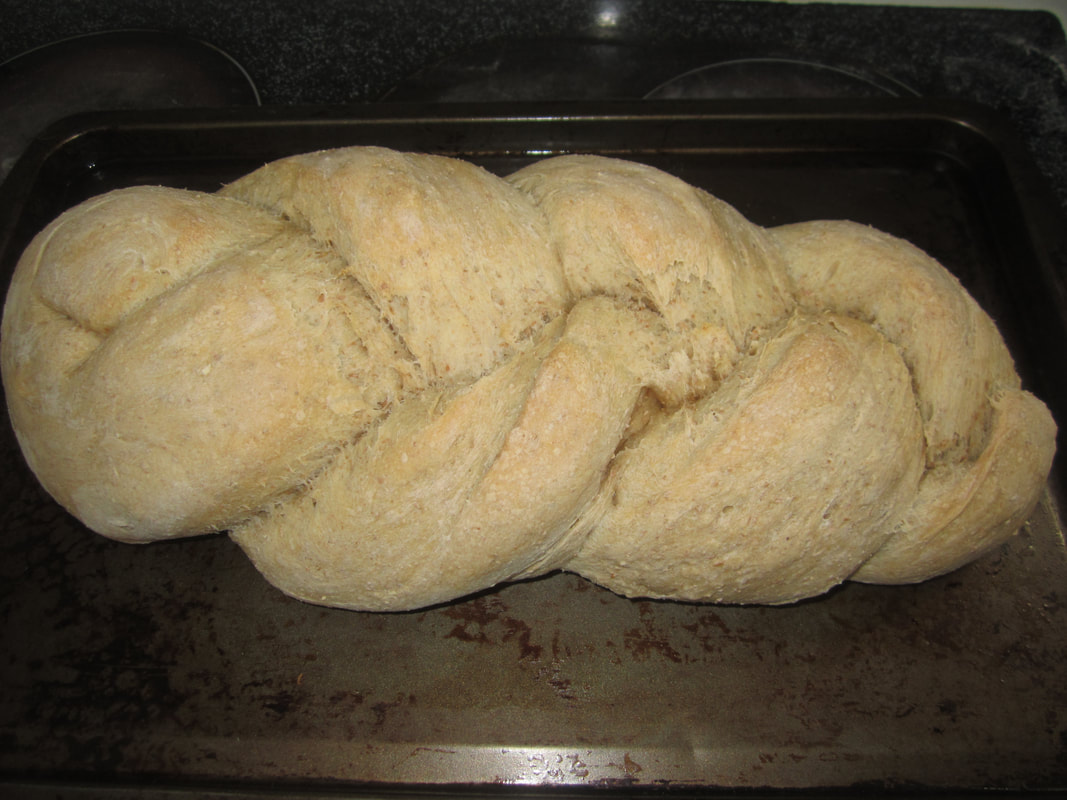
6) Now, divide the dough in two, and form into loaves or buns. It can be placed in two large loaf tins, or made into hand-shaped loaves, or plaited, or rolled into buns of whatever size you like. Place the resulting loaves or buns in tins or on a tray, cover with a teatowel and set aside in a warm spot to rise once more until about doubled.
7) Preheat oven to 180C/350F. Brush the tops of loaves or buns with milk or beaten egg (optional, but gives a nice glaze/browning) and bake. 35 mins for a plaited loaf, about 20-25 mins for buns, and 45 mins or so for a loaf in a tin. The bread is done when it sounds hollow if you rap on it with your knuckles, and the bottom is lightly browned. If in doubt, flip upside down and cook an extra 5 mins or so. Cook on a wire rack. Fend off the ravening hordes drawn by the smell of baking bread until it's cool enough to cut. :-)
Well cooled bread slices much more nicely than hot bread, but sometimes it's nice just to tear it apart with your hands and eat it.
Notes:
1) Mix boiling water and cold water in a bowl until you get a nice, warm water. It should feel warm when you put a finger in it, but not hot (hot will kill the yeast. Cold will not make it rise). If using yeast granules, stir into water and set aside to activate for 15 mins, at which point the mixture should be very frothy. If using Surebake, just put in with sugar in the next step:
2) Place flour in a large bowl. Make a well in the centre, and a small valley on the outside along one edge. Place the salt in the valley, and the sugar in the well (along with Surebake if using). Pour the oil along the valley too.
3) Pour the water and/or yeast into the well. Using a flat knife, begin stirring from the middle outwards, mixing the liquids with the flour, aiming to incorporate the salt near the end of the process. The resulting dough should be quite wet and sticky - that's fine - but not total mush, though it actually doesn't matter if you make quite a wet dough at this stage (and sometimes gives better results). Ensure fully mixed and everything is sticking together more or less in a big lump.
4) Coat the inside of a very large bowl (ideally glass or steel) with oil. Dump your dough in the middle, and turn it over once so it gets a bit oiled. Cover the bowl with a damp teatowel or some glad wrap. Set aside in an ideally just slightly warm location, but room temp is fine unless extremely cold. Leave overnight. If your bowl is not very big, then divide the dough and place in 2 or more containers. You want room for a lot of expansion without overflow!
5) In the morning, the dough should have risen considerable. If it rose and collapsed, that doesn't matter. Using your fist, lightly pound down on the surface of the dough until it has shrunk. Now sprinkle a handful or two of extra flour around the edges. Begin kneading by drawing up one edge and folding over, pressing down. Turn slightly and repeat. Continue to lift, fold, press over and over, incorporating the flour, and adding more little by little if the dough is still sticky. Once it's of handle-able consistency, turn out onto a lightly floured and continue to knead. Aim to knead for about 10 mins, but know that if you've never done this before, your arms will start to get tired and protest (it gets easier with practice!). The more kneading you do, the better for the dough, as kneading incorporates the trapped CO2 more evenly through the dough, forcing it into smaller and smaller spaces. This is the part where experience will benefit you - you are aiming for a smooth feeling, elastic dough that is not sticky when kneaded. Once you've got the hang of how it should feel, your bread making will be consistently successful.
Once you've kneaded it, return to a clean, lightly oiled bowl and cover. Set aside in a warm place until doubled in size - about 1 hour.
6) Now, divide the dough in two, and form into loaves or buns. It can be placed in two large loaf tins, or made into hand-shaped loaves, or plaited, or rolled into buns of whatever size you like. Place the resulting loaves or buns in tins or on a tray, cover with a teatowel and set aside in a warm spot to rise once more until about doubled.
7) Preheat oven to 180C/350F. Brush the tops of loaves or buns with milk or beaten egg (optional, but gives a nice glaze/browning) and bake. 35 mins for a plaited loaf, about 20-25 mins for buns, and 45 mins or so for a loaf in a tin. The bread is done when it sounds hollow if you rap on it with your knuckles, and the bottom is lightly browned. If in doubt, flip upside down and cook an extra 5 mins or so. Cook on a wire rack. Fend off the ravening hordes drawn by the smell of baking bread until it's cool enough to cut. :-)
Well cooled bread slices much more nicely than hot bread, but sometimes it's nice just to tear it apart with your hands and eat it.
Notes:
- In cold conditions or if you store your flours in the freezer, warming the flour and utensils before you start can make a big difference to your results! Place a bowl of flour in a heat proof container into an oven preheated to 50C or low, and let warm through before you start.
- If your room temp is too low for the second and third risings, heat oven to 50C while kneading etc, then turn off and place dough inside to rise. Remove before heating to baking temp.
- In mid winter, the first rising may be best in the hot water cupboard or on top of the fridge, both warm locations. Don't put it anywhere too warm though, unless you have lots of room for rising in your bowl, or you may wake up to a mess!
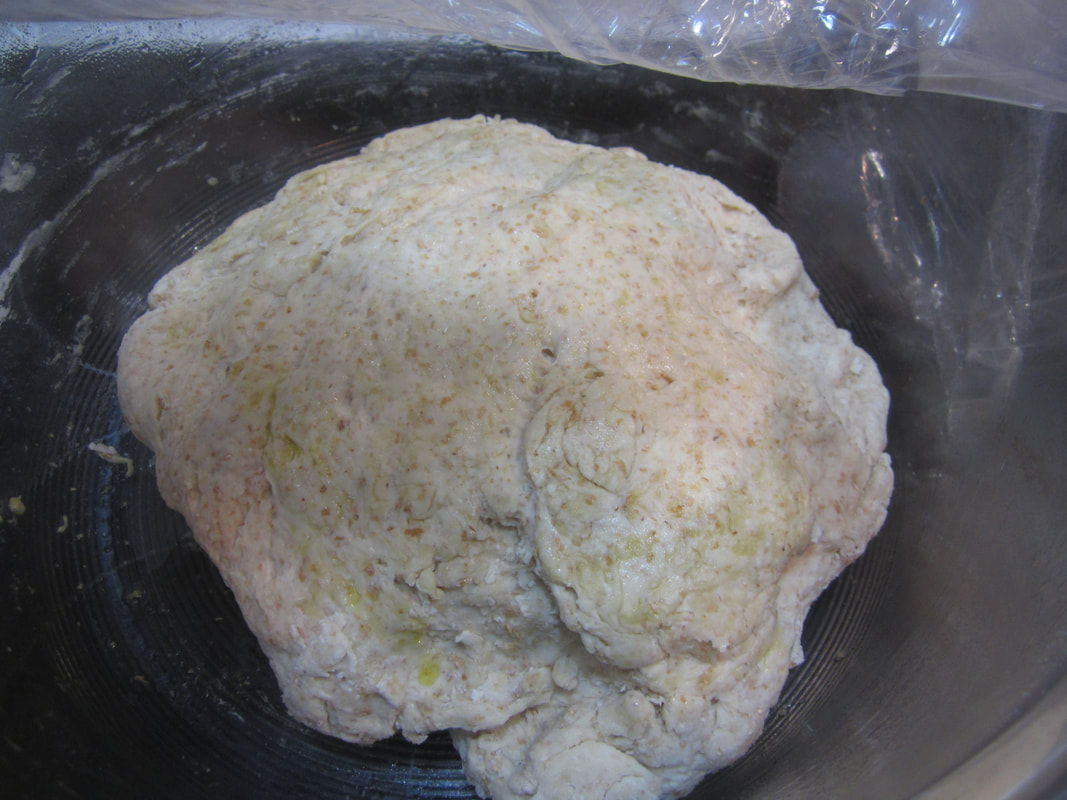 Ready for first rising. Fine if your dough is a bit wetter than this. 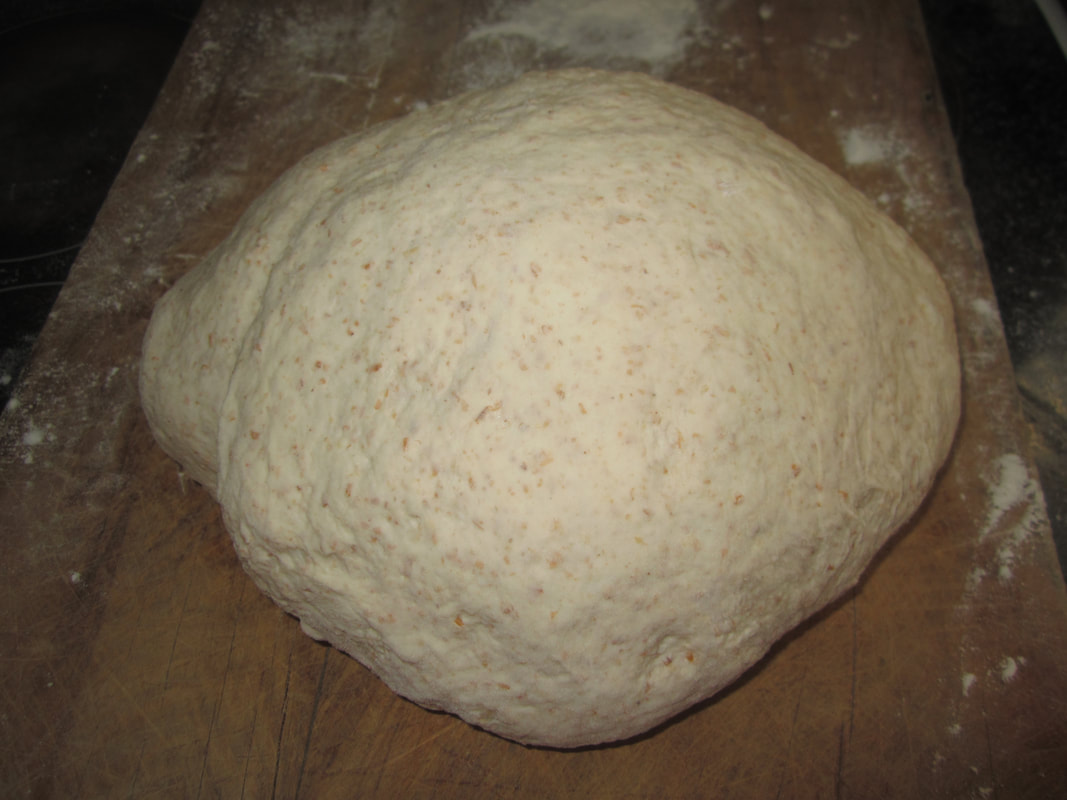 After kneading 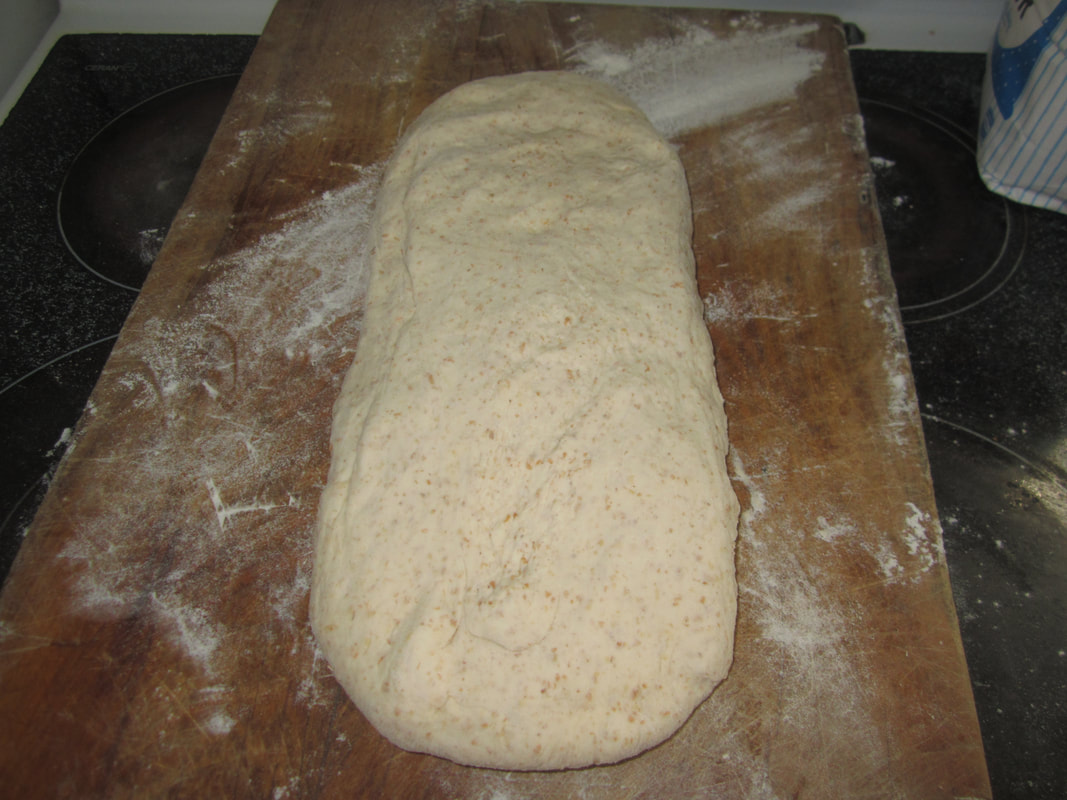 Half the dough shaped and flattened ready to make a plaited loaf 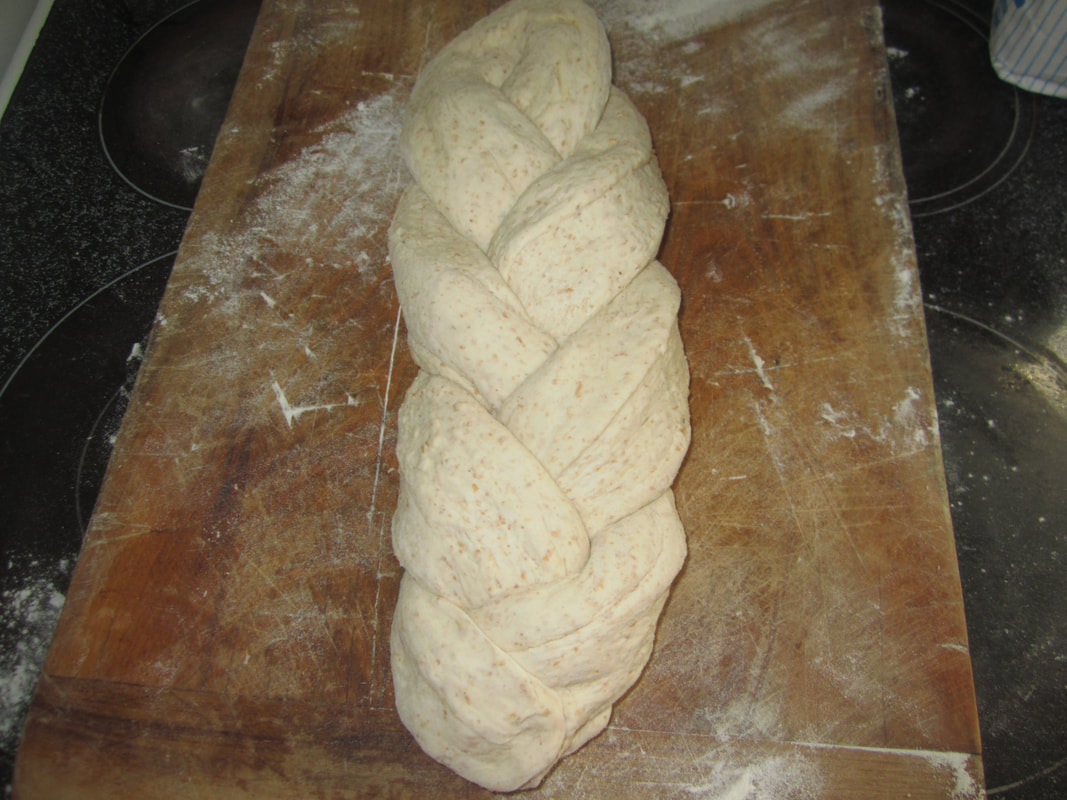 Simple plait/braid - lift alternate sides into the middle, and when you get to the end, simple press the dough together. 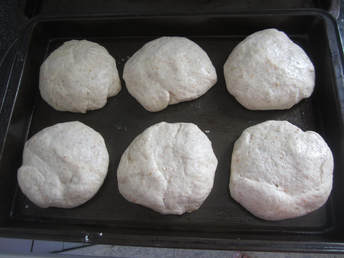 Buns ready for third rising | 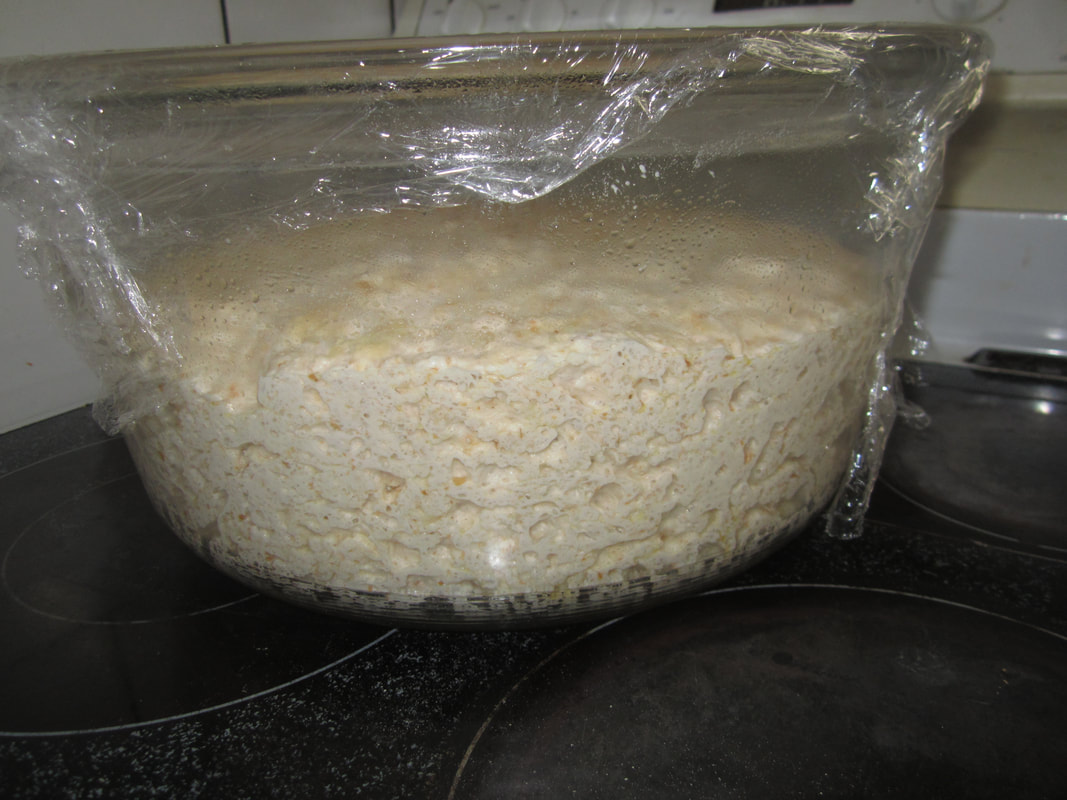 The next morning.... 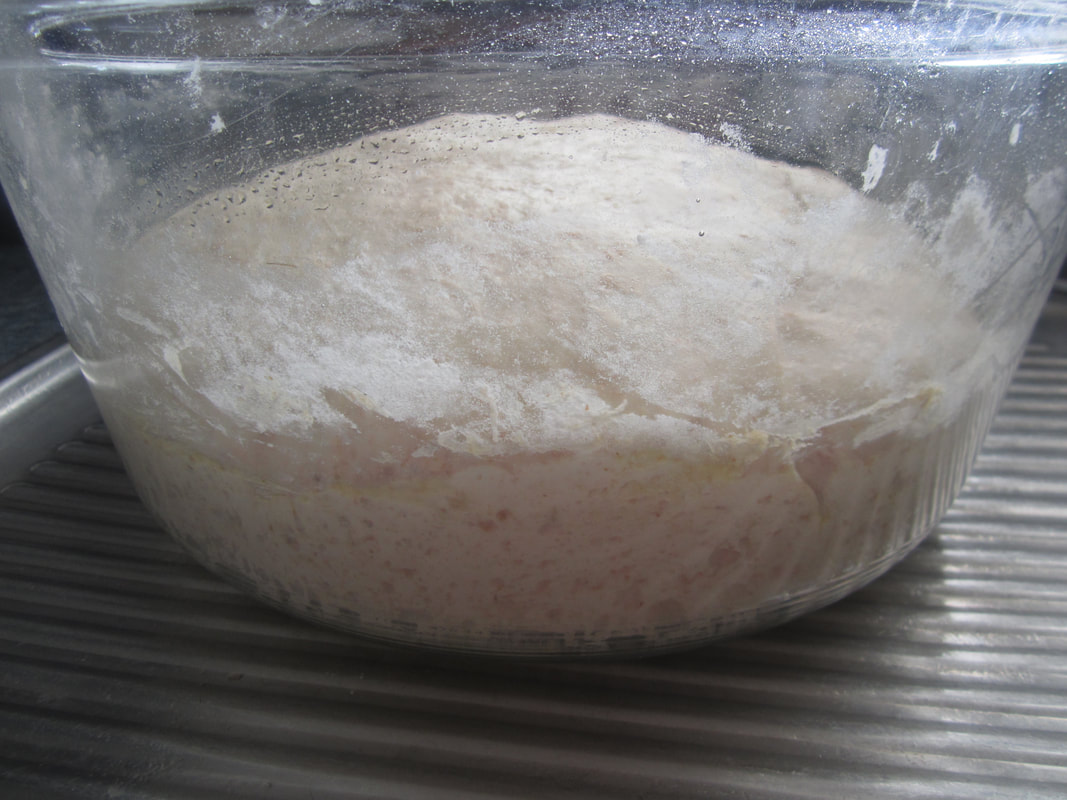 After second rising  Cut in three, left joined at the top, with a large share knife, ready to plait (braid). 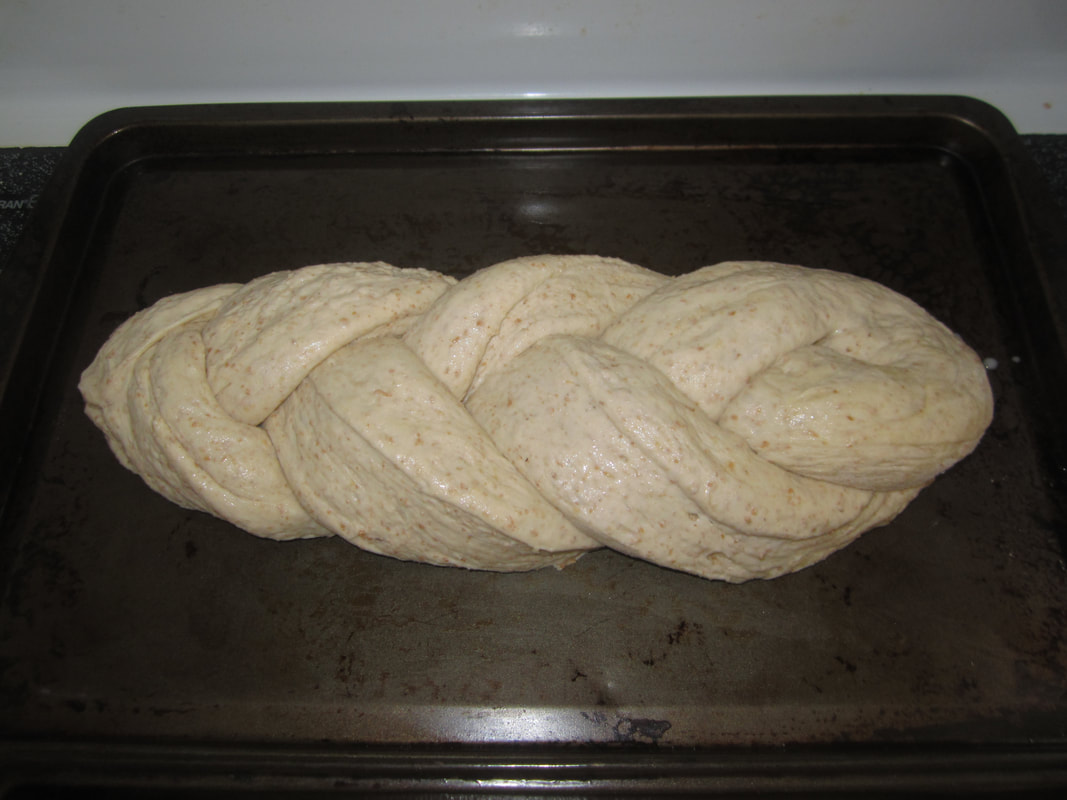 Ready for third (final) rising 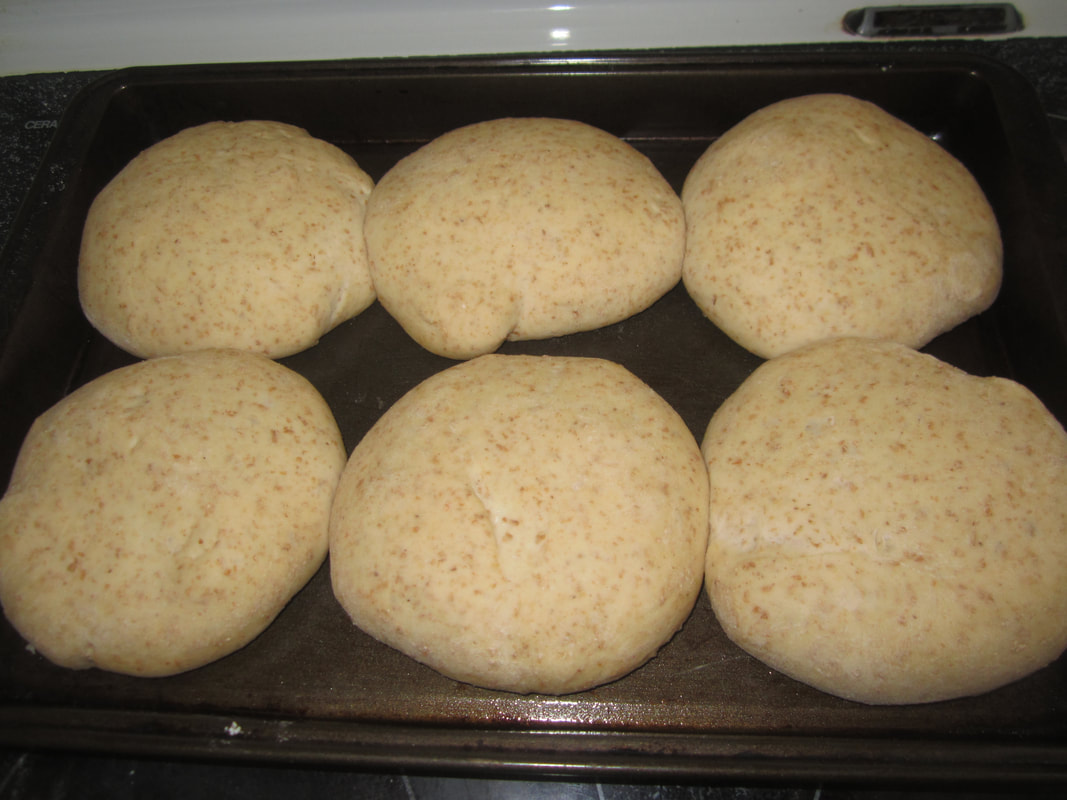 Ready to bake |

 RSS Feed
