Thrifty Kiwi
Like our Facebook page
  • Home
  • Blog
  • Homesteading
  • Gardening
    • 2021 Garden Blog
    • 2019-2020 Garden Blog
    • 2017-2018 Garden Blog
    • 2016-2017 Garden Blog
    • Kiwi Urban Homestead 2013-2015 Garden Blog
    • Pest & Diseases
  • Recipes
    • Autoimmune Protocol
    • Meals and Snacks
    • Preserving
    • Household Cleaners
    • Health & Beauty
  • Skills
    • Menu Planning & Grocery Shopping
    • Money & Budgeting
    • Preserving How-Tos
    • Housekeeping
    • DIY
    • How to Find Stuff Free or Cheap
  • Animals
    • Critter Blog
  • About
  • Contact

Duck & Bacon Casserole

19/2/2018

0 Comments

 
We raise our own ducks (they're super fast growing and quite hardy). This recipe could be made with domestic or wild duck meat. The secret to tender duck is twice-cooking; one fast, one slow. This recipe results in tender, melt in your mouth meat.
Picture
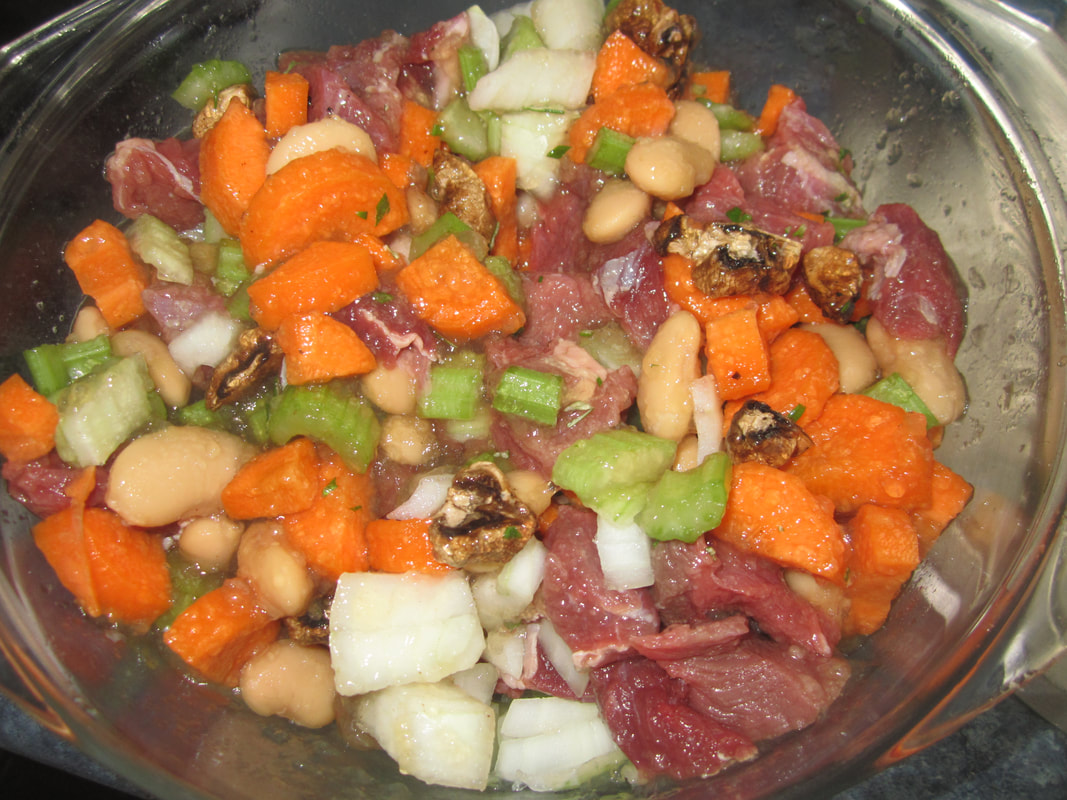
2 Ingredients (4 servings):
5-600g duck breast or other meat, cut into small cubes
2 rashers bacon (Henderson's dry cured old fashioned bacon is great if you want to avoid additives etc)
2 onions, diced
2 carrots, peeled, halved, and sliced
2 stalks celery, diced
2 bay leaves
Snippets of fresh herbs from the garden (eg chives, parsley, oregano and rosemary)
400ml home made chicken stock 
2 TBSP apple cider vinegar (this tenderises meat)
1 tsp sea salt
1-2 TBSP coconut oil
Cornflour for thickening
Optional: any left over saved drippings or fluids from cooking steak, meat patties, roasts or similar home made meals, fat removed (extra flavour)
Picture
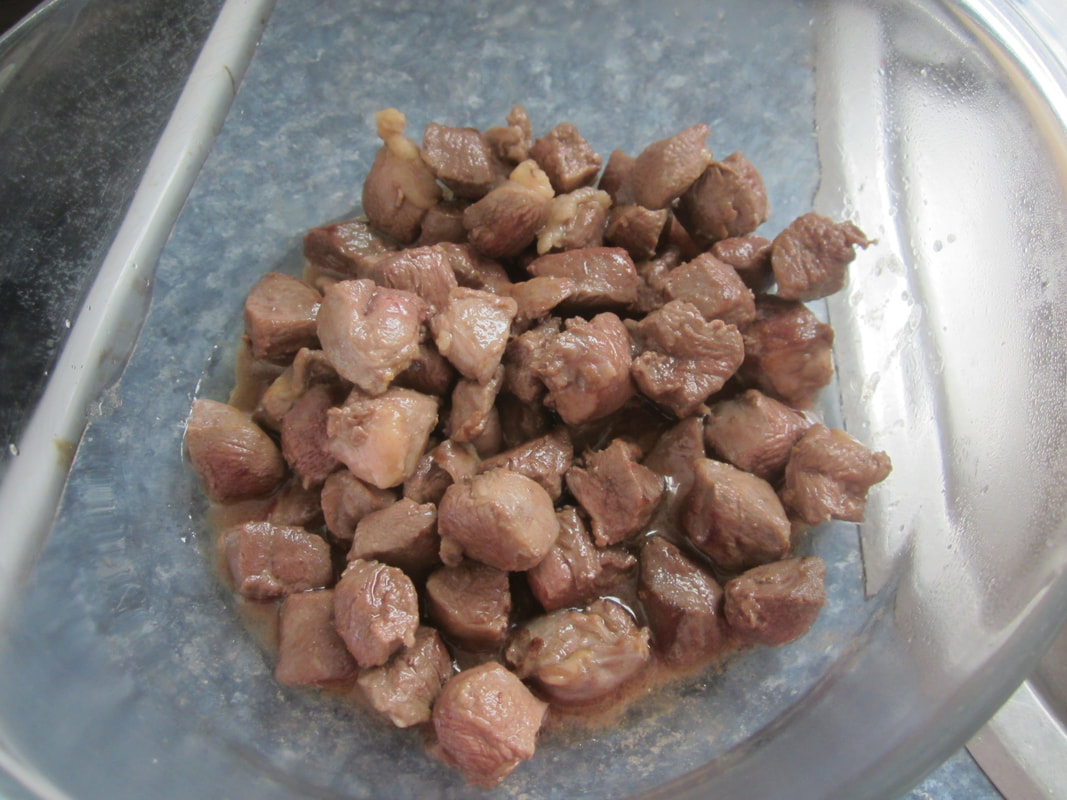
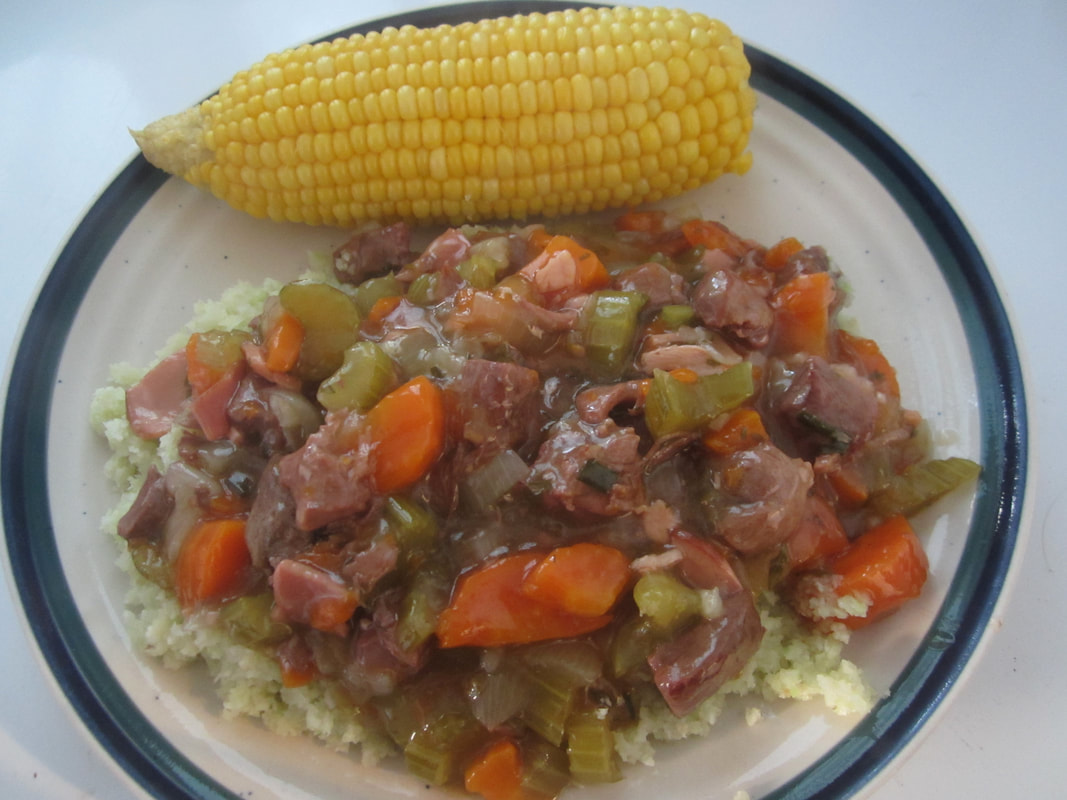
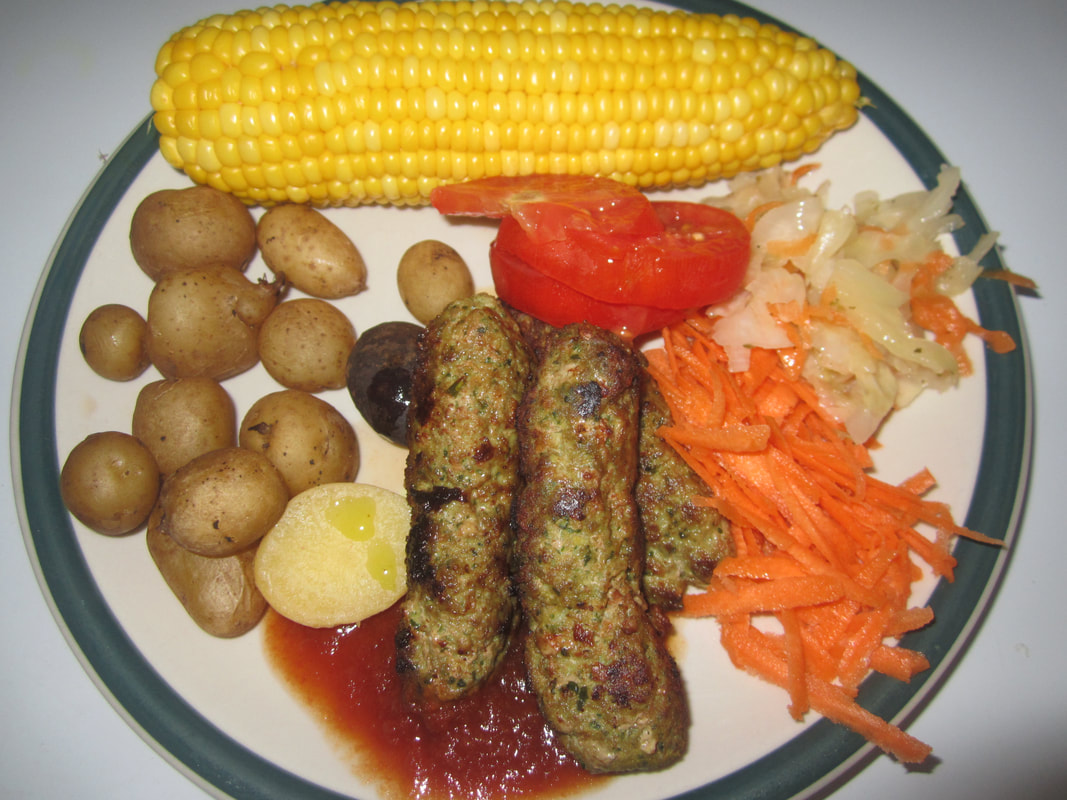
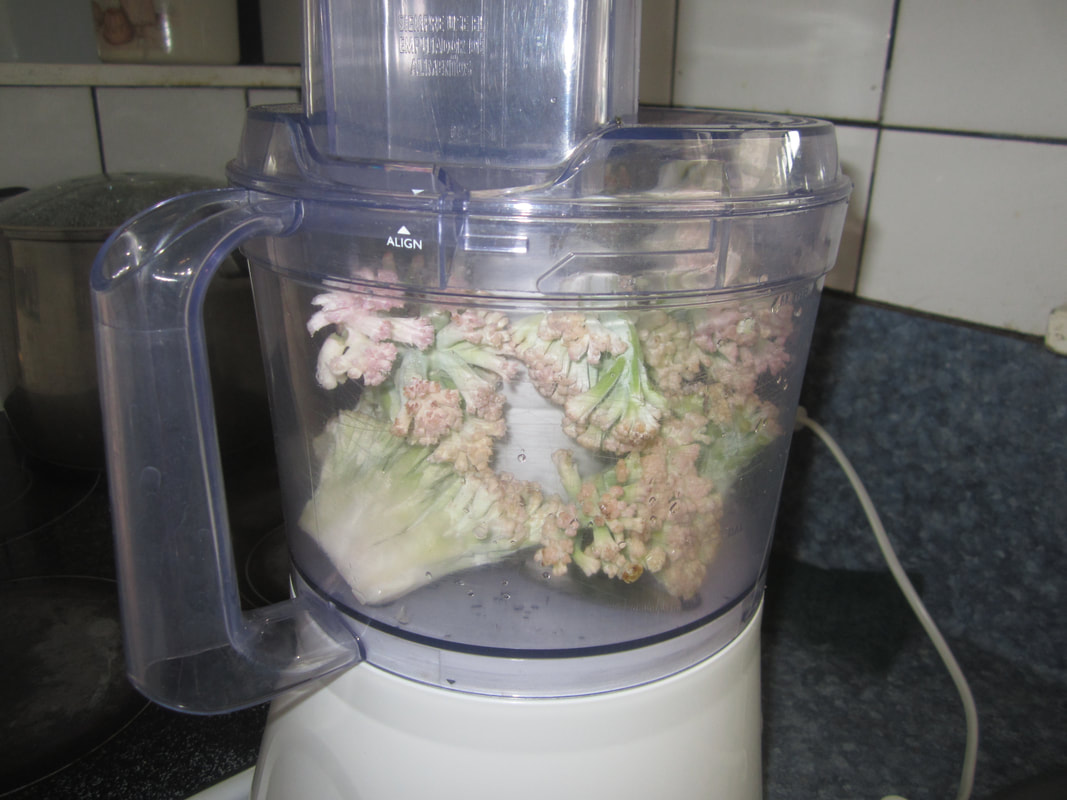
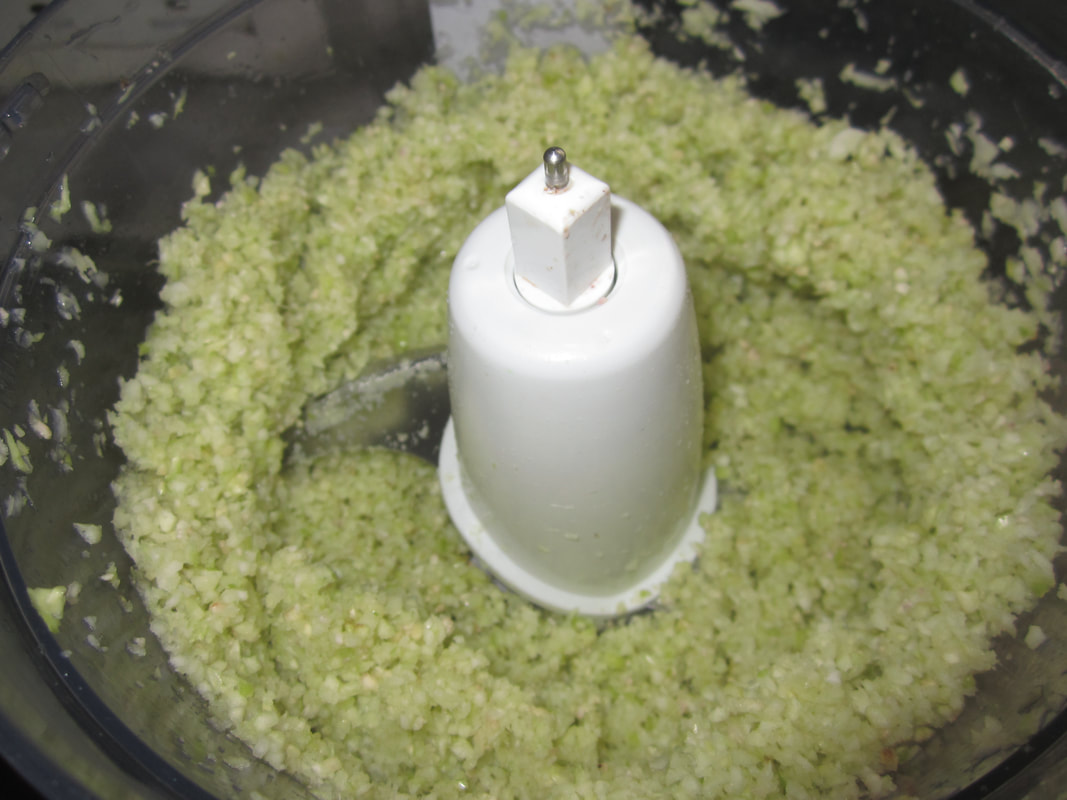
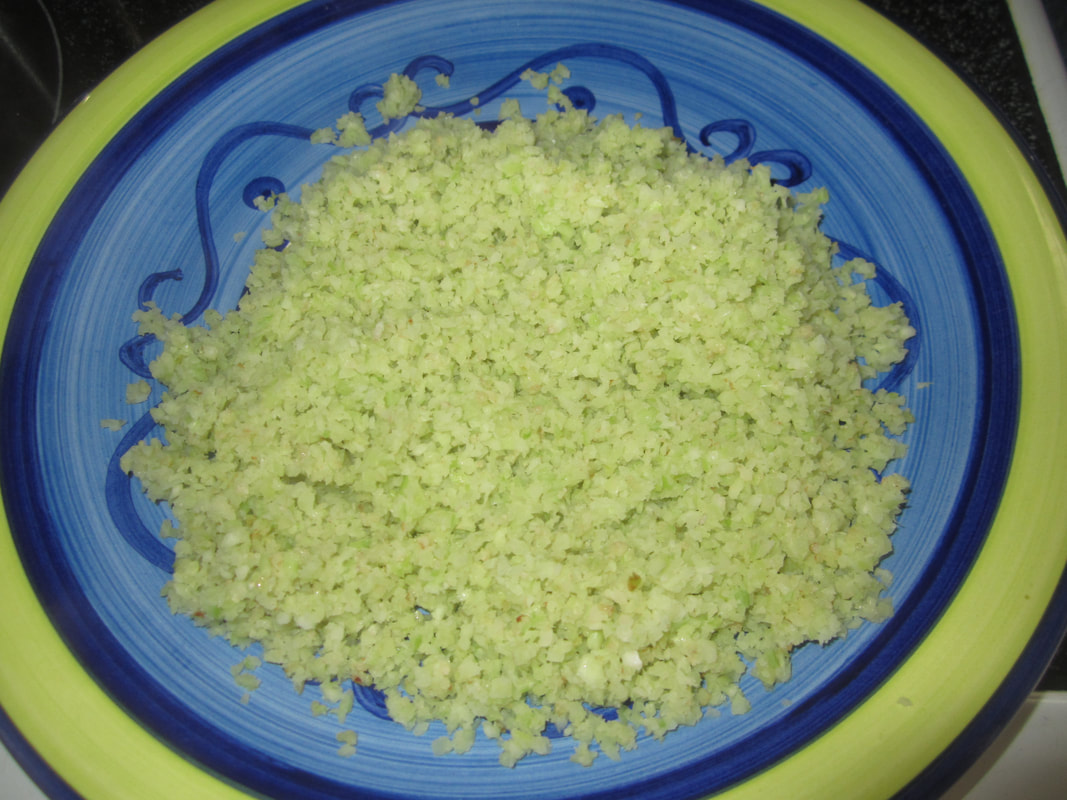
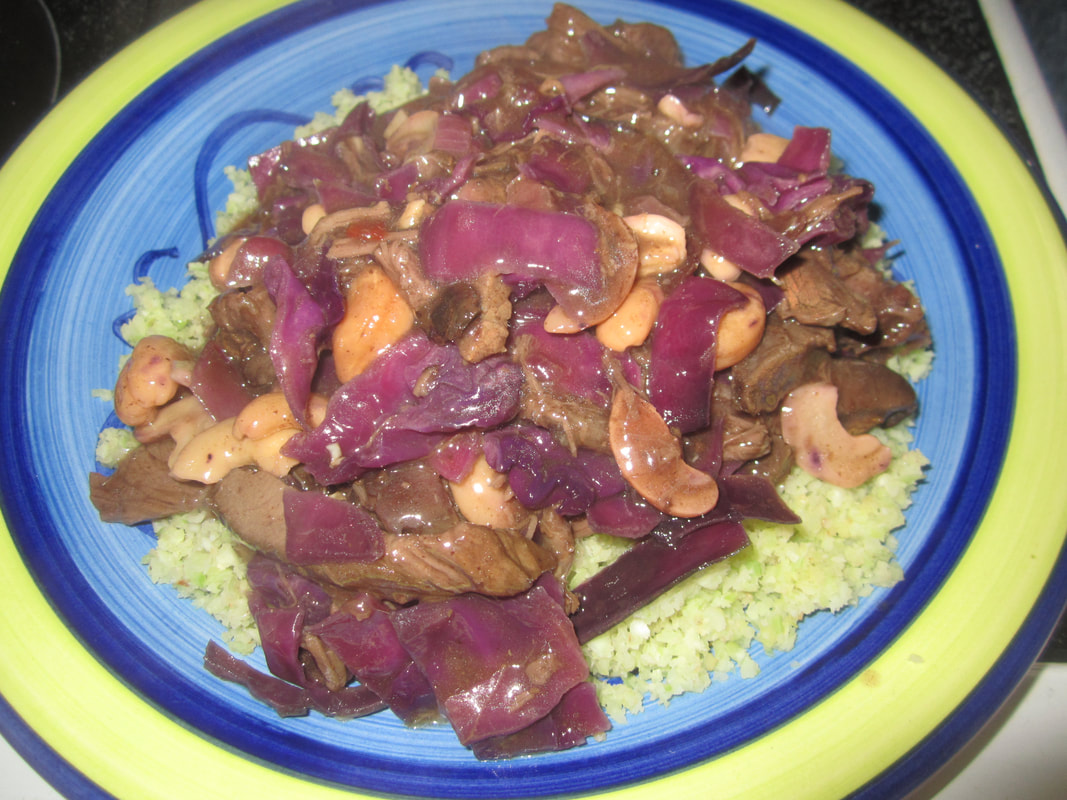
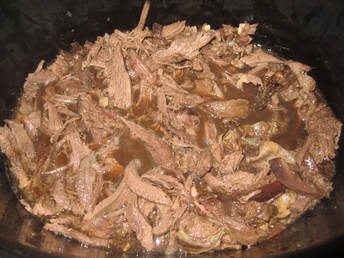
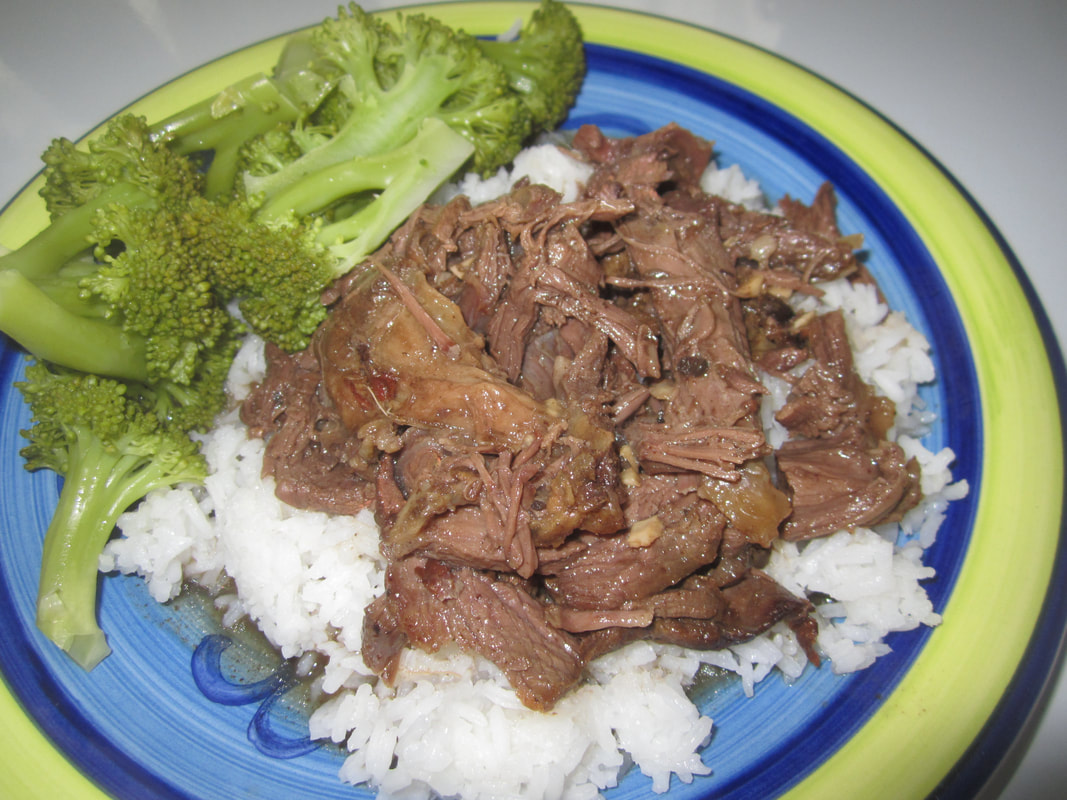
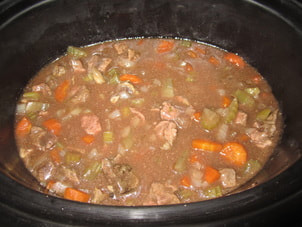
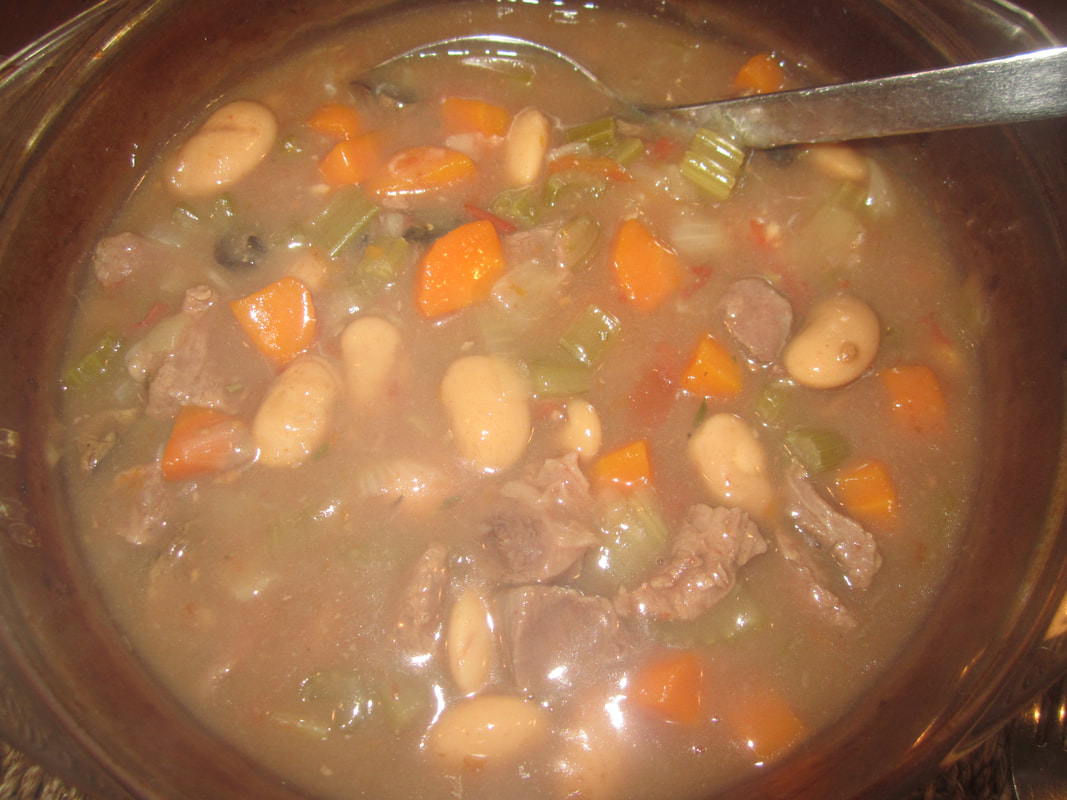
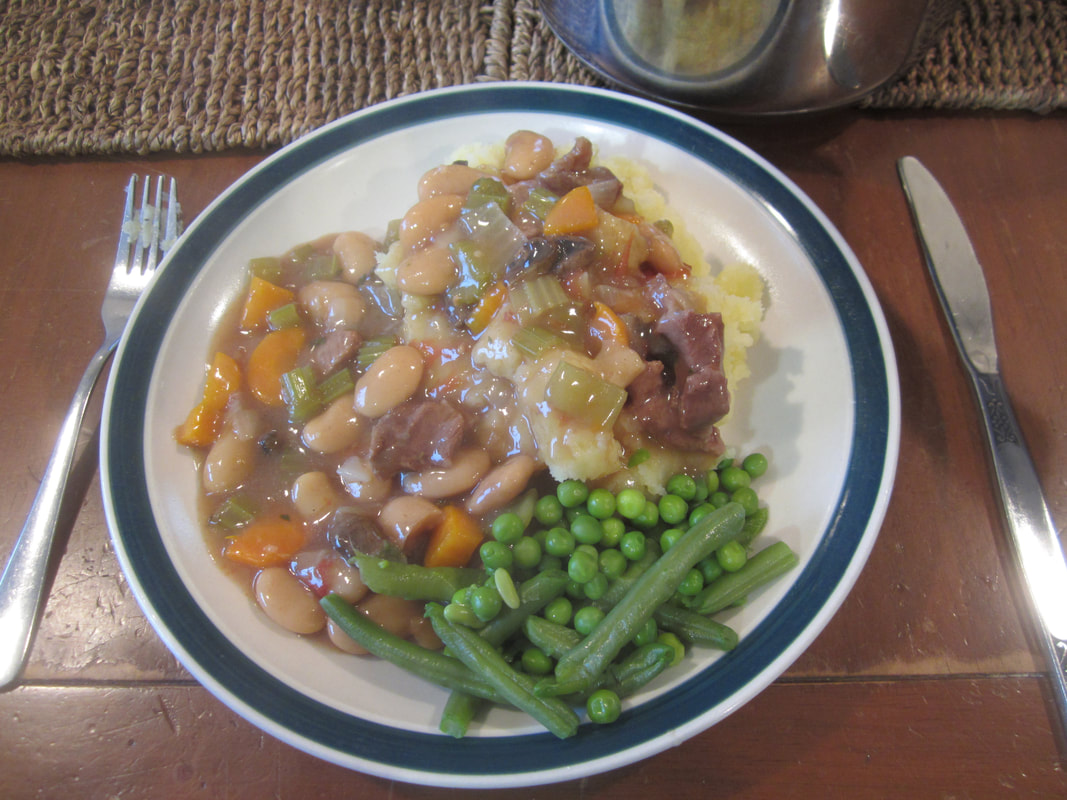
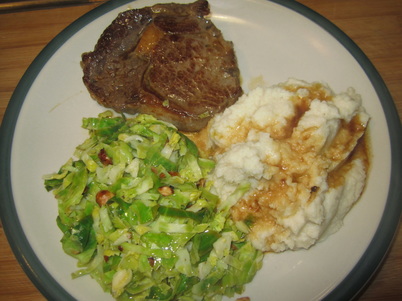
Method:
Heat oil in frying pan. Add diced duck, and saute until lightly cooked through. Tip meat and all fluids into oven proof casserole dish. Fry bacon in frying pan. Remove and dice. Add to casserole dish.
​Add all other ingredients except cornflour. Stir. Cook at 150C for 2 hours, stirring occasionally. 

​Remove bay leaves.
Mix cornflour with water to form runny paste. Add to casserole, stirring to combine. Return to oven for 10 mins. 

Serve with rice or cauli rice and seasonal vegetables. 
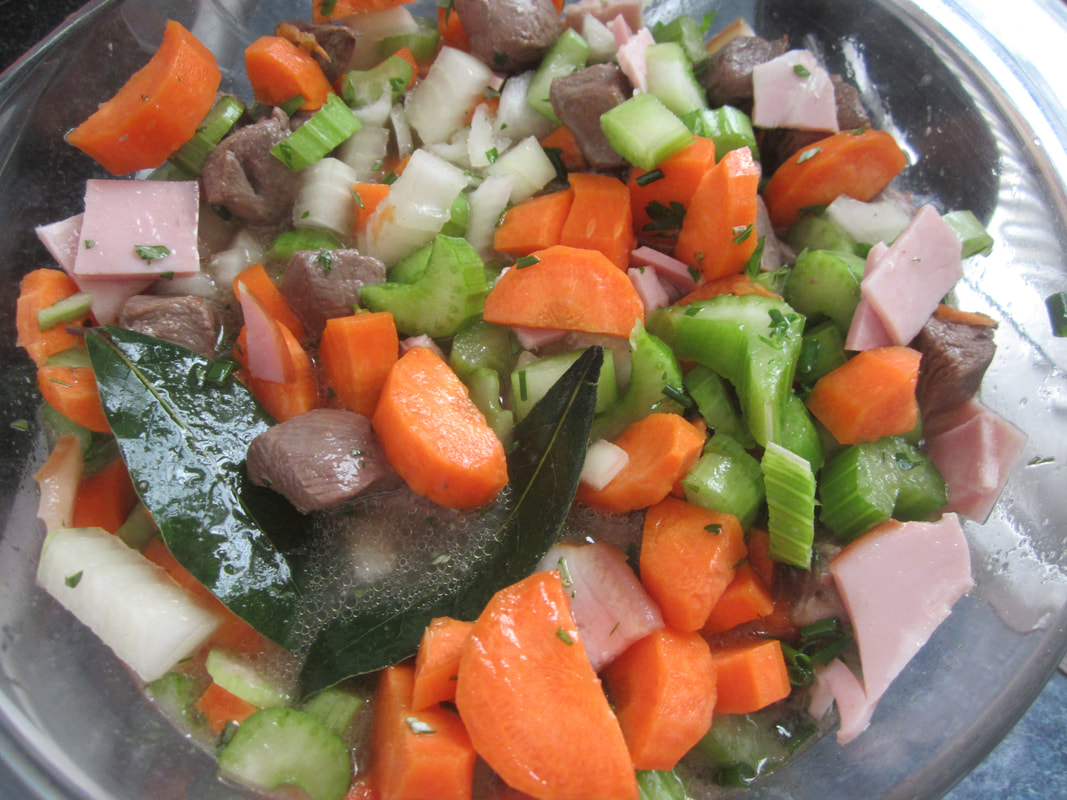
Picture
0 Comments

Home-made Sausages

12/2/2018

0 Comments

 
A while back I asked our butcher to make some sausages with straight meat from our sheep, no additives, flavourings or fillers. I have multiple food allergies, and wanted to see how they would taste. They really were tasteless, and so I put off using them for some time. However, as part of my current Spend Next To Nothing Challenge, in which I also want to empty the freezer of things that have been hanging around for a while, I started to get creative with these, making them into my own handmade sausages. My husband loves sausages (ask him what he wants for dinner and that's his default response lol), so this way he gets to still have sausages when I'm not buying anything. After some playing around, I came up with a really tasty mix. This would be easy to replicate with any suitably finely processed mince - you can use an electric mincer to make it at home, or ask a butcher to do it, or just try putting mince in a food processor and processing it until smooth (haven't tried that last yet - let me know if it works!) 

When we get more sheep butchered, I'm going to ask for some of the meat to be made into plain sausage meat and bagged - I will then use this recipe or variations of, and may also get some casings and stuff them myself. However, sausages formed by hand with no casings work just fine, as below. 
Ingredients:
500g plain sausage meat
Quantities of various fresh herbs
2 dessertspoons dried onion
1 tsp garlic powder
1 tsp tumeric
1 tsp ground coriander

(Feel free to use whatever spices and herbs you like)
Picture
Method:
Wash herbs, shake off water. Strip leaves off woody stemmed herbs like oregano, thyme, rosemary. Place in food processor with other herbs such as parsley, nasturtium leaves etc. Process, scraping down sides a few times. Add dried onion and whiz for a bit. Add sausage meat (squeeze from casings if necessary), garlic powder and spices and whiz until well combined. 

Working with wet hands, form into 6 sausage shapes (all that rolling of playdough you once did will now come in handy). 

Heat oil in frying pan - I use a combination of coconut oil and olive oil. Fry over medium heat, turning often until browned on all sides and cooked through. Serve with tomato sauce and your choice of vegetables. 
Picture
Picture
Picture
0 Comments

Cauliflower Rice

21/1/2018

0 Comments

 
Super quick and easy, this is a great substitute for rice, and an easy way to use up extra cauliflower. Can also be done with broccoli. Tonight, I used up a less-than-totally-pretty head of cauli from the garden, trimming off the dark bits from the tips of the florets with a sharp knife. 
Method:
Cut cauliflower into florets. Place in food processor, and whiz until cut into rice-sized pieces. Scrape down the side a time or two if needed. 

Heat a little coconut oil in a large frying pan. Add cauli rice, and cook for 4-5 mins over medium head, stirring, until softened and hot. 

Serve topped with anything you like - eg a casserole or stew, or balsamic shredded meat, or anything you'd normally put on rice.
Picture
Picture
Picture
Picture
0 Comments

Crock-pot Balsamic Shredded Venison/Beef/Mutton

21/1/2018

0 Comments

 
This is really tasty! And left overs are even better. I had a venison leg that's been in the freezer for quite some time. Mostly because it was too long to fit in my crockpot or roasting dishes, so I got our butcher to cut the shank end off it, and then I just haven't decided what to do with it. So I decided to mix up these simple ingredients and slow cook it in the crockpot. This would also be great with beef or mutton. 
Ingredients:
2.5kg roast
1 cup home made beef stock
1/2 cup brown sugar
1/4 cup balsamic vinegar
1 TBSP soy sauce
1 tsp plain salt
1/4 tsp red pepper flakes (I used some chilli I'd dried last year, finely chopped)
3-5 cloves garlic, crushed and minced
Picture
Method:
In a bowl, whisk together all ingredients except roast. Pour into a slow cooker. Add roast, and turn to coat. Cover and cook on auto or low for 8 or so hours, turning roast halfway through. Remove meat, shred, return to crockpot. Mix some cornflour with water then stir in to thicken, cooking a little longer. 

Serve. 

Left overs develop the flavour even more, and are wonderful cold or reheated. 

I served it the first day on rice with steamed broccoli. 
After my husband had used some left overs for lunches, I then reheated the rest in a pot together with some left-over cabbage and cashews, and served on a bed of cauliflower rice - truly delicous!!

Picture
Picture
0 Comments

Any Way You Like It Stew

9/1/2018

0 Comments

 
I call this "Any Way You Like It Stew" because this recipe is so, so versatile! You can literally take the basic recipe and use it for ANY meat (beef, lamb, chicken, rabbit, duck, goat, venison, you name it - even the cheapest cuts work great) and you can cook it ANY way you like - in a pot on the stove, in a slow cooker, or in the oven! You can also add any veges you like to it, make it gluten free if you wish, and serve it with many different side dishes. Once you know how to make this, you really can have it any way you like it!

Basic Stew/Casserole Recipe

Picture
Ingredients:
2 onions, diced
2 cloves of garlic, crushed (optional)
1 kg (2 lbs) meat of choice, cut into cubes 
2-3 stalks celery, diced
1 tsp rosemary
1 tsp salt
Either: 600ml homemade beef or lamb stock (for red meats) or homemade chicken stock (for poultry/rabbit)
Or: 2 tsp organic soy sauce (OR beef stock powder) AND 600mls boiling water
Cornflour or similar to thicken (see variations below)

Method:
Meat may be browned with onions and garlic before assembling, but I only do this when cooking in pot on stove, and occasionally if I'm cooking it in the oven. Otherwise, I assemble all ingredients raw and then cook together in oven or crockpot.

Place ingredients in order given into crock pot or oven proof dish and stir to combine. Cook in crockpot on auto or low for approx. 6-7 hours, or in covered dish in oven at 180C (350 F) for 1.5 hours. Stir 2-3 times during cooking.

The photo to right shows assembled ingredients before cooking. The picture above shows it after cooking.

If cooking in pot on stove, brown meat with onion and garlic, then add remaining ingredients. Bring to boil, cover, and simmer on low for 1.5 hours, stirring occasionally. 

Thicken before serving by adding cornflour mixed with water, stirring, and cooking for another 10-15 mins. Serve with mashed potatoes or rice and green vegetables. Serves 6-8
Picture

Stew Variations and Hints

  • When I first used this recipe, many years ago, I used to add flour at the beginning of the assembly process to produce a nice gravy at the end, but I learned over time that cooking it without the flour means you don't get any bits burning at the edges, and the dish stays a lot cleaner. It is also easier to thicken it just the right amount at the end. However, if you wish to include flour at the beginning, place meat, onion and garlic in dish, add 1/2 cup flour and stir to coat everything, then add rest of ingredients and proceed as above. These days I thicken at the end with a cornflour/water mixture, or with rice flour/water.
  • If using a gamey meat to make this dish - such as venison or duck - add 2 TBSP of vinegar to the mix - 
    this will tenderise the meat and completely eliminate any gamey flavour!
  • You can add any veges you like to this dish. For a long time, we couldn't use onions because of my daughter's food allergies, and so I used leek instead of onion. I often add diced pumpkin or kumera (sweet potato) to it, and my kids love it if I add hunks of potato to the dish as it comes out flavoured beautifully by the meat liquid. Play around and discover your own combinations!
  • You may have noticed that I use organic soy sauce in a many dishes, and never bouillon  products. This is because stock powders and bouillon products are often loaded with MSG and other nasties, and I will not use them. Soy sauce acts as a natural flavour enhancer and adds that "beef stock" taste but is safer. Soy is naturally high in glutamates, so may not be suitable for those with glutamate sensitivities, but my daughter, who is allergic to MSG and most glutamates can tolerate it in small amounts. Use organic soy sauce and read labels to avoid nasty additives. Another alternative is to make your own stocks and use those in recipes. Homemade stocks make the best stew bases!
  • Other cuts of meat may also be used - such as mutton neck chops. I often look for the cheapest stewing beef, or use meat from animals we butcher that is from the less-than-terrific cuts. When using neck chops, leave them whole rather than trying to cube them. Once they are cooked in this recipe, the meat will be fall-off-the-bone and melt-in-your-mouth tender!
  • If cooking with a tougher type of meat, then lower temp to 150C after 30 mins, and cook for a total time of 2- 2 1/2 hours until meat is tender.
  • If you're a bit short on meat, then use a lesser amount, and stretch it by adding a can of butter beans or chickpeas (rinsed)
This tasty version below was made for 3-4 people with:
400g gravy beef
1 can butter beans
2 carrots, 3 stalks celery
Some wizened mushrooms
About 1/3 cup diced tomatoes
1 onion
Fresh rosemary
Salt
Homemade beef stock
Cornflour for thickening
Because the stock came out of the fridge and was very gelled, when I mixed it all together, it looked like there was no moisture in the dish. But it quickly becomes liquidy in the oven, as the stock warmed and fluids are drawn from the veges and meat during cooking. 
Picture
Picture
Picture
0 Comments

Versatile Meat Sauce - Basic Version

6/1/2018

0 Comments

 
A good meat sauce can be used in so many ways - to make spaghetti bolognaise, lasagne, nachos, on toast, with rice or mashed spuds or as sloppy joes. This version is the basic way I made meat sauce for years, and is still how the youngest of my now grown kids prefers it. I'll post the other version next time I make it. 
Method:
Heat a little oil in a suitable pot. Brown the mince, breaking it up as it cooks. In a blender, combine all other ingredients and whiz (skip this step if you don't mind pieces of tomato and skin visible in the sauce). Pour tomato mix into pot of browned mince, stir, bring to boil, then turn to low and simmer for 15-20 mins, stirring occasionally.

Cook with the lid off if you want it thick, as for bolognaise or nachos. Cook with the lid on if you want more moisture retained, as for lasagne. Or if you're cooking up sauce to use later or freeze, do it with the lid on, as additional moisture will be driven off when reheating later. 

This is a good dish to make up in bulk and freeze in portions. 
Ingredients: (Serves 6-8)
1kg beef mince
1 can tomatoes, any kind (or 2 cups of chopped tomatoes)
2 cups tomato sauce - I like Budget/Value brand for this
1 tsp beef stock powder OR 1 tsp soy sauce
​1 tsp dried oregano
Picture
Picture
Picture
Picture
Picture
For spaghetti bolognaise: In a separate pot, boil plenty of water. Add salt and a glug of oil, then spaghetti noodles, and cook until al dente. If you're not sure when they're done, throw one at the wall - if it sticks, they're cooked. :-). Some years ago, my children were staying with friends and my then about 12 yo daughter was helping their daughter cook a meal. They were making pasta, and the other girl wanted to know how to tell when it was done. My daughter demonstrated by throwing some at the wall, just as the father of the family walked in!! ROFL Apparently they were unfamiliar with this Italian trick. ;-) Anyway, once cooked, drain your pasta, then serve portions on plates, topped with meat sauce, and grated cheese or sour cream (optional).

To make nachos: Pile corn chips onto plates and serve as above. (No need to throw any at the wall - they come cooked. ;-) ) 

For lasagne: Cook a packet of lasagne pasta. Drain. Grate lots of cheese. Layer in a small roasting dish as follows: 1/3 meat sauce, 1/2 pasta, 1/3 cheese, 1/3 meat sauce, 1/2 pasta, 1/3 cheese, remaining meat sauce, remaining cheese. Cover with foil and bake 180C/350F for 45 mins, removing foil after 30 mins. 
0 Comments

Curried (or not) Sausage Pie

4/1/2018

0 Comments

 
A cheap, tasty and filling meal for a family, this can be made with sausage meat (available in tubes or trays from supermarkets and butchers) or you could cut non-precooked sausages into short lengths and arrange the rounds in the tray. (Or squeeze the meat out of the casings, and proceed as below).
Picture
Ingredients:
Potatoes - cooked and mashed. As much as you'd normally use for a family meal.
1-2 onions, diced
2 or so cups applesauce, or some apples cut up, cooked and pureed
Sausagemeat - I would use 1kg to feed 7-8, or adjust to suit
1-2 dessertspoons raw or white sugar
1/2-2tsp curry powder (optional)
Cheese, grated, to top (optional)
Method:
​1. Peel, cut up and cook as much potatoes as normal for mashed potatoes. When done, mash.
 
2. Peel, core and slice 3-4 apples, and cook in pot until just tender. Place slices in blender with just enough of liquid to puree to smooth. Or use bottled applesauce. 
 
3. Dice onion. Sprinkle half of the onion over bottom of roasting dish.
 
4. With wet hands, pick up and roll small amounts of sausage meat into even size pieces (I went big-ish in the one pictured, but back in the day, would do them walnut shell sized). Lay in single layer in roasting dish on onion.
 
5. Sprinkle rest of onion over.
 
6. Place sugar in cup. (Optional: add  curry powder and stir). Sprinkle evenly over sausage meat.
 
7. Drizzle apple puree evenly over top.
 
8. Spoon mashed potatoes over entire dish and smooth out. Optional: top with grated cheese.
 
9. Bake 180C for one hour.
 
While cooking, make salad or cook other veges.

​Serve with tomato sauce.
Picture
Picture
Picture
Picture
Picture
0 Comments

Turn Left-over Veges into a Delicious New Vege Dish

2/1/2018

0 Comments

 
There are often small quantities of left over cooked veges in my fridge. These can be used up in various ways - in winter I generally use them in soups. Today I turned them into a yummy dinner dish. 

This description is a guide only - use what is on hand or whatever you fancy. Don't be afraid to play with your food! The main purpose when re-dressing left over cooked veges is to reheat them, fancy them up a bit, and make sure they taste great. :-) 
Today I had some left over carrots, some beans, and a small quantity of broccoli. 

In this particular case, the beans were part of a combo vege dish, so had been cooked last time with some soy sauce and beef stock, thus having extra flavour, which I took into account when putting this dish together. 

I decided to use in addition:
Some coconut oil
1 small onion, diced
2 mushrooms, halved and sliced
1 small rainbow chard (silverbeet) leaf, rougly chopped
A few naturtium leaves and flowers - leaves chopped, flowers left whole
A dash of soy sauce and a little salt

Picture
Picture
Picture
Prepare the veges that need washing/chopping etc. 
Heat a spoonful of oil in a frying pan. Saute onion for a few minutes, then add mushroom and saute until beginning to soften. Add cooked vegetables, stir. Add a dash of soy sauce and salt to taste (consider whether cooked veges were previously salted). Continue to saute, or if desired, place lid over pan and let cook for a few minutes until veges hot. Add silverbeet and stir gently for a minute or so. Add nasturium leaves and flowers. Cook until wilted. Serve. 
Picture
Picture
0 Comments

A Complete Meal Cooked in One Roasting Dish

9/1/2017

1 Comment

 
I like easy, wholesome food, and I love minimising the mess and dishes! Tonight I cooked chicken thighs, roasted veges, and zucchini - and it was all done simulatenously in one roasting dish! The only other dishes incurred were the peeler, knife, chopping board and tongs. And only a few minutes prep time is needed. 
Picture
Method:
1) Preheat oven to 180C/350F
2) Peel and cut up kumara, onions, garlic (and/or any other desired veges suitable for roasting)
3) Place the prepared vegetables in one half of the roasting dish, drizzle with olive oil and toss to coat. 
4) Place thawed chicken pieces in the other half of the roasting dish. 
5) Lightly salt chicken and vegetables. 
6) Bake for 30 mins, then turn chicken and veges over, and bake another 10 mins
7) Meanwhile, slice zucchini evenly. Removing dish from oven, pile up the vegetables at one end. Spread the zucchini slices into the middle of the dish, as close to a single layer as possible. 
8) Bake for another 15-20 mins, turning zucchini slices after 10 mins.
9) Remove from the oven and serve. 

Sooooo yummy! The juices from the chicken give everything else a wonderful flavour!

​For variations to cook for a big family, see below...
Picture
I've used a small roasting dish here - since most of my kids have left home, I'm preparing much smaller quantities of food than I used to. If I were doing this for a crowd, I'd have to make some adjustments - in that case I would prepare veges for roasting, spreading them out in the roasting dish which they would no doubt fill. I would then put an old cake cooling rack on top of the roasting dish, and put the chicken pieces onto that. This would allow them to cook at the same time as the veges, and the juices from the chicken would drip onto the vegetables, giving them a beautiful flavour. Cooking time would be about the same, with turning half way through. I'd prepare greens separately, or I'd put whole small zucchini into the roasting dish with the other vegetables about 15 mins into the initial cooking time and just roast them with everything else. And yes, I have done it via this alternative method a number of times - works great!
1 Comment

Brussel Sprouts with Hazelnuts, Cauliflower Mash & Steak = Delicious Dinner!

14/9/2016

0 Comments

 
A quick, easy, delicious and nutritious meal - what more could you ask? The frozen cauliflower (no prep needed) took the longest to cook, and prepping the brussel sprouts was a wee bit fiddly, but not difficult. Here's how to make this lovely meal (or choose the dishes you like and team them with something else).
Picture

Cauliflower Mash

This is an excellent alternative to mashed potatoes. And simple as! Bring a pot of water to the boil, empty one bag of frozen cauliflower into a steamer, place over the pot with lid on, and steam until hot and tender, stirring occasionally (about 20 mins).

Alternatively, prepare fresh cauliflower by cutting into even sized florets. Reduce cooking time accordingly.

Meanwhile, prepare other dishes below. If your cauli is ready before the other things, turn it off and leave it to sit above the hot water, which will keep it warm.

When you are ready to serve your meal, tip the cooked cauli into a food processor, add a spoonful of sour cream or butter or similar (to help it blend smoothly), salt if desired, and whiz until a fluffy mash. Serve. A 1kg bag of frozen cauli will make enough mash for 3-4 people.
Picture
Picture

Brussel Sprouts with Hazelnuts

Ingredients for 4 (I used half this amount and it was probably enough for 2-3 people):
600g Brussel Sprouts, trimmed
50g butter
1/4 cup water
1 lemon, juiced
1/4 cup hazelnuts, toasted and skins rubbed off, coarsely chopped

To toast hazelnuts: heat oven to 180C/350F, place raw hazelnuts in a single layer on a tray. Bake 10 mins until lightly browned. Wrap in a tea towel and leave to steam for 1m, then use towel to rub off skins. Don't worry about any that don't come off. Coarsely chop nuts.

To prepare dish: Halve sprouts, remove cores, and slice thinly. Melt 1/2 the butter in a large pan, add the sliced sprouts, stir to coat. Add water and 1/2 of the juice, combine and cook 1 min. Season with salt and pepper to taste, add rest of juice, butter and nuts. Combine well. Place in warm dish to serve. 
Picture
Because the sprouts are cooked so quickly, they retain a lot of flavour and maximum nutrition. I picked mine up from the market garden where they are grown, and there were on the plate just over an hour later. Fresh is best! Out of my own garden would have been even better. 

Cooking Steak and Serving Meal

At the same time as you are beginning to cook the sprout dish, sear steak in a hot frying pan in which you have heated a little olive oil. Sear by cooking quickly on both sides, then continue to cook, flipping halfway through, until desired level of browning is achieved. Steak is best cooked quickly, with the middle remaining at least a little pink.

To serve: Place steak, and portions of mash and brussel sprout dish on each plate. Use a spoon to drizzle drippings from steak pan over mash and steak. Serve. 
0 Comments
<<Previous

    Archives

    April 2020
    February 2018
    January 2018
    April 2017
    January 2017
    September 2016
    April 2016
    March 2016
    February 2016

    RSS Feed

    Categories

    All
    Baking
    Basics
    Breadmaking
    Breakfast
    Dessert
    Dinner
    Dressings
    Drinks
    Fast Food
    Ferments
    Food From The Garden
    Left Overs
    Lunch
    One Dish Meals
    Salads
    Side Dishes
    Slow Cooker
    Snacks & Treats
    Soups
    Vege-nut Stuffer

Powered by Create your own unique website with customizable templates.