A fermented drink made with tea, sugar, and a SCOBY, kombucha has many variations and is a healthy probiotic. I use green tea these days. SCOBY stands for "symbiotic culture of bacteria and yeasts." If you don't have one, you can grow your own by using purchased raw kombucha drink from a health store, and mixing it with a brew as below - over time, a SCOBY will start to form. SCOBYs constantly grow and thicken - every now and then one peels it apart and discards a layer. Or gives that layer to a friend as their own starter SCOBY - that's how I got mine. :-)
NOTE: always work with very clean hands and equipment - you don't want to contaminate the SCOBY with unwanted species of bacteria.
| To make Kombucha: Boil 2 litres of filtered water. Pour into a heat proof bowl. Add 4 green tea bags (or 3 to 6 regular tea bags; you can also experiment with a mix of fruit flavoured or herbal teas) Add 3/4 cup sugar; give it a stir Cover and brew for 20 minutes. Remove bags Cover and leave to cool to room temperature. Now you're ready to set up a brew or switch a ready to drink brew and set up the next batch. Your first brew: Pour the cooled tea into a large glass vessel. Add a SCOBY or some ready-made kombucha. Cover with muslin cloth and a rubber band, or loosely cap. If using a SCOBY, move to the second stage (below) on about Day 3. If you are not starting with a SCOBY, leave the first brew until a SCOBY forms, then set up a new batch as below. Setting up a new batch; Beginning second ferment: The next step does two things; sets up a new batch to brew, and moves the first batch into the second stage - another ferment which will result in a yummy, fizzy brew (all going well) and is where you can also add new flavours. To set up the new batch: Remove the SCOBY from the top of your brew and set on a clean plate. Fill a coffee cup with 300ml of kombucha from the jar. Pour the rest of the kombucha into clean bottles (noting further instructions below). Rinse glass vessel, pour in new tea brew and mug of kombucha, gently place SCOBY back into vessel - it may sink temporarily, but will soon come back to floating on the top. Cover as above, and set on the counter out of the way. Note: if you leave the brew to ferment for too long, it will consume all the sugar and eventually become vinegar. If I have too much kombucha to drink already, I will leave the brew for a couple of weeks before refreshing (to save sugar and tea), just keeping the SCOBY alive. Sometimes I'll leave it even longer because I want vinegar. If you do happen to make a batch of vinegar, keep it in old plastic bottles and use in cleaning, as a hair rinse or similar. Kombucha vinegar has many uses! The second ferment: When I first started making kombucha, I only did one ferment, I used more sugar (2 cups) and I varied the brew length by tasting it. This way is more effective, and the second ferment makes a HUGE difference. When I pour the kombucha into bottles (above; also note info on the right about choice of bottles), I most often first add an inch or two of one of the following to the bottles:
If you use the right kinds of bottles for this ferment, then you should get a lovely, fizzy result. I store these bottles in a spare chilly bin - basically as insurance in case any "explode" - a friend who taught me how to make kombucha this way used to keep hers on the floor of her linen cupboard - she came to regret that! The bottles are stored for the second ferment for about another 3 days (or up to a week), and then moved to the fridge. Take care when opening them - they can froth vigorously. |   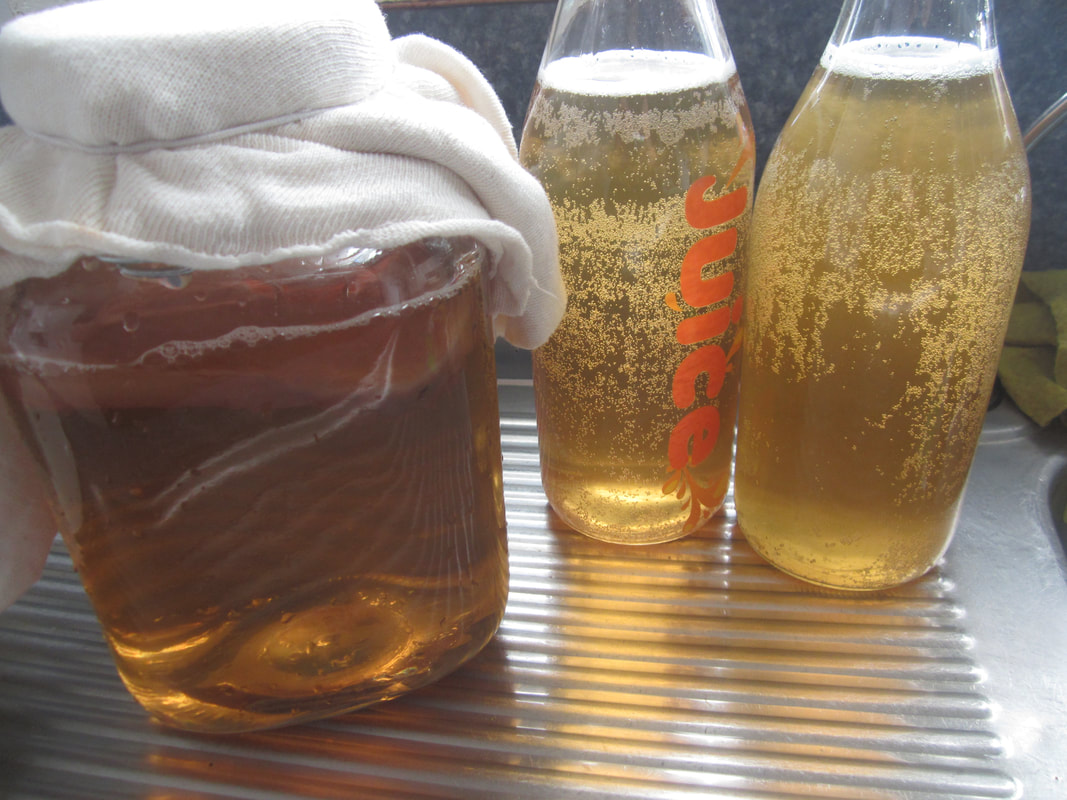 The picture above is of kombucha the way I first made it - using 2 cups sugar, fermenting it and tasting from day 3 onwards until it was not too sweet, then bottling and putting in the fridge (no second ferment). Sometimes I got a good fizz in that brew, but it was not as consistent as how I do it now. Will add more up to date photos when I can. Choosing your bottles: The best bottles to use for kombucha are glass bottles with lids that are designed to withstand pressure. I recycle bottles and lids that have been purchased with fizzy products in them - eg commercial kombucha, sparkling wine, sparkling water etc. Bottles that have held non-carbonated products will NOT hold in the forming gases, and so the resulting brew is less likely to be fizzy. |
 RSS Feed
