Thrifty Kiwi
Like our Facebook page
  • Home
  • Blog
  • Homesteading
  • Gardening
    • 2025 Garden
    • 2021 Garden Blog
    • 2019-2020 Garden Blog
    • 2017-2018 Garden Blog
    • 2016-2017 Garden Blog
    • Kiwi Urban Homestead 2013-2015 Garden Blog
    • Pest & Diseases
  • Recipes
    • Autoimmune Protocol
    • Meals and Snacks
    • Preserving
    • Household Cleaners
    • Health & Beauty
  • Skills
    • Menu Planning & Grocery Shopping
    • Money & Budgeting
    • Preserving How-Tos
    • Housekeeping
    • DIY
    • How to Find Stuff Free or Cheap
  • Animals
    • Critter Blog
  • About
  • Contact

A Delicious Dinner from My Garden: Pumpkin Mash with Roasted Garlic, Tarakihi Fillets with Fennel, Chives & Parsley, and Ruby Chard & Bacon

30/9/2015

1 Comment

 
Yesterday, an Italian chef with a restaurant in Northland kindly offered on the NZ Vege Gardeners Facebook page to share his knowledge with anyone wanting ideas of what to cook with ingredients from their garden. Inspired by his suggestions when I posted a list of homegrown ingredients I have to hand right now, I just made this delicious dinner! Thanks Cesare Stella! All ingredients except fish, bacon, coconut & olive oils, nutmeg and salt were from my garden.
Picture
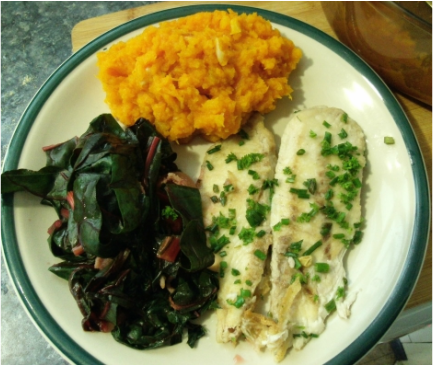
This meal is gluten & dairy free. Ingredients are: fish fillets, 1 slice bacon, olive oil, coconut oil, quality salt, nutmeg, plus from my garden:
Fennel
Parsley
Chives
Lemon
Ruby Chard
Garlic
Pumpkin

Below is step-by-step how I made the whole meal. If you would prefer individual recipes, then you can find them on my food blog HERE
So here's how I did it:
1) Turn on the oven to 180C then make a quick trip out into the garden with a basket to pick some Ruby Chard leaves, sweet-leaf fennel, parsley and chives.
2) Grab some pumpkin from the shelf and a garlic bulb from the plait on my wall
3) Chop pumpkin into chunks, removing the skin. Place it into a lidded casserole dish, sprinkle with Himalayan mineral salt, and add 1/2 cup water to steam it. Cover and place in oven.
4) Peel all the garlic cloves, then toss in a little olive oil to coat. Place cloves in a small oven proof dish and set aside.
Picture
Picture
Picture
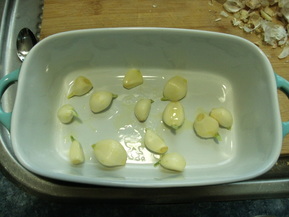
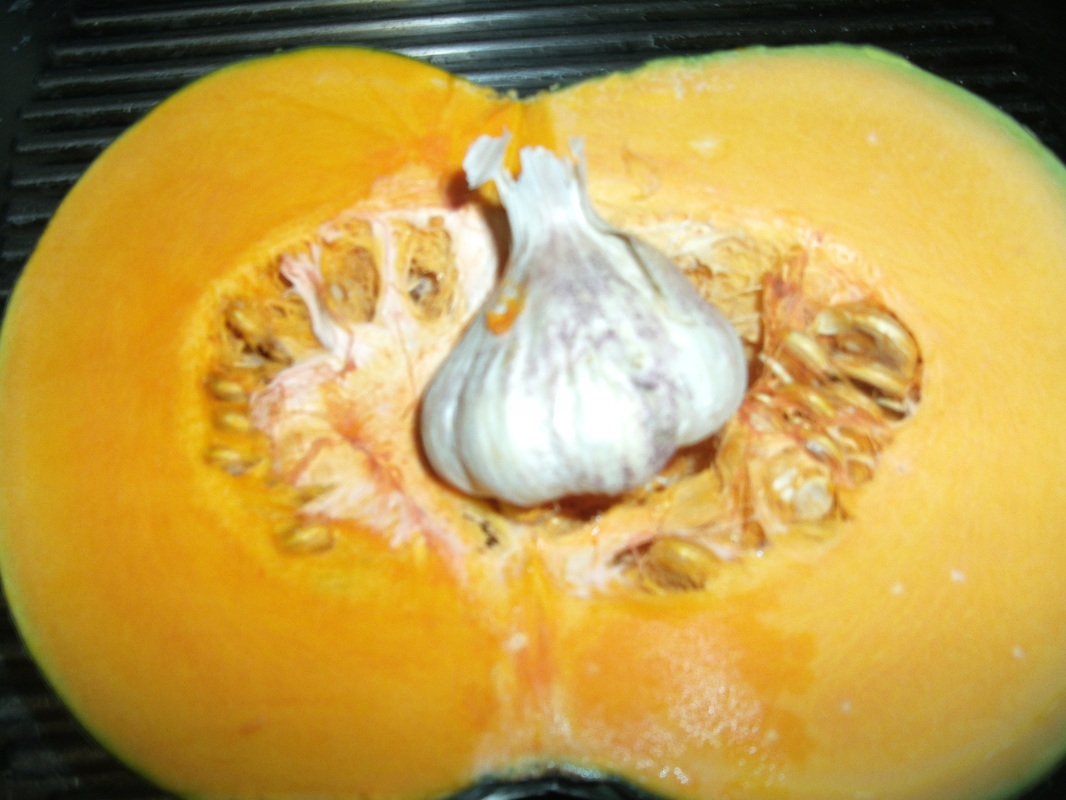
5) Wash the chard. Cut off the ends of the stems, then cut the stems from the leaves just below the base of the leaf. Bag the stems and refrigerate to be used in a soup another day. Taking leaves 2 at a time, cut them down the centre in the direction of the stem, then slice in the other direction into segments about 1.5cm wide. Place in a large bowl and set aside.
6) Wash fennel and shake off water. Remove fronds from stems. We're just going to use the stems. This is sweet-leaf fennel which doesn't form a bulb. If you have bulbing fennel, slice some bulb up instead. Chop the stems into small rounds and set aside.
7) It's now time to pop the garlic into the oven beside the baking pumpkin. Be sure and shake the dish every few minutes to cook evenly without burning. When golden and tender, remove the dish from the oven and set on stovetop for now.
8) Wash the parsley. Decide you've picked too much, so eat one head. Finely chop the rest of the parsley, discarding stems. Realising you've got too much for this one dish, spoon the extra into an ice cube tray, tamp down lightly and cover with olive oil. Freeze. These parsley and oil cubes can be added to future dishes. Meanwhile, set aside the remaining chopped parsley in a small bowl.
9) Wash and finely chop chives. Add to bowl with parsley.
Picture
Picture
Picture
Picture
Picture
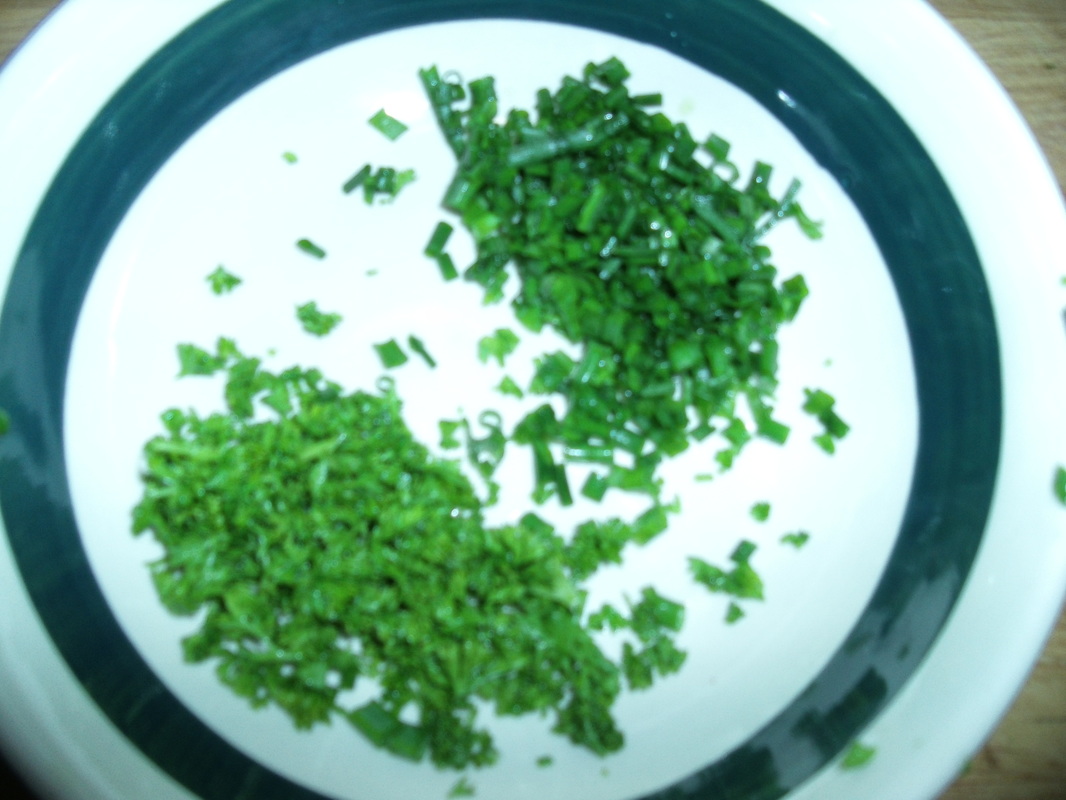
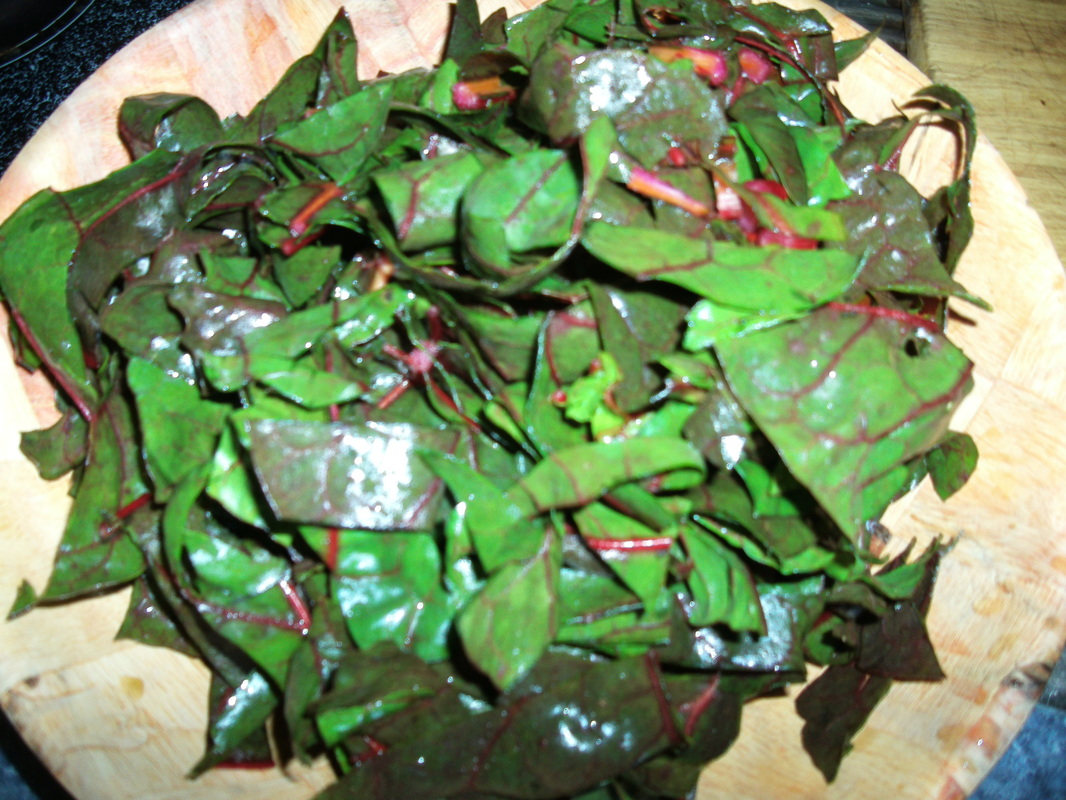
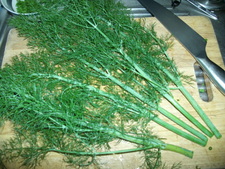
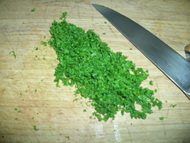
10) Remove one piece of bacon from the fridge.
11) Remove packaging from Tarakihi fillets, and coat in brown rice flour.
12) Check on the pumpkin. If it's tender, remove from oven, set aside, and turn oven off, leaving door ajar to cool a bit.
13) Pause in cooking to feed the dogs and cats and get them out of my way. Wash hands.
Now we're about to start the real cooking - and you've got to move fairly quickly - this is why all the chopping and prep is already done, so you can simultaneously cook two fast dishes! First, pop the pumpkin and garlic back in the oven to keep warm, and put some dinner plates in there to warm too.
14) In a large pot on the stove, melt some coconut oil. Add the slice of bacon, turning as needed until cooked. Remove bacon to a plate, and chop it up.
15) At the same time, in a large non-stick frying pan, saute the fennel in some melted coconut oil until tender, then remove from pan and set aside.
16) Place the fish fillets in the frying pan to begin cooking.
17) Now add your bowl of prepared chard to the large pot - the moisture clinging to the leaves from washing it will be all you need to steam it. Sprinkle over a little quality salt, toss in the chopped bacon, give it a mix up and put the lid on. Steam over low-ish heat until tender then remove from heat.
18) Meanwhile, the fish will need carefully turning over. Once just tender, add fennel, parsley and chives to the pan, squeeze over the juice of half a lemon fresh, and drizzle with olive oil. Remove from heat.
19) Roughly chop the roasted garlic, add to the cooked, drained pumpkin with a sprinkling of nutmeg and mash.
20) Carefully lift a fish fillet onto each plate, add a serving of chard & bacon, and mashed pumpkin & garlic. Enjoy!

SOOO delicious!
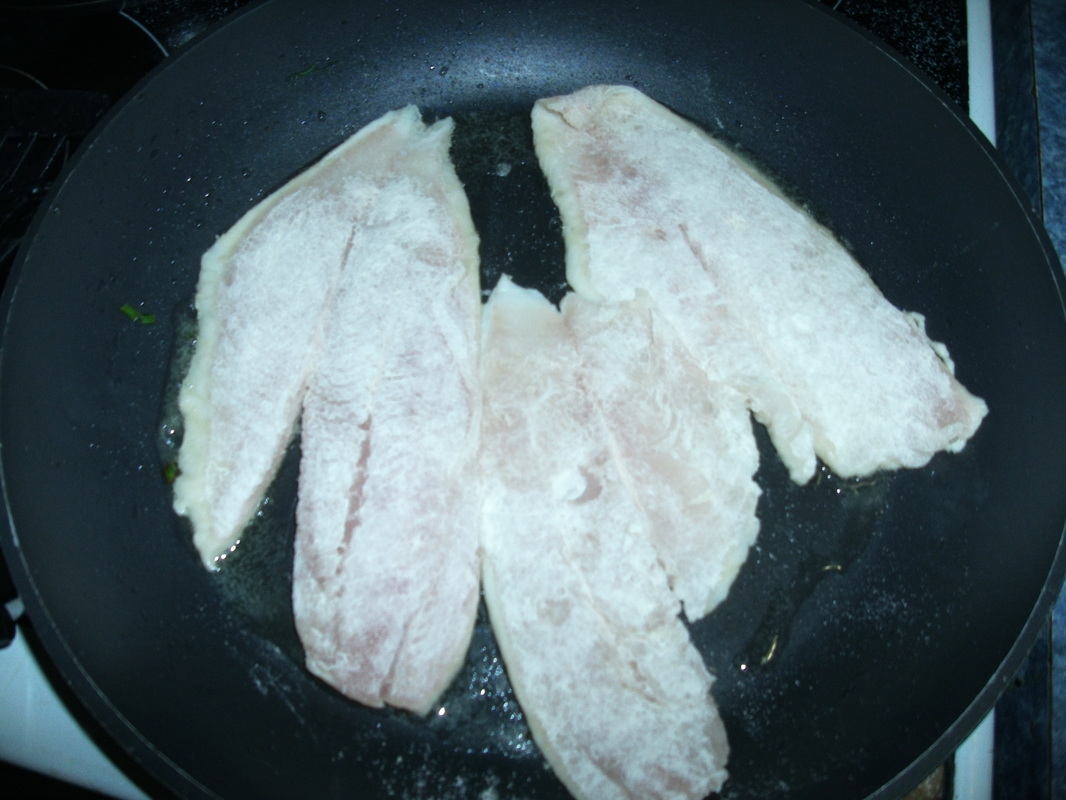
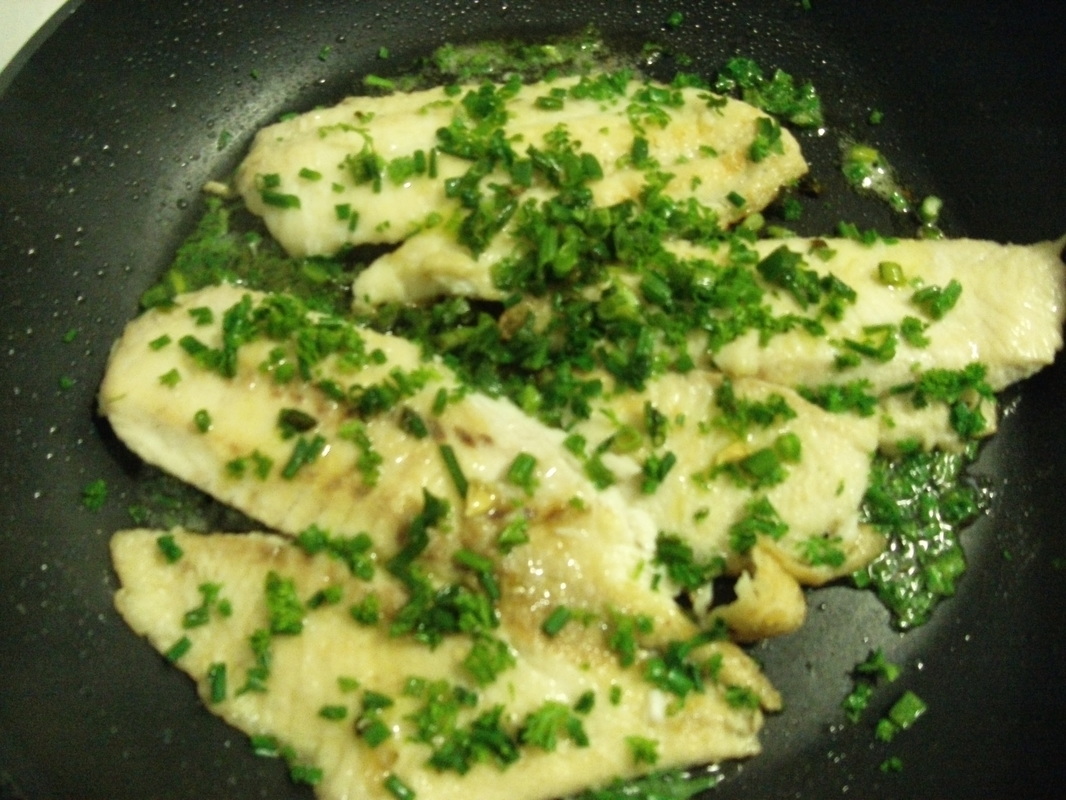
Picture
Picture
Picture
1 Comment

The Great Tomato Experiment - Summer 2014/2015

6/9/2015

3 Comments

 
Last summer I decided to conduct an experiment in my greenhouse, to see which varieties of tomatoes would grow and produce best, and in which of 5 growing mediums, in response to lively discussion on a Facebook group I am part of. I carried out the experiment, but was rather remiss about actually publishing the results, so here I will link each of the YouTube videos, plus add the results and my comments, so it's all in one place. If you are just after the results, scroll down.

So, first, this video explains the experiment and set up (why You Tube insists on using the sheep for the thumbnail....??):
On November 26th I made a video update, in which I commented that there was already some signs of plants in some mediums doing better than others.....
I actually ended up sending an email to the company that produces the potting mix and compost, and as a result had a visit from one of their regional managers, who was interested to see what was going on. By the time he visited, the plants which were in the compost, which had initially done much better, were slowing down somewhat, and the plants in the potting mix, which seemed to have deficiencies at first, were doing much better. This is logical when you think about it - the compost provided initial burst of nutrition, which then got used up, while the potting mix contains slow-release fertilizers, which took a while to kick in.

However, as the summer heat kicked in, and humidity in the greenhouse rose, the plants all got blight. Despite this, many of them continued to produce well. I shot two more videos, which I have combined into one you-tube clip: updates from 1st February 2015 and March 16th 2015.....
A note regarding feeding the plants - initially I started off feeding the plants with fish suspension liquid, and then later some worm tea and/or Seasol. Anytime I fed them, I fed all of them the same. However I did not continue this regime for terribly long - getting too busy with other things. Obviously, if I had consistently fed the plants, they would likely have produced more than they did. But either way, they all got the same treatment, so for purposes of comparing growing mediums and varieties, there are still things we can learn from this very unscientific experiment.

Tomato Experiment Results

The main results I was looking for were actual tomatoes produced. So, as I picked each time, I weighed the resulting fruits and wrote them down under the # of each bucket, and at the end collated the results.

I'm going to group the results two ways - first by variety, and then by growing medium. Weights given are in kilos, and are the total harvested weight from the given plant in that bucket. The easiest way for me to do this is to create tables in Word then import them as images - apologies if they are a bit fuzzy.
Total harvest by variety.
(I) stands for Indeterminate variety - keeps growing like a vine.
(D) stands for Determinate variety - grows into a bush, produces, then dies off.
Picture
  100% Potting Mix
Picture
50/50 Potting Mix/Compost Mix
Picture
For this last set of buckets, a thin layer of topsoil was placed in the bottom of the bucket, then 1/2 the bucket was filled with fresh sheep manure, and the top 1/2 with compost.
Picture
100% Compost
Picture
50/50 Compost/Topsoil Mix
Picture

Conclusions

What conclusions do I draw from this experiment? Well, on the face of it, straight potting mix produced the most tomatoes, after a slower start, with straight compost not far behind. If the Roma in potting mix hadn't died, there might be a bigger difference.

No matter what growing medium one uses, though, consistent feeding over the life of the plant is the key to maximum returns!

Of course, one can't really draw final conclusions from this little experiment - to do that, one would need to grow more plants of the same variety in each growing medium, and have some in different conditions (eg outside as well as in the greenhouse).

What am I taking away from this personally? I won't be growing Roma or Silvery Fir Tree varieties again. Moneymaker is a good, reliable producer, but needs proper trellising set up to support it, and regular pruning/training. I don't personally like Box Car Willie as I don't like big, beefsteak type tomatoes. I do like Tigerellas, a stripey heritage variety, but again they need good trellising.

Growing in the greenhouse for some reason (possibly the very high temps at time) prevented the plants from getting infested with tomato-potato psyllid, which devastated my outdoor plants.

This summer I think I will grow just 2 Moneymakers in my greenhouse, in bigger pots filled with a quality potting mix, with better trellising and regular feeding. I will also grow some more smaller pots of determinate varieties Tiny Tim and Sub Artic Plenty. If I grow any outdoor tomatoes, they will have to be carefully covered in micro-mesh to keep out the psyllid. And maybe I'll also experiment with some other varieties. After all, where's the fun in gardening without some experimentation with new plants and/or ideas??
3 Comments

    Author

    This page is my blog formerly known as Kiwi Urban Homestead.

    I'm a Kiwi homeschooling mother of 5 living in a small town. After growing 1000 kg of produce in my back yard in 2013, I'm now expanding my edible gardens even further.

    Archives

    February 2016
    December 2015
    October 2015
    September 2015
    June 2015
    May 2015
    April 2015
    March 2015
    February 2015
    January 2015
    December 2014
    November 2014
    October 2014
    September 2014
    August 2014
    April 2014
    February 2014
    December 2013
    November 2013
    October 2013
    September 2013
    August 2013
    July 2013
    June 2013
    May 2013
    April 2013
    March 2013
    February 2013
    January 2013
    December 2012

    Categories

    All
    Bees
    Butchering
    Chickens
    Compost
    Corn
    Diy Projects
    Events
    Everything Else
    Firewood
    Freebies
    Frugal Fortnight
    Garden Diary
    Getting Started
    Greenhouse
    Harvest
    Harvest Totals
    Health
    Herbs
    Home Made Cleaners
    Homesteading Skills
    Jungle Taming
    Livestock
    Media
    Monthly Garden Pics
    Moon Planting
    Musings
    Pests And Diseases
    Planting
    Preserving The Harvest
    Recipes
    Salads
    Soil Improvement
    Specific Crops
    Tomatoes
    Weekly Round Up
    Worms
    Yates Vegie Challenge
    Zucchini

    RSS Feed

Powered by Create your own unique website with customizable templates.