
I just read this really good blog post on how you can get started (or continue) homesteading even if you don't have a spare cent to your name. So many of the things suggested reflect what we have done or are doing here. Kendra does a great job of telling you the four (free) things you need to homestead without financial resources. Hop on over to her blog and read her inspiring article HERE, and then come back and check out my own list of some of the ways I've been able to find free resources or create garden structures for free, or with very little expense, below.
Kiwi Urban Homestead - How to get Good Stuff for Free (or nearly free)
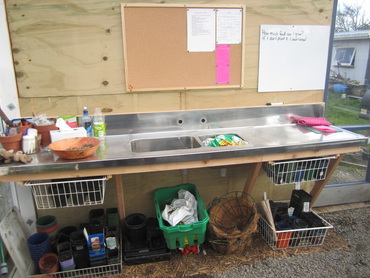
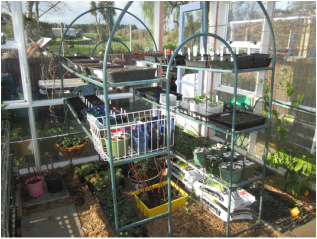
Free Punnets, Seed trays & Plant Pots: When you're starting a garden, seed trays, punnets and plant pots are really useful, but if you're gardening on any kind of real food growing scale, they can add up to a lot of money. Sure, there are a lot of things you can sow direct into the garden, but many crops do better if started in trays or pots then planted out later. Fortunately, many, many people buy seedlings and plants from garden centres (they must do, or they wouldn't still be in business!) and then after they've planted out the plants, they're left with all those plastic punnets and pots. What happens to most of them? They end up in the landfill! I have collected used free pots, trays and punnets from the local dump, from the free bin at local garden centres, and by letting other local gardeners know I'm happy to take pots off their hands. Once, I scored a van-load of pots when my son happened to be at the dump and spot someone about to unload them into the pit! I was able to share them with other new gardeners. Some of those pots and punnets are pictured below in this pic from our new greenhouse, which was built with recycled windows.
Freezer baskets - so many uses!
I've scored quite a number of old freezer baskets from the dump, and they have a lot of uses. In the greenhouse, I mounted two on slides made from pieces of corner moulding to create drawers which hold my smaller pots under the bench, and used a couple on the floor to stack a selection of punnets and small pots in. I also use more baskets to hold small to medium sized pots of plant varieties - this makes it easy to move a group of them in one go by simply lifting the basket. I have also used freezer baskets in the garden upside-down over young plants to protect them from birds who like to dig them up until they get established. This was especially useful for my watermelon plants this past summer.
I've scored quite a number of old freezer baskets from the dump, and they have a lot of uses. In the greenhouse, I mounted two on slides made from pieces of corner moulding to create drawers which hold my smaller pots under the bench, and used a couple on the floor to stack a selection of punnets and small pots in. I also use more baskets to hold small to medium sized pots of plant varieties - this makes it easy to move a group of them in one go by simply lifting the basket. I have also used freezer baskets in the garden upside-down over young plants to protect them from birds who like to dig them up until they get established. This was especially useful for my watermelon plants this past summer.
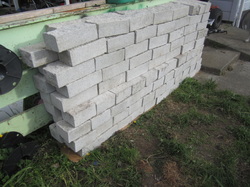
Freecycle finds: In the past year, I have scored from Freecycle the stainless steel bench/sinks unit used as a potting bench in my greenhouse, a load of brand new bricks used to create garden edging, and a kennel for our dog.
Freecycle has regional groups throughout NZ - you sign up to receive emails of things listed by members, and you can list items wanted or to give away. A great way to keep good stuff out of landfills, and to share unneeded items with others.
Freecycle has regional groups throughout NZ - you sign up to receive emails of things listed by members, and you can list items wanted or to give away. A great way to keep good stuff out of landfills, and to share unneeded items with others.
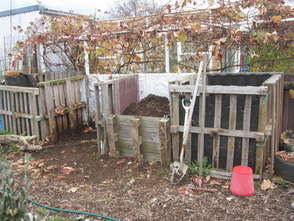
Wooden Pallets Untreated wooden pallets have so many uses on the homestead! I have used them to build a fence and gate to keep the critters from the garden, make pallet beds for growing salad ingredients, and to build compost bins. They can also be carefully dismantled and the timber used to make other things. There are tons of cool ideas on the internet for things made with wooden pallets, from garden seats to sheds and houses!
To find wooden pallets, ask companies that ship lots of stock on pallets. They will likely have some that have to be returned or they get charged money, but also often have unmarked ones they're happy to give away. You want unpainted, untreated pallets for food growing uses.
To find wooden pallets, ask companies that ship lots of stock on pallets. They will likely have some that have to be returned or they get charged money, but also often have unmarked ones they're happy to give away. You want unpainted, untreated pallets for food growing uses.
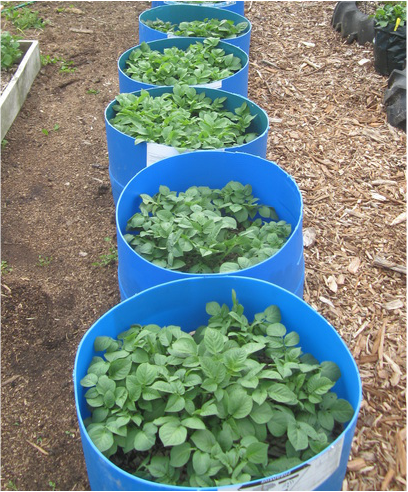 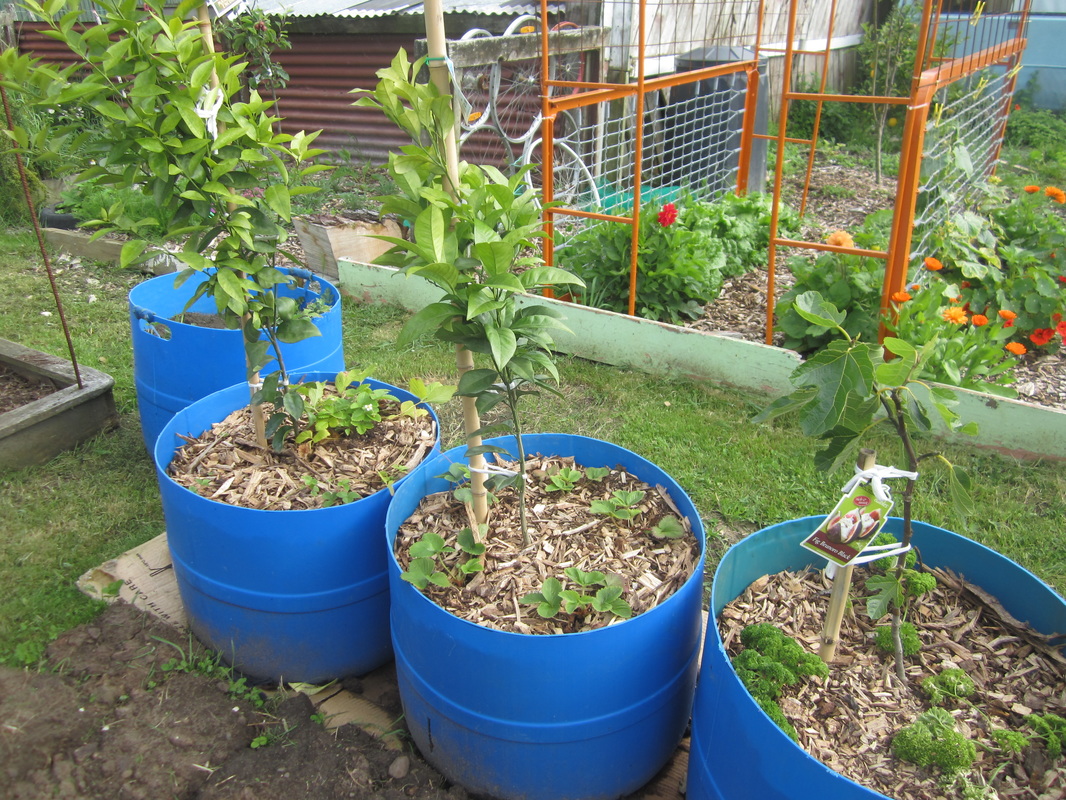 | Plastic drums 200 ltr plastic drums, which diary farmers have a constant surplus of, also have multiple uses around the homestead. The farmers can return them to source for recycling, but they don't get any money for doing so, so are usually happy to give them away if you ask nicely. I prefer the ones that have only had iodine teat-wash in them. Cut in half and washed out thoroughly they make excellent planters for small or frost tender trees (as they can be moved to shelter in winter) or for growing potatoes and other crops. Whole drums can be turned into rainwater storage, and a drum minus it's lid is great for brewing up liquid manures and teas, or laid down and stabilised makes a great shelter for small animals such as ducks and dogs. 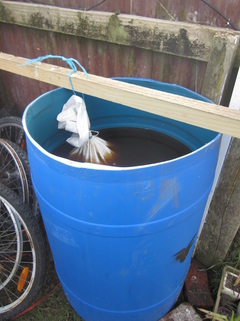 |
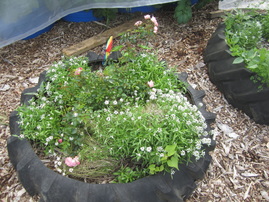
Tyres Tyres are expensive to dispose of, so easy to get for free, but for this reason I advise caution against acquiring very many of them. There is a lot of dispute about toxins leaching from tyres; my own conclusion after much reading is that there is unlikely to be any significant leaching from tyres that have done high mileage, and that are whole (rather than shredded such as for recycling). However, I do prefer not to grow food crops in them. It is also important to be aware that tyres will heat up and dry out soil contained in them in summer weather, and that the shape of the tyre can cause plants to grow a circling root system that stunts the plant. Therefore, I have my husband cut off the lower wall of the tyre when I am using small ones to plant things like wormwood or small bushes within, giving the roots more freedom, or the upper wall when I want to use a large tyre as a planter. I've used a row of tractor tyres to create a visual and physical barrier between the parking area of our driveway, and my front garden. Planted with carpet roses and alyssum they look pretty and attract bees and other beneficial insects. Tyres are free for the asking at tyre shops.
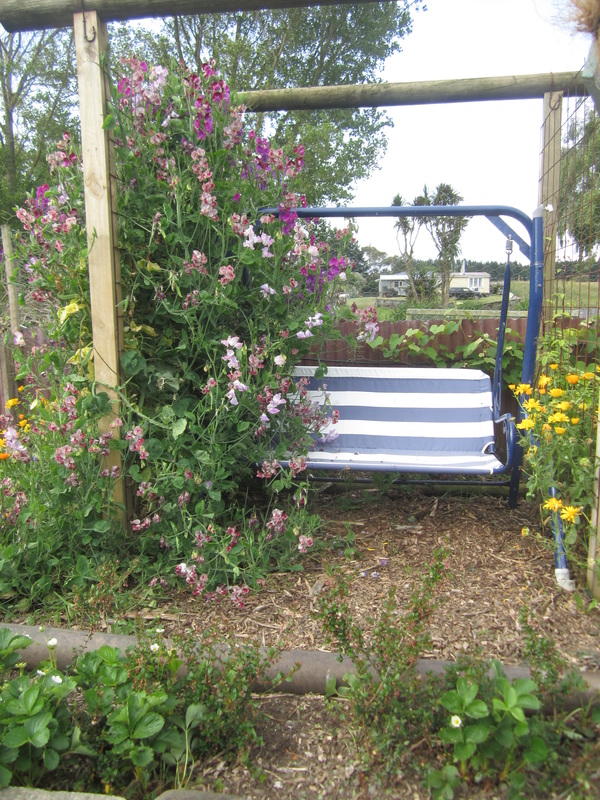 | Garage Sales and Thrift Stores are a great source of free or very cheap items that can be used in the garden. I've collect lots of goodies by keeping my eyes open, including a wire mesh harvesting basket that cost me $3, lots of preserving jars for very little (I don't like to pay more than 50c each), a free swing seat (we painted it and sewed a new seat), various baskets I've used for planting with lettuce or for picking and harvesting, inexpensive garden tools, cheap pots, watering cans and more. 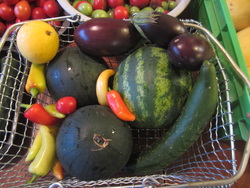 |
Free compost, mulch or soil building materials: the best way to improve your garden is to build the soil, using lots of home made compost, manures, mulches and organic materials. I regularly source the following free and locally:
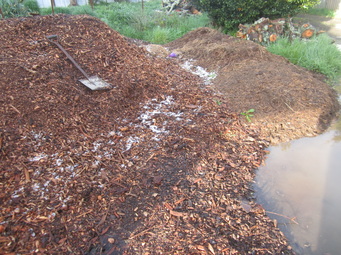
Sawdust mixed with horse manure and urine - local stables clean it out of the stalls and pile it up, and let me bring home as much as I want. I've used it as a mulch, a compost ingredient, or just piled it on top of cardboard to create a new garden area from lawn. It breaks down into really nice soil.
Pine peelings mixed with calf manure - the local dairy farmers clean out their sheds once a year, and are happy to give it away. I haven't found this to be the best source or materials though - I mostly use it for extra carbon in compost piles, or on pathways.
Dead leaves - these are the most fantastic compost ingredient or mulch. I visit local streets where thick layers of leaves fall in autumn and bag up and bring home as much as I can. I reuse animal feed sacks or plastic bags, and then use the stockpile as I build compost piles. My worm bins enjoys a generous covering of leaves too.
Cardboard and newspaper - local supermarkets and stores have and endless supply of cardboard and newspapers. I use thick layers to suppress weeds when building new beds, or to start lasagne beds, or on pathways before covering with woodchip or other materials. Shredded paper is also a use compost ingredient, though I also use office paper that has gone through my shredded inside - avoiding glossy papers and inks.
Pine needles - local forestry plantings have thick layers of pine needles just lying around - I collect these and use them to mulch my berry beds, which thrive as a result. They can also be used to mulch pathways, in compost etc.
Wood chip - wood chip is to me THE premiere garden mulch and material - it's whole shredded trees, including leaves, bark, timber etc. It improves garden soil like nothing else. For the real low-down on woodchip, watch the free movie at www.backtoedenfilm.com. Local contractors who prune or clear trees from roadsides etc, and then shred them are the best source. Some will drop a load off for free. Others have wised up to the value of this great material, and will deliver it for a donation of beer for their social club.
If you want to collect materials from private land, farms, forests, etc, do be sure and find out who owns it, and ask nicely first! Keep some spare bags and gloves in your vehicle too - you never know when you're find materials. I had to wait for my daughter to complete a competition in a rural town one day, and notice leaves lying under the trees by the edge of the park. I took home two sacks full. :-)
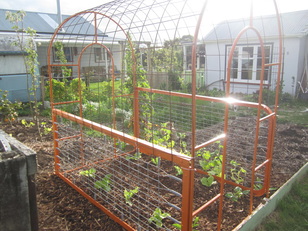
 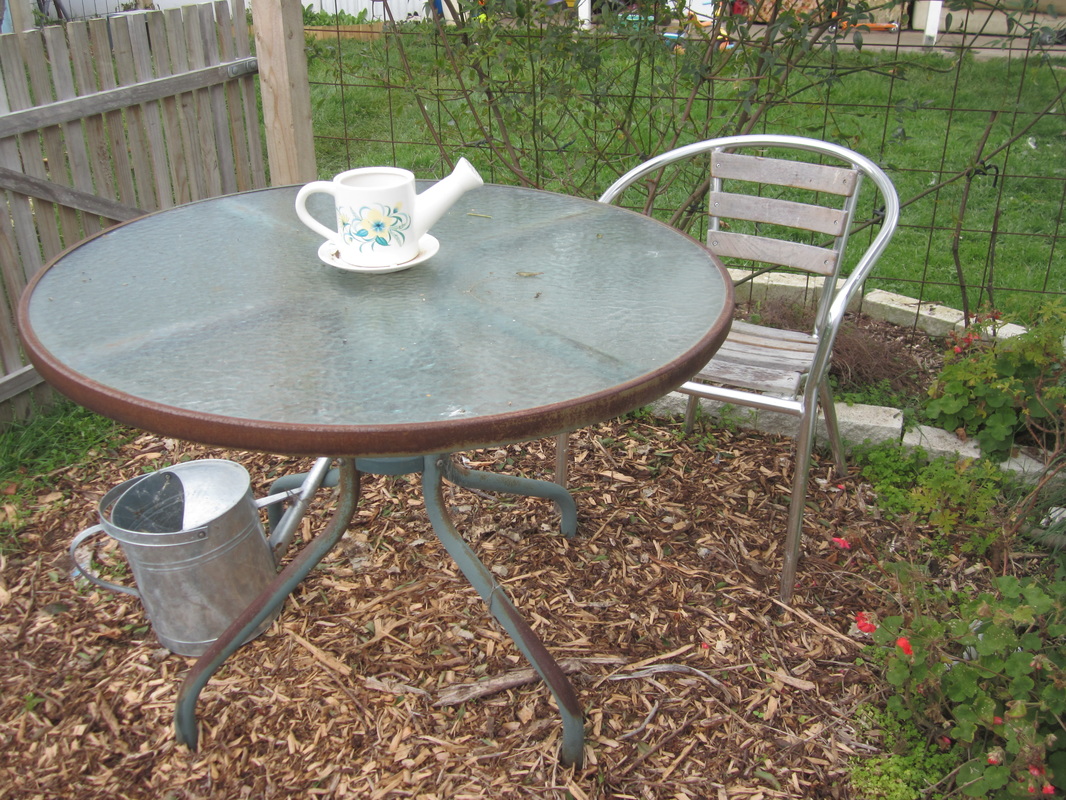 | Get to know your local dump or transfer station operators! People throw away so much good stuff, and it's amazing what you can find! I've sourced free paint to use on various projects, complete greenhouse frames with shelves which I've used as shelving in my greenhouse, and to create a unique climbing structure for the garden, and old bathtub which became my new worm farm, steel mesh which makes awesome trellising, an outdoor table and chairs, and old plastic table which I use as my outdoor plant station for hardening off plants, loads of garden pots, good tools, a sink which I turned into a planter, gates and bed bases I've turned into trellises, metal trays I use to hold pot plants, wooden pallets and so much more! 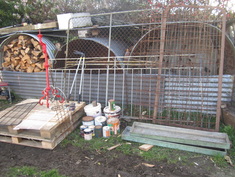 |
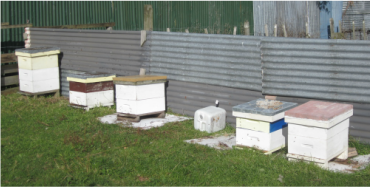
Free Bees & Honey - We've even managed to add beehives to our homestead without expense - our first two hives were given to us by a neighbour who was moving away, whom we had helped out from time to time. When one of those hives swarmed, we captured the swarm, which gave us three hives, and after splitting the queen cells from the brood and bees left behind by the swarm, our numbers increased to six. We have all the honey we can eat, and then some, increased pollination, surplus hives to sell and the proceeds provide more gear as needed.
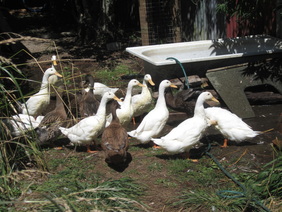
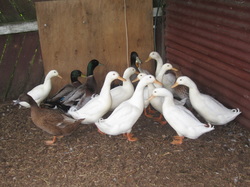
Free ducks, chickens, sheep and worms - I read on Facebook that a couple in a nearby town had too many ducks and were giving some away, and that's how I added David, Delilah and Jemima to our homestead. A few months later, Delilah hatched out 12 ducklings, and our duck flock grew. They are terrific at getting rid of slugs and snails in the garden, and fun to watch splashing in their pools. And they produce eggs and meat. We also started our chicken flock with chicks we were given for free. The great thing about livestock - once you have them, they multiply for free, if managed properly. I started my worm farm with an icecream container of worms supplied by the local librarian. Our sheep flock did take a small investment in the first 5 lambs, and later a ram, but I haven't paid for a sheep, or lamb/mutton to eat in the past 5 years. Neighbours with unused land have provided extra grazing, and in return our livestock keep their sections tidy. Animals are a real blessing on the homestead - providing so many useful resources.
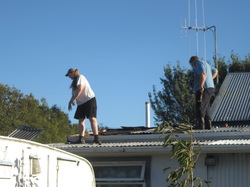
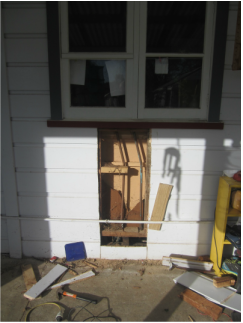
| What's lying around? Your own property probably has all sorts of odds and ends that can be upcycled in the garden, and your neighbours might have things they don't use they'd gladly give you. How about scrap materials from the work sites of family members? We used an off-cut of trailer panelling to make a whiteboard in the greenhouse, free scrap wooden slats from a building supply company to build a gateway to the garden, a broken rake to make a holder for my small garden tools, a pallet stood upright in the shed holds my rakes, loppers, hoes and other tools, left over iron from re-roofing projects (ours and local friend's) to make animal pens and shelters, fences and more, driftwood from the beach and branches from forests to create garden edges, a pile of old concrete house piles I found lying in a corner were used to create a raised platform in my garden where I located the swing seat, trellises and yummy food plants, and old bike wheels make great trellis structures. 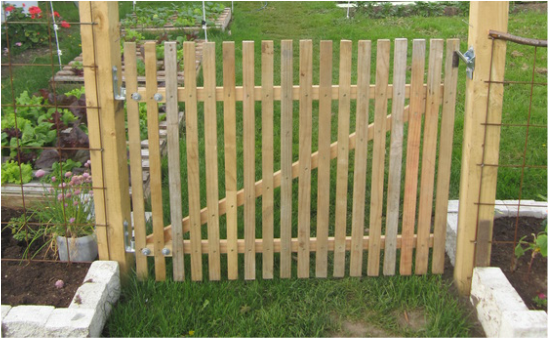 | 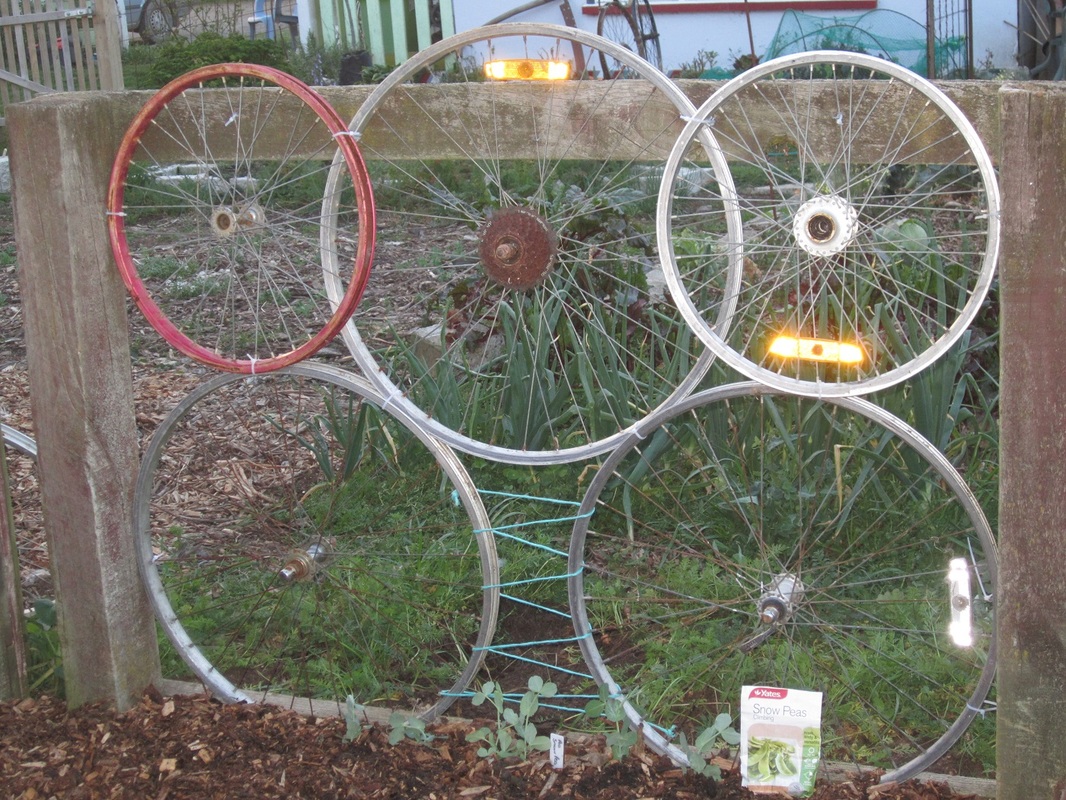 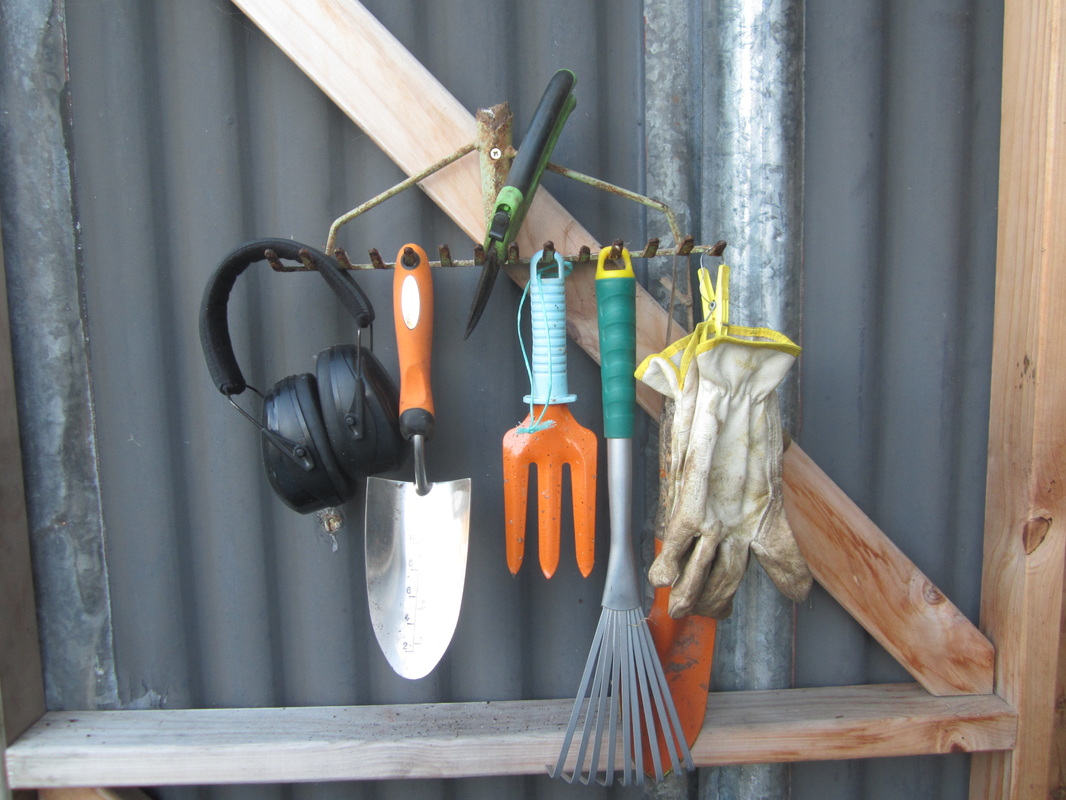 Bamboo a local was cutting down has been stockpiled and has endless uses for building structures & stakes. |
| Enter competitions - you can win all sorts of free gardening goodies! My daughter nominated me for Gardener of the Year my very first year gardening, and I won the Best Vege Gardener section, which came with all kinds of goodies including gardening books, gloves, tools, planters, fertilizers, seeds, bulbs, and subscriptions. This past spring, I joined in the Yates Spring Vegie Challenge, and won some neat prizes in some of the smaller challenges along the way, including for my Herb Tree, which was made with materials I found at an op-shop, and things I had lying around. These events have landed me in the local papers several times, which has led to speaking engagements - and in return for telling folk about my garden, I have gained some useful garden centre vouchers. I also have gained free seed packets from bread bag voucher codes, and won a lovely gardening book in a draw from Green Ideas magazine. If it's free to enter, it's worth a try! | 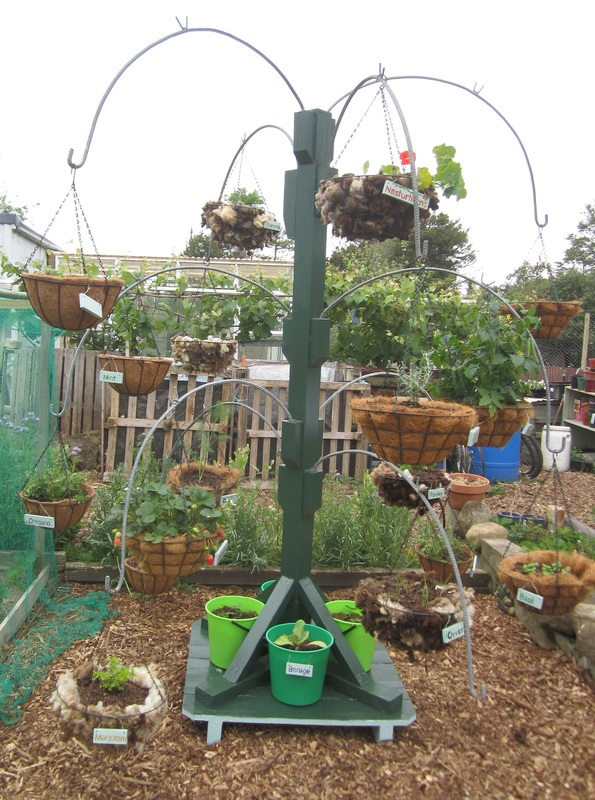 |
Use Bonus Points: I use accumulated Fly Buys points to subscribe to NZ Gardener magazine and Lifestyle Block magazine - excellent sources of inspiration and information for the homesteader and gardener. There are various schemes around that reward you for things you're doing anyway, such as buying food or fuel, and with a bit of thought they can be turned into more free stuff for the homestead.
Above all keep your wits about you, a smile on your face, and your eyes open! There are useful free materials everywhere - you just have to notice, and ask or collect. A smile goes a long way, as does treating other people well - lending a hand when they need it, being kind, sharing what you have. When you treat others well, they're all the more likely to think of you when they have something you might be able to use. Also, most gardeners are a generous bunch - willing to share knowledge, ideas, and seeds and cuttings. If you see something you'd like to grow, or want to know more about - ask!
Homesteading and gardening without money is possible - but you do need some patience, as when you can't just go out and buy materials, it can take longer to get things to where you want them. But in the end, it brings greater satisfaction!
Of course, this is by no means an exhaustive list. If you've got other ideas or experiences for free items for the homestead or garden, please share them in the comments! :-)

 RSS Feed
