Thrifty Kiwi
Like our Facebook page
  • Home
  • Blog
  • Homesteading
  • Gardening
    • 2021 Garden Blog
    • 2019-2020 Garden Blog
    • 2017-2018 Garden Blog
    • 2016-2017 Garden Blog
    • Kiwi Urban Homestead 2013-2015 Garden Blog
    • Pest & Diseases
  • Recipes
    • Autoimmune Protocol
    • Meals and Snacks
    • Preserving
    • Household Cleaners
    • Health & Beauty
  • Skills
    • Menu Planning & Grocery Shopping
    • Money & Budgeting
    • Preserving How-Tos
    • Housekeeping
    • DIY
    • How to Find Stuff Free or Cheap
  • Animals
    • Critter Blog
  • About
  • Contact

Easy Pickled Zucchini or Cucumber

27/3/2013

0 Comments

 
Picture
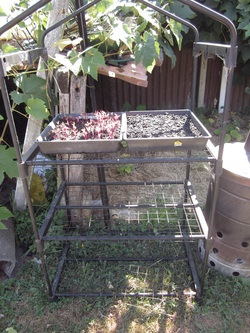
Many years ago, when we lived in Golden Bay, a very capable and frugal Dutch homeschooler shared this recipe with me, and I've been using it ever since. It's super easy, very tasty, and always a hit with visitors. You can use cucumber, zucchini or marrow to make this pickle.

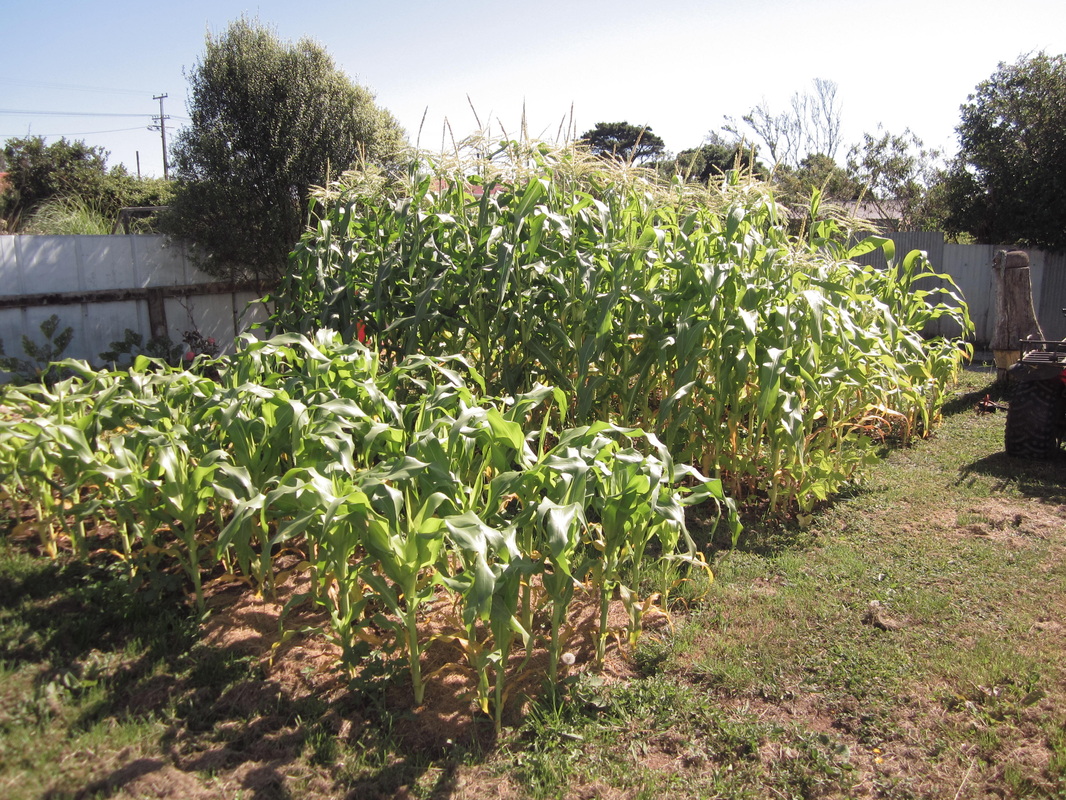
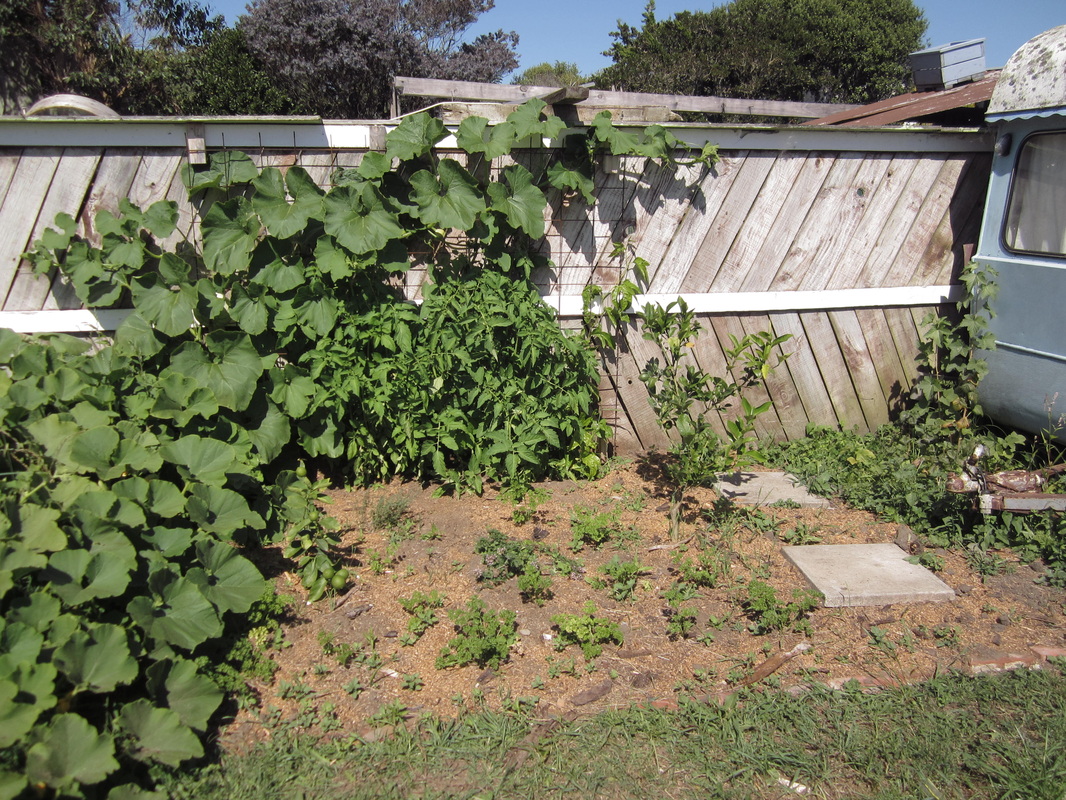
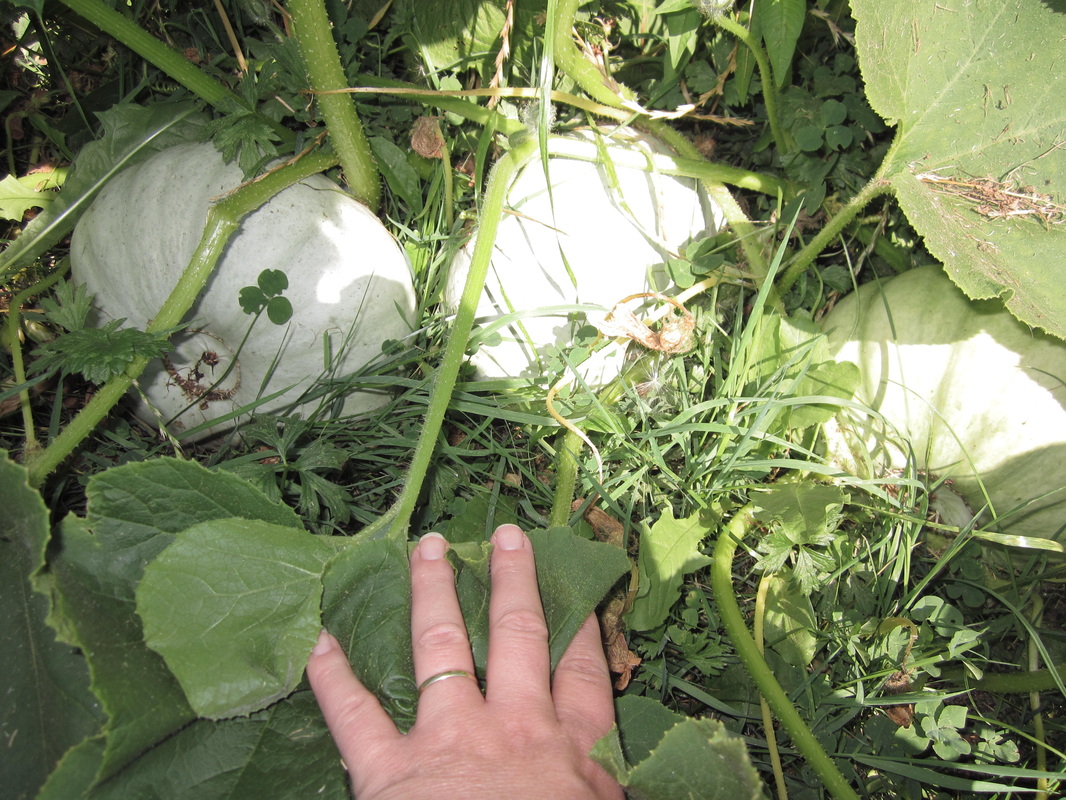
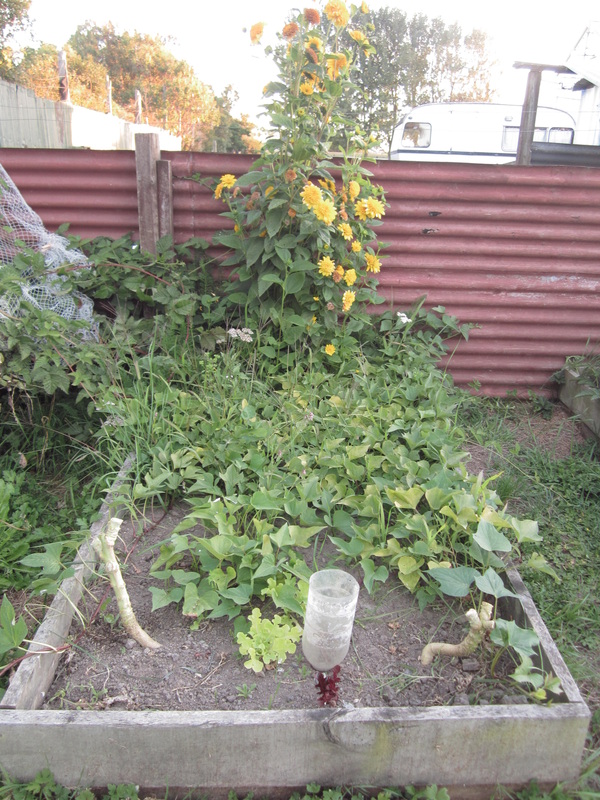
Whenever I have a flood of zucchini in the garden, I put up lots of jars of this pickle to use throughout the year.

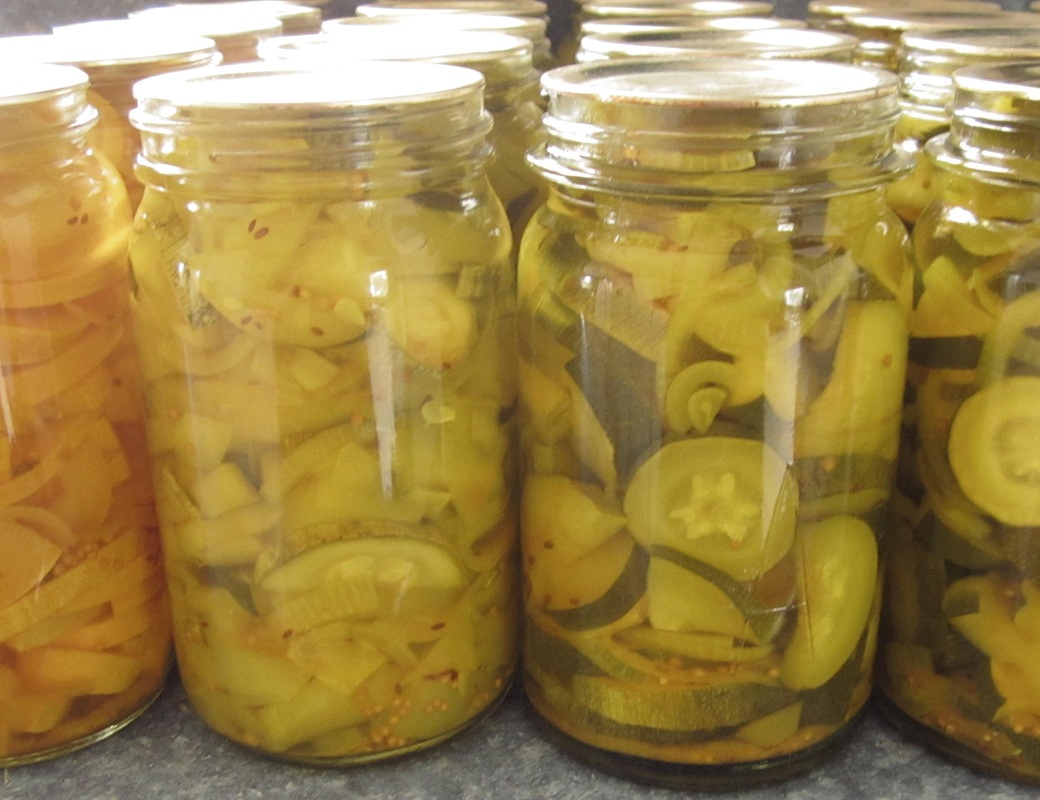
As you can see in the above photo, you will get a slightly different look depending what you're using exactly. The jar on the far left was made using yellow zucchini. The left-of-middle is a mixture, but mostly marrow sized ones I took the rind off of. The right hand jars are made with smaller zucchini I could mostly simply slice up and leave the rind on. Cucumbers always look pretty too.


Pickled Cucumber or Zucchini/Marrow

Day 1

Thinly slice 10-12 cups cucumber, zucchini or marrow. If using marrow, remove rind and seeds 

Slice 4 or more onions.

Place vegetables in a large bowl. Sprinkle ½ cup salt over, then cover with water. Place a plate in the top to hold the veges under water, cover with a tea towel and leave overnight.
 

Day 2

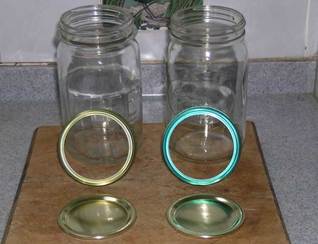
Sterilise jars, seals and rings as for overflow bottling.

Strain veges in a sieve or colander. (Rinsing is optional) Drain well.
 
In a large pot, bring to boil:

4 cups white vinegar
2 (or less) cups sugar (I use 1.5)
1 tsp mustard seeds
1 tsp dill seeds or fresh dill (The last few years dill seed has suddenly stopped being in the supermarket herb/spice section, but you can still find it at Asian and bulk food places. If you can't get it, you can leave it out, but it does as a wonderful flavour and aroma). 
1 tsp tumeric
 
Add vegetables, one colander at a time, return to boil, bottle and seal.
Makes approx. 2 quart preserving jars of pickle.

If you are a novice preserver, see my post on Easy Home Preserving with Overflow Method

0 Comments

Easy Home Preserving with the Overflow Method

24/3/2013

19 Comments

 
Picture
There are many different ways to preserve the harvest, and home bottling (or "canning" in the U.S) is one of them. I especially like it because it doesn't need freezer space, and once preserved this way, the contents of the jars last a long time and can be stored pretty much anywhere.

But even bottling can involve different methods. There's water bath and pressure canning, and the overflow method, to name the three main ones. My personal favourite is Overflow Bottling - it's the quickest, the simplest and the best place to start when you're new to home preserving.

Note: Overflow bottling is only suitable for preserving things that are at least somewhat acidic. It's perfect for most fruit, anything containing tomatoes or vinegar and so forth. It's not suitable for non-acidic veges (unless done with vinegar, as a pickle) or meat.

There are a few simple steps to this method, and each is important:
1) Prepare your jars. Gather up the jars you are going to use, and wash them thoroughly, then rinse to remove any traces of soap. Drain, but don't dry them (to avoid lint from tea towels). Any jars at all can be used, so long as you have a metal lid or dome and ring that will fit them. I reuse jam, salad dressing, pasta sauce etc jars from the supermarket (with labels removed), as well as Agee preserving jars. Discard any jars that are cracked or chipped. Next, place the jars into a COLD oven, simply standing them on the oven racks right way up. If the jars are small and won't stand easily, place them on an oven tray first. Turn on the oven to 100C, and leave them until the oven has warmed up and the jars have been at temperature for at least half an hour. I do this, then just leave them there until I'm ready to bottle. IMPORTANT: jars must be HOT when you bottle, or adding the hot contents will cause them to crack or break.

2) Prepare your lids. Simply heat a pot full of water to boiling, and shortly before you need to use the lids or seals and rings, drop them in the pot of water and boil for 5 mins. Keep them hot until use too.

3) Prepare whatever you're going to put in the jar. With the overflow method, this usually means that you are bringing to boil in a large pot either a sugar solution (for doing fruit) or a pickle solution (vinegar and spices). You will have also separately prepared the fruit or veges that will be going into it.

4) Get everything ready to go - I place a large wooden board onto a handy surface and cover it thickly with newspaper. This is where you will place the filled and sealed jars and leave them to cool. The newspaper helps to prevent sudden changes in temperature cracking jars. I take another chopping board, and again cover it very thickly with newspaper. This is placed right next to my stove, and when I'm ready to go moved as close as possible to the pot. When it's time to begin bottling, I lift one jar out of the oven onto this board, fill it quickly from the pot, then wipe the rim, add the lid and seal, then move to the cooling board. The newspaper on the "action board" both helps to prevent cracking when you bring a hot jar from the oven, and also absorbs any liquid that overflows from the jars. Also get out the utensils you will need - a slotted spoon for filling jars, a ladle for adding liquid, a flat knife for releasing trapped bubbles, tongs for lifting lids out of boiling water, and tea towels to help you handle hot jars. Place utensils in pot of boiling water for a few moments to ensure sterility before use too.

5) Ready, set, bottle! Add a colander full at a time of produce to the pot of boiling solution (if you work in too great a quantities at a time, some of it will cook to long and be mushy before you get it bottled). Bring it back to the boil and hold it there for the prescribed time depending on what you're doing. Lift a jar from the oven and set on board by stove, ensuring you do NOT put it down in a wet patch from previous jars - this will crack it. Use your slotted spoon to lift produce from pot to jar until full, then ladle in liquid from the same pot until almost overflowing. Insert flat knife down sides of jar to release trapped air, then top up with more liquid until just overflowing. Quickly wipe jar rim to ensure full contact with seal, add lid or seals, and tighten as much as you possibly can. Most jar failures are because the lids wasn't tightened enough. Set aside to cool. Move around the paper or remove layers to ensure a dry spot for the next bottle out the oven next to the stove.

6) When the jars have cooled right down (l just leave them overnight), check all are sealed - the lid or dome should be depressed in the middle - you've probably heard them "plinking" as they sealed. Was down outside of jars in hot soapy water, and remove rings if using Agee domes and rings. Dry and store in cupboard. If any did not seal, either put it in the fridge and use soon, or tip into another container and freeze. If there are a number which didn't seal, it is an option to reheat the contents to boiling, and rebottle in fresh, hot jars.

Now, if you are bottling something thick, like applesauce or jam, you can do exactly as above, except that you do not overflow the jar - fill the jar with the finished hot product, leaving about 2 cm empty "headspace" at the top of the jar, and then seal and set aside. The cooling jar and product will still form a vacuum and seal the jar, and it will keep a long time until opened.

One more tip. If you're bottling fruit, and you want the liquid in the jars to look beautifully clear, then the way to achieve that is to heat two pots to boiling - one containing the syrup for bottling, and the other with simply water. The fruit is heated and cooked in the pot of water, then spooned into the jars, and the syrup is ladled into the jar from the other pot.

And lastly, in the photo at the top of this page, you can see two slightly different quart-size preserving jars. These are the most common sort you find at garage sales etc. The one of the left has a thick, pronounced ring of glass that sticks out just below the threaded part. These require gold rings. The one on the right does not, and needs green rings. Both take the same large dome seal. It's very important that when preparing to bottle you make sure you have the right size lids or rings for your jars before you start - otherwise you could be left with lots of cooked produce and no way of sealing the jars. The green and gold rings are just slightly different in size, and both should be available from your supermarket. Rings can be reused many, many times. Domes (seals) can also be reused so long as they are undamaged, particularly in the food-contact side surface. I check my domes for any sings of damage or corrosion, and discard those, then reuse the rest.

I've written out quite a bit to explain all this, but really, overflow bottling is super easy and fast to do. I use it for all my bottling. One day perhaps I'll be able to invest in an American pressure canner so I can do beans and meat, but until then I happily bottle all fruits using the steps described here. I also bottle pickles, tomatoes, applesauce, pasta sauces, relish, jams and jellies in the same way, except with those I leave a half inch of empty "head space" at the top of the jar. Happy preserving!


19 Comments

Growing Sweetcorn

15/3/2013

0 Comments

 
I don't recall ever growing corn before, so this crop has been a learning curve for me.
Picture
In late December, my husband and I dug up 3 blocks of dirt in the front yard for corn. I had been given several packets of F1 Hybrid sweetcorn by a friend. We added sheep manure, woodash, and compost to the beds. The soil was very dry, hard, and looked very low in organic matter. It was a patch of the garden that used to flood every winter when we first moved here, before we improved the drainage. I doubt it had ever been given any soil improvement measures.

When I started doing this, I hadn't given any thought to planting by the
moon, so it wasn't until later that I realised how the planting of these beds
fell into that. The middle bed was sown first, on Dec 23rd, with 65 seeds.
Turned out this was a good time, according to the moon calendar. The far bed was
sown on Dec 29th with 65 seeds, a bad time according to the calendar. The
closest bed was sown on 8th Jan with our remaining 70 seeds, again a bad time.
 

Picture
The first bed planted germinated with an 89% success rate. All the plants grew strongly, and none succumbed to pests or otherwise died.

The second bed had a 100% germination rate, but I quickly lost a few plants to snails or similar. The results in the 3rd bed were much the same. The plants in these two beds simply weren't as strong as in the first bed, and much more inclined to fall over or die just because.

Picture
By 1st March, the differences were even more striking - the middle bed's corn are way over my head and in full flower. The others are still small, but starting to show signs of flowering. I've had to repeatedly prop up plants in the third bed that kept wanting to fall over.  

The proof will be in the harvest, details of which I will add to this page when they are available, sometime soon.

Now, for some interesting facts about growing corn:
  • Corn is mostly wind pollinated, which is the reason it should always be planted in blocks, so you get better pollination. The flowers are long thin stems at the top of the plant loaded with pollen. The pollen must drift down onto the tassels of the potential corn lower on the stems. Planting in blocks also gives these tall plants better stability so they are less likely to get blown over in the wind.
  • Each thread in a tassel  leads to what could become one kernel of corn. Each thread that is pollinated will cause a kernel to form. Each that is not, will leave an unformed kernel. When you peel open a cob of corn, and find the top part of the cob empty or unformed, this is because not all the threads were pollinated. Gentle shaking the plant, or picking a pollen stem and wiping it over the tassels can aid pollination.
  • Corn needs deep, well dug soil to enable it to put down strong roots to support the plant. Roots will show near the soil surface - drawing soil up over them can also help support the plant.
  • Beans or peas can be planted under the corn - this will add extra nitrogen which they need lots of. Another popular plant to grow under the corn is watermelon.
  • F1 hybrids will not produce true-to-type seeds, so are not worth saving for seeds. Next season I plan to buy heirloom non-hybrid seed.
  • All corn seed imported into NZ is required by law to be treated with fungicide - this is the pink coating you see on the seeds. This stuff is systemic - it is all through the plants and cobs. I didn't know much about this when I planted these, but now I do, I won't be planting such treated seeds in the future.
  • Corn is also one of the most commonly genetically modified crops. GMOs are super bad for us. For one of the best sources of info on this, watch Genetic Roulette.
Update: The difference in the harvest from the first bed as opposed to the other two is huge! Total harvest of cobs by weight:
Middle bed (planted at the right time in the moon calendar): 14.178 kg
Bed 2 (planted at the wrong time): 4.22 kg
Bed 3 (planted at the wrong time) 4.112 kg
So the middle bed yielded more than 3 times as much sweetcorn, even though the total number of plants was the same or less than the other beds!
I also noticed that the pollination was better in the middle bed - the other two beds had a lot more cobs with missing kernels or entire ends that were unpollinated (even though I helped all three beds along by shaking plants and/or wiping silks with strands of pollen).
0 Comments

Garden Photos 1st March 2013

12/3/2013

0 Comments

 
This summer has been incredibly dry - the driest summer in NZ in 70 years. By mid March all of the North Island has been officially declared in drought, and parts of the South Island, including the normally very wet West Coast, have followed. Where I live, water restrictions have meant I've only been allowed to use a sprinkler for 2 hours every second day, between 7 and 9 pm. Hand held hoses are allowed on our alternate day, but watering during the day is not worth it as high temperatures mean rapid evaporation. With all the garden beds I have, it has been a major challenge to keep them watered enough.
Picture
The zucchini in the front bed have been producing much better since I started using this idea - I pushed an up-turned empty soda bottle with the bottom cut off into the soil next to the base of each plant. Now all I have to do is go along with the hose and fill each bottle, which slowly drains right into the root zone. This eliminates wastage, and also the otherwise uneven watering that is inevitable when I walk along with a hose and hold it on the plants for a bit each. Our zucchini harvest has been huge! See posts under Harvest Totals for details.

Picture
The first bed of sweetcorn is going great guns. The other two are slower and smaller. See this post on corn for more details. The one you see closest in the pic is the 3rd patch.

Picture
The herb patch is doing well. There are parsley, two kinds of oregano, lemon balm, thyme and lemon-scented geranium plants in there. The pumpkin vine has grown a lot, and also up the fence, and a number of large pumpkins are forming. I only grow crown (grey) pumpkin because I like this variety and they store well. I haven't gotten much from the cucumber vine, which has now been swamped by the two tomato plants I put at the back of the bed. As an experiment, I didn't pinch out laterals or do any early training of these plants - they went ballistic, but I don't think they're going to produce nearly as much as my trained plants. You can really learn a lot of Bible truths in the garden, and the importance of staking and training tomatoes is one thing that has a lot of truths hidden in it! Until now, I didn't really fully understand why "staking tomatoes" is used as a analogy for training children in some circles.

Picture
Some of the pumpkins growing under the vine.

Picture
Green beans are starting to yellow off, but there is some new growth happening, and still plenty of harvesting going on.

Picture
Starting to thin the carrots - it's so exciting to see how well they're growing - my first successful carrot crop ever!

Picture
Kale was badly attacked by white butterfly. I cut the heads off the plants and fed them to the chickens, leaving the stems to re-grow. I've planted a few cut-and-come-again lettuce here, and added a soda bottle for root-zone watering. The kumera vines are still doing well, as is the Mexican Sunflower.

Picture
The other three beds are doing pretty well. Have been harvesting peas and yellow beans, along with some lettuce. I harvested the radish and made relish from it. The beetroot is coming along.

My kids cleaned out some calf pens for a local, and brought home 8 trailer loads of old sawdust mixed with manure for my gardens. We've started to put down the rest of the bed frames and begin filling them with sawdust and later compost when we get some.

Picture
Front section of potato plants are flowering nicely. The rest are growing.

Picture
Tomatoes, planted on Feb 13th (wooden stakes at back) and 21st (green stakes). When I dug holes for each plant, I added pieces of fish my kids caught, crushed egg shells, chopped up banana skins and a little compost to each hole. The ones at the back got the fish, as I ran out. This is very late to be planting tomatoes, but whatever I get from them is a bonus.

Picture
Comfrey is really coming along.

Picture
Second zucchini bed is producing lots and lots and lots!  The silverbeet and lettuce behind aren't doing so well, as every time my chickens decide to come over the fence in the morning looking for their breakfast, that's where they go and either peck them or dig them up.

Picture
An idea I'm trying. White butterfly is a major scourge here. I'm using these translucent bins as mini-greenhouses to raise brassica seeds and protect them from the butterflies. They're upside down here because the larger seedtrays I bought for inside them won't quite sit down in the bottom of the bins but will sit on the lids ok. These are sown with white and purple cauliflower, broccoli, buk choy, brussel sprouts and cabbage, as well as some gourmet lettuce and celery.

Picture
Tray of beetroot seedlings. I also have sown trays of onion and leeks, but without success. I think it's just too hot.

Picture
The late pumpkins in the front yard are growing well and have some small fruit on them. Might even get a few worth harvesting.

Picture
The pumpkin vines on the lawn. There is also a huge patch of self-sown pumpkins in the chicken run, but I don't seem to have a photo of those.

Picture
What's a girl to do with upwards of 45 kgs of zucchini? Make lots of pickle of course! We also have eaten lots fresh, frozen some for baking, and dehydrated some to add to stews in winter. For recipes see posts in Preserving the Harvest posts.

0 Comments

February Harvest Totals

1/3/2013

0 Comments

 
The total produce harvest from our garden in February weighed 45.086 kgs, bringing the year-to-date total to 63.385 kgs. Included in Feb's harvest were:

2.090 kgs mixed berries
0.059 kgs Rosemary
0.130 kgs Green dwarf beans (Row 1)
0.538 kgs Green dwarf beans (Row 2)
0.185 kgs Dwarf yellow beans
1.146 kgs Peas
14.956 kgs Zucchini (1)
16.782 kgs Zucchini (2)
0.650 kgs Cucumber
4.516 kgs Radish
0.106 kgs Lettuce
3.006 kgs Kale
0.260 kgs Carrot thinnings - mini carrots plus greens which are very tasty and extremely good for you!
0.406 kgs Quince
2.022 kgs of apples, plums and one spring onion


0 Comments

    Author

    This page is my blog formerly known as Kiwi Urban Homestead.

    I'm a Kiwi homeschooling mother of 5 living in a small town. After growing 1000 kg of produce in my back yard in 2013, I'm now expanding my edible gardens even further.

    Archives

    February 2016
    December 2015
    October 2015
    September 2015
    June 2015
    May 2015
    April 2015
    March 2015
    February 2015
    January 2015
    December 2014
    November 2014
    October 2014
    September 2014
    August 2014
    April 2014
    February 2014
    December 2013
    November 2013
    October 2013
    September 2013
    August 2013
    July 2013
    June 2013
    May 2013
    April 2013
    March 2013
    February 2013
    January 2013
    December 2012

    Categories

    All
    Bees
    Butchering
    Chickens
    Compost
    Corn
    Diy Projects
    Events
    Everything Else
    Firewood
    Freebies
    Frugal Fortnight
    Garden Diary
    Gardener Of The Year
    Getting Started
    Greenhouse
    Harvest
    Harvest Totals
    Health
    Herbs
    Home Made Cleaners
    Homesteading Skills
    Jungle Taming
    Livestock
    Media
    Monthly Garden Pics
    Moon Planting
    Musings
    Pests And Diseases
    Planting
    Preserving The Harvest
    Recipes
    Salads
    Soil Improvement
    Specific Crops
    Tomatoes
    Weekly Round Up
    Worms
    Yates Vegie Challenge
    Zucchini

    RSS Feed

Powered by Create your own unique website with customizable templates.