Thrifty Kiwi
Like our Facebook page
  • Home
  • Blog
  • Homesteading
  • Gardening
    • 2025 Garden
    • 2021 Garden Blog
    • 2019-2020 Garden Blog
    • 2017-2018 Garden Blog
    • 2016-2017 Garden Blog
    • Kiwi Urban Homestead 2013-2015 Garden Blog
    • Pest & Diseases
  • Recipes
    • Autoimmune Protocol
    • Meals and Snacks
    • Preserving
    • Household Cleaners
    • Health & Beauty
  • Skills
    • Menu Planning & Grocery Shopping
    • Money & Budgeting
    • Preserving How-Tos
    • Housekeeping
    • DIY
    • How to Find Stuff Free or Cheap
  • Animals
    • Critter Blog
  • About
  • Contact

Apparently I'm "Supermum" - but don't believe everything you read in the papers!

30/1/2015

1 Comment

 
Expecting a P.R press release in the local papers about the Herb Tree I created that won a prize in the Yates Vegie Challenge, I just about fell off my chair when I read this headline.......

"Supermum does it again!"

The "again" part references an award I won in 2013 as "Vege Gardener of the Year." Despite a couple of inaccuracies (the website given for example, or crediting me with expanding the online group of vege gardeners I'm part of), the article was mostly all true. Except maybe the "supermum" part. Believe me, I'm just an ordinary gal, with too much too do, and not enough time, like most everyone else! Neither my house nor my garden are perfect, despite my desire that they were, and probably never will be.

It's kind of fun to be in the papers, and if it encourages or motivates someone else to give gardening a go, then I'm all for it. Just remember, you don't have to be a "super" anything - you don't have to have a large garden, much money or a lot of time or expertise to have a go at gardening! Gardening is fun and rewarding, but very much a learn-as-you-go adventure!

So, if you ever invite me over, please don't feel intimidated by me; don't polish the furniture or hide the ironing, or apologize for the weeds! And if you ever come and visit me one day, I'll try not to let that "supermum" image push me into doing those things either!

I'd rather we could all just relax and be "real" with each other. And real people aren't perfect!

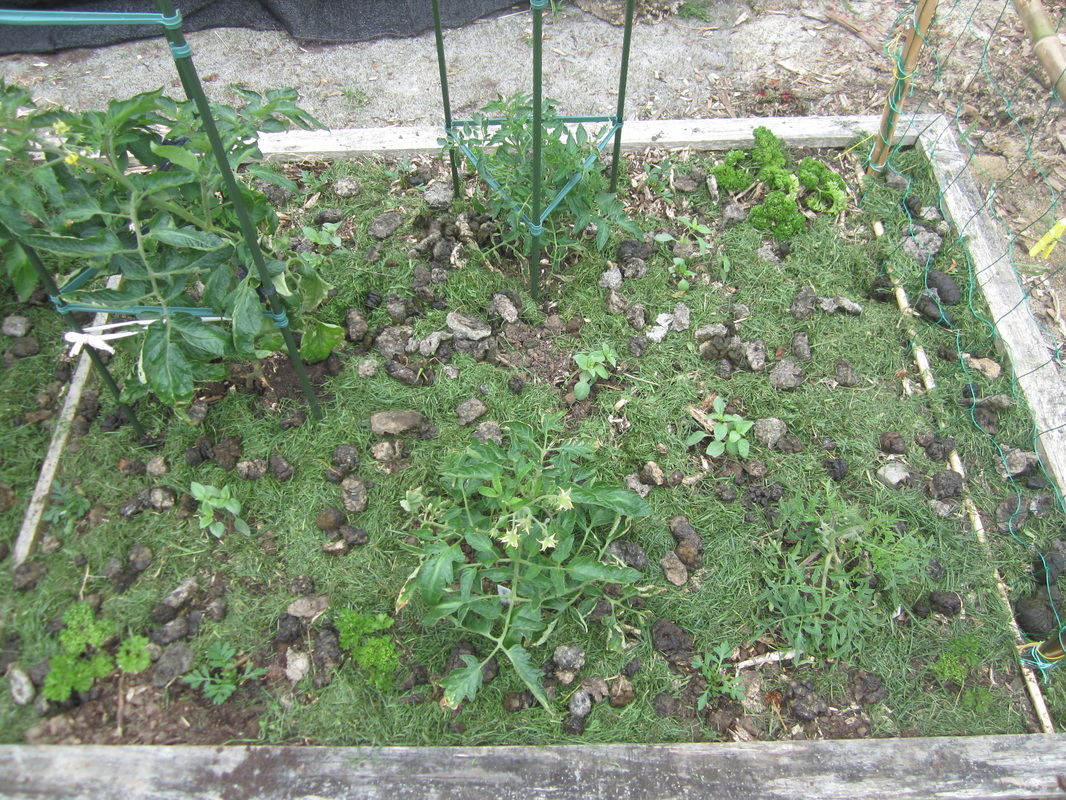
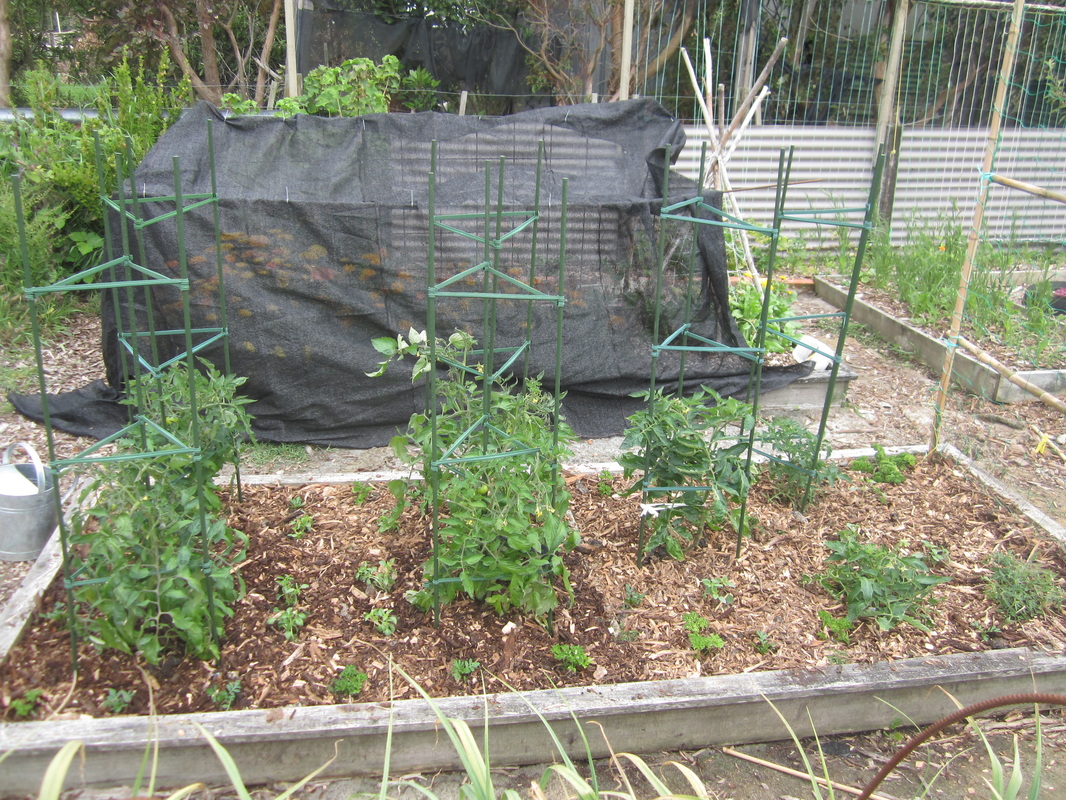
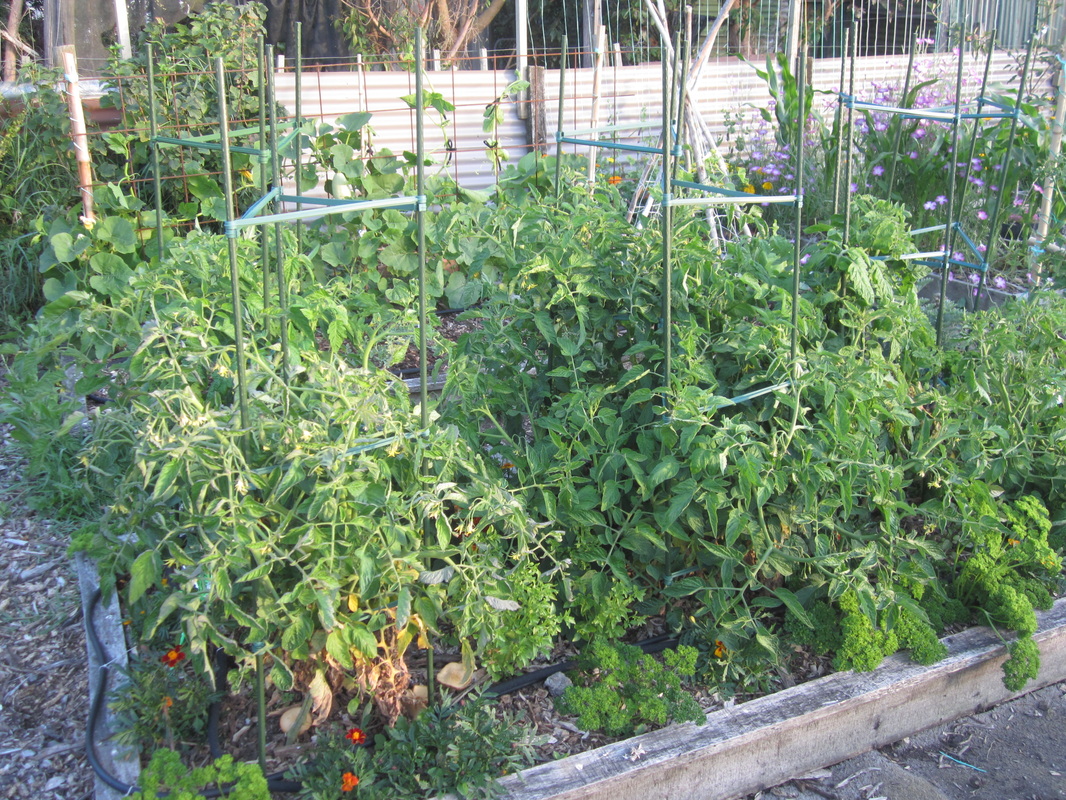
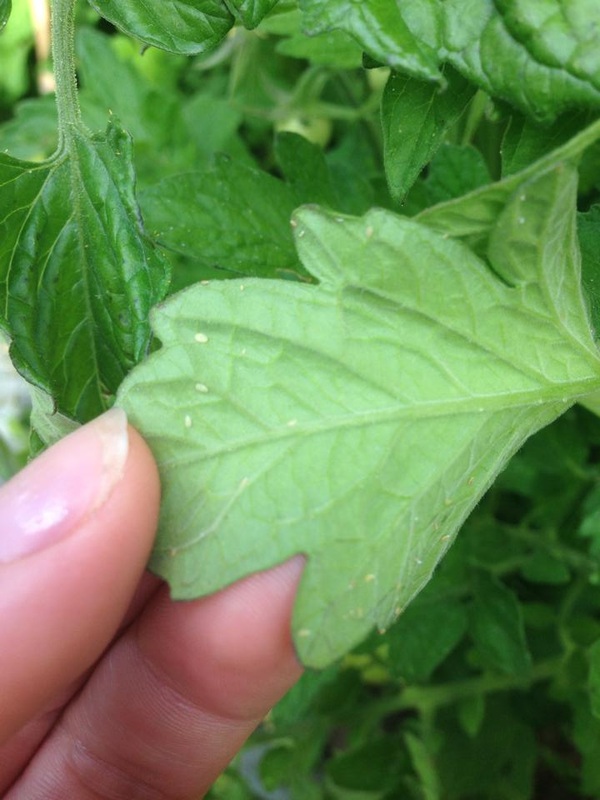
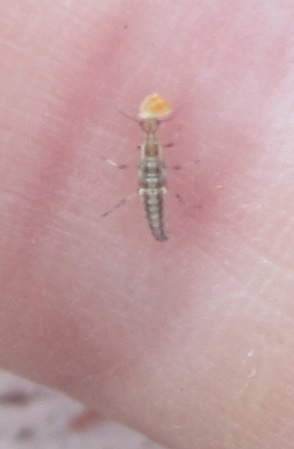
My garden has plenty of weeds, tasks undone, things I meant to get to urgently but haven't for one reason or another, piles of materials for projects I might get to one day, plants I should have trained or pruned but haven't yet, and food I meant to harvest but haven't and it's now past it's best. I frequently feel "behind" in what I intended to do.

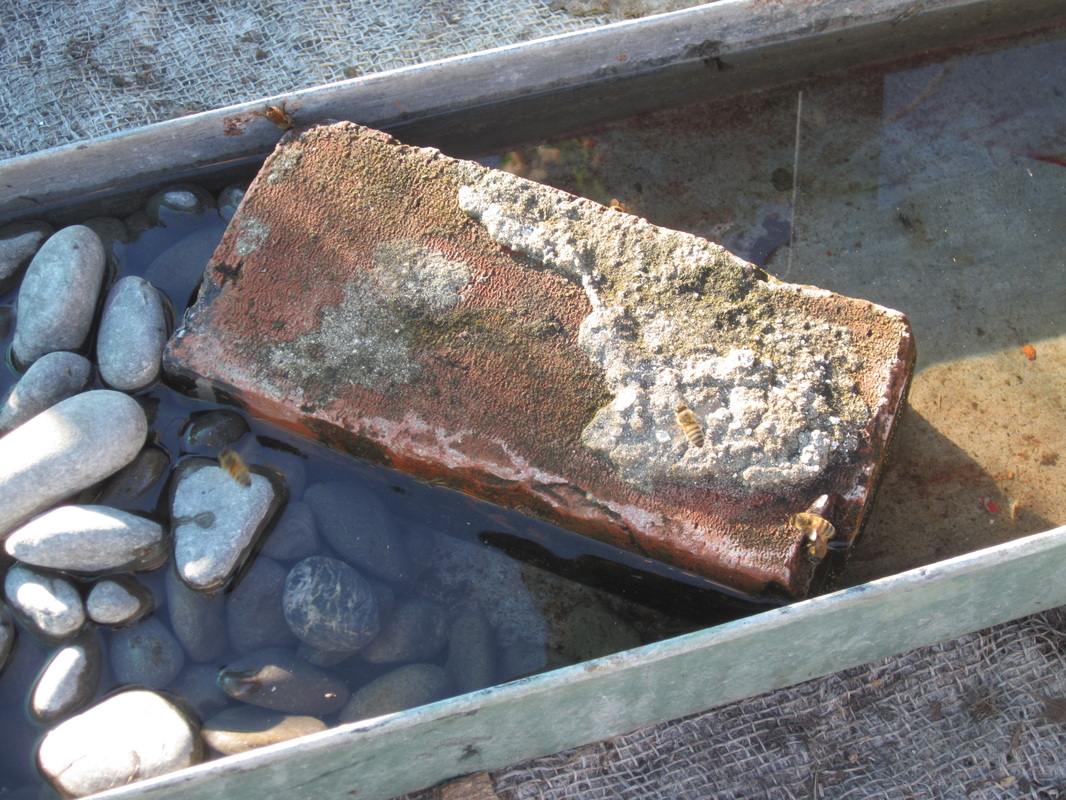
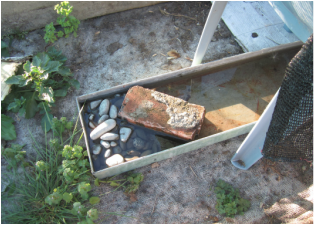
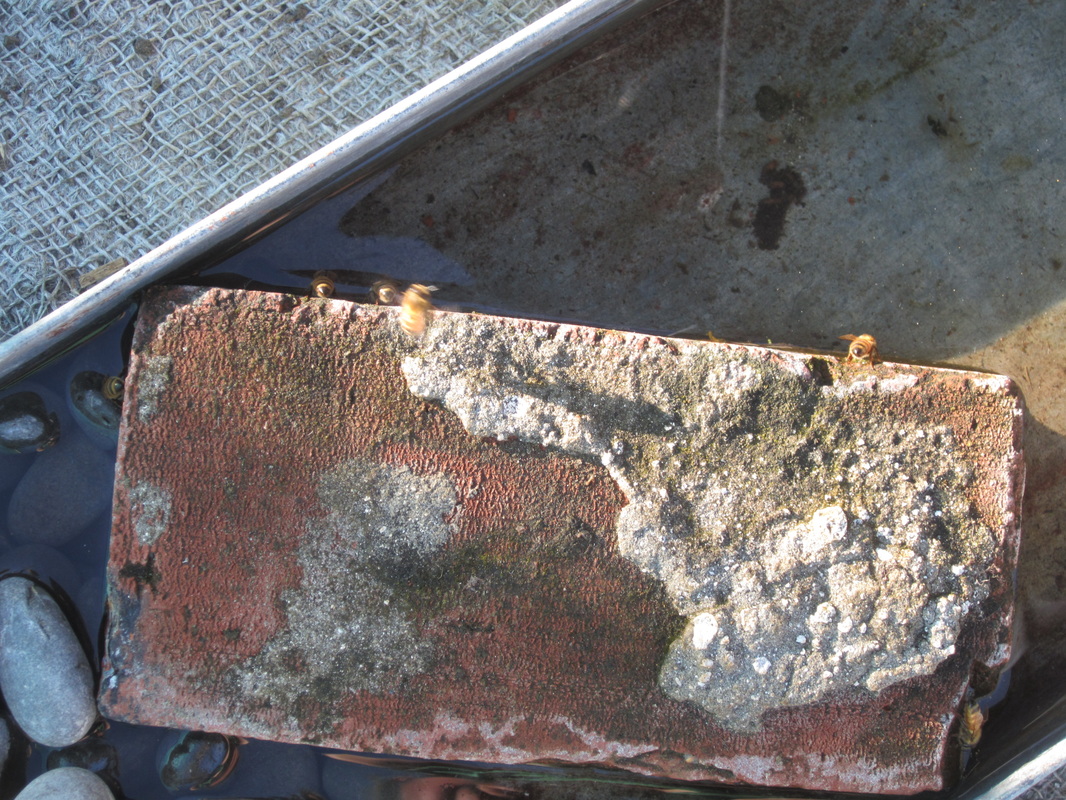
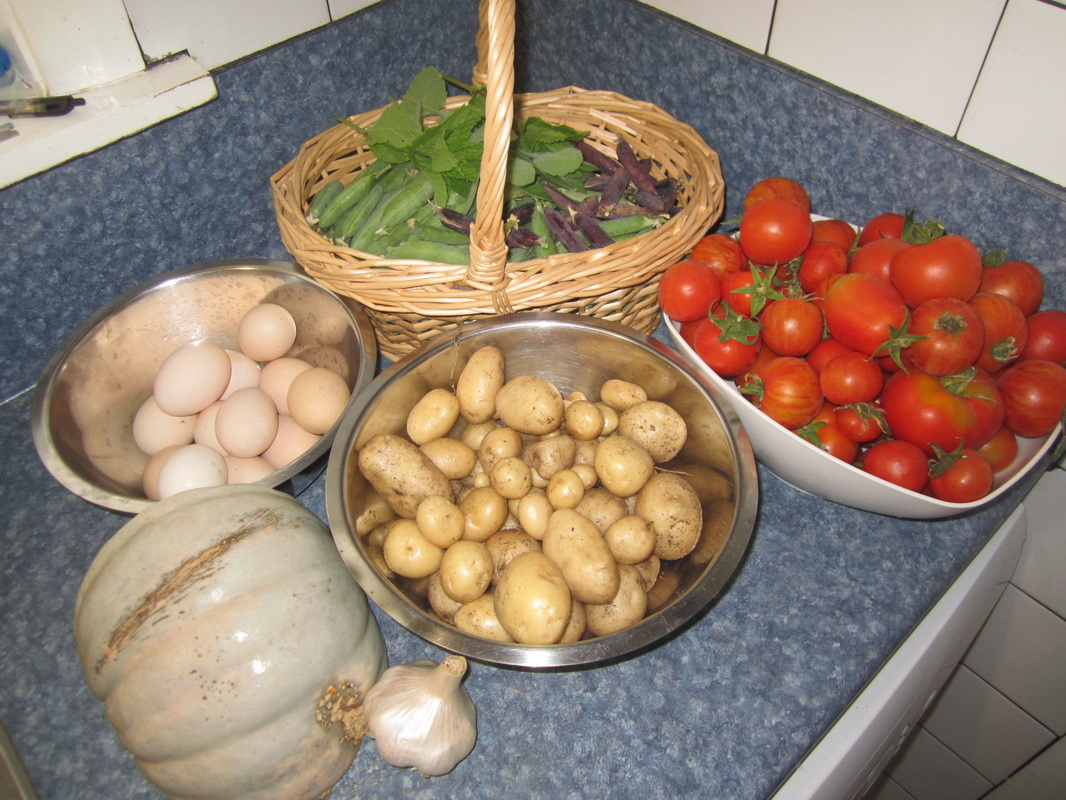
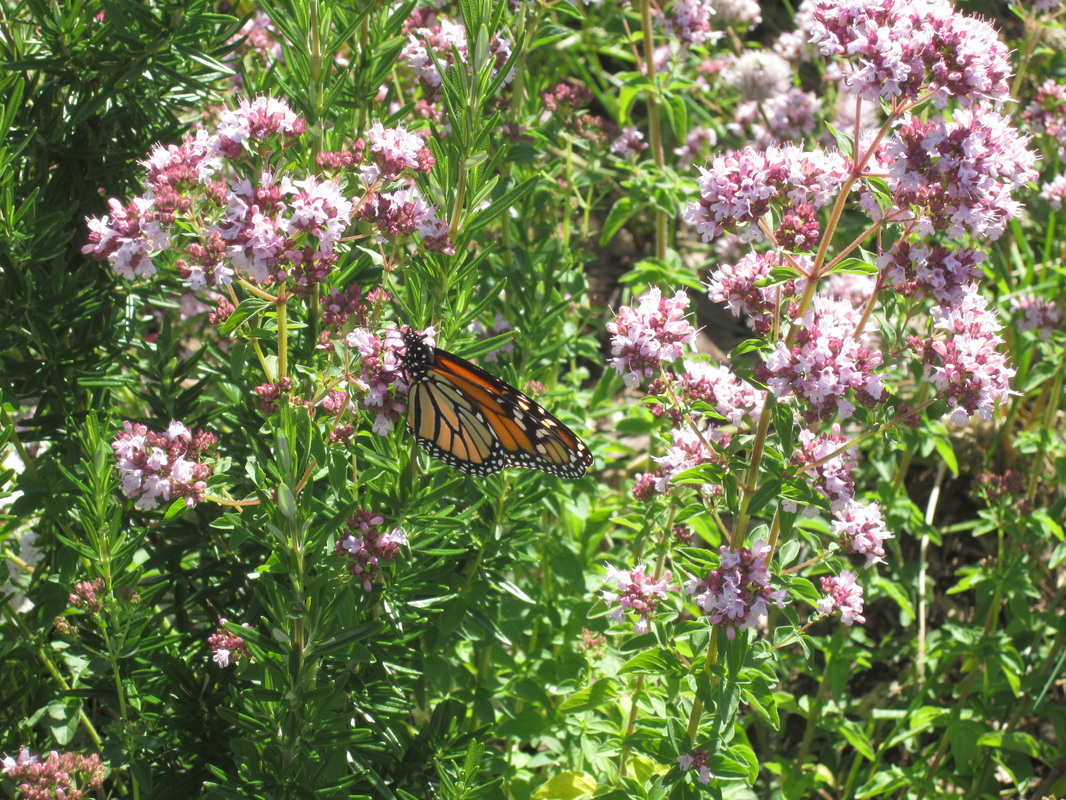
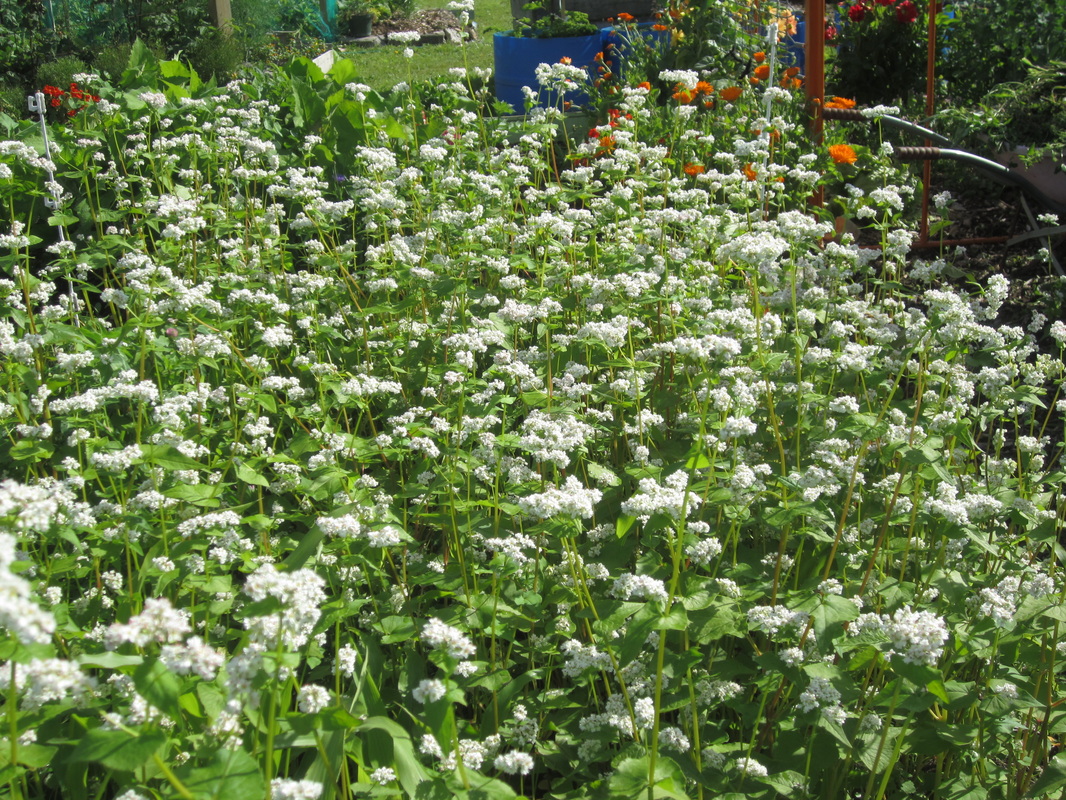
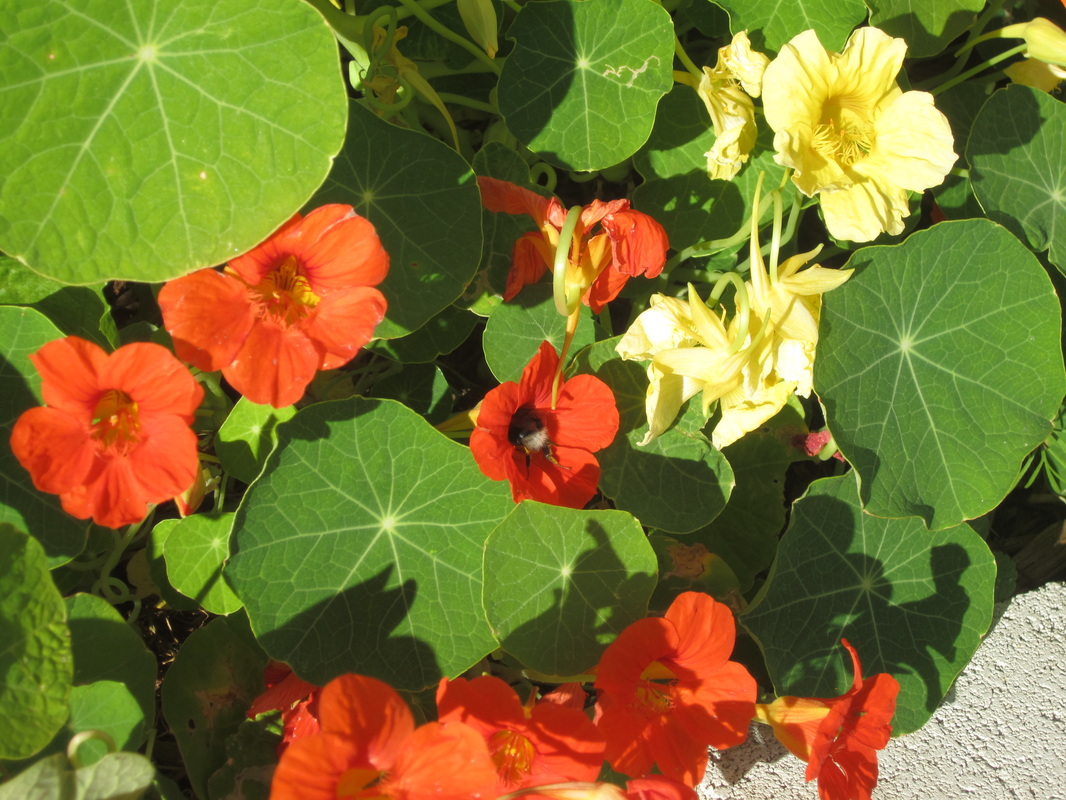
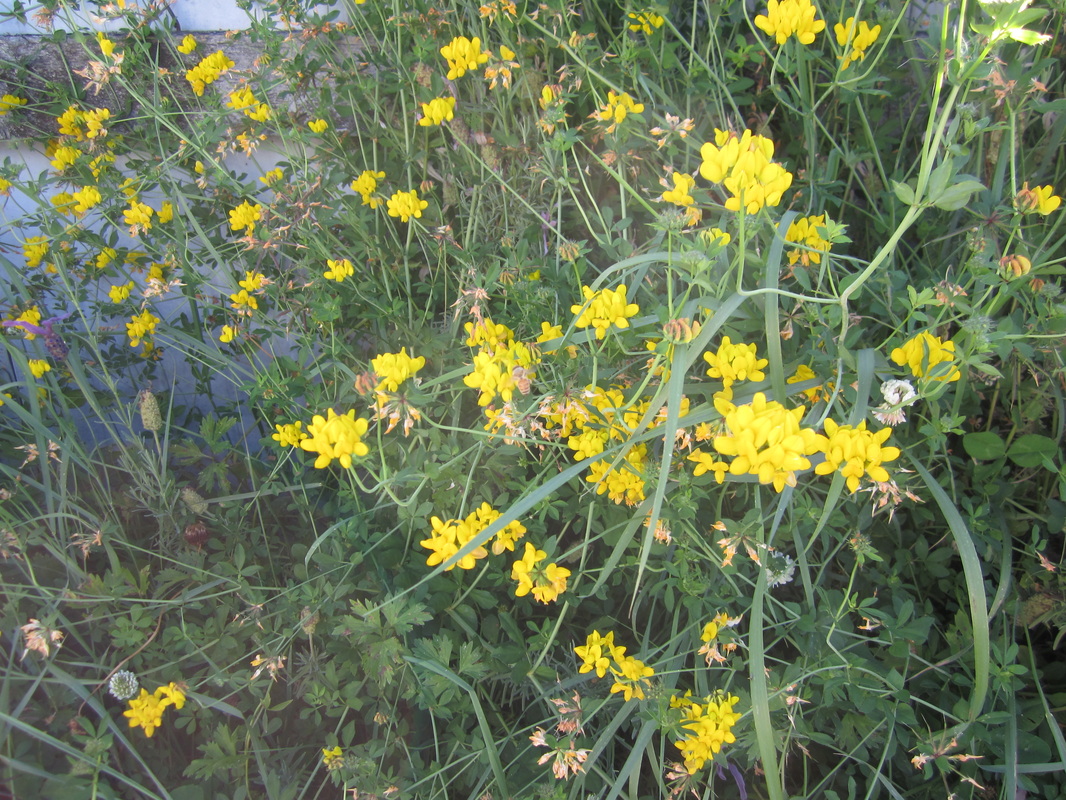
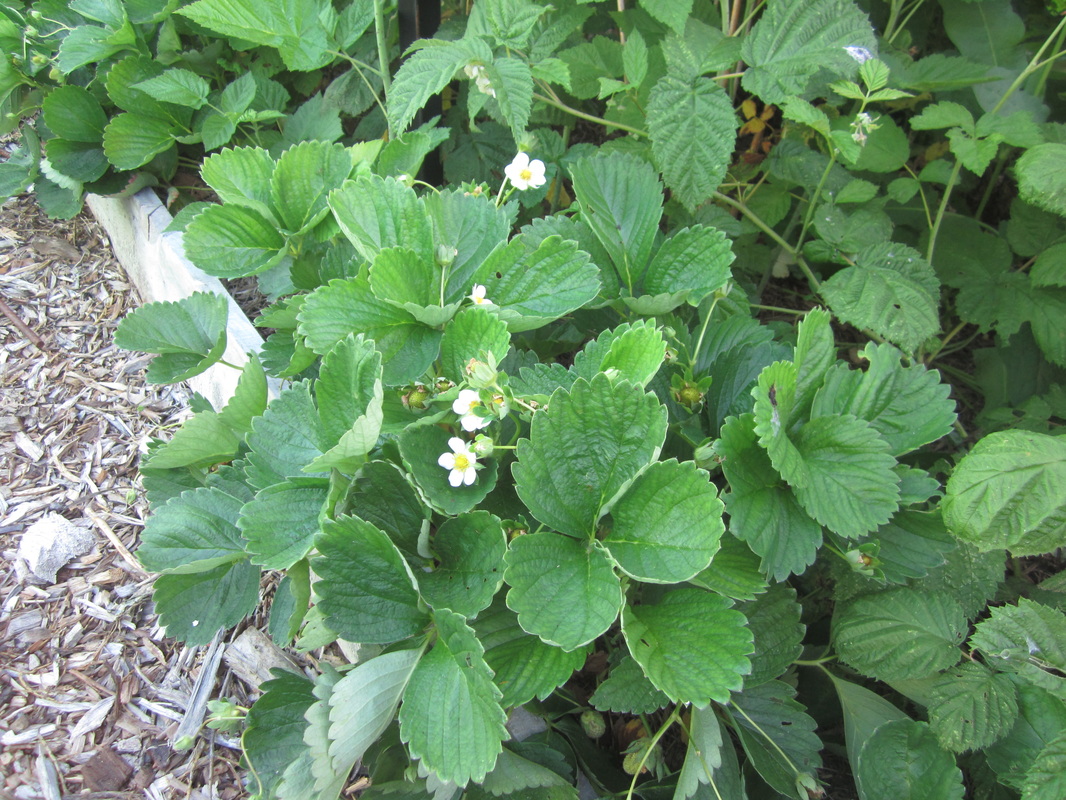
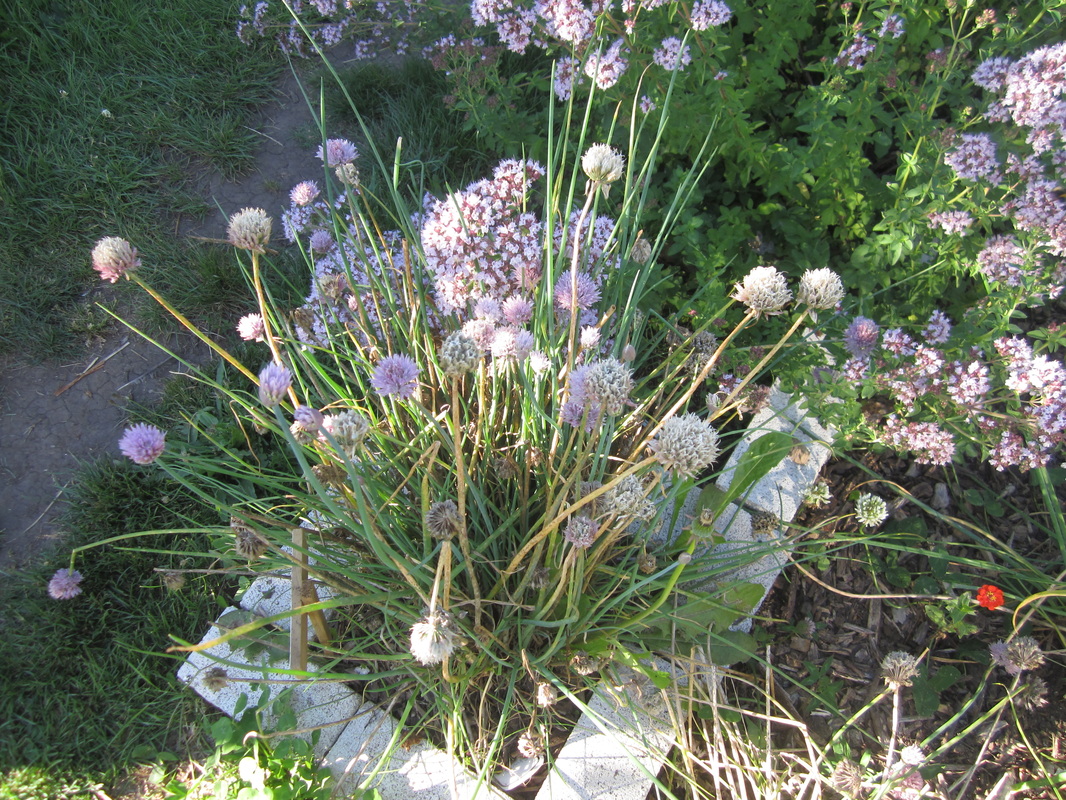
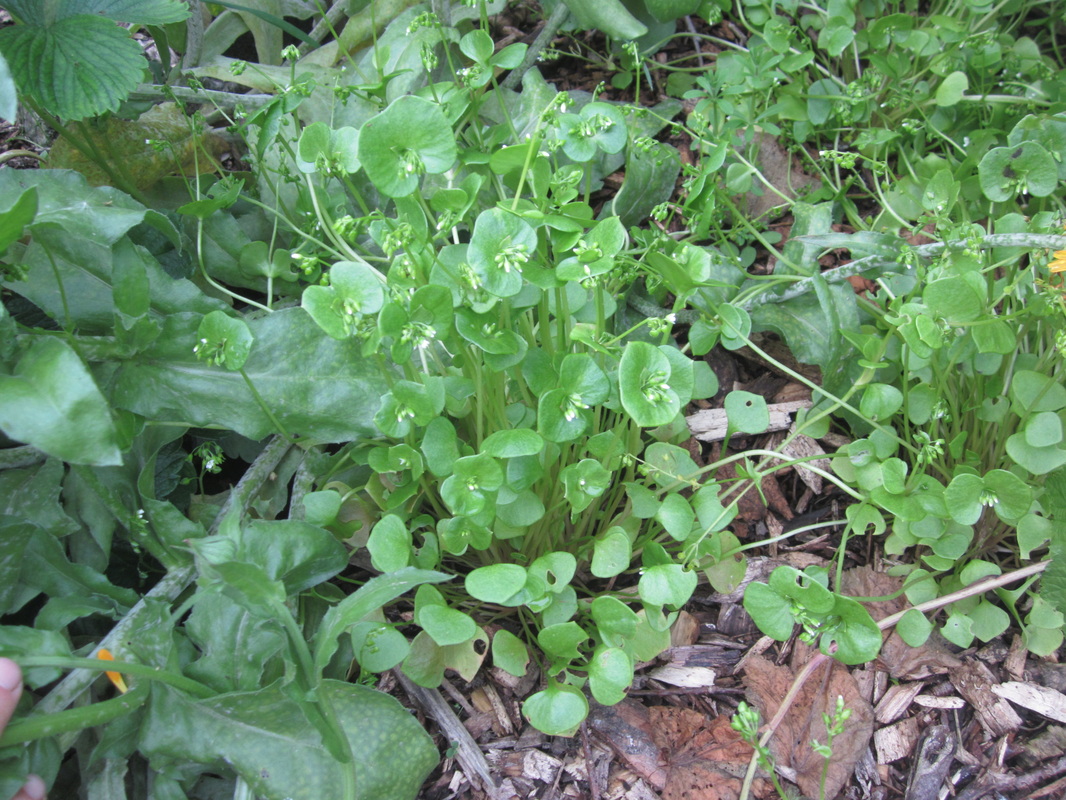
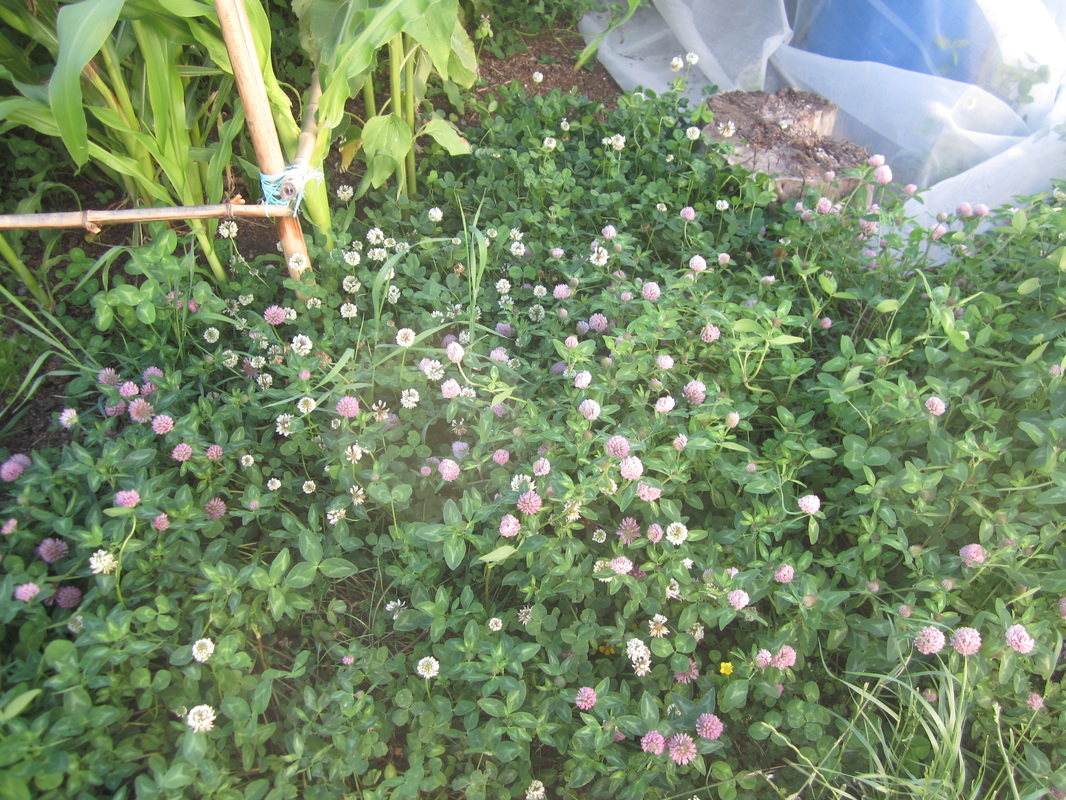
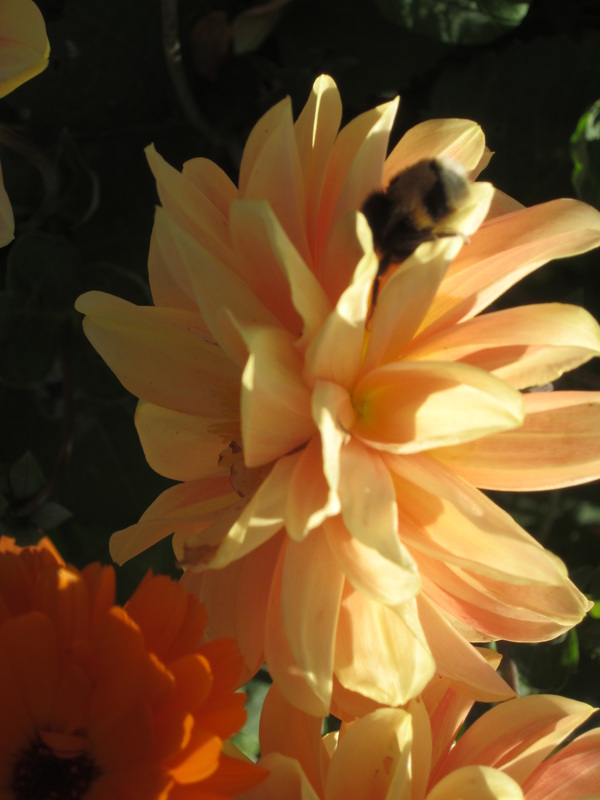
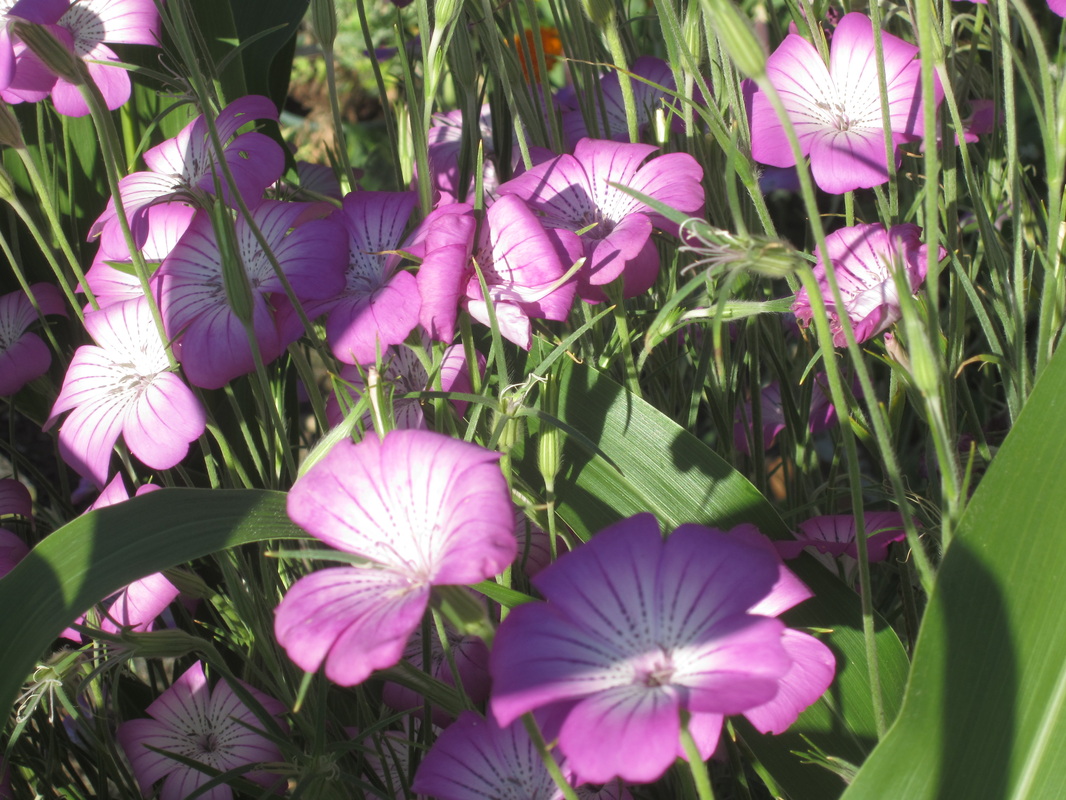
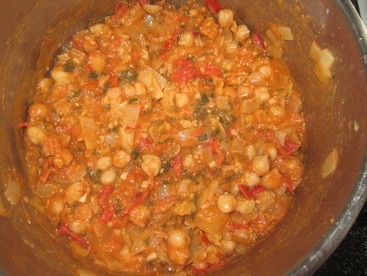
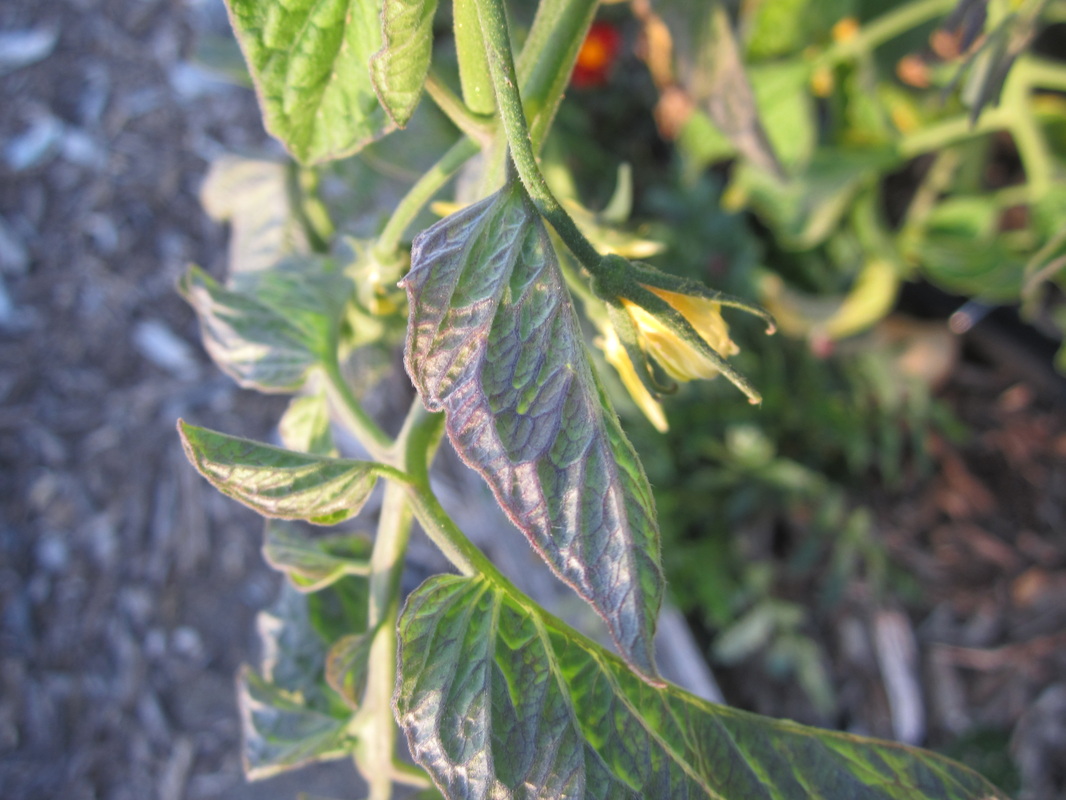
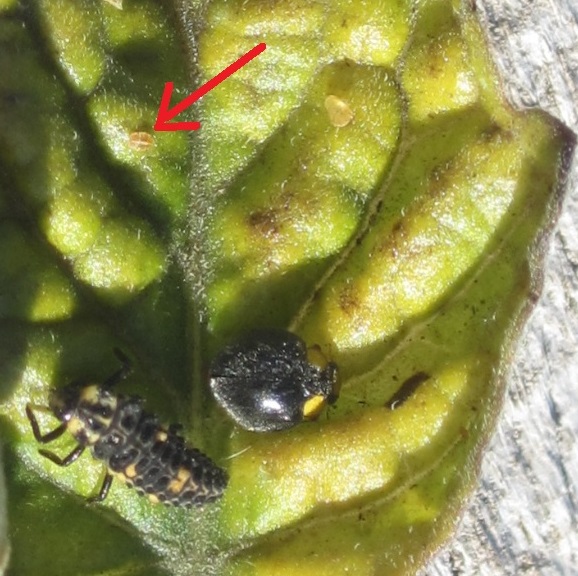
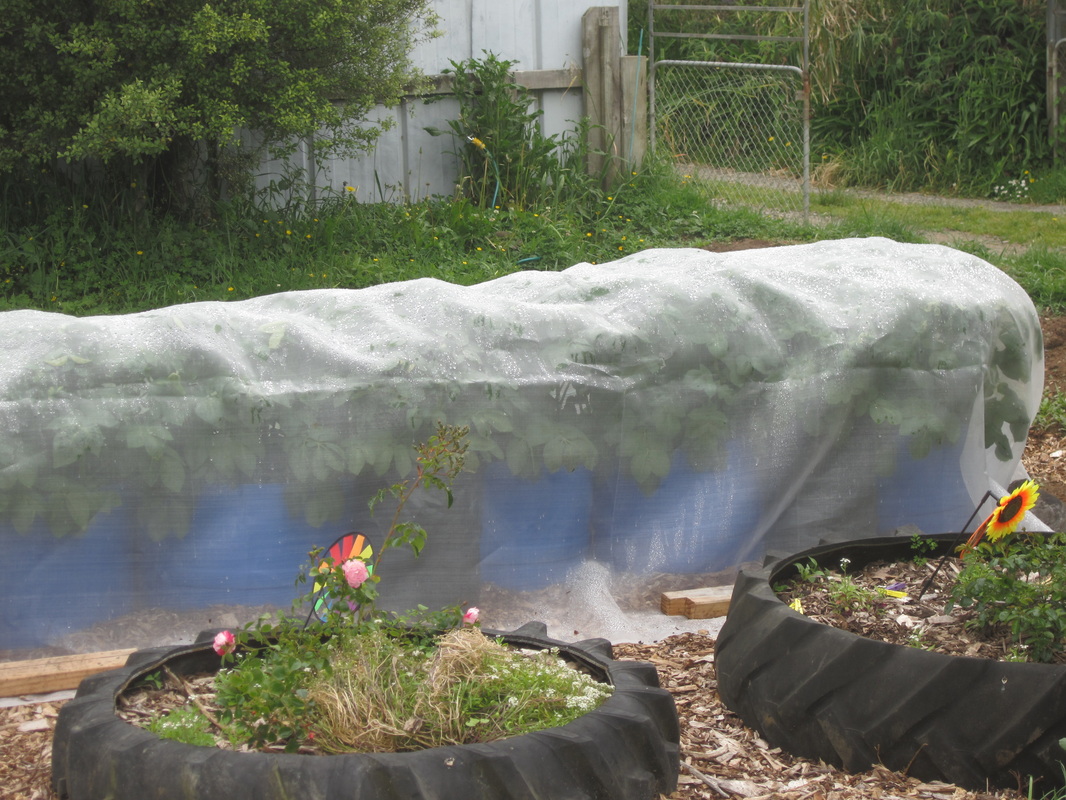
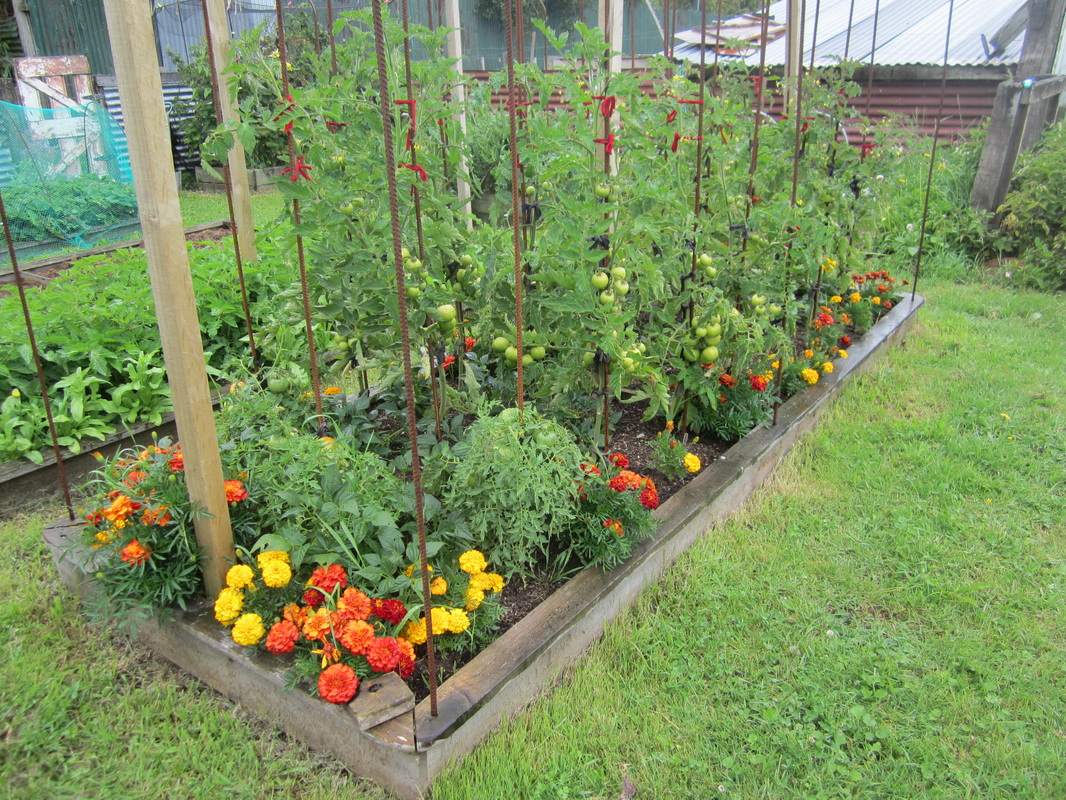
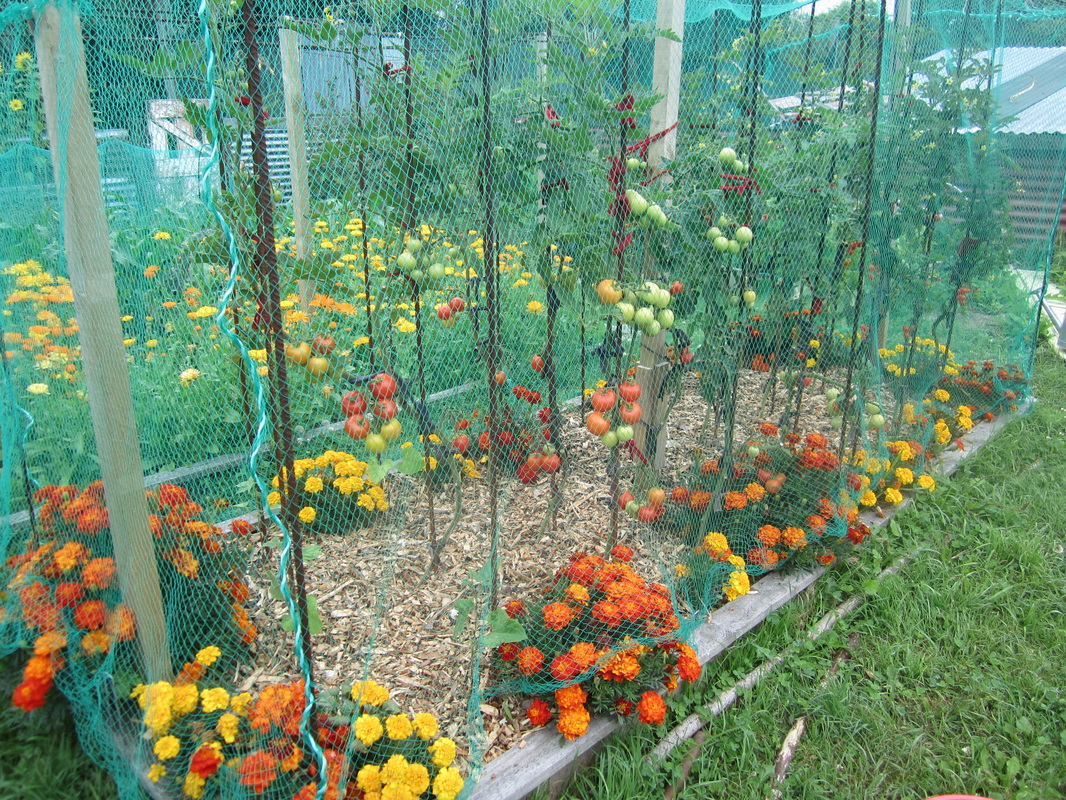
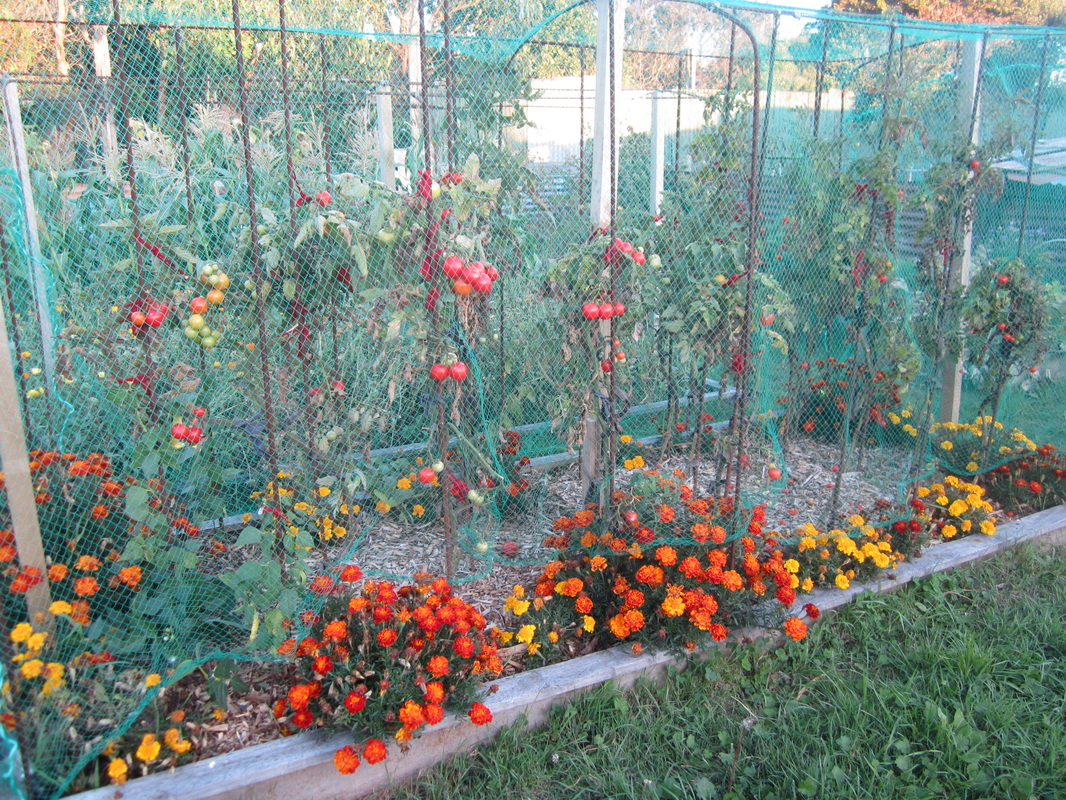
But you know what? Despite all that, my garden is pretty cool! There are things growing, there is food waiting there for me to pick and eat. There are bees and butterflies and other amazing critters darting about. There are flowers looking pretty, herbs waiting to heal, and hidden things to discover every day. Gardening is a great form of therapy - and you get tomatoes too! And strawberries...and beans.....and watermelons.....and beetroot.....and new potatoes......and chokos.....and sweetcorn......and yacon.......and cucumbers.....and - well you get the point!

So, I will hereby forgive myself for all the things I was going to do and plant in January but haven't, go ahead and toss out the seedlings that are never going to do well if I plant them now, and start fresh in this new month. And I will take time every day to enjoy what IS doing well out there. I'm not supermum, and that's ok!

How about you?
1 Comment

Water For The Bees

25/1/2015

2 Comments

 
Water is essential for honey bees - they use it to cool the hive and thin honey fed to larvae. A strong hive will use over a litre/quart on a hot day - which takes 800 bees 50 trips each to collect.
Picture
Picture
I set up a trough of water, partly for birds (who seem to have ignored it so far) and partly for bees - I put a brick near one end to hold a bunch of stones in a pile, for the bees to land on and drink without drowning. With the exception of one bee today, they've ignored the stones, preferring the flat landing pad of the brick.

Picture
I added some shadecloth pegged to a chair to shade the water as it was getting pretty warm in the full afternoon sun - today despite close to 40C temps, it stayed cool.

In this next photo, can you spot all the bee bums as they are head down on the sides of the bricks collecting water? I also have a shallow dish close-by with stones and water in it, but they ignore that and go for the brick all the time. Every time I look there are between 3 and 8 bees on it, with more in and out constantly.
Picture
Bees, like all creatures, need suitable food, water and shelter to thrive. Because water is so essential for bees, they will try very hard to get it. If the only water source around is a pool or trough with slippery sides, you're likely to find lots of drowned or drowning bees in them on a regular basis. But supply them with a bee-friendly water source, and they'll soon tell all their fellow workers - who will then stay away from the unsuitable sources. No dead bees in your swimming pool, but happy pollinators in your garden! A win-win!

By the way, I think the reason they pretty much have ignored the stones is that the stones are smoother, and so more slippery, but even more important, for a pile of stones to work, the upper ones are mostly out of the water, and they get pretty hot. The brick is sitting mostly in the water, with just it's upper part out, so comparatively speaking, has much more of it's mass submerged, and therefore stays cooler. I guess bees don't like burned tootsies either! The first and only bee I've seen on the stones was today, now the shade cloth is in place.

This trough has only been set up this way for the last couple of days. The numbers of bees there has increased steadily over the last couple of days - will be interesting to see how much traffic it is getting in another week or so!
2 Comments

What's For Dinner?

15/1/2015

0 Comments

 
I was asked yesterday in an interview why I garden - what's the main reason? Simple! To feed my family! Food in your backyard is real food security - when there's no money in the bank you can still eat. And you know what else is nice? When the kids ask the inevitable "What's for dinner, Mum?" you can tell them, and it sounds really fancy :-).

Take last night's dinner - simple fare, all picked fresh from the garden or collected from the property. The menu:
  • Minted peas (pick lots of peas, shell them, then gently cook them in the pot with a few sprigs of fresh mint)
  • Just-dug new potatoes, served with just-made garlic butter (whiz garlic cloves, olive oil, butter, and fresh herbs in the food processor - freezes well to make garlic bread etc).
  • Nutmeg-roasted pumpkin (dice up some pumpkin, toss it in olive oil, mix in salt, nutmeg and honey from the bees, spread out in a roasting dish and roast, stirring occasionally, until done)
  • Quartered fresh tomatoes (use a mixture of varieties for visual and textural effect)
  • Poached eggs (thanks chickens!)
Yum! Everyone had seconds - and it all got gobbled up before I remembered I hadn't taken a photo of the completed meal! Oh well! Here's a photo of the collected items, ready to prepare.....The garlic was harvested a couple of weeks ago, the pumpkin is from our stores from last summer - everything else was straight out the garden.
Picture
0 Comments

Top 10 Flowering Plants for Bees & Beneficials in My January Garden

8/1/2015

0 Comments

 
As I wandered around my garden this evening, I noticed how certain plants were particularly attracting lots of honeybees, bumblebees, butterflies, hover flies, drone flies, dragon flies and other beneficial insects. I thought I'd share with you the top 10 most actively busy flowers in my garden right now, ranked in the order of activity seen. At the end is a list of other things that are also flowering in my garden this month, most of which are also very good for attracting beneficial insects; they just didn't have the obvious activity of the top 10 today.
1. Borage I planted several borage plants down the middle of my blueberry/strawberry patch, and they're just HUMMING with bees! This vigourous plant with lovely star-shaped blue flowers is said to make strawberries produce better, is beloved by the bees, and the flowers are edible. Annual that happily self-seeds.
Picture
2. Oregano - I use oregano a lot in cooking, and it's hardy and easy to grow. At this time of year, it sends up tall stems topped with lovely purple flowers. I've seen Monarch and Admiral butterflies, bumblebees and honeybees as well as drone flies frequenting them today. Creeping habit, easy to grow from pieces.
Picture
3. Phacelia Another plant with purply-blue flowers that bees adore, phacelia is very, very easy to grow. It readily self-seeds, and will grow all year round. It has ferny leaves, and unique flower heads. Once the plant has flowered, it dies off. Most of my current plants have finished, but a few slower ones are still in flower, and always covered in bees.
Picture
4. Buckwheat  - Last year I grew buckwheat as a cover crop and mulch; it self seeded and this year my popcorn patch is full of buckwheat. I was going to pull it all and lay it down as a mulch, but in looking closer I saw that the flowers were very popular with drone flies, hover flies, bees, dragon flies and native wasps, so I contented myself with thinning it a bit. Buckwheat is a useful green manure crop, growing from seed to flowering in as little as 4 weeks. The grain is gluten free. Frost-tender.
Picture
5. Nasturtiums - I have 4 different coloured nasturtiums in my garden - three are self-seeded trailing types from last year, in orange, yellow and apricot, and the fourth is called Empress of India, a vivid red-orange clumping type. All are very popular with the bees, especially bumblebees. Nasturtiums are good companion plants to a number of vegetables, and are edible. The flowers have a peppery taste, and really dress up a salad.
Picture
6. Birdsfoot trefoil - this one is actually a weed in my garden, but it's a useful one; a nitrogen fixing legume and soil improver. Bees love it!
Picture
7. Strawberries & Boysenberries - all berry flowers are attractive to honey bees and bumble bees; these two are the ones primarily flowering in my garden right now, along with Chilean Guavas and Blueberries. The raspberries and blackberries have mostly finished flowering for now.
Picture
8. Onion family - chives & leeks - the onion family plants produce large, pom-pom like flower heads. In my garden now chives have been blooming for a while, with their smaller purple flower heads, and the leeks are in full bloom. Bees and bumble bees are always busily working the flowers. Last year I let some of my spring onions flower too, and they were also very popular.
Picture
9. Miner's Lettuce - sometimes some of what seems to us to be the most nondescript flowers are among the most attractive to bees and beneficial insects! Such is the case with Miner's lettuce - a lovely, easy to grow wee plant which forms a clump of tender, tasty leaves, with tiny wee flowers on a stalk rising above the centre of the leaf. Bees seem to be very attracted to them!
Picture
10. Red & White Clovers - another legume and soil improver, clovers tend to spring up by themselves where the soil is low in nitrogen. I've got lots of them in the area where we spread lots of sawdust/horse manure last summer. In general, honey bees favour the white clovers, as their tongues are not long enough to reach into the deeper tubes of the red clovers. Bumble bees like both.
Picture
Also currently flowering in my garden:
Small quantities of lavender and rosemary (they are most prolific in winter and early spring - the bees LOVE them)
Geranimums
Impatiens
Lemon Verbena
White Alyssum (bees love this one too)
Roses
Peas & Beans
Eggplant
Zucchini, Squash and Pumpkins (great for bumblebees in particular)
Parsley, Dill and Silverbeet/chard - unshowy flowers, but very attractive to hoverflies, flower long horn beetles and other small beneficials.
Cucumbers, watermelons & melons
Cornflowers (pretty, edible, and so many colours!)
Pansies (also edible, pretty and wide in range)
Feijoa
Chamomile
Calendula (awesome for bees, ladybirds, edible, medicinal)
Marigolds - French and African (bees and ladybirds love them)
Corn Cockles
Dahlias (surprisingly easy to grow from seed, and you get a wide range of colours)
Sweet peas
Basil, NZ spinach
Zinnias
Coreopsis (red amulet)
Sanvitalia
Dandelion and it's look alikes
English daisies
Comfrey
and probably a few more I've forgotten!

The more variety available, the more attractive your garden will be to the pollinators and other beneficial insects, which do wonderful things for your garden.

Don't forget to provide them with water in the summer too - a shallow bowl filled with small stones and water will allow these small friends to land, drink, and safely depart.

Picture
Picture
Picture
0 Comments

Garden Nachos

6/1/2015

0 Comments

 
Picture
The days are hot here now, so to beat the heat, I headed outside at 6:30am to tackle waist-high weeds, clear ground and cut back a tree. By 11am it was too hot to be outside, so after tackling some indoor jobs and taking a short nap I was ready for lunch that was a bit "something more" than the usual fare of salads or eggs on toast. After all, it was 2pm, and I was starving! A quick look in the cupboards and I spotted some left over corn chips and a can of chickpeas. Inspiration! I LOVE having a garden....all I had to do was head outside with a bowl, pick up some goodies, get chopping and inventing, and voila! Garden nachos. Yum!

Picture
This recipe is not hard-and-fast - substitute to your heart's content! Today I used:
  • 1 can chickpeas, drained and rinsed
  • 6 approx very ripe and somewhat damaged tomatoes (I used up the split and blemished ones), diced
  • 3 stems chives, chopped
    Small handful parsley, chopped
  • small handful pizza thyme, stripped and chopped
  • 2 sprigs oregano, chopped
  • 1 onion, diced
  • 1 small garlic bulb, crushed and diced. I started by taking some cloves off a store-bought bulb. But it didn't have that wonderful garlic aroma of my freshly harvested bulbs, so I tossed it in the compost, and grabbed the smallest bulb from my bowl. Why settle for less than the best?
  • Salt to taste
  • 1 dsp Worcestershire sauce
  • Corn chips, grated cheese and sour cream for serving.

Method:
Melt 1-2 TBSP butter in a medium saucepan. Add onions and garlic, saute, stirring regularly, until onions begin to caramelize. Add tomatoes, and soften for a moment. Add chickpeas and other ingredients, plus half a cup of water*. Stir well. Cover, bring to the boil, then simmer uncovered for 15 mins, stirring from time to time.

Use a stick blender to partially blend mixture together. (Optional)

Serve on a bed of corn chips, sprinkle over grated cheese and top with a dollop of sour cream.
Yielded 3 nice servings.
Note: if using without the cheese and sour cream, the mixture could do with a little sweetening - perhaps a little honey or sugar when caramelizing the onions?

*Water may not be needed - if left out, simmer with pot covered. I added it to avoid the mix sticking to the bottom of the pot, as it seemed it might otherwise, but then cooked with lid off to evaporate excess moisture and thicken naturally.
Picture
0 Comments

Three Simple Steps To Help Build Luscious Soil

5/1/2015

1 Comment

 
I've discovered an incredibly easy, cheap and effective way to build wonderful, fluffy, dark, soft, luscious soil! I carried these steps out a month ago on the soil in one bed which was pretty average - dry, lumpy, hardish, fairly light in colour despite added compost etc (first pic). I've done this before in several of my other beds, and know the soil in a few months will be incredible - so soft and fluffy and rich (second pic)! Here are the steps:
1) Mow a patch of lawn, then carefully spread a thin layer of grass clippings over the soil of the bed, being careful not to have it up against the stems of any plants. These grass clippings will provide nitrogen, to feed the bacteria that are going to do all the work…..

2) Next I collected a couple of buckets of sheep manure (REAL sheep pellets ;-)) from my paddocks and sprinkled it over the grass clippings. Manure is optional – and you can use any sort – I’m using it to provide some extra nutrition to the plants in the bed, as well as some more nitrogen for those hungry bacteria…..(third pic)

3) Thirdly, and this is the really essential part – I added a nice layer of wood chip (that’s mulched whole tree – wood, bark AND leaves) to the bed, again not putting it up against the plant stems. (fourth pic) And it’s for THIS that the nitrogen is needed – the bacteria that break down woody materials and turn it into incredible soil consume nitrogen when doing so. By providing extra nitogen, I ensure they don’t need to rob it from the garden bed and thus the plants in there. When they’ve finished their job, they die, and release the nitrgen back into the soil. And leave behind that rich, fluffy, lovely soil!

And in the meantime, the manure adds nutrition for the plants, the woodchip acts as a mulch and holds in moisture and suppresses weeds, and the microorganisms in the bed do all the hard work – all I had to do was supply the raw materials.

And by the time this round of plants are harvested, the soil will be magnificent. It will also be easy to weed, as it will be loose and fluffy (I did mention fluffy, right? – it really is the most incredible texture!) and weeds will pull out with no effort at all.

The lawn clippings and manure cost me nothing but the effort to collect them. The woodchip costs me next-to-nothing – I trade some drinks for a truckload every now and then from local contractors. And, for improving your garden soil, woodchip is THE BOMB!

Try this in your garden – you’ll soon be fondling and admiring your magnificent soil too!

Picture
I've discovered an incredibly easy, cheap and effective way to build wonderful, fluffy, dark, soft, luscious soil, like that in my hand in this picture - so soft and fluffy and rich!


I carried these steps out a month ago on the soil in one bed which was pretty average - dry, lumpy, hardish, fairly light in colour despite added compost etc -  the before photo is below.......

Picture
Here are the 3 easy steps:
1) Mow a patch of lawn, then carefully spread a thin layer of grass clippings over the soil of the bed, being careful not to have it up against the stems of any plants. These grass clippings will provide nitrogen, to feed the bacteria that are going to do all the work…..

2) Next I collected a couple of buckets of sheep manure (REAL sheep pellets ;-)) from my paddocks and sprinkled it over the grass clippings. Manure is optional – and you can use any sort (commercial bagged sheep pellets work ok in a pinch) – I’m using it to provide some extra nutrition to the plants in the bed, as well as some more nitrogen for those hungry bacteria….
Picture
3) Thirdly, and this is the really essential part – I added a nice layer of wood chip (that’s mulched whole tree – wood, bark AND leaves) to the bed, again not putting it up against the plant stems. And it’s for THIS that the nitrogen is needed – the bacteria that break down woody materials and turn it into incredible soil consume nitrogen when doing so. By providing extra nitogen, I ensure they don’t need to rob it from the garden bed and thus the plants in there. When they’ve finished their job, they die, and release the nitrgen back into the soil. And leave behind that rich, fluffy, lovely soil!

And in the meantime, the manure adds nutrition for the plants, the woodchip acts as a mulch and holds in moisture and suppresses weeds, and the microorganisms in the bed do all the hard work – all I had to do was supply the raw materials.
Picture
Picture
And by the time this round of plants are harvested, the soil will be magnificent. It will also be easy to weed, as it will be loose and fluffy (I did mention fluffy, right? – it really is the most incredible texture!) and weeds will pull out with no effort at all. In fact, this photo to the left shows the soil just under a month later - already dramatically improved. Not only is it darker and richer, if I squeeze it in my fist, it will hold together in a clump, but if I then rub it lightly between my hands it immediately flakes into crumbles - the perfect soil structure!

The lawn clippings and manure cost me nothing but the effort to collect them. The woodchip costs me next-to-nothing – I trade some drinks for a truckload every now and then from local contractors. And, for improving your garden soil, woodchip is THE BOMB!

Try this in your garden – you’ll soon be fondling and admiring your magnificent soil too!

1 Comment

They're baaaaack! Early Signs of Tomato-Potato Psyllid Infestation

4/1/2015

7 Comments

 
This evening as I looked over my garden, I saw that my bed of tomato plants, which up until now have been looking robust, green and healthy, had one plant that has suddenly developed blight symptoms - yellowing and browning of lower leaves. This called for closer investigation. Is it just blight (a fungal infection), calling for removal of infected leaves, and treating with baking soda and milk, or is it something more insidious?
Last year in January, while weeding a lettuce patch, I glanced over at my potato patch and noticed a blight lesion on a single leaf. Upon further investigation, I discovered the beginnings of what was to be a dreadful infestation of Tomato-Potato Psyllid (TPP) which, despite spraying and other measures, rapidly spread throughout the spud crop, as well as devastating my several beds of tomato plants. This year, both hoping that it might be different, and expecting it wouldn't be, I have chosen to use micro-mesh crop covers on my potatoes, but also planted one bed of tomatoes, partly to see what would happen. Today I spotted the first signs of TPP infestation and infection. I took a few photos to share, so you will know what to look out for.

First, what is TPP? The adult is a 2-3mm long flying insect which was accidentally introduced to NZ in 2005 or 2006, probably by plant smugglers. It has since spread rapidly through out the country, destroying crops. It is easily wind-borne and overwinters on such plants as convolvulus, tamarillos and nightshade. The bugs don't stay still and can be very hard to spot - they become airborne as soon as you disturb the plant. They look much like a teeny cicada, with a white stripe on their backs.
Picture
A closer look showed the purpling of leaf veins, a classic sign that TPP have injected the plant with Liberibacter, a bacterium-like illness. In potatoes, it causes "psyllid yellows" - a yellowing of the leaves, eventual collapse of the plant, zebra-chipping of tubers, and often only marble-sized tubers if the infection happens early in the growth cycle. In tomatoes, you may see yellowing or purpling of the leaves, a tendency to have very small tomatoes which don't taste very nice, plant collapse, and in the case of both crops, a big increase in susceptibility to blight, aphids and anything else that can do wrong! Sick plants are weak plants - they cannot fight back.
Picture
Picture
The leaves shown above had no insects on them, so I kept searching the underside of leaves all over the plant. I found this leaf with some psyllid larvae/nymphs on it - circled in red. The two lower ones are slightly older - more yellow and larger. The top two are younger nymphs, still a translucent green in colour. There were also some eggs on the leaf margin - tiny yellow dots on thin stalk-threads, but far too small for my camera to show.
Picture
Tiny, huh? Easy to see why they're easily overlooked and many gardeners don't even realize this is why their plants aren't doing well. Here's another leaf I found which clearly shows several things - curling of the leaf margin, some larger nymphs (yellowish) and lots of opaque "psyllid sugars" - the excreta of the larvae.
Picture
Picture
The next two photos are from fellow gardener Amber Foster, who discovered she, too has psyllid this week, in her Auckland garden. In the first photo of the underside of a set of leaves, note the eggs on little stems around the leaf margin. You can also clearly see the psyllid nymphs on the leaf, and a couple of young adults are visible too, though a little out of focus.
And this one is what you're most likely to spot when you start looking under leaves - pale green, young psyllid nymphs.
Picture
Now you know what to look for, what are the treatment options? Well, there's not a lot of good new there, I'm afraid. Few, if any, sprays are effective against TPP, and even if they are, when the plant is already infected, eliminating the bugs won't change that, necessarily, though the potato industry claims plants can recover in three weeks if all pests are eliminated very early on. Mavrik (by Yates) is one non-organic spray for the home gardener that is supposed to work on TPP. Last year I used a combo of neem oil and pymethrum - it knocked the population right back each time I used it, but they soon reappeared. Koanga Institute sells a product to use against TPP which also includes diatomaceous earth. DE is a useful, natural product, but also harmful to beneficial insects.

On the positive side, by late in the season last year, my tomatoes were covered in ladybirds of several species and their larvae, along with lacewing larvae, all of which were munching on the TPP larvae. Too little, too late last year, but I do have some hope of being able to build the beneficial population enough to be a greater anti-TPP force earlier in the season, one day. Here's a pic of a lace-wing larvae ("aphid-lion") from my plant last year, with a psyllid in it's jaws.
Picture
In this next photo, again from my garden last summer, you can see one of the ladybirds, along with a ladybug larvae. The red arrow is pointing to a psyllid nymph.
Picture
By far the best option is physical barriers that prevent the psyllid getting to the plant in the first place. Lincoln University's Biological Husbandry Unit have been conducting trials with Wondermesh here, and sell it in various quantities. I'm using it over my potatoes this year - and so far, so good.
Picture
I have a feeling I may need to build a walk-in, mesh covered tomato cage to grow them in the future! As a bonus, or maybe just another good reason to use mesh, in clinical trials it was shown to substantially reduce or prevent blight on crops too!

FAQ's & Further Info

Since I posted this information on the NZ Vege Gardeners Facebook page I'm part of, there has been a number of questions and further discussion. I'll try to add the most pertinent parts here for further information.
What happened to your tomato plants last year? Did you still get tomatoes off them?
Once the tomato plants became infested with TPP in early January, deterioration was fairly rapid. At the time I first identified TPP, I had planted four beds with tomato plants. One bed had been in a while and had well developed plants of Silvery Fir Tree, Moneymaker and Cocktail, all covered in good sized but still green fruits. Two of the other beds were planted with Roma for bottling, and the fourth was half in Tiny Tims plus one each of Sweet 100 Russian Red, and the other half of the bed planted with Silverbeet/Rainbow Chard. The Tiny Tims, Sweet 100 and Russian Red all had fruits on them, but the Roma were just starting to flower.

Within a very short time of identifying TPP, all the plants got blight. In the case of one Roma bed, it was literally overnight - one day the plants were looking good, and the next they looked awful! I pulled that entire bed out right away.

Meanwhile, I wanted to persevere with the bed of Moneymakers etc, hoping to at least have the existing fruit ripen and be able to be used, and decided to keep on with the other two beds of tomatoes too. I sprayed them all with a combination of neem and pyrethrum weekly as recommended, removed blight affected leaves, and also sprayed with a milk solution for the blight. Really, it seemed to make little difference. In the end, I did get fruit off the Tiny Tim and Moneymaker bed plants, and a few from the Roma bed, but none of them tasted the same, and in hindsight it was mostly a waste of time and effort. Here are some photos - taken on 7th January, 12th February and 27th March 2014, of the bed with the Moneymakers, Cocktail and Silvery Fir Tree plants (you can see the young Romas in the bed behind in the Jan pic, looking good). You can see how the plants collapsed - in Jan they were healthy (pic taken the day before I identified TPP in my potato bed), by Feb, the Silvery Firs have collapsed and died, and the only healthy-ish green leaves remaining on most of the other plants were close to the top of the plant. By March they were pretty much in full collapse, held up only by the stakes so I could take off the remaining fruit.
Picture
Picture
Picture
Are there any varieties that are resistant to TPP?
Not yet! Selecting and breeding for TPP-resistance is really in the hands of the home gardeners. Why would big corporations bother, when they can make lots of money selling sprays to kill the bugs? Some of us growing tomatoes in high-TPP areas are looking out for plants that resist, or at least hang in there longer than the others, and saving seed from them, and growing from those the following year, to see if we can develop resistant strains. I had one Moneymaker plant that stayed strong for a bit longer than the others, and a Russian Red didn't do too badly. Even more interesting, I had one self-sown Tigerella come up in a dis-used chicken run, from tomatoes fed to the chickens the previous year. That plant got no attention from me, and didn't get either TPP or blight. I've saved seeds from it! Time will tell.....
What else can we do?
Do everything you can to encourage beneficial insects in your garden, as they may be the best means of controlling TPP - plant lots of flowers, allow some of your vegetables to flower and go to seed (bonus, you can save seeds for yourself!), provide a shallow dish of drinking water or a small pond, and have a corner of your garden which is allowed to be fairly "wild" - lots of vegetation and minimal interference from you; these kinds of areas harbour over-wintering ladybugs for example. Learn about the species that show up in your garden, and how to encourage them. Avoid using sprays (including natural ones) that are harmful to beneficials.

Consider ways to avoid the peak of the TPP season (warm summer months) by growing early crops if possible. However, that may not work in more southern areas, especially in less friendly spring seasons. I'm 2 hours north of Wellington - this season I sowed seeds of Sub Arctic Plenty, supposedly the world's earliest tomato at 50 days to fruiting, in the first week of August in the greenhouse, and as I write this in early January, the plants have fruits, but only the very first one has ripened on any of the plants.

Consider investing in micromesh to cover your crops - which in the case of tomatoes may take some modification of the way you usually stake or cage them.

Alternatively, grow your nightshade plants in a greenhouse where the temp reaches at least 35-37C for 2-3 hours most days - this will destroy psyllid eggs and prevent the crops from becoming infested. (See below update on infested plants this year)

The mesh seems really expensive - is it worth it?
Two years ago, it was very difficult for the NZ home gardener to get the micromesh at all, and what was available was about $17 per metre. Now that Lincoln's BHU is importing and selling it, prices are down quite a bit - it cost me $186 for 20 metres including courier (price will vary a bit by meterage ordered and where you are located) - which works out at $9.30/m all up for me. The fabric is 3.6m wide, so gives good coverage. Yes, still an investment, but on the plus side it will last 10 years, has shown evidence of keeping out blight as well as TPP, and will keep out most other flying pests too, so can also be used on other crops such as brassicas and carrots when not in use on your toms and spuds.
I live in a high-wind area. Will the mesh survive?
So do I! Winds of 120--150kmh for months of the year are common here. This is my first year using the mesh, but despite my somewhat haphazard way of weighing down the sides around my spud barrels with miscellaneous pieces of wood, the mesh hasn't even lifted off at all, and has had no damage - and this spring was basically one big blow! The mesh looks flimsy in the photos - makes you think of something like fine net curtains. But it's not like that at all - it's more like a fine version of the mesh used in flyscreen doors - lighter and somewhat more flexible, but strong.
So what are you planning to do about the infested plants this year?
Since the plants in my garden are different varieties than what I grew last year (Sub Arctic Plenty, Box Car Willie, a grafted tomato, and Gardener's Delight) I've decided to remove the worst affected plant, remove infested leaves from other plants, and wait and see what happens. The Sub Arctic Plenty have fruit on them that should ripen fairly soon. The others I don't really mind either way. It's all an experiment! Meanwhile, I do still have my 25 plants in buckets in the greenhouse, which are currently ripening, so will get some toms this year (they now have blight, but no TPP so far). If any of those in the garden show resistance, I will, of course, save seed from them.

Update: While my garden was infested with TPP that season, including chilli plants and kumara right outside the greenhouse, my 25 tomato plants inside the greenhouse were untouched, DESPITE THE UNSCREENED DOORS AND WINDOWS BEING OPEN ALL SUMMER! It turns out that temps of 35-37C for 2-3 hours a day will severely knock back or even destroy psyllid eggs, and so they were never able to establish themselves on those plants since my greenhouse got at least that hot more days than not.

What's the plan for next year at this stage?
Next season I have decided to grow continuously sown Tiny Tims under mesh (they don't need pruning or staking, and produce well, only growing 30ish cm high), and also some Sub Arctic Plenty under mesh, using wooden X-frames to support them off the ground (I don't know the proper name, but can see the design in my mind's eye, from an old fashioned book I have somewhere....). At the same time, I will grow some of whatever seems the most resistant plants in the open, uncovered, to see what happens.

Meanwhile, of course, I will continue to encourage beneficial populations, reduced convolulus and nightshade weeds as much as possible, and look out for new ideas and information.

Update: I ended up growing tomatoes and potatoes deliberately only in the greenhouse in the 2015/2016 summer (because I knew the temps would protect them from TPP - see above). There were some self-sown specimens of each in the garden, however, that I left to grow to see what would happen. For some reason, though, we had NO TPP that season here, despite heavy infestation the previous 3 seasons! Other local gardeners noticed a great reduction in populations too, though most still did have the bugs, though later in the season than usual. Why? I don't really know - but I'm putting it down to a much colder and longer than usual spring, and not very warm summer. Which was not good news for those of us wanting to grow pumpkins and other long-growing warmth lovers, but from a TPP point of view, it was great! Or maybe we've all become more diligent about removing winter hosts such as nightshade and convolvulus weeds. Or something. Either way, it was good; will be interesting to see what happens in the summer of 2016/2017!

7 Comments

    Author

    This page is my blog formerly known as Kiwi Urban Homestead.

    I'm a Kiwi homeschooling mother of 5 living in a small town. After growing 1000 kg of produce in my back yard in 2013, I'm now expanding my edible gardens even further.

    Archives

    February 2016
    December 2015
    October 2015
    September 2015
    June 2015
    May 2015
    April 2015
    March 2015
    February 2015
    January 2015
    December 2014
    November 2014
    October 2014
    September 2014
    August 2014
    April 2014
    February 2014
    December 2013
    November 2013
    October 2013
    September 2013
    August 2013
    July 2013
    June 2013
    May 2013
    April 2013
    March 2013
    February 2013
    January 2013
    December 2012

    Categories

    All
    Bees
    Butchering
    Chickens
    Compost
    Corn
    Diy Projects
    Events
    Everything Else
    Firewood
    Freebies
    Frugal Fortnight
    Garden Diary
    Getting Started
    Greenhouse
    Harvest
    Harvest Totals
    Health
    Herbs
    Home Made Cleaners
    Homesteading Skills
    Jungle Taming
    Livestock
    Media
    Monthly Garden Pics
    Moon Planting
    Musings
    Pests And Diseases
    Planting
    Preserving The Harvest
    Recipes
    Salads
    Soil Improvement
    Specific Crops
    Tomatoes
    Weekly Round Up
    Worms
    Yates Vegie Challenge
    Zucchini

    RSS Feed

Powered by Create your own unique website with customizable templates.