Thrifty Kiwi
Like our Facebook page
  • Home
  • Blog
  • Homesteading
  • Gardening
    • 2025 Garden
    • 2021 Garden Blog
    • 2019-2020 Garden Blog
    • 2017-2018 Garden Blog
    • 2016-2017 Garden Blog
    • Kiwi Urban Homestead 2013-2015 Garden Blog
    • Pest & Diseases
  • Recipes
    • Autoimmune Protocol
    • Meals and Snacks
    • Preserving
    • Household Cleaners
    • Health & Beauty
  • Skills
    • Menu Planning & Grocery Shopping
    • Money & Budgeting
    • Preserving How-Tos
    • Housekeeping
    • DIY
    • How to Find Stuff Free or Cheap
  • Animals
    • Critter Blog
  • About
  • Contact

Jungle Taming Days 2 & 3: Main Path & Swing Seat Areas

24/3/2015

0 Comments

 
I'm on a mission to get my neglected garden back under control by the end of the month!

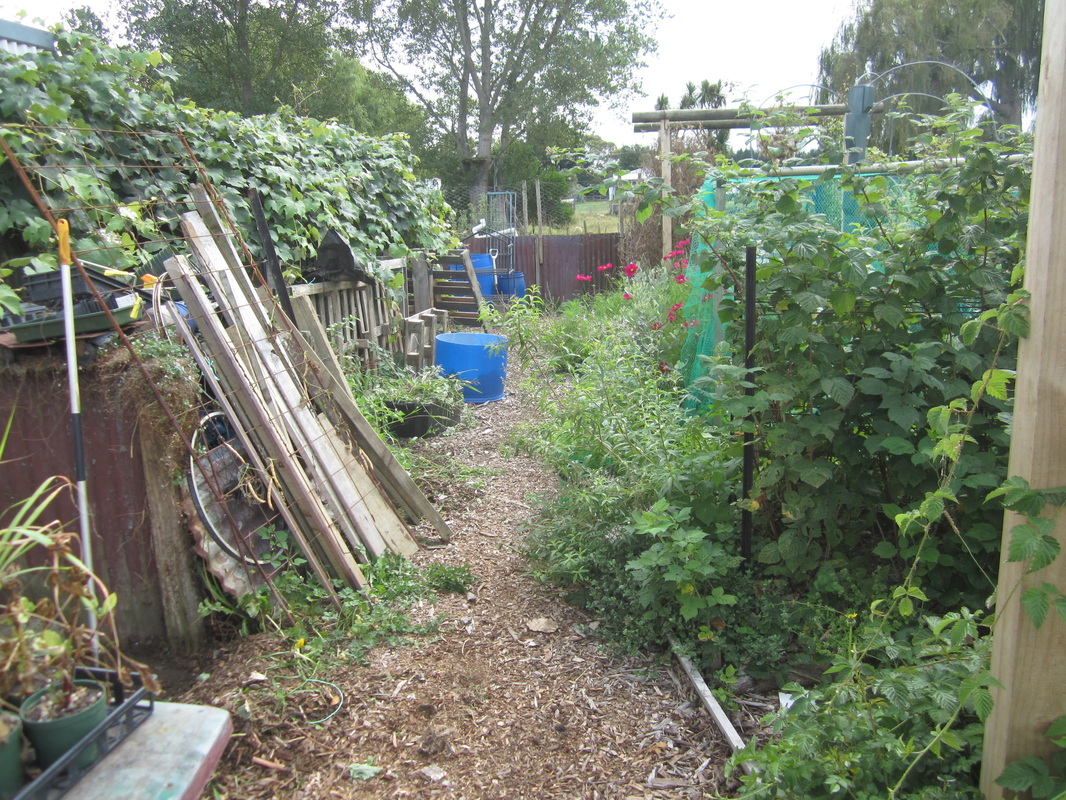
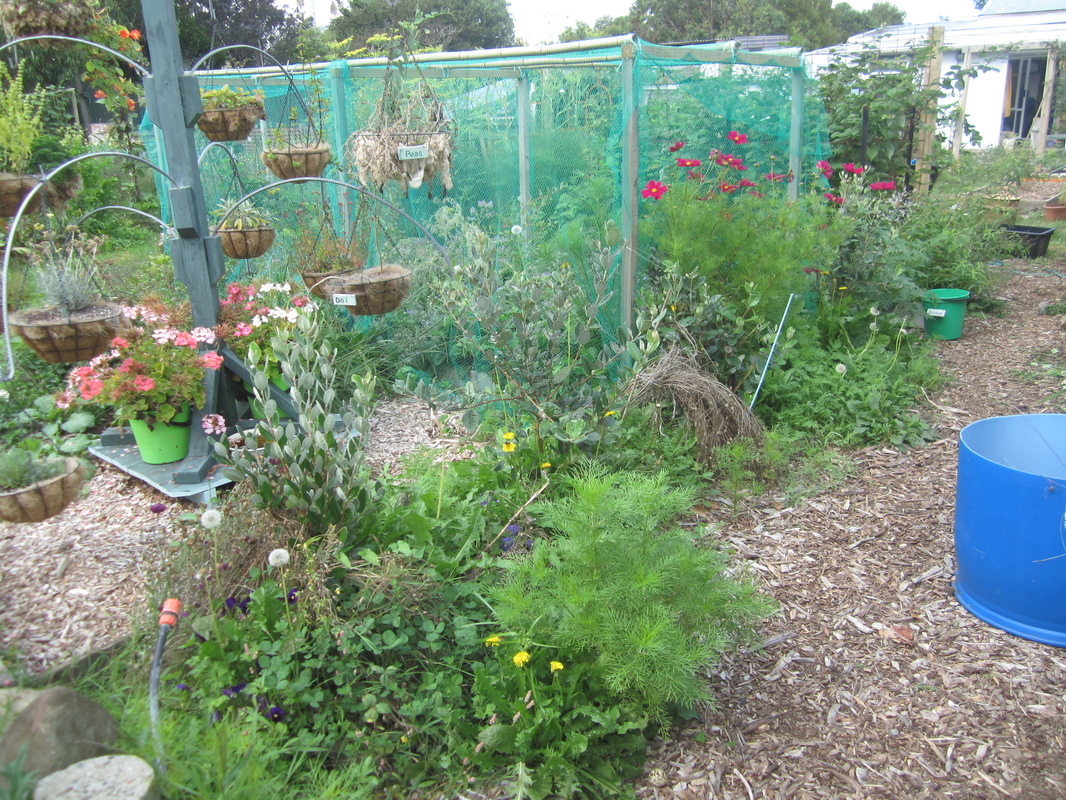
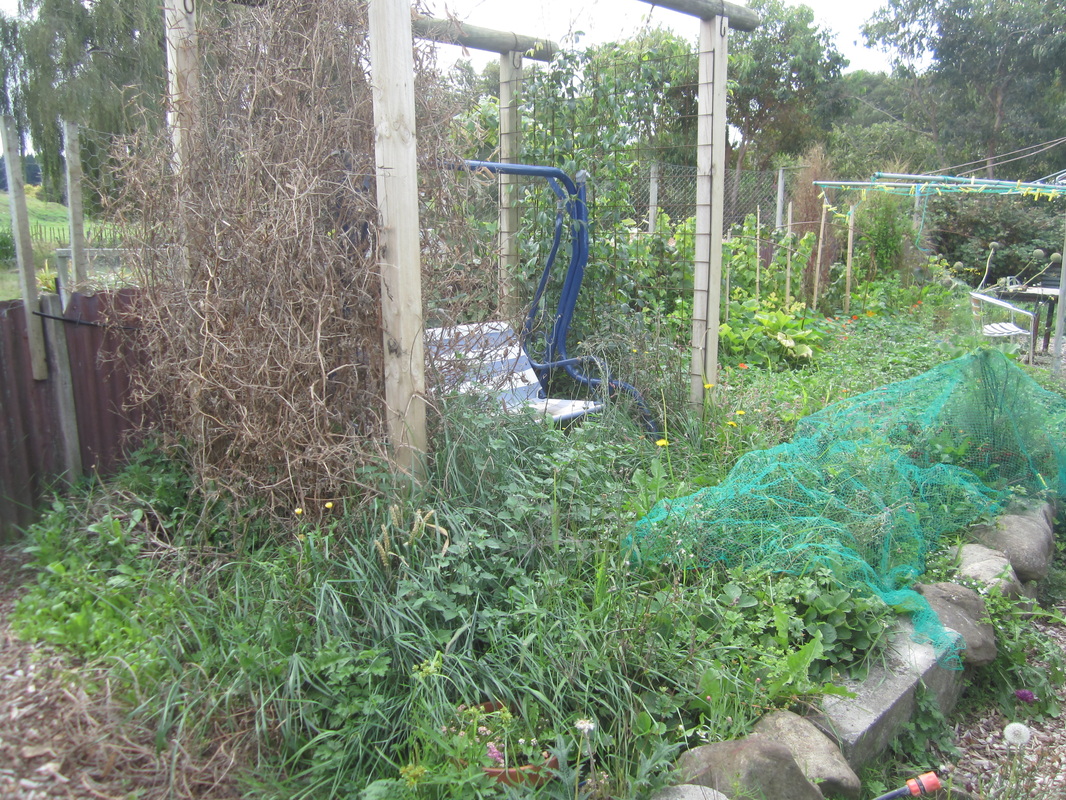
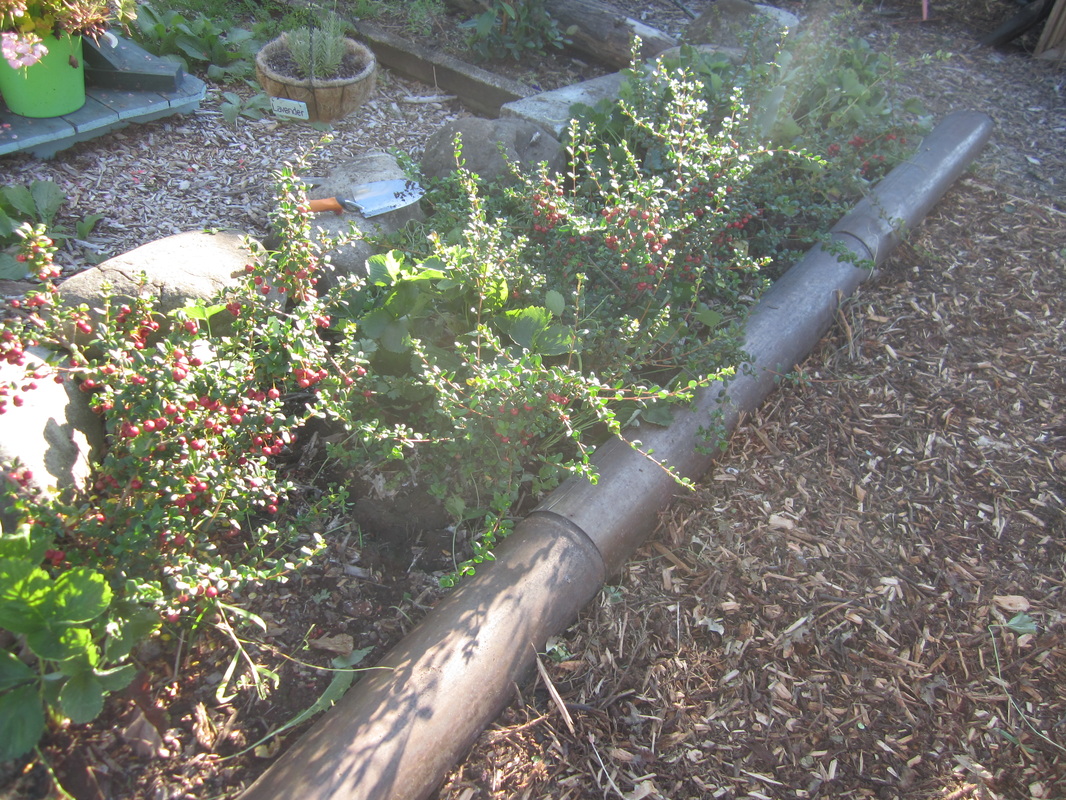
Running down one side of my garden is a main pathway that acts as thoroughfare from the house to the back paddock and chicken run. On one side is my garden sink, the grapevine and compost bins, and on the other the ends of my berry patches, a narrow bed of feijoas and flowers, and finally by the back gate a raised area where my swing seat is under a trellis. Like the rest of my wanna-be jungle, these have been getting very overgrown! Here are three "before" pics:
Picture
Picture
Picture
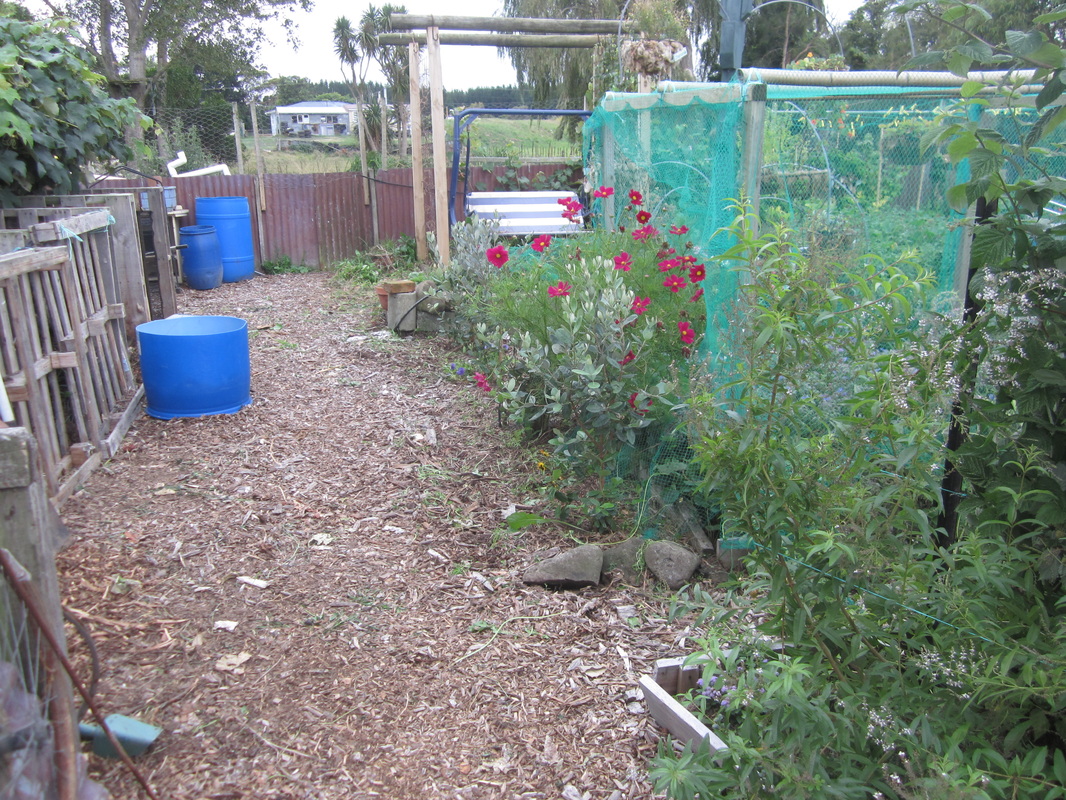
Phew! Where to start? Well, I started by cutting down about 4 metres of grapevine which had grown along the side of the building, smothering my sink area (not pictured) and trying to get in through a bedroom window. I pulled out weeds, got rid of junk, and cleaned out the sink. I also cleared off a table which was covered in old pots and other junk. And then I started on the pathway area. There was a ton of weeds in a spot to the left just before the grapevine - after clearing that out I laid cardboard and mulched with bark, then put down a pallet and stacked trellis, timber and other garden construction materials there out of the way. I trimmed back the grapevine so the compost bins could be more readily accessed, and it wasn't in danger of entangling me by my hair every time I walked around the far end to my greenhouse! And I pulled weeds all along the pathway, and in the narrow bed of feijoas, leaving one self-seeded cosmos that's well into flowering and looks pretty.
Picture
Picture
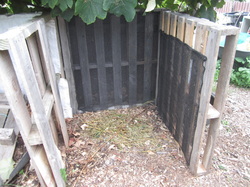
I built a fourth compost bin at the end of the line of bins, ready to be filled shortly. The woven weed mat stapled to the inside of the pallets stops materials falling through the gaps. The pallets are simply wired or nailed together in the corners.

Picture
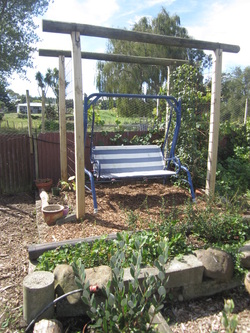
Then I started on the swing seat area, ripping down all the spent sweet pea vines (saving some seed pods in a container), tearing up the horrid couch grass and all it's runners, weeding out the Chilean Guava bed, and the beds around three sides of the swing seat area. I laid newspaper as weed suppressor around the Impatiens in the rear bed, and covered with aged wood chip. I laid cardboard on the ground under the swing seat and covered with fresh wood chip.

The Chilean Guavas (aka NZ Cranberry) bushes are just over a year old, and were laden with yummy ripe fruit, which I picked and am using to make jelly. They are delicious and incredibly fragrant! The kids love them.
Picture
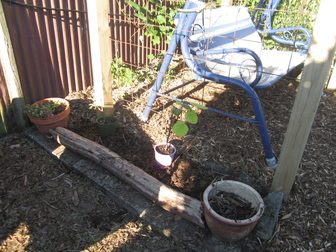
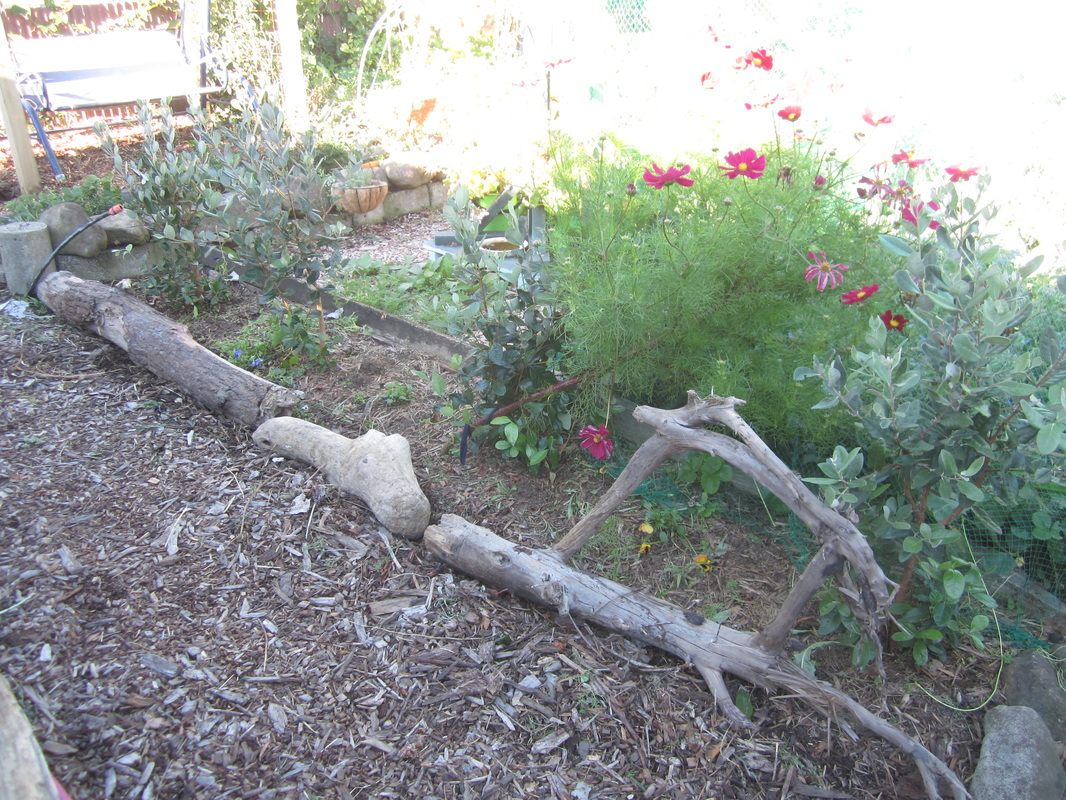
I made a quick trip to the beach for a few pieces of driftwood - I used a piece, along with two pots, to create a higher edge for this bed, to which I added some homemade compost. One pot has alyssum in it, the other will be planted with petunias. I have male and female kiwifruit vines I will plant on the trellis as soon as they harden off.
Picture
Picture
And I used some more pieces of driftwood to make a more defined edge to the bed beside the path - since I barked the path, visitors often mistakenly walk on the bed. I have some violas I'm going to plant in this bed for winter, after I do some fine weeding, and add some compost and aged bark, but that's a job for another day.
Picture
A couple of things I have since added to this area:
Two low-profile tyres at the end of the compost bins, planted with wormwood. The wormwood will get trimmed periodically and the leaves sprinkled around the hen house and in their nests to repel mites.

Being located close to the back gate will make them handy to pick and take to the chook house.
Picture
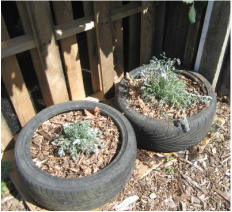
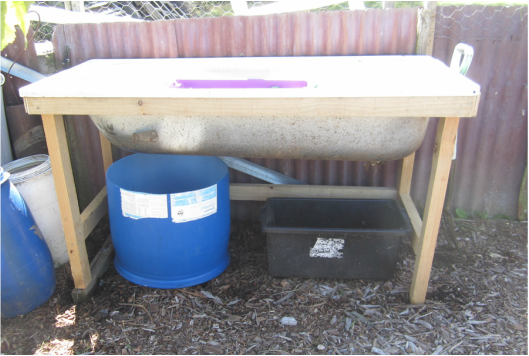
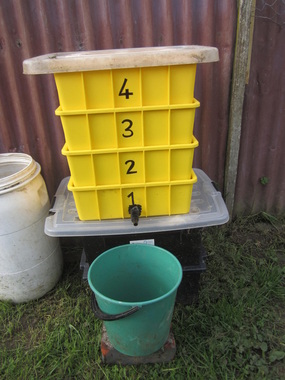
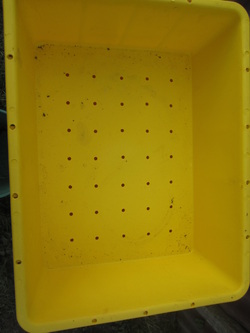
My new worm farm - made from an old bath mounted on a stand my husband put together for me. I'll be adding an insert inside before filling with manure and adding worms (more on this in another post). A bin under the drain hole will catch the worm tea for use in my garden. Yay! :-)
Picture
0 Comments

DIY Worm Farm (cheap!)

25/10/2013

5 Comments

 
The four major ways I build my soil by adding nutrient rich materials are: composting, worm farming, manure "teas" and mulching. Being short of dollars, I like to make things myself as cheaply as possible. Here I will show you a worm farm I made recently for less than $30. Worm farm bins sell for between $50 and $130
Picture
This particular set up is excellent because not only does it provide wonderful worm "tea", a happy home for the worms and rich vermicast for the garden, it has the added bonus of providing a bin full of vermicast minus worms without the usual tedious process of spreading the vermicast in the sun, scraping off a layer, and repeating as the worms move away from the light. That process is all taken care of in the proper running of the worm farm, as you shall see.

Materials:
  • Four stacking bins - these bins need to stack in such a way that the bottom of one bin will sit just on the surface of material in the bin below when it is full. I purchased these four bins, which were on special at Hammer Hardware this month for $5.99 each. You can also find them at the Warehouse, or use larger black bins from the Warehouse for about $8 each.
  • A small piece of hose, or a plastic tap fitting (optional). Either will work - inserted into a hole you make in the bottom bin to drain off liquid into a container. The plastic tap cost $4.75

Picture
Method:
  • Number the bins 1,2,3,4 (optional)
  • In bin 1 (bottom bin), drill a hole near the bottom of one side, and insert hose or tap to act as drain. Do not put any other holes in this bin.
  • In the bottom of bins 2, 3 and 4, drill a large number of holes. These holes should be slightly larger than the diameter of a large tiger worm - we used a 7mm drill bit because that was what was handy.
  • Stack the bins one on top of the other, and stand on some bricks or similar to elevate it enough to place a container under the drain.

Picture
How to use the bin:
  • You start using the worm farm one bin at a time. Begin with Bin 2. Place some suitable bedding material in the bottom of the bin - finely shredded newspaper, old hay or straw or even a small amount of soil.
  • Add about a cup full of tiger worms to get started. Ask a friend with worms to donate you some, or they can be purchased. Do not use ordinary earthworms - they are not suited to worm farms.
  • Feed your worms regularly - little and often. They do not like citrus or onions, and meat or dairy is not recommended as it will attract dogs, cats and rodents, who will destroy your worm farm. Otherwise pretty much anything that was once alive can go into your worm farm - grass clippings and manure are excellent. I also add tea bags, vege peelings (I often whizz these first with a little water in my food processor - the worms can use it faster this way), finely crushed egg shells, shredded paper and so forth.
  • Place a layer of paper, cardboard, sacking or carpet on top of the bin in use, to keep it moist and dark, just how worms like it.
  • You can cover the whole bin, but there is really no need - the empty top bins will act as lids for now, the worms cannot drown so long as the drain is open. I place an old brick in the top bin to keep them all anchored down in the wind. However, if heavy rain is likely, I usually do cover the bins with a plastic lid.
  • Once Bin 2 is full, start adding food to Bin 3 only. The worms in Bin 2 will slowly work their way up into Bin 3 all by themselves.
  • Continue until Bin 3 is full, and then begin the process with Bin 4. At this time, take Bin 2 out of the pile, and it place it right on top, uncovered, so it is getting sun shining into the bin. Any remaining worms will migrate down into Bin 4 away from the light and towards the food, and then you will be left with a lovely, clean bin full of vermicast!

Remember:
Avoid releasing tiger worms into your vege garden. They will not do well there, as they like to be in close confines for breeding. Also, one commercial worm farmer told me they will eat the roots of your veges, as they are voracious eaters and always looking for fresh organic material.

Ensure your worm bin does not get too hot or too cold, too dry or too wet. Contents should be moist but not sopping - if too wet, check drainage and add more dry bedding - newspapers, straw etc. If too dry, wet it down. I position my worm farm in a warm, sunny spot in winter, and a shady spot in summer. Worms like it warm but not hot, and don't like too much light. Beware black bins in the summer sun - you don't want to cook your worms!

Don't add more food than they can consume - start slow, and as numbers build up (which happens rapidly!) feed more. I check the bin a couple of times a week, and add more food when what was there is mostly gone. They will also slow down in the cooler months, so feed less then.

I have had zero problems with worms escaping or drowning in the bottom bin, unlike with a regular purchased worm bin set up (I have one of those too, leant to me to get started last year). I think it is because if a worm sticks it's head down through the holes in the bottom worm bin, it encounters nothing but air, and so doesn't bother to crawl downwards. With the regular bins, there is a hole-filled tray that sits between the worm bin and the water-catchment bin, and worms were forever crawling between the two and then falling into the water. Plus the liquid is not sitting in the bottom bin, but draining off, so there is no food/manure-smelling liquid to attract them downwards. At least that is my experience with it so far.
Picture
Please note: I cannot claim credit for the design of this brilliant worm bin system - I saw the idea in a book I LOVE called Green Urban Living by Kiwi author and gardener Janet Luke.

5 Comments

    Author

    This page is my blog formerly known as Kiwi Urban Homestead.

    I'm a Kiwi homeschooling mother of 5 living in a small town. After growing 1000 kg of produce in my back yard in 2013, I'm now expanding my edible gardens even further.

    Archives

    February 2016
    December 2015
    October 2015
    September 2015
    June 2015
    May 2015
    April 2015
    March 2015
    February 2015
    January 2015
    December 2014
    November 2014
    October 2014
    September 2014
    August 2014
    April 2014
    February 2014
    December 2013
    November 2013
    October 2013
    September 2013
    August 2013
    July 2013
    June 2013
    May 2013
    April 2013
    March 2013
    February 2013
    January 2013
    December 2012

    Categories

    All
    Bees
    Butchering
    Chickens
    Compost
    Corn
    Diy Projects
    Events
    Everything Else
    Firewood
    Freebies
    Frugal Fortnight
    Garden Diary
    Getting Started
    Greenhouse
    Harvest
    Harvest Totals
    Health
    Herbs
    Home Made Cleaners
    Homesteading Skills
    Jungle Taming
    Livestock
    Media
    Monthly Garden Pics
    Moon Planting
    Musings
    Pests And Diseases
    Planting
    Preserving The Harvest
    Recipes
    Salads
    Soil Improvement
    Specific Crops
    Tomatoes
    Weekly Round Up
    Worms
    Yates Vegie Challenge
    Zucchini

    RSS Feed

Powered by Create your own unique website with customizable templates.