Thrifty Kiwi
Like our Facebook page
  • Home
  • Blog
  • Homesteading
  • Gardening
    • 2021 Garden Blog
    • 2019-2020 Garden Blog
    • 2017-2018 Garden Blog
    • 2016-2017 Garden Blog
    • Kiwi Urban Homestead 2013-2015 Garden Blog
    • Pest & Diseases
  • Recipes
    • Autoimmune Protocol
    • Meals and Snacks
    • Preserving
    • Household Cleaners
    • Health & Beauty
  • Skills
    • Menu Planning & Grocery Shopping
    • Money & Budgeting
    • Preserving How-Tos
    • Housekeeping
    • DIY
    • How to Find Stuff Free or Cheap
  • Animals
    • Critter Blog
  • About
  • Contact

Jungle Taming Days 4 & 5: My Main Vege Beds

25/3/2015

0 Comments

 
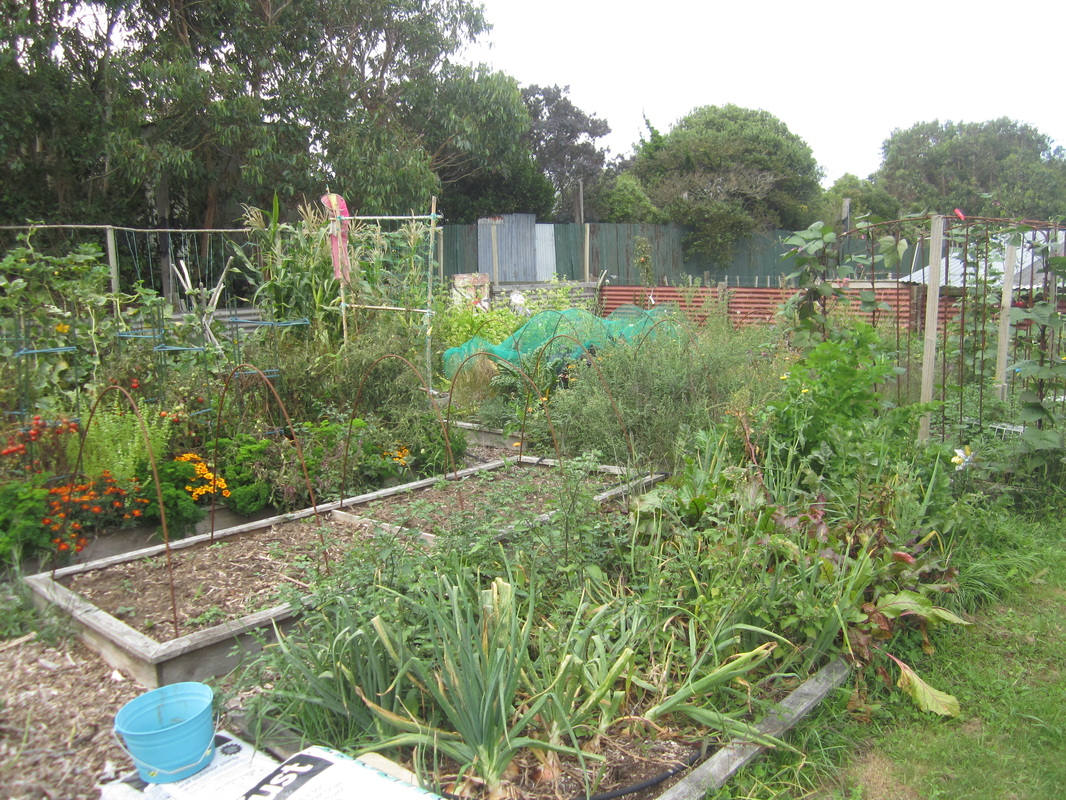
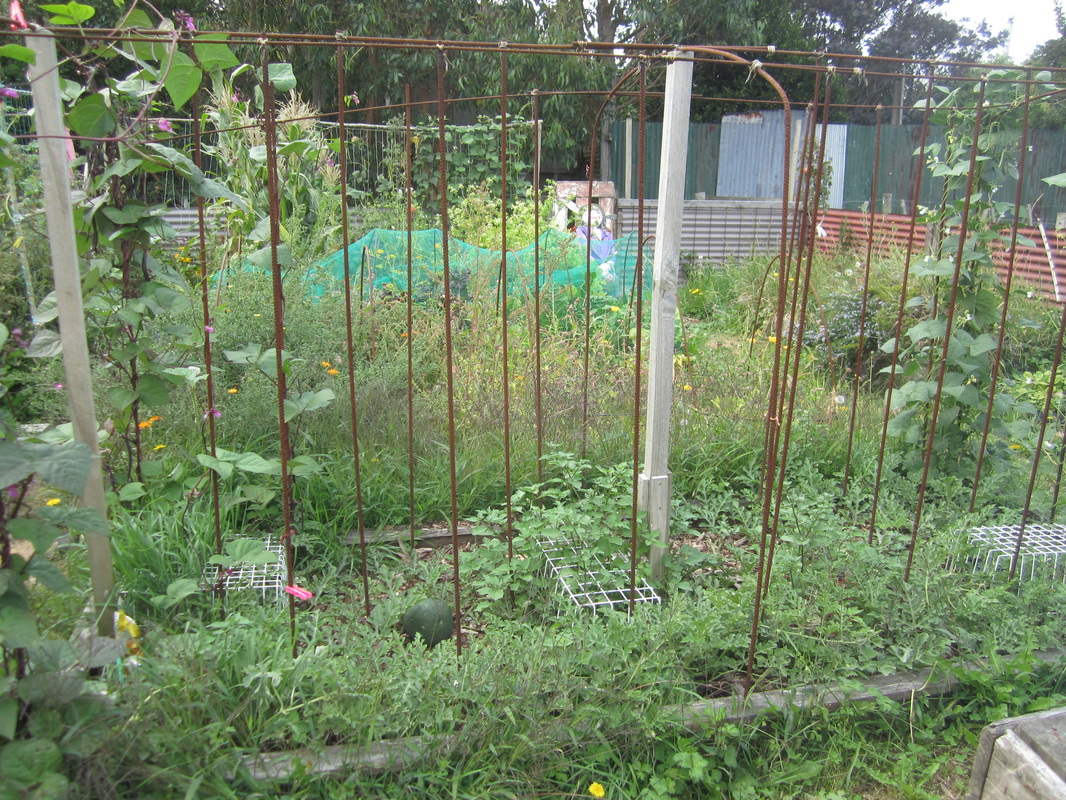
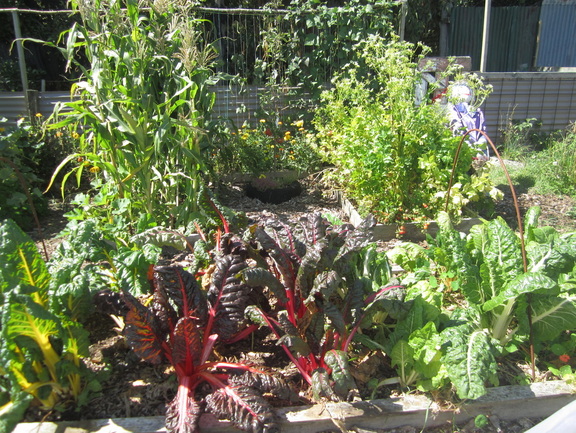
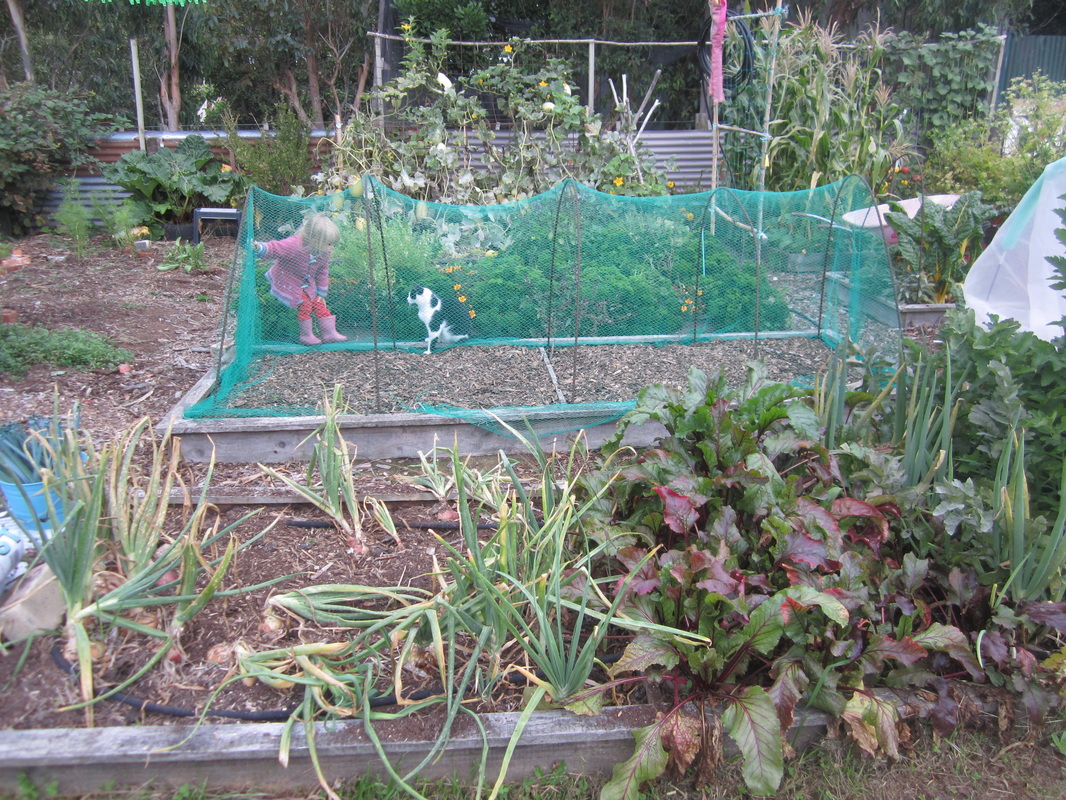
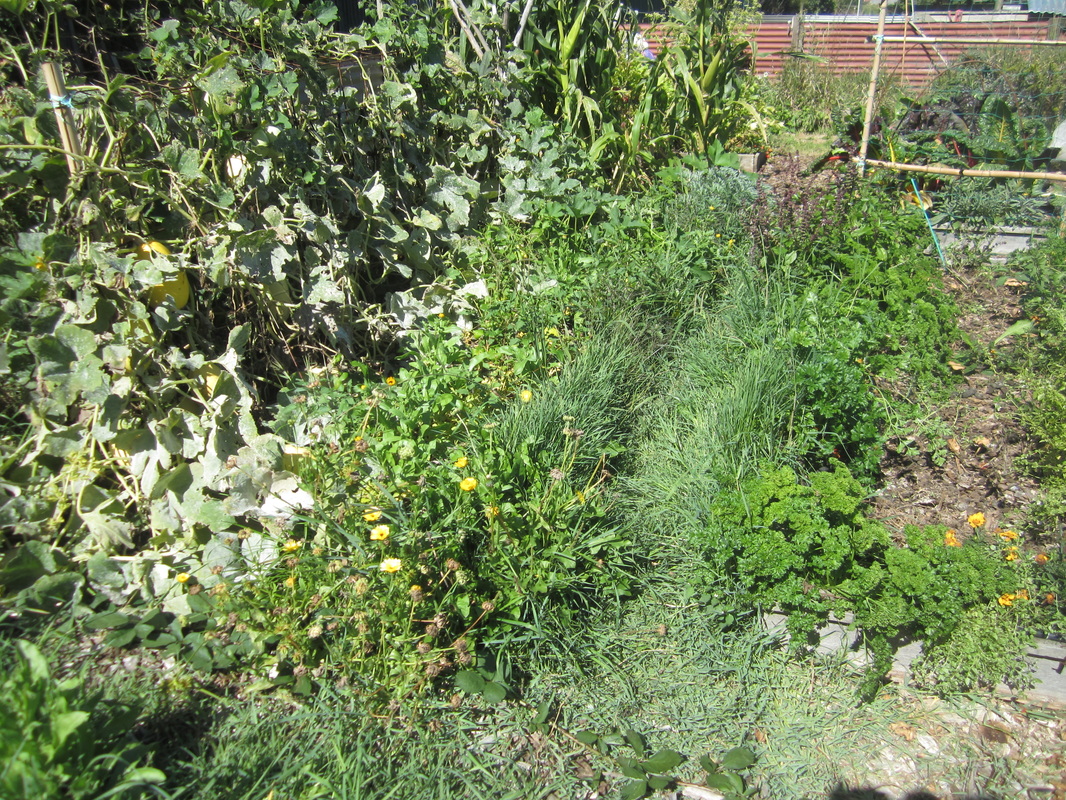
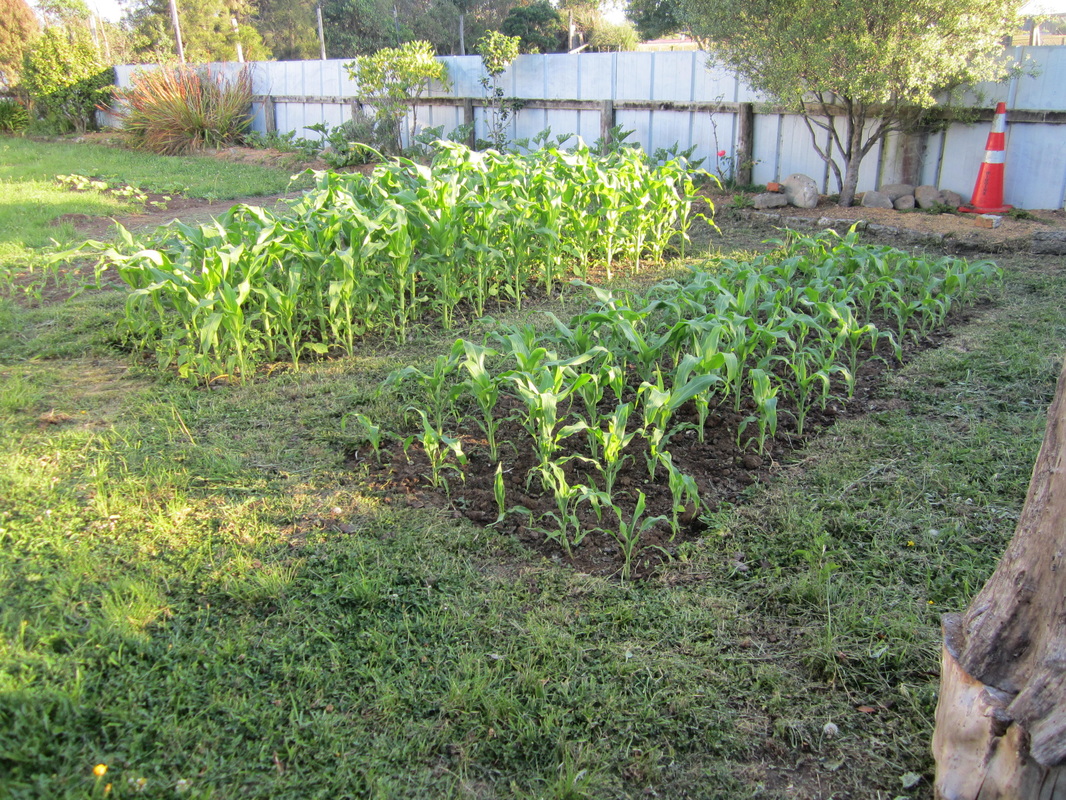
Those who have been reading my blog for a while will know that I refer the the eight 3.25 x 1.25m wooden edged raised beds I rotate vegetable crops in as my "main vege beds." Well, actually it's 9 beds now - one of those 8 got replace by two 1x2m beds. Anyway, like the rest of the garden, they have gotten somewhat overgrown and neglected over the last couple of months. So, time to pull out weeds and spent plants, and start prepping them for winter crops. The following three "before" photos show first off all the whole area, then a photo of each set of 4 or 5 beds, taken from one end. I've got some work to do!
Picture
Picture
Picture
I decided to tackle the beds two at a time, with breaks between, over two days.
Picture
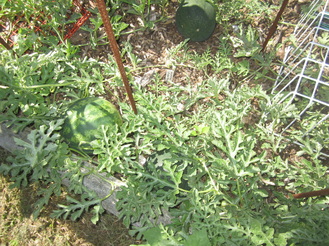
First, I weeded the watermelon bed, which has some nice watermelons of two varieties (Sugar Baby and Crimson Sweet) ripening in it, and green and purple beans growing up the corner posts. Shortly after I planted the seedlings, I was having so many problems with birds digging in the bark and around the roots of the plants, that I inverted freezer baskets around each to protect them until thy were established. Well, the vines grew right through them, and I left it too late to remove them. This made weeding a bit more challenging, but I did it.

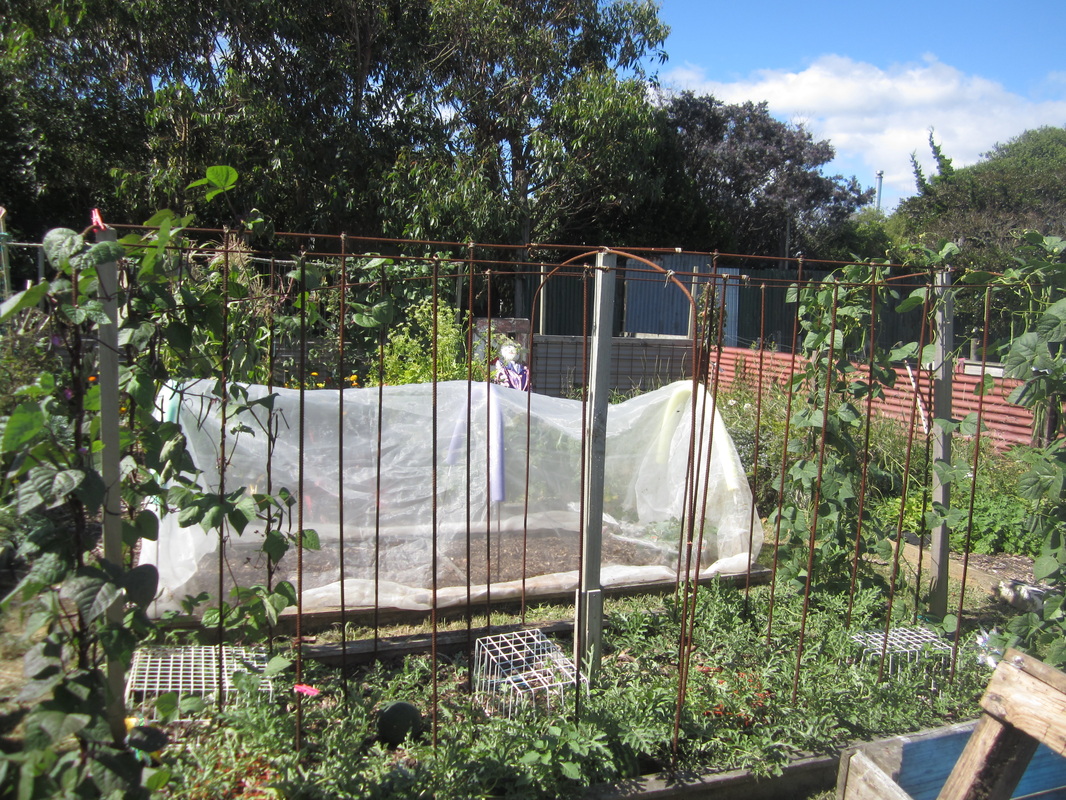
Then I began clearing the massively overgrown bed next to it. This one had dwarf beans growing in it, which where now dry, so I pulled up a large bin of those, and put them in the shed to dry some more before I shell them for seed. After clearing all the weeds, I added a large load of home made compost to the bed, sprinkled with some soft lime, and topped it with well-rotted wood chip. I decided to put some winter brassicas in the bed; to prevent white butterfly from decimating them, I am covering the bed in micromesh, and to prevent the steel hoops from damaging the micromesh when we get our usual gales, I first slid some aqua noodles over the steel rods for protection. I've out the punnets of broccoli, celery and cabbage under the net to harden off, but won't plant them out for a while yet.
Picture
Next, I removed the bird netting from the silverbeet patch and weeded it, removing gone-to-seed radish plants, and not-so-good outer leaves from the silverbeet. Another bed is full of celery, with some Tiny Tim tomatoes at one end. Some of the celery is going to seed; I removed a few plants, and staked up the biggest one so it can produce seed for next season. The bed was weeded and tidied up. Next to it is a bed of white sweetcorn, underplanted with a couple of buttercup squash. I pulled out the dried seed stalks of the Corn Cockle flowers that were there, and put aside to save seed from (they sound really cool when you shake them, as they rattle, and look good enough for an artistic indoor arrangement). I weeded that bed too, and the barked area between them that had gotten really weedy. I also weeded the narrow bed against the fence behind them, which has beans growing up a trellis.
Picture
Picture
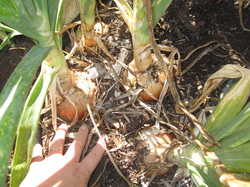
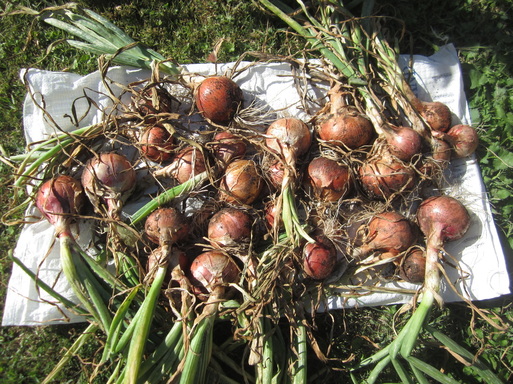
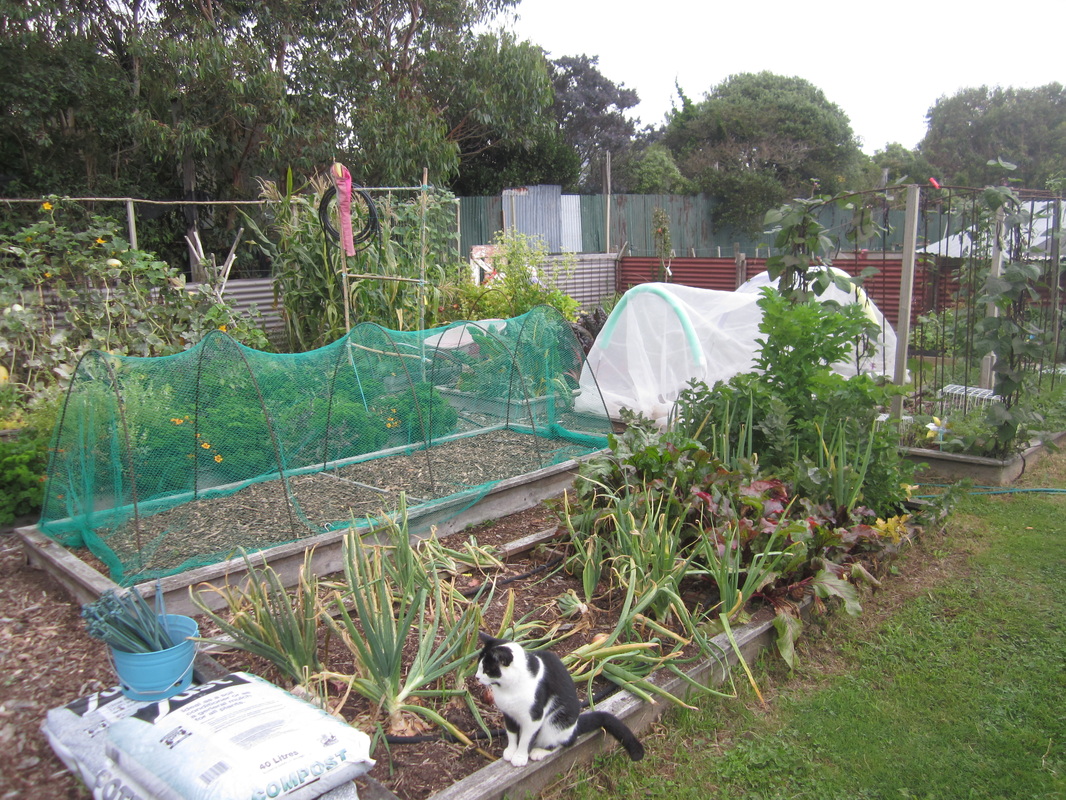
The following day, I started by weeding the bed containing onions, beetroot, spring onions and parsnips. One of the parsnips right at the end is going to seed - I will let it do so and collect the seeds, as it's a big, strong plant and parsnip seed must be very fresh for successful germination. I also started harvesting some of the onions. This is my first proper attempt to grow onions, and I'm pleasantly surprised by the results. Some of them are going to be bigger than the palm of my hand!  I need to harvest and bottle all the beetroot - on my to-do list for next week!

Picture
The next bed over formerly contained garlic and shallots. It was rough-weeded recently, so now it got a fine weeding, added compost and aged wood-chip, and was sown in 3 varieties of beetroot, three rows each, and a couple of rows of parsnips. I've planted some Detroit Red beetroot, which always do well for me, some Easy-slice long style beetroot, and some multi-coloured red and white ones, just for fun. I covered the bed in bird netting, to prevent the blackbirds digging up the seeds, as they are always attracted to newly mulched beds.
Picture
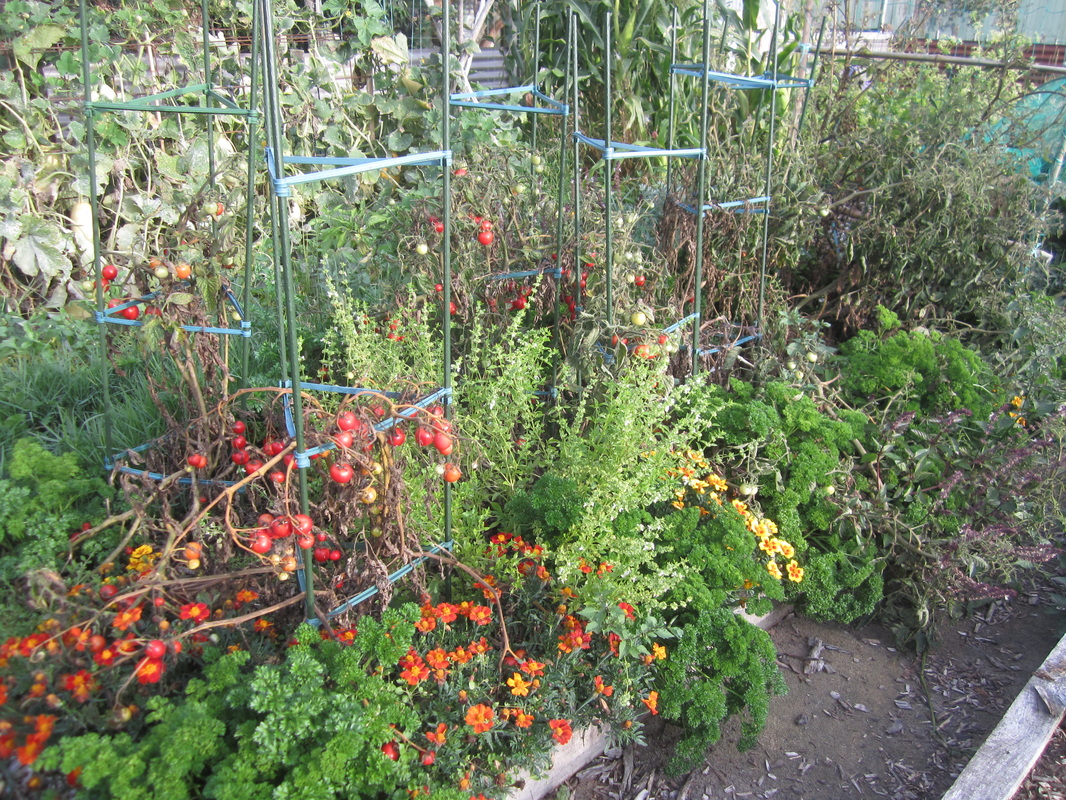
Next up was the tomato bed, also planted with parsley, basil and marigolds. The tomatoes have been devastated by psyllid. I picked a roasting dish full of ripe tomatoes off them, but when I tried them they tasted pretty awful, so they went to the chickens. I pull the tomato plants and removed their cages, and weeded the bed. The cinnamon basil smells SO good! Here is a photo from before I pulled the tomato plants:
Picture
The final bed contains spaghetti squash, Golden Midget water melons, peppers, eggplant and a couple of cucumbers. It just needed a bit of weeding. Harder work was the path between the beds - it had completely overgrown with couch and other stubborn weeds. I ended up digging out the lot, removing all runners etc, then laying cardboard and fresh bark. Here's the before photo for that section:
Picture
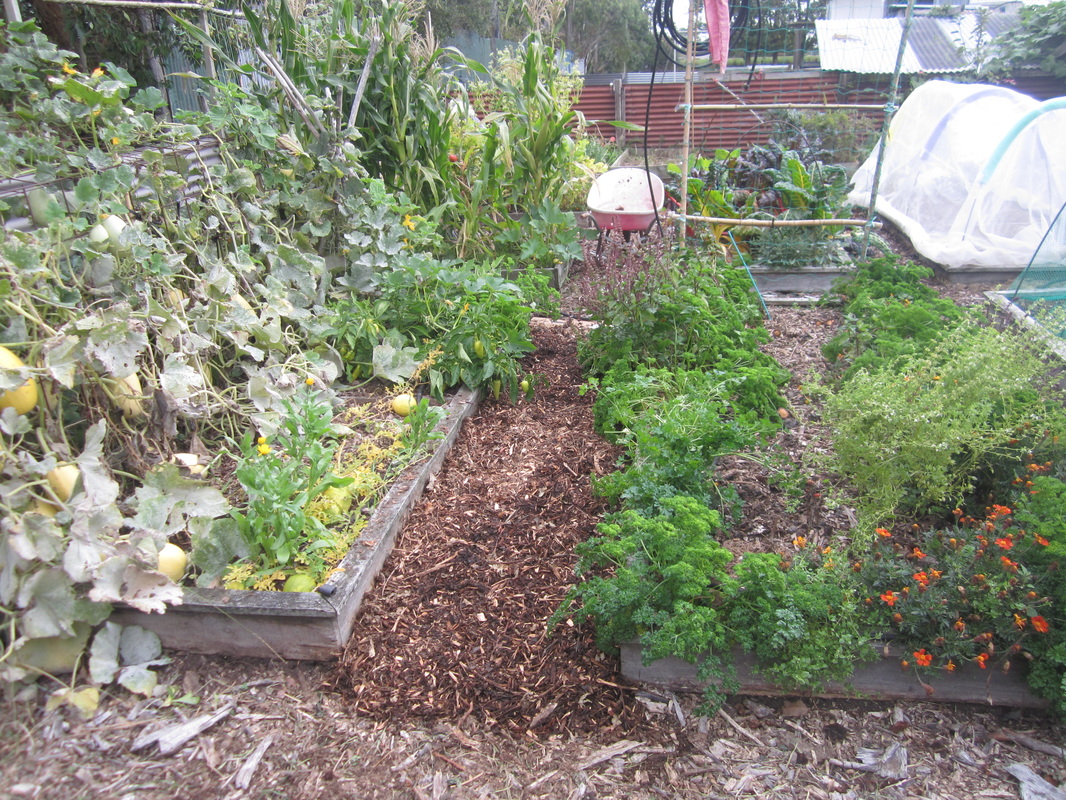
And below is the after shot of the two beds and path. :-) I think I'm going to use the tomato cages in a different configuration and sow broad beans in the middle of what was the tomato bed. But no hurry on that - if I sow them too soon they'll get enormously tall by spring and suffer wind damage. I'll probably wait until June. The spaghetti squash are at the end of their life span and will be ready to harvest soon, and the watermelon are close to picking too, as well as the peppers.
Picture
Phew! It feels like I'm making some progress taming this jungle!
Picture
0 Comments

Growing Sweetcorn

15/3/2013

0 Comments

 
I don't recall ever growing corn before, so this crop has been a learning curve for me.
Picture
In late December, my husband and I dug up 3 blocks of dirt in the front yard for corn. I had been given several packets of F1 Hybrid sweetcorn by a friend. We added sheep manure, woodash, and compost to the beds. The soil was very dry, hard, and looked very low in organic matter. It was a patch of the garden that used to flood every winter when we first moved here, before we improved the drainage. I doubt it had ever been given any soil improvement measures.

When I started doing this, I hadn't given any thought to planting by the
moon, so it wasn't until later that I realised how the planting of these beds
fell into that. The middle bed was sown first, on Dec 23rd, with 65 seeds.
Turned out this was a good time, according to the moon calendar. The far bed was
sown on Dec 29th with 65 seeds, a bad time according to the calendar. The
closest bed was sown on 8th Jan with our remaining 70 seeds, again a bad time.
 

Picture
The first bed planted germinated with an 89% success rate. All the plants grew strongly, and none succumbed to pests or otherwise died.

The second bed had a 100% germination rate, but I quickly lost a few plants to snails or similar. The results in the 3rd bed were much the same. The plants in these two beds simply weren't as strong as in the first bed, and much more inclined to fall over or die just because.

Picture
By 1st March, the differences were even more striking - the middle bed's corn are way over my head and in full flower. The others are still small, but starting to show signs of flowering. I've had to repeatedly prop up plants in the third bed that kept wanting to fall over.  

The proof will be in the harvest, details of which I will add to this page when they are available, sometime soon.

Now, for some interesting facts about growing corn:
  • Corn is mostly wind pollinated, which is the reason it should always be planted in blocks, so you get better pollination. The flowers are long thin stems at the top of the plant loaded with pollen. The pollen must drift down onto the tassels of the potential corn lower on the stems. Planting in blocks also gives these tall plants better stability so they are less likely to get blown over in the wind.
  • Each thread in a tassel  leads to what could become one kernel of corn. Each thread that is pollinated will cause a kernel to form. Each that is not, will leave an unformed kernel. When you peel open a cob of corn, and find the top part of the cob empty or unformed, this is because not all the threads were pollinated. Gentle shaking the plant, or picking a pollen stem and wiping it over the tassels can aid pollination.
  • Corn needs deep, well dug soil to enable it to put down strong roots to support the plant. Roots will show near the soil surface - drawing soil up over them can also help support the plant.
  • Beans or peas can be planted under the corn - this will add extra nitrogen which they need lots of. Another popular plant to grow under the corn is watermelon.
  • F1 hybrids will not produce true-to-type seeds, so are not worth saving for seeds. Next season I plan to buy heirloom non-hybrid seed.
  • All corn seed imported into NZ is required by law to be treated with fungicide - this is the pink coating you see on the seeds. This stuff is systemic - it is all through the plants and cobs. I didn't know much about this when I planted these, but now I do, I won't be planting such treated seeds in the future.
  • Corn is also one of the most commonly genetically modified crops. GMOs are super bad for us. For one of the best sources of info on this, watch Genetic Roulette.
Update: The difference in the harvest from the first bed as opposed to the other two is huge! Total harvest of cobs by weight:
Middle bed (planted at the right time in the moon calendar): 14.178 kg
Bed 2 (planted at the wrong time): 4.22 kg
Bed 3 (planted at the wrong time) 4.112 kg
So the middle bed yielded more than 3 times as much sweetcorn, even though the total number of plants was the same or less than the other beds!
I also noticed that the pollination was better in the middle bed - the other two beds had a lot more cobs with missing kernels or entire ends that were unpollinated (even though I helped all three beds along by shaking plants and/or wiping silks with strands of pollen).
0 Comments

    Author

    This page is my blog formerly known as Kiwi Urban Homestead.

    I'm a Kiwi homeschooling mother of 5 living in a small town. After growing 1000 kg of produce in my back yard in 2013, I'm now expanding my edible gardens even further.

    Archives

    February 2016
    December 2015
    October 2015
    September 2015
    June 2015
    May 2015
    April 2015
    March 2015
    February 2015
    January 2015
    December 2014
    November 2014
    October 2014
    September 2014
    August 2014
    April 2014
    February 2014
    December 2013
    November 2013
    October 2013
    September 2013
    August 2013
    July 2013
    June 2013
    May 2013
    April 2013
    March 2013
    February 2013
    January 2013
    December 2012

    Categories

    All
    Bees
    Butchering
    Chickens
    Compost
    Corn
    Diy Projects
    Events
    Everything Else
    Firewood
    Freebies
    Frugal Fortnight
    Garden Diary
    Gardener Of The Year
    Getting Started
    Greenhouse
    Harvest
    Harvest Totals
    Health
    Herbs
    Home Made Cleaners
    Homesteading Skills
    Jungle Taming
    Livestock
    Media
    Monthly Garden Pics
    Moon Planting
    Musings
    Pests And Diseases
    Planting
    Preserving The Harvest
    Recipes
    Salads
    Soil Improvement
    Specific Crops
    Tomatoes
    Weekly Round Up
    Worms
    Yates Vegie Challenge
    Zucchini

    RSS Feed

Powered by Create your own unique website with customizable templates.