Thrifty Kiwi
Like our Facebook page
  • Home
  • Blog
  • Homesteading
  • Gardening
    • 2025 Garden
    • 2021 Garden Blog
    • 2019-2020 Garden Blog
    • 2017-2018 Garden Blog
    • 2016-2017 Garden Blog
    • Kiwi Urban Homestead 2013-2015 Garden Blog
    • Pest & Diseases
  • Recipes
    • Autoimmune Protocol
    • Meals and Snacks
    • Preserving
    • Household Cleaners
    • Health & Beauty
  • Skills
    • Menu Planning & Grocery Shopping
    • Money & Budgeting
    • Preserving How-Tos
    • Housekeeping
    • DIY
    • How to Find Stuff Free or Cheap
  • Animals
    • Critter Blog
  • About
  • Contact

Garlic Green Beans - So Simple; SOOO Good!

25/3/2015

0 Comments

 
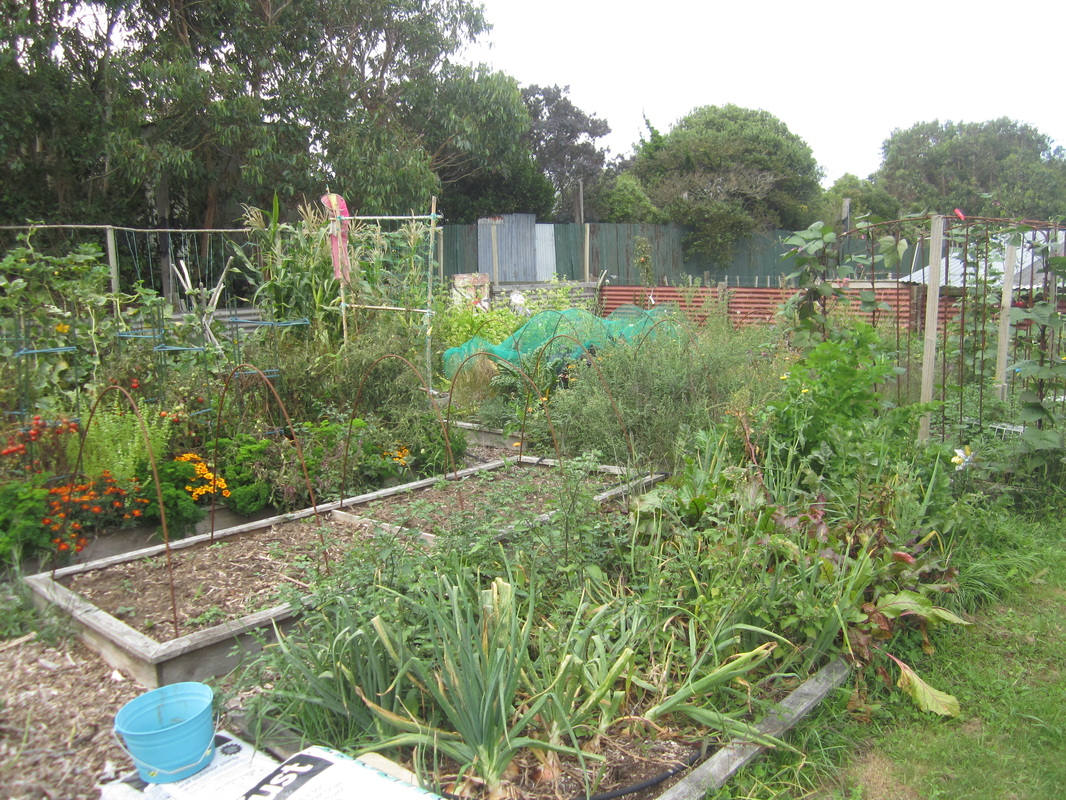
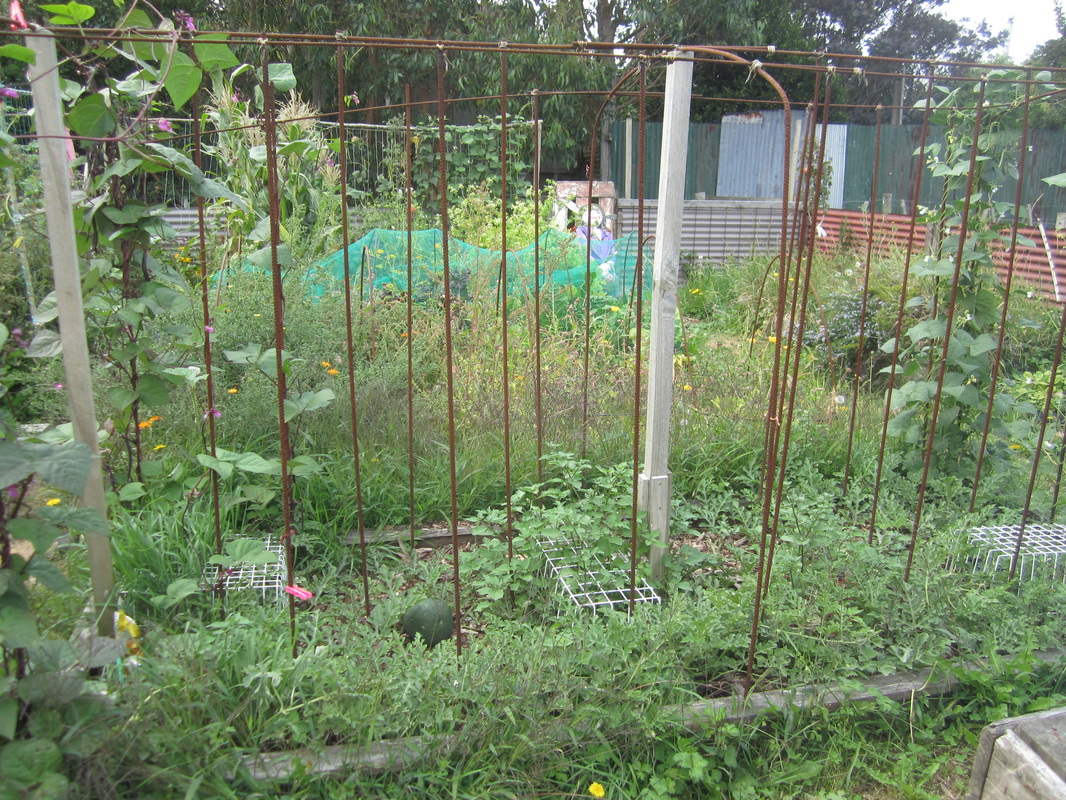
This quick and simple way to prepare green beans will have everyone asking for more. At this time of year, there are usually lots of beans needing picking in the garden, and this recipe is great with fresh beans. I've also used it in winter with frozen ones. Good too.
Picture
Method:
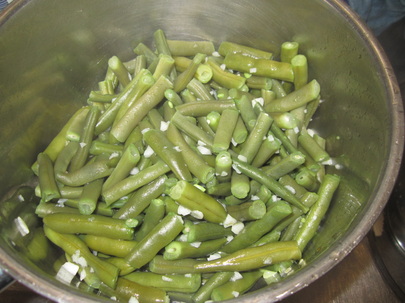
Simply prepare your beans for cooking in the usual way - top and tail then chop fresh beans, or dump frozen ones in the pot. Add enough water to just cover. Add in 2-3 cloves of garlic, crushed and finely chopped, a good spoonful of butter, 1 tsp soy sauce, and salt to taste. Cover pot, bring to the boil, and simmer until tender. Drain pot, and serve as a side dish with dinner. Easy!

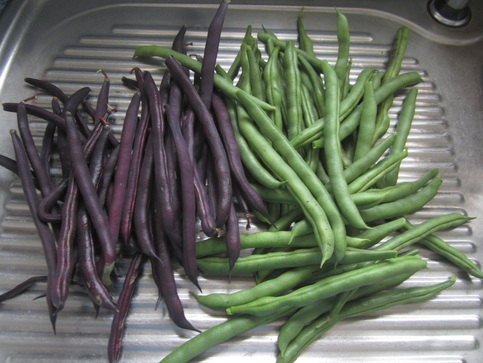
(Purple beans turn green when cooked.)
Picture
0 Comments

Jungle Taming Days 4 & 5: My Main Vege Beds

25/3/2015

0 Comments

 
Those who have been reading my blog for a while will know that I refer the the eight 3.25 x 1.25m wooden edged raised beds I rotate vegetable crops in as my "main vege beds." Well, actually it's 9 beds now - one of those 8 got replace by two 1x2m beds. Anyway, like the rest of the garden, they have gotten somewhat overgrown and neglected over the last couple of months. So, time to pull out weeds and spent plants, and start prepping them for winter crops. The following three "before" photos show first off all the whole area, then a photo of each set of 4 or 5 beds, taken from one end. I've got some work to do!
Picture
Picture
Picture
I decided to tackle the beds two at a time, with breaks between, over two days.
Picture
First, I weeded the watermelon bed, which has some nice watermelons of two varieties (Sugar Baby and Crimson Sweet) ripening in it, and green and purple beans growing up the corner posts. Shortly after I planted the seedlings, I was having so many problems with birds digging in the bark and around the roots of the plants, that I inverted freezer baskets around each to protect them until thy were established. Well, the vines grew right through them, and I left it too late to remove them. This made weeding a bit more challenging, but I did it.

Then I began clearing the massively overgrown bed next to it. This one had dwarf beans growing in it, which where now dry, so I pulled up a large bin of those, and put them in the shed to dry some more before I shell them for seed. After clearing all the weeds, I added a large load of home made compost to the bed, sprinkled with some soft lime, and topped it with well-rotted wood chip. I decided to put some winter brassicas in the bed; to prevent white butterfly from decimating them, I am covering the bed in micromesh, and to prevent the steel hoops from damaging the micromesh when we get our usual gales, I first slid some aqua noodles over the steel rods for protection. I've out the punnets of broccoli, celery and cabbage under the net to harden off, but won't plant them out for a while yet.
Picture
Next, I removed the bird netting from the silverbeet patch and weeded it, removing gone-to-seed radish plants, and not-so-good outer leaves from the silverbeet. Another bed is full of celery, with some Tiny Tim tomatoes at one end. Some of the celery is going to seed; I removed a few plants, and staked up the biggest one so it can produce seed for next season. The bed was weeded and tidied up. Next to it is a bed of white sweetcorn, underplanted with a couple of buttercup squash. I pulled out the dried seed stalks of the Corn Cockle flowers that were there, and put aside to save seed from (they sound really cool when you shake them, as they rattle, and look good enough for an artistic indoor arrangement). I weeded that bed too, and the barked area between them that had gotten really weedy. I also weeded the narrow bed against the fence behind them, which has beans growing up a trellis.
Picture
Picture
The following day, I started by weeding the bed containing onions, beetroot, spring onions and parsnips. One of the parsnips right at the end is going to seed - I will let it do so and collect the seeds, as it's a big, strong plant and parsnip seed must be very fresh for successful germination. I also started harvesting some of the onions. This is my first proper attempt to grow onions, and I'm pleasantly surprised by the results. Some of them are going to be bigger than the palm of my hand!  I need to harvest and bottle all the beetroot - on my to-do list for next week!

Picture
The next bed over formerly contained garlic and shallots. It was rough-weeded recently, so now it got a fine weeding, added compost and aged wood-chip, and was sown in 3 varieties of beetroot, three rows each, and a couple of rows of parsnips. I've planted some Detroit Red beetroot, which always do well for me, some Easy-slice long style beetroot, and some multi-coloured red and white ones, just for fun. I covered the bed in bird netting, to prevent the blackbirds digging up the seeds, as they are always attracted to newly mulched beds.
Picture
Next up was the tomato bed, also planted with parsley, basil and marigolds. The tomatoes have been devastated by psyllid. I picked a roasting dish full of ripe tomatoes off them, but when I tried them they tasted pretty awful, so they went to the chickens. I pull the tomato plants and removed their cages, and weeded the bed. The cinnamon basil smells SO good! Here is a photo from before I pulled the tomato plants:
Picture
The final bed contains spaghetti squash, Golden Midget water melons, peppers, eggplant and a couple of cucumbers. It just needed a bit of weeding. Harder work was the path between the beds - it had completely overgrown with couch and other stubborn weeds. I ended up digging out the lot, removing all runners etc, then laying cardboard and fresh bark. Here's the before photo for that section:
Picture
And below is the after shot of the two beds and path. :-) I think I'm going to use the tomato cages in a different configuration and sow broad beans in the middle of what was the tomato bed. But no hurry on that - if I sow them too soon they'll get enormously tall by spring and suffer wind damage. I'll probably wait until June. The spaghetti squash are at the end of their life span and will be ready to harvest soon, and the watermelon are close to picking too, as well as the peppers.
Picture
Phew! It feels like I'm making some progress taming this jungle!
Picture
0 Comments

Jungle Taming Days 2 & 3: Main Path & Swing Seat Areas

24/3/2015

0 Comments

 
I'm on a mission to get my neglected garden back under control by the end of the month!

Running down one side of my garden is a main pathway that acts as thoroughfare from the house to the back paddock and chicken run. On one side is my garden sink, the grapevine and compost bins, and on the other the ends of my berry patches, a narrow bed of feijoas and flowers, and finally by the back gate a raised area where my swing seat is under a trellis. Like the rest of my wanna-be jungle, these have been getting very overgrown! Here are three "before" pics:
Picture
Picture
Picture
Phew! Where to start? Well, I started by cutting down about 4 metres of grapevine which had grown along the side of the building, smothering my sink area (not pictured) and trying to get in through a bedroom window. I pulled out weeds, got rid of junk, and cleaned out the sink. I also cleared off a table which was covered in old pots and other junk. And then I started on the pathway area. There was a ton of weeds in a spot to the left just before the grapevine - after clearing that out I laid cardboard and mulched with bark, then put down a pallet and stacked trellis, timber and other garden construction materials there out of the way. I trimmed back the grapevine so the compost bins could be more readily accessed, and it wasn't in danger of entangling me by my hair every time I walked around the far end to my greenhouse! And I pulled weeds all along the pathway, and in the narrow bed of feijoas, leaving one self-seeded cosmos that's well into flowering and looks pretty.
Picture
Picture
I built a fourth compost bin at the end of the line of bins, ready to be filled shortly. The woven weed mat stapled to the inside of the pallets stops materials falling through the gaps. The pallets are simply wired or nailed together in the corners.

Picture
Then I started on the swing seat area, ripping down all the spent sweet pea vines (saving some seed pods in a container), tearing up the horrid couch grass and all it's runners, weeding out the Chilean Guava bed, and the beds around three sides of the swing seat area. I laid newspaper as weed suppressor around the Impatiens in the rear bed, and covered with aged wood chip. I laid cardboard on the ground under the swing seat and covered with fresh wood chip.

The Chilean Guavas (aka NZ Cranberry) bushes are just over a year old, and were laden with yummy ripe fruit, which I picked and am using to make jelly. They are delicious and incredibly fragrant! The kids love them.
Picture
I made a quick trip to the beach for a few pieces of driftwood - I used a piece, along with two pots, to create a higher edge for this bed, to which I added some homemade compost. One pot has alyssum in it, the other will be planted with petunias. I have male and female kiwifruit vines I will plant on the trellis as soon as they harden off.
Picture
Picture
And I used some more pieces of driftwood to make a more defined edge to the bed beside the path - since I barked the path, visitors often mistakenly walk on the bed. I have some violas I'm going to plant in this bed for winter, after I do some fine weeding, and add some compost and aged bark, but that's a job for another day.
Picture
A couple of things I have since added to this area:
Two low-profile tyres at the end of the compost bins, planted with wormwood. The wormwood will get trimmed periodically and the leaves sprinkled around the hen house and in their nests to repel mites.

Being located close to the back gate will make them handy to pick and take to the chook house.
Picture
My new worm farm - made from an old bath mounted on a stand my husband put together for me. I'll be adding an insert inside before filling with manure and adding worms (more on this in another post). A bin under the drain hole will catch the worm tea for use in my garden. Yay! :-)
Picture
0 Comments

Delicious Applesauce (with Cinnamon, Honey & Lemon)

23/3/2015

0 Comments

 
When apples are in season and cheap, I love to make and preserve lots of our favourite applesauce. It contains no sugar, but is sweetened instead with honey, and the cinnamon and lemon in it give it a delicious flavour! During winter, my kids would have a couple of spoons full on their breakfast porridge instead of sugar. We also like it on top of cereal, added to plain yoghurt, served with pork on the rare occasion we have that, or if I Iet them, the kids (and my husband!) will just eat it straight!

I'm going to walk you through how I make it, then the concise version of the recipe is at the bottom of this post.

I can't wait for the day our baby apple trees produce enough to supply our own apples for this recipe, but in the meantime I'm grateful for our own honey and lemons from our tree or a friend's.
Recently, some nice apples were on sale for 99c/kilo, so I purchased several bags full. Pictured are just over half the apples I used this time. All together, the apples made just over 11 litres of applesauce.

The first step is to wash, core and cut up the apples. There is generally NO need to peel them for this recipe - in fact I prefer not to, as it gives the sauce a richer flavour and retains maximum nutrients. However, when using apples that are not spray-free, I do peel them as even after washing, a lot of spray residue is on and in the skin. So I peeled these ones. 
Picture
Picture
I have a nifty gizmo for coring and cutting up the apples in one fell downward push - this makes the job very fast, especially when peeling isn't needed, and ensures the pieces are of an even size, so cook at the same rate. But it doesn't really matter too much - just chop them up and dump them in a large pot with some water in it as you go.

The gizmo has a metal circle in the middle, and metal blades radiating out from it, within a plastic holder with two handles. Various models are available, such as THIS ONE at Fishpond.
As I was short of time, I chose to make this applesauce in stages. First, I cut up and cooked the apples; I had to do this in two batches as I could only fit half in my largest stock pot. Actually, when doing the second half (pictured above) there were too many for the pot, so I put the rest in a smaller pot too cook. Once they were cooked, I pureed the cooked apples in the food processor, only adding just enough of the liquid to enable it to whiz them smoothly. I measured the amount of applesauce, and placed it in a large bowl, covered, in the fridge overnight - I had just on 11 litres. The next day, I poured half the applesauce back into the pot at a time, adding the other ingredients and bottling it. Now, here's the recipe:
Ingredients:
Apples
Note: the quantity of the rest of the ingredients depends on how much apple puree you have. I will give the amount for 6 cups of puree and 6 litres of puree (the amount I get after filling my biggest pot with apples)

Cinnamon & Honey Applesauce

To each 6 cups of puree:
3 TBSP lemon juice
1/3 cup honey
1/3 tsp finely grated lemon rind (zest)
3/4 tsp cinnamon
Dash salt (optional)
For 6 litres of puree:
180ml lemon juice
1 1/3 cup honey
Finely grated rind from 1 1/2 large lemons
3 tsp cinnamon
Dash or so of salt (optional)

Method
Wash, peel if desired, core and cut up apples. Cook in a large non-aluminum pot with sufficient water until soft. Use a slotted spoon to scoop apples into blender. Puree in blender or food processor until smooth, adding minimal fluid for a thick sauce, or a bit more for a thinner sauce. Measure total volume of puree.

Return puree to washed pot and add rest of ingredients. Bring to boil, stirring regularly, and simmer 5 minutes. Ladle into hot, sterile jars, leaving 3/4 inch head space, and seal.

For details on how to prepare and sterilize jars and seals, see THIS POST.

After the jars have cooled overnight, wipe outside with cloth to remove any spill residue, check seals, and store. If any have not sealed properly, put in fridge and use up, or pour into containers and freeze.
Picture
0 Comments

Jungle Taming Day 1: Out with the Pallets.............

14/3/2015

0 Comments

 
At the end of 2013, I had set up three "pallet beds" just inside the entrance of my garden. I planted these with various salad greens. At the time, I thought they would be easily accessible for picking, being quite close to the kitchen, and would be partly shaded by the neighbouring building, thus increasing the chances of the lettuces not bolting in summer. But it didn't turn out to be as effective as I hoped - the pallets constantly dried out, despite almost daily watering, the lettuces kept bolting in summer, and I had mistaken the angle of the sun in summer - they weren't as shaded as I had imagined. After two seasons of repeated bolting, I decided it was time for the pallets to go. The below "before" pic I remembered to take after I had already started ripping out the spent plants and weeds, and removed the waist-high dried parsley seed heads to save for seed. I'd also pulled out the first pallet, and removed the trellis that had been at one end of it.

Picture
So, I weeded the area, harvested seed from the parsley (enough to plant several acres of parsley I reckon!), pruned the Banksia rose on the trellis fence, removed all three pallets, and then.......
Picture
I installed a 1m x 2m wooden bed box I'd removed from another part of the garden - one end of it forming the back of the half-circle brick bed, just as the pallet previously had. I used the left over soil from the pallets in the bottom, then filled it with homemade compost and topped it with aged (semi-composted) wood chip. I broadcast mixed lettuce seed saved from the previous year all over it, and ruffled then smoothed the surface with my hand, sufficient to bury the seed, and watered it in.

At the end of the bed, just barely in this pic, I placed a long, narrow metal tray I found at the dump, and in it put four English mint plants, and two pennyroyal plants. The mints had been inside my house, but had got a bad case of rust, so I cut them back hard, and moved the out here to recover. Funny story about the mint, actually - I wanted them in the house as they are reputed to be good fly deterrents, and flies here are bad in summer. They didn't seem to be having a great effect, though, and I was about to give up on them when one night a strange creature was flying around the living room as we were watching a DVD together. My son whipped out his net and captured what looked almost like a dragonfly, but not. He placed it in a jar to more closely examine and identify. Noticing it was slipping around inside the jar, I suggested a small twig or similar for it to rest on. As mint was the only indoor plant handy, we broke off a stem and put it in the jar. Shortly thereafter, it also caught an annoying moth and put it in another jar, with another sprig of mint. Ten minutes or so later, my son said "Mum, I think it's dead," referring to what we had identified as a damselfly. He tipped it out onto a cloth, and sure enough, it was completely still, with curled up legs. I watched the moth for a while. It, too, became inert. "Hmmmm.....I pondered. Death by mint??" My son tossed the moth outside, and as he came back in, the damselfly suddenly took wing! It seems the mint had
anaesthetized the bugs, not killed them - once they were moved into fresh air, they recovered! Later that night, my son caught a net full of flies and tried the same treatment on them, with the same results. Hmmmm.....so perhaps the mint DOES have an effect, if there is sufficient of it in the space. Perhaps the flies the sense it's not good for them, and leave, as reputed. I have high ceilings and an open plan kitchen/dining/living/foyer. So I would need a lot more plants to do that trick. However, I have limited space to put them. Still thinking on this......

Picture
In the remaining space, I raked it smooth, laid a new cardboard mulch, and re-barked with fresh woodchip. I moved a glass table I picked up from an thrift shop and a chair from the dump into the space. I found a lovely green glazed pot at the thrift store for $4 and put some mini pink chrysanthemums in it. I planted out a peppermint geranium and a lemon geranium against the wall among the other geraniums, and added a lavender and several violas to the bed under the trellis. An old sickle provides some rustic ornamentation - it will be mounted on the wall one of these days.

I also removed the remaining calendula plants from the half-circle bed, which has a Damson plum seedling in it, and planted some more violas there.

All in all, I'm pretty happy with how this area turned out!

Picture
0 Comments

Upcycling a Broken Rake = New Hand Tool Rack

12/3/2015

0 Comments

 
I've been saving up old and broken garden tools to make a really cool gate, but have wondered whether to include a rake with a broken handle, as I don't want things that will stick out and snag unwary passersby. Then I saw a really good idea on the internet, and so yesterday, my darling husband mounted my rake head inside my shed door for me, and I hung on it some of those useful small tools I use all the time, but frequently misplace if they don't have an obvious and easily-accessible spot of their own. Voila! My hand tool and gloves and earmuffs rack. :-)
Picture
Note: I threaded a small piece of wire through the centre of the spring in the peg, and formed it into a hoop which I hung on the rake. Now I can use the peg to hang up my gardening gloves. The secateurs don't have a suitable hole for hanging, but sit nicely above the rake with blades down into one of the gaps.
0 Comments

Summer is Waning.....I have a Jungle to Tame!

12/3/2015

0 Comments

 
Picture
Technically it's now autumn, but the weather has remained extremely hot and mostly dry. Despite January being one of the driest on record (we had 5mm of rain in the entire month here), my garden has continued to grow. February saw more rain, and growth became rampant. Unfortunately, this time also coincided with me being extremely busy in some other areas of responsibility, so my garden has suffered 8 weeks of near total neglect. About all I did was continue to water my greenhouse, herb tree, and other potted plants.

So now, I have a jungle to tame. On the plus side, there is food growing everywhere I look. But the weeds, especially, have taken advantage of my lack of attention, and have become rampant. Super-cyclone Pam is also bearing down on NZ - due to hit tonight. The wind is has already picked up and is increasing. I don't expect it to do a great deal of damage here, close to the western coast, but one never knows.

Picture
So, today I will batten down the hatches - moving vulnerable pot plants to more sheltered locations, relieve young fruit trees of any remaining fruit, and check there's nothing to blow around too much.

Over the next couple of weeks, I'll also be working on one section of my garden at a time, taming the jungle, clearing the weeds, harvesting crops, and preparing and planting for winter. I'll post updates each day I'm able to work on the garden, with before and after photos. My aim is to have my garden reasonable under control by the end of the month, and well on the way to being prepped and planted for winter.

Actually, I've made a start already - I've managed to work on my garden for three days. So I'll post about those first.

How about you? How's your garden looking? Are there any tasks you need to take care of? Have you started sowing and planting winter-bearing crops? Whatever you need to do, now is a good time to get started. Unless, of course, you're in the Far North or East Coast of the North Island. If that's you, then right now you need to just make sure you and your household are safe and prepared for Pam. Stay safe folks, and once things are calm again, let's get stuck into those gardens. Remember: if you don't plant it, you will never know just how much food you can grow!

Picture
0 Comments

Why Every Busy Mother Needs a Garden

12/3/2015

0 Comments

 
My son found an old book of garden poems at a local thrift store and bought it for me. It's called "Green Fingers - a Present for a Good Gardener" by Reginald Arkell. There are some wee gems in it. Like this one:

Mummy's Garden

Mummy has a garden
That is all her very own;
She often goes to sit there
When she wants to be alone.
When she feels un-so-ciable,
She won't come out to play,
And if I try to peep at her
She makes me run away.


Mummy's little garden
Has an arbour and a seat.
Sometimes she lets me sit there
As a most es-pe-cial treat.
Nobody must talk to her
Until 'tis time for tea.
I wonder what she thinks about?
I wonder if it's me?

Picture
My children aren't little any more, but I still remember how 15 mins of solitude surrounded by nature can do so much to restore a frazzled mother's peace and calm! In fact, that's still true, no matter how old the kids get - we all have THOSE days, kids or not! I'm so glad I have a garden - and yes, it has a seat (pictured above). :-)

Keep in mind that this book is from England, published in 1934. Approaches to child-rearing have of course changed since then. :-)
0 Comments

    Author

    This page is my blog formerly known as Kiwi Urban Homestead.

    I'm a Kiwi homeschooling mother of 5 living in a small town. After growing 1000 kg of produce in my back yard in 2013, I'm now expanding my edible gardens even further.

    Archives

    February 2016
    December 2015
    October 2015
    September 2015
    June 2015
    May 2015
    April 2015
    March 2015
    February 2015
    January 2015
    December 2014
    November 2014
    October 2014
    September 2014
    August 2014
    April 2014
    February 2014
    December 2013
    November 2013
    October 2013
    September 2013
    August 2013
    July 2013
    June 2013
    May 2013
    April 2013
    March 2013
    February 2013
    January 2013
    December 2012

    Categories

    All
    Bees
    Butchering
    Chickens
    Compost
    Corn
    Diy Projects
    Events
    Everything Else
    Firewood
    Freebies
    Frugal Fortnight
    Garden Diary
    Getting Started
    Greenhouse
    Harvest
    Harvest Totals
    Health
    Herbs
    Home Made Cleaners
    Homesteading Skills
    Jungle Taming
    Livestock
    Media
    Monthly Garden Pics
    Moon Planting
    Musings
    Pests And Diseases
    Planting
    Preserving The Harvest
    Recipes
    Salads
    Soil Improvement
    Specific Crops
    Tomatoes
    Weekly Round Up
    Worms
    Yates Vegie Challenge
    Zucchini

    RSS Feed

Powered by Create your own unique website with customizable templates.